Make a CNC Drawing Machine
Design, build and program a machine that draws a pattern, performs the task accurately and repeats the task.
Lesson plan
Prepare
- Read through this teacher material.
- If you feel that it is necessary, plan a lesson using the getting started material in the EV3 Lab Software or EV3 Programming App. This will help to familiarise your pupils with LEGO® MINDSTORMS® Education EV3.
Engage (30 Min.)
- Use the ideas in the Ignite a Discussion section below to engage your pupils in a discussion relating to this project.
- Explain the project.
- Divide your class into teams of two pupils.
- Allow your pupils some time to brainstorm.
Explore (30 Min.)
- Have your pupils create multiple prototypes.
- Encourage them to explore both building and programming.
- Have each pair of pupils build and test two solutions.
- Provide them with a large sheet of graph paper and colouring pencils or felt tip pens.
Explain (60 Min.)
- Ask your pupils to test their solutions and to choose the best one.
- Make sure that they can create their own testing tables.
- Allow some time for each team to finalise their project and to collect assets for documenting their work.
Elaborate (60 Min.)
- Allow your pupils some time to produce their final reports.
- Facilitate a sharing session in which each team presents their results.
Evaluate
- Provide feedback on each pupil's performance.
- In order to simplify the process, you can use the assessment rubrics that have been provided.
Ignite a Discussion
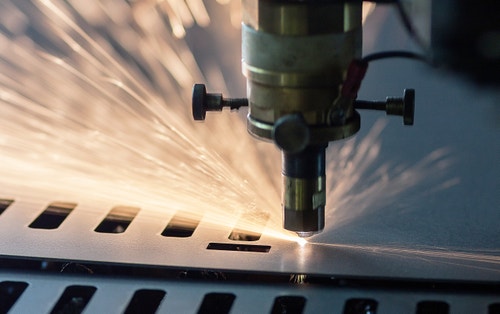
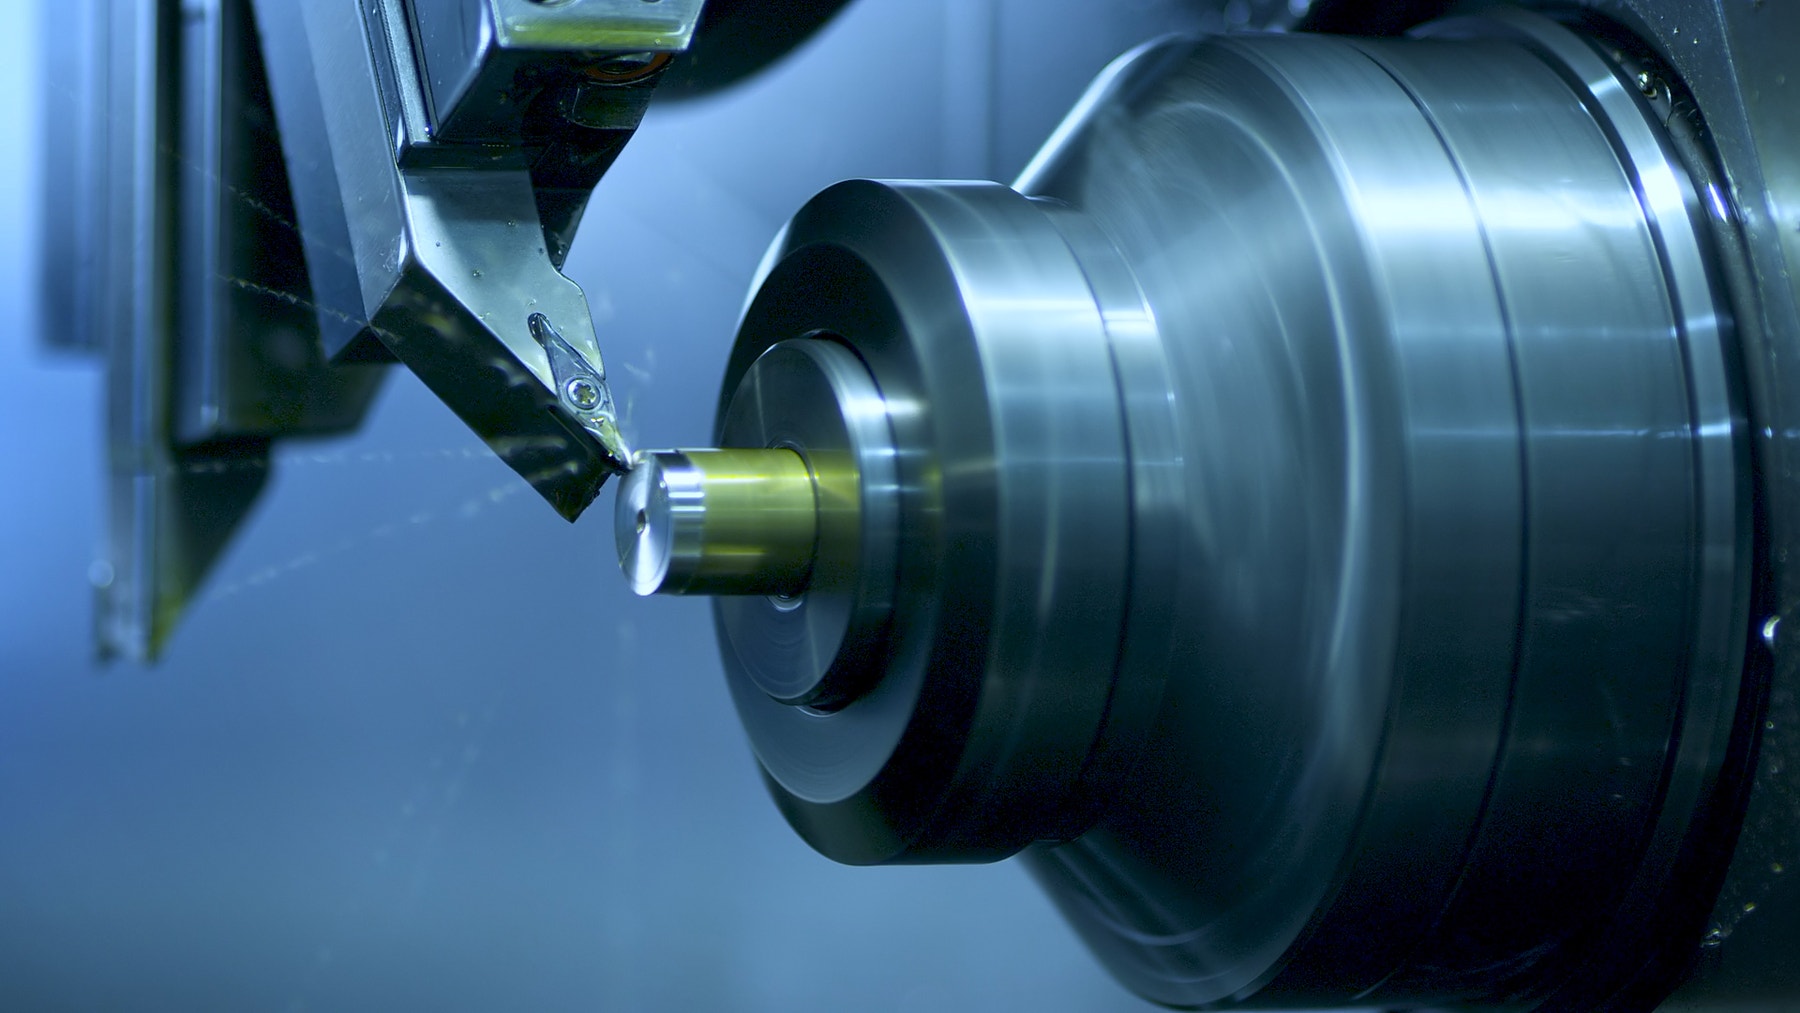
Computer numerical control (CNC) machines use pre-programmed instructions to control a tool along one or more axes with a high degree of precision. They are commonly used in computer-integrated manufacturing to turn a digital design on a computer into a physical object.
Encourage an active brainstorming process.
Ask your pupils to think about these questions:
- What is a CNC machine and where is it used?
- What is the best way to attach a pencil or felt tip pen to the machine?
- Which type of motorised mechanism can move the pencil or marker in two dimensions?
- What design features will ensure that the machine’s movements are accurate and repeatable?
Encourage your pupils to document their initial ideas and to explain why they chose the solution that they will use for their first prototype. Ask them to describe how they will evaluate their ideas throughout the project. That way, when they are reviewing and revising, they will have specific information that they can use to evaluate their solution and decide whether or not it was effective.
Extensions
Language Arts Extension
To incorporate the development of language arts, have your pupils:
Option 1
- Use their written work, sketches and/or photos to summarise their design process and create a final report
- Create a video demonstrating their design process starting with their initial ideas and ending with their completed project
- Create a presentation about their program
- Create a presentation that connects their project with real-world applications of similar systems and describes new inventions that could be made based on what they have created.
Option 2
In this lesson, your pupils created a CNC drawing machine. CNC machines use computer-aided design (CAD) models, which have been created by a person, to produce parts, products and prototypes. These CAD models are represented by data stored by computers on local networks or in the cloud.
- Discuss and write about the advantages and disadvantages of storing CAD drawings on a single computer vs on a local network vs in the cloud.
- Keeping in mind that schools and educational software providers must protect pupils’ data, including their digital CAD drawings, write an informational essay outlining data privacy and how it relates to the online storage of pupils’ assignments.
- Compare and contrast the data security concerns of an engineering company that stores CAD drawings online and a school that stores pupils’ CAD drawings online.
Maths Extension
In this lesson, your pupils created a drawing machine. But what if their goal was to create a machine that could draw specific geometric shapes? What if they wanted their machine to become better and better at drawing specific shapes? One way of doing this would be to use a type of artificial intelligence called machine learning. In order to use machine learning, the system must be given training data to ‘teach’ it what shapes are and how to determine whether it has accurately produced a specific shape.
To incorporate the development of maths skills and practice applying these skills to the topic of machine learning, specifically the use of training data, have your pupils:
- Write down the definitions of three basic geometric shapes (e.g. circle, square, equilateral triangle) and identify how these definitions must be changed if they're going to help a drawing robot to produce each shape
- Write down the definition of a specific geometric shape in a way that would help the drawing robot to produce that shape in a particular size
- Look at the definitions they've just written and create a training data table that will teach their robots the movements necessary to produce their chosen shapes
To further connect mathematical concepts and skills to this topic, ask these questions:
- What is artificial intelligence? How is it different from a prescribed set of commands? What role do mathematical models play in distinguishing between artificial intelligence and a simple list of commands?
- How would you change your robot’s design to enable it to observe its surroundings and learn how to draw the shapes it sees?
Building Tips
Building Ideas
Allow your pupils the opportunity to build some of the examples from the links below. Encourage them to explore how these systems work and to brainstorm how these systems could inspire a solution to the Design Brief.
Testing Tips
Encourage your pupils to design their own test setup and a procedure for selecting the best solution. These tips can help your pupils as they set up their test:
- Mark the position of the machine on the graph paper to help ensure that you place it in the same position for each test run.
- Use gridlines to identify 1 cm x 1 cm squares to help in recording the results of each test run.
- Create testing tables for recording your observations.
- Evaluate the precision of your machine by comparing the expected results with the actual results.
- Repeat the test at least three times.
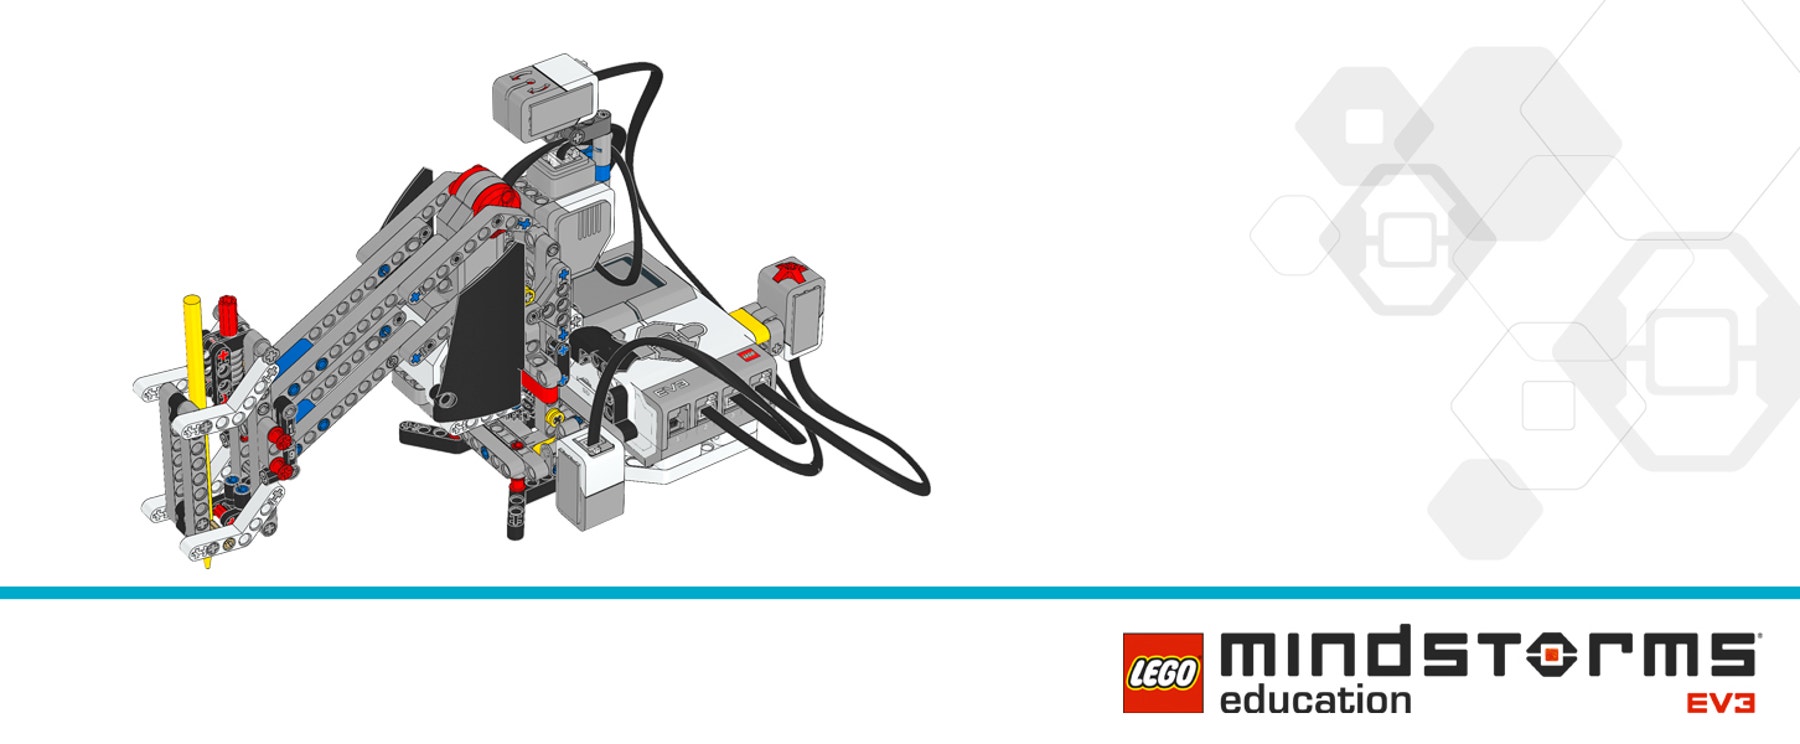
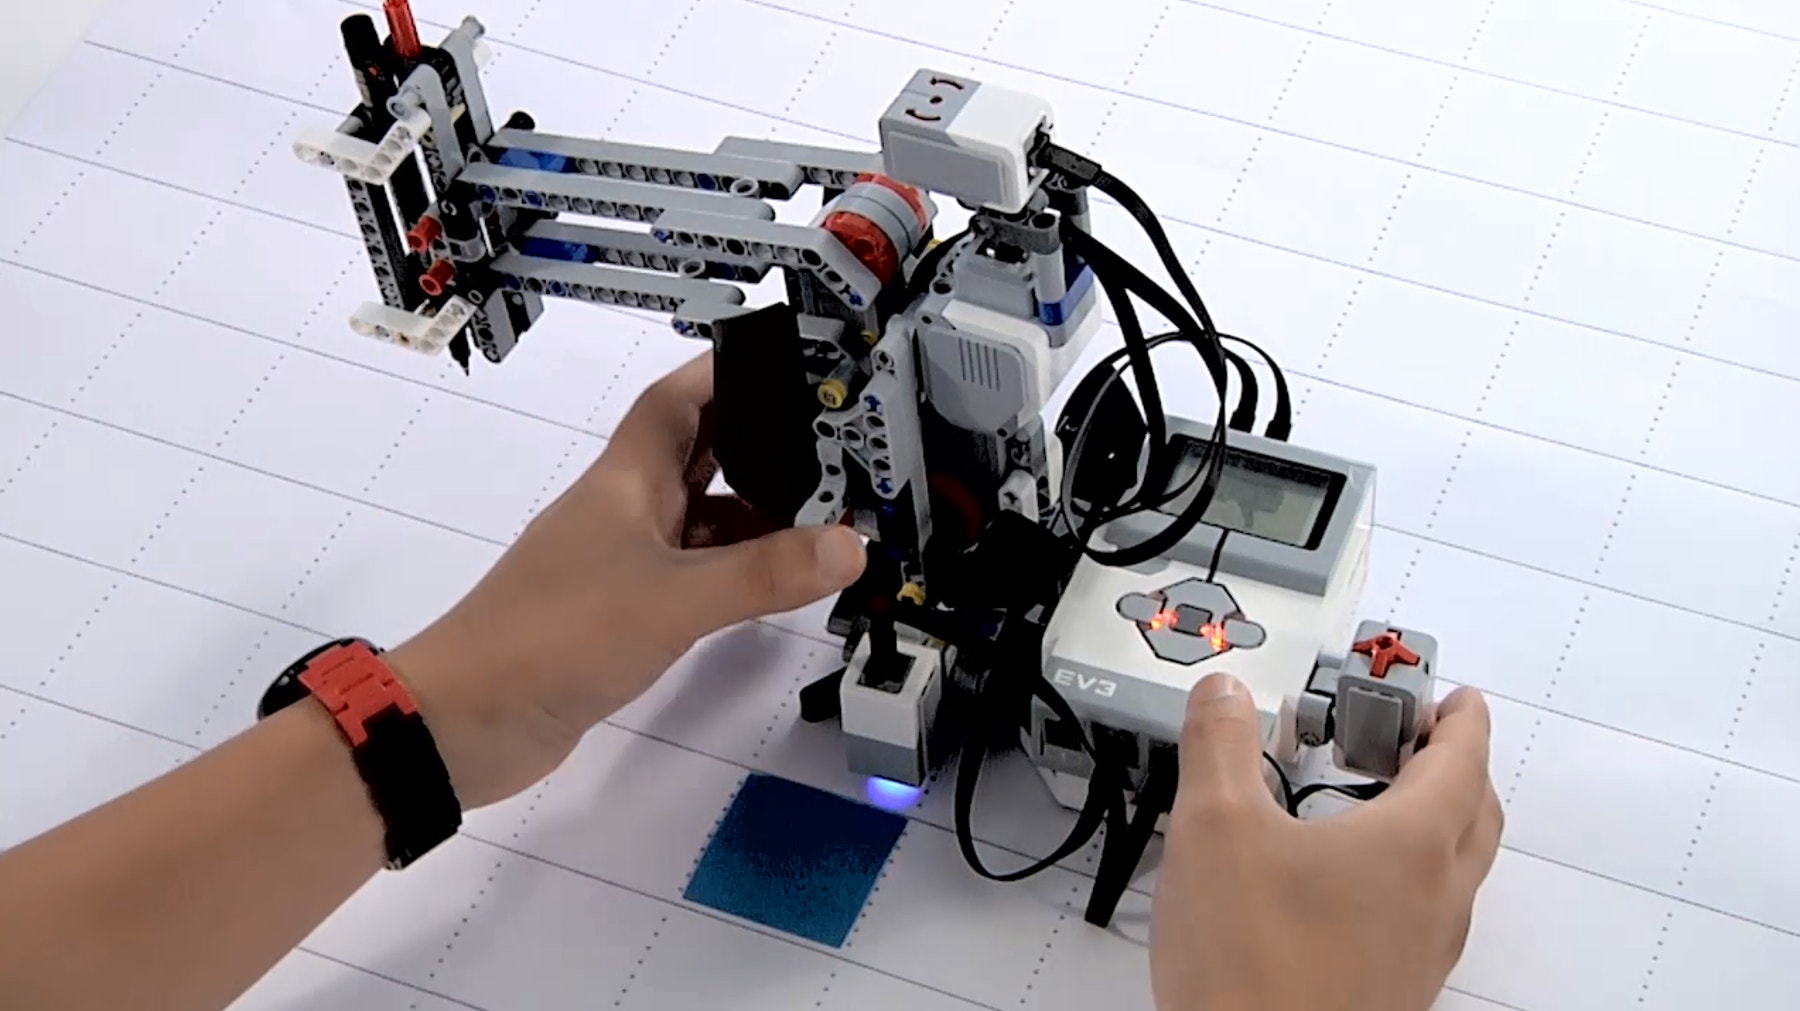
Sample Solution
Here is a sample solution that meets the Design Brief criteria:
Coding Tips
EV3 MicroPython Sample Program
#!/usr/bin/env pybricks-micropython

from pybricks import ev3brick as brick
from pybricks.ev3devices import (Motor, TouchSensor, ColorSensor,
                                 GyroSensor)
from pybricks.parameters import Port, Stop, Direction, Color, ImageFile
from pybricks.tools import wait

# Configure the turntable motor, which rotates the arm.  It has a
# 20-tooth, a 12-tooth, and a 28-tooth gear connected to it.
turntable_motor = Motor(Port.B, Direction.CLOCKWISE, [20, 12, 28])

# Configure the seesaw motor with default settings.  This motor raises
# and lowers the Pen Holder.
seesaw_motor = Motor(Port.C)

# Set up the Gyro Sensor.  It is used to measure the angle of the arm.
# Keep the Gyro Sensor and EV3 steady when connecting the cable and
# during start-up of the EV3.
gyro_sensor = GyroSensor(Port.S2)

# Set up the Color Sensor.  It is used to detect whether there is white
# paper under the drawing machine.
color_sensor = ColorSensor(Port.S3)

# Set up the Touch Sensor.  It is used to detect when it is pressed,
# telling it to start drawing the pattern.
touch_sensor = TouchSensor(Port.S4)

def pen_holder_raise():
    # This function raises the Pen Holder.
    seesaw_motor.run_target(50, 25, Stop.HOLD)
    wait(1000)

def pen_holder_lower():
    # This function lowers the Pen Holder.
    seesaw_motor.run_target(50, 0, Stop.HOLD)
    wait(1000)

def pen_holder_turn_to(target_angle):
    # This function turns the arm to the specified target angle.

    # Run the turntable motor until the arm reaches the target angle.
    if target_angle > gyro_sensor.angle():
        # If the target angle is greater than the current Gyro Sensor
        # angle, run clockwise at a positive speed.
        turntable_motor.run(70)
        while gyro_sensor.angle() < target_angle:
            pass
    elif target_angle < gyro_sensor.angle():
        # If the target angle is less than the current Gyro Sensor
        # angle, run counterclockwise at a negative speed.
        turntable_motor.run(-70)
        while gyro_sensor.angle() > target_angle:
            pass
    # Stop the motor when the target angle is reached.
    turntable_motor.stop(Stop.BRAKE)


# Initialize the seesaw.  This raises the Pen Holder.
pen_holder_raise()


# This is the main part of the program.  It is a loop that repeats
# endlessly.
#
# First, it waits until the Color Sensor detects white paper or a blue
# mark on the paper.
# Second, it waits for the Touch Sensor to be pressed before starting
# to draw the pattern.
# Finally, it draws the pattern and returns to the starting position.
#
# Then the process starts over, so it can draw the pattern again.
while True:
    # Set the Brick Status Light to red, and display "thumbs down" to
    # indicate that the machine is not ready.
    brick.light(Color.RED)
    brick.display.image(ImageFile.THUMBS_DOWN)

    # Wait until the Color Sensor detects blue or white paper.  When it
    # does, set the Brick Status Light to green and display "thumbs up."
    while color_sensor.color() not in (Color.BLUE, Color.WHITE):
        wait(10)
    brick.light(Color.GREEN)
    brick.display.image(ImageFile.THUMBS_UP)

    # Wait until the Touch Sensor is pressed to reset the Gyro Sensor
    # angle and start drawing the pattern.
    while not touch_sensor.pressed():
        wait(10)

    # Draw the pattern.
    gyro_sensor.reset_angle(0)
    pen_holder_turn_to(15)
    pen_holder_lower()
    pen_holder_turn_to(30)
    pen_holder_raise()
    pen_holder_turn_to(45)
    pen_holder_lower()
    pen_holder_turn_to(60)

    # Raise the Pen Holder and return to the starting position.
    pen_holder_raise()
    pen_holder_turn_to(0)
Career Links
The pupils who enjoyed this lesson might be interested in exploring these career pathways:
- Manufacturing and Engineering (Machine Technology)
- Media and Communication Arts (Digital Media)
Assessment Opportunities
Teacher Observation Checklist
Create a scale that suits your needs, for example:
- Partially accomplished
- Fully accomplished
- Overachieved
Use the following success criteria to evaluate your pupils' progress:
- The pupils are able to evaluate competing design solutions based on prioritised criteria and trade-off considerations.
- The pupils are autonomous in developing a working and creative solution.
- The pupils are able to communicate their ideas clearly.
Self-Assessment
Once your pupils have collected some performance data, allow them a bit of time to reflect on their solutions. Help them by asking questions, like:
- Is your solution meeting the Design Brief criteria?
- Can your machine’s movement(s) be more accurate?
- What are some ways in which others have solved this problem?
Ask your pupils to brainstorm and document two ways in which they could improve their solutions.
Peer Feedback
Encourage a peer-review process in which each group is responsible for evaluating their own as well as others’ projects. This review process can help the pupils to develop skills in giving constructive feedback as well as sharpen their analytic skills and their ability to use objective data in order to support an argument.
Teacher Support
The pupils will:
-Use the design process to solve a real-world problem
LEGO® MINDSTORMS® Education EV3 Core Set
Large sheet of graph paper or paper that has been pre-printed with gridlines
Colouring pencils or felt tip pens
National curriculum in England
Design and technology programmes of study: key stage 3 (DFE-00192-2013)
• identify and solve their own design problems and understand how to reformulate problems given to them
• test, evaluate and refine their ideas and products against a specification, taking into account the views of intended users and other interested groups
• develop and communicate design ideas using annotated sketches, detailed plans, 3-D and mathematical modelling, oral and digital presentations and computer-based tools
• understand how more advanced electrical and electronic systems can be powered and used in their products [for example, circuits with heat, light, sound and movement as inputs and outputs]
• apply computing and use electronics to embed intelligence in products that respond to inputs [for example, sensors], and control outputs [for example, actuators], using programmable components [for example, microcontrollers].


