Transparency
Leo wants to make some shade on a sunny day. What materials should he use? Help him find out.
Prepare
(NOTE: This lesson contains a Part A and a Part B. Both are important to access the full learning of the curriculum. If time is limited, review both parts to choose elements that meet your pupils’ needs.)
In this lesson, the key learning occurs through planning and investigating how different materials affect a beam of light. Pupils build a model light source for a fun, hands-on way to test materials and make observations. Examples are provided for inspiration. Encourage pupils to build their own ideas for a light source model.
- Science Background - Light:
- Light travels in straight lines known as light beams.
- Materials that allow most of the light in a light beam to pass through (such as plastic or uncoloured glass) are called transparent.
- Materials that allow some light to pass through (such as tissue paper) are called translucent.
- Materials that don’t allow any light to pass through (such as a block of wood) are called opaque.
- If you wish, demonstrate during Engage with a few classroom items.
- Build Prior Knowledge - Light: Using your core science materials, share information, images and definitions.
- Humans need light to see.
- Some objects (the sun, lightning, light bulbs) make their own light, and others (chairs, trees, wood tables) do not.
- Objects are made of many kinds of materials. Each material affects a light beam differently.
- Key vocabulary: light source, material
- Building and Programming Experience: Review the suggestions in the Unit Plan. For this lesson, you may also want to
- Use the Event and Light Blocks sections of the Help>Icon Blocks menu in the SPIKE App to provide more support.
- Materials:
- Identify sortable classroom items made from materials with varying ability to pass light through, such as metal, wood, plastic, glass, cotton or other translucent fabric.
- Collect a range of sortable materials with varied properties, including transparent (plastic wrap, cellophane), translucent (wax paper, parchment paper, tissue paper) and opaque (cardboard, foil), and determine how pupils will view them (in a box, at stations, on a viewing table, etc.)
- Consider using words or pictures of light bulbs to pre-label boxes, wall charts or other tools to support young pupils with sorting. Alternatively, you could label room corners and have pupils sort the materials into piles in each corner.
- Plan a way to dim the room so that the light source is easier both to see and to block.
PART A (45 minutes)
Engage
(Whole Class, 10 minutes)
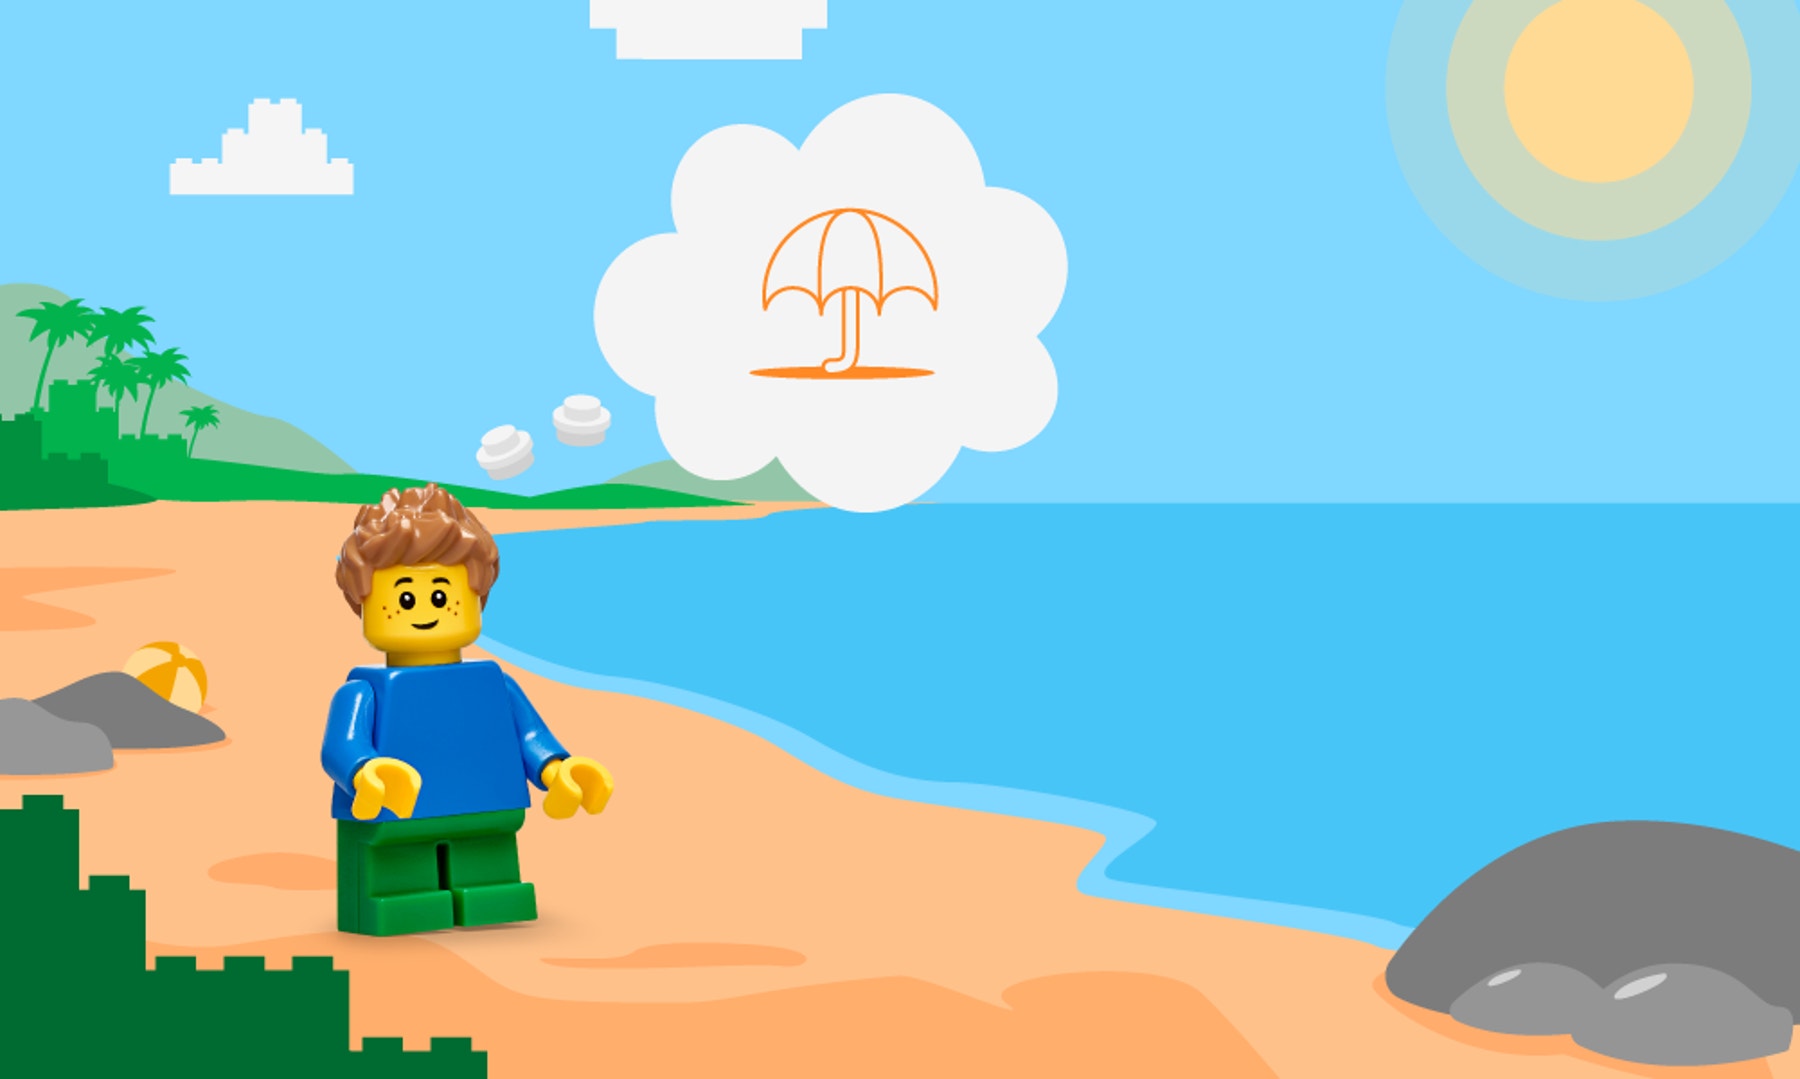
Introduce the story’s main character(s) and the first challenge: Leo wants to make some shade on a sunny day. What materials should he use? Help him find out.
THINK – Facilitate a brief discussion about the lesson topic(s), using classroom items and the story picture if you wish.
- Point to some classroom items and ask: What materials are these made from? (plastic, glass, cotton, metal, wood)
- What happens to a light beam when it strikes these different materials? Does it pass through? (Sometimes the beam passes through the item, as with plastic or glass, to light something beyond the item. Sometimes only some light passes through, such as with fabric or tissue paper, so you can’t see clearly beyond the item. Sometimes the light doesn’t pass through at all, such as with metal or wood, and instead creates a shadow on the other side of the item.)
- How can you help Leo find a material that will make a good shade? What are some ways you can test the materials? Turn to your neighbour and share ideas. (We can shine a light beam at different materials and see which material provides the amount of shade that we want. Elicit testing ideas, which should include examining the classroom items, predicting the level of transparency/opacity, and using a light source to test their prediction.)
- Reference the items you collected and say: Choose some items made of different materials. What do you think will happen with the light? Let’s use the labels “all light”, “some light”, or “no light.” (Review where the items are and how pupils will access them.)
Distribute a LEGO® Education SPIKE™ Essential Set and a device to each group.
Explore
(Small Groups, 25 minutes)
As pupils work, consider sharing the examples below as support for building or programming.
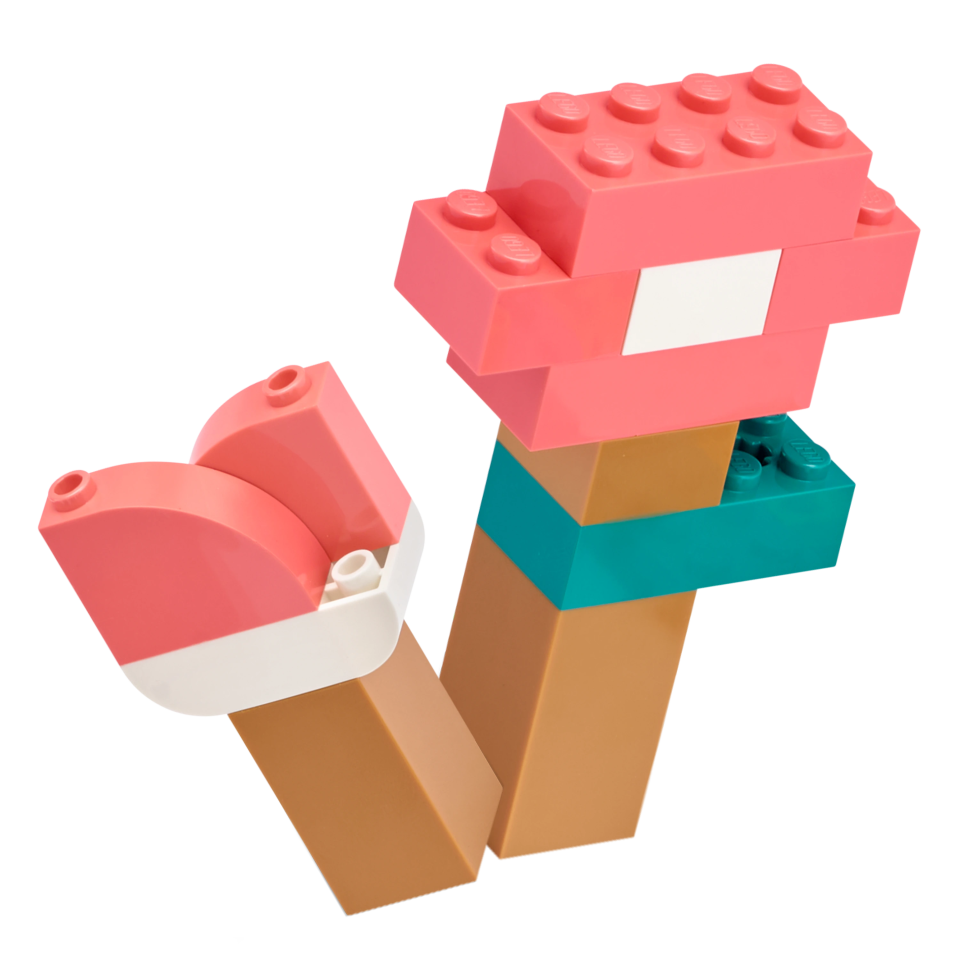
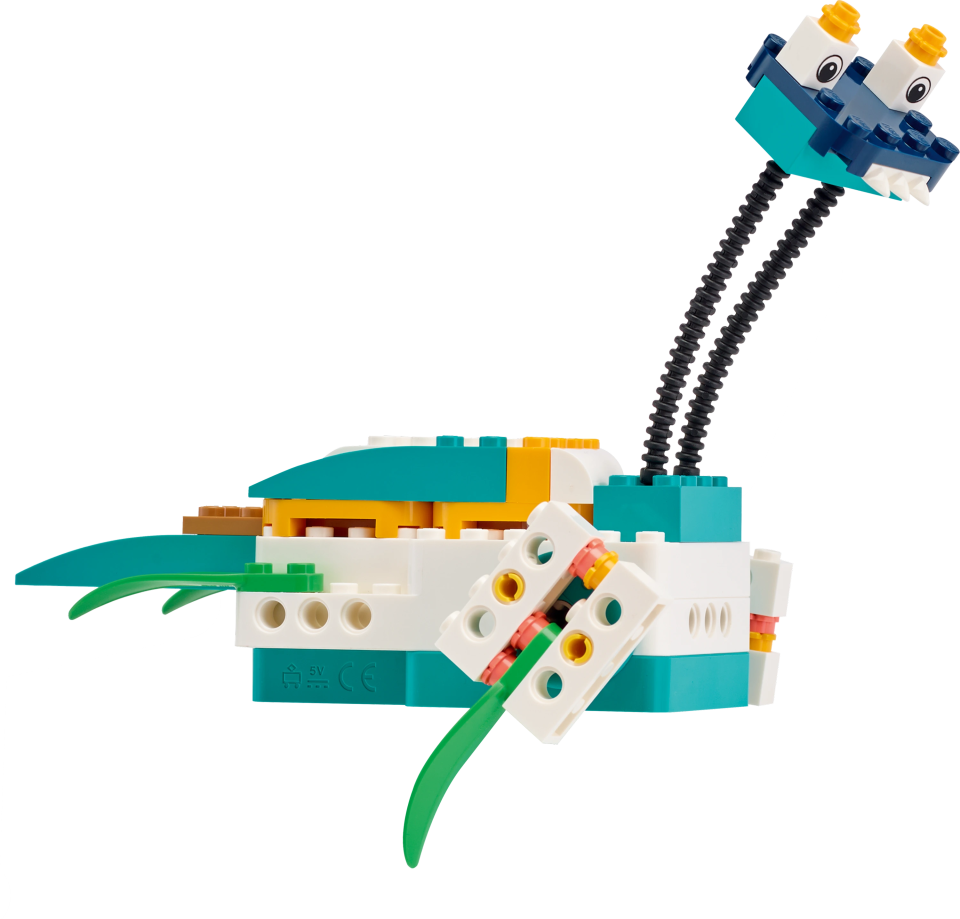
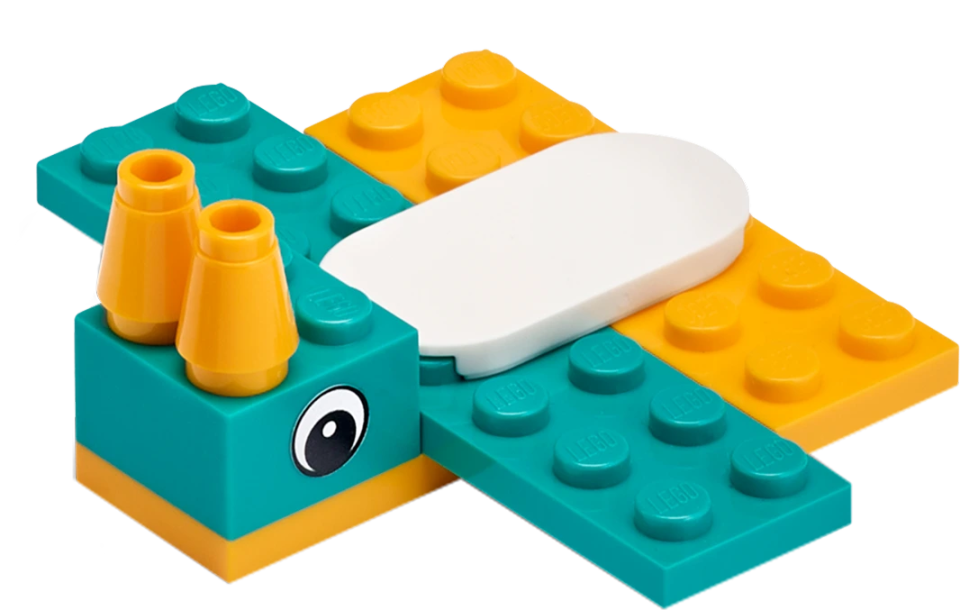
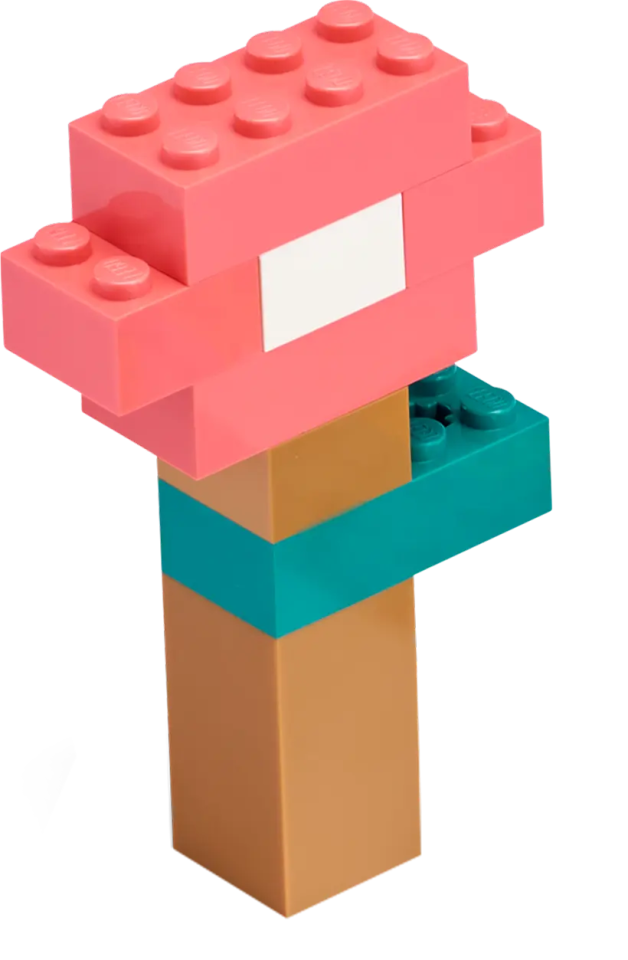
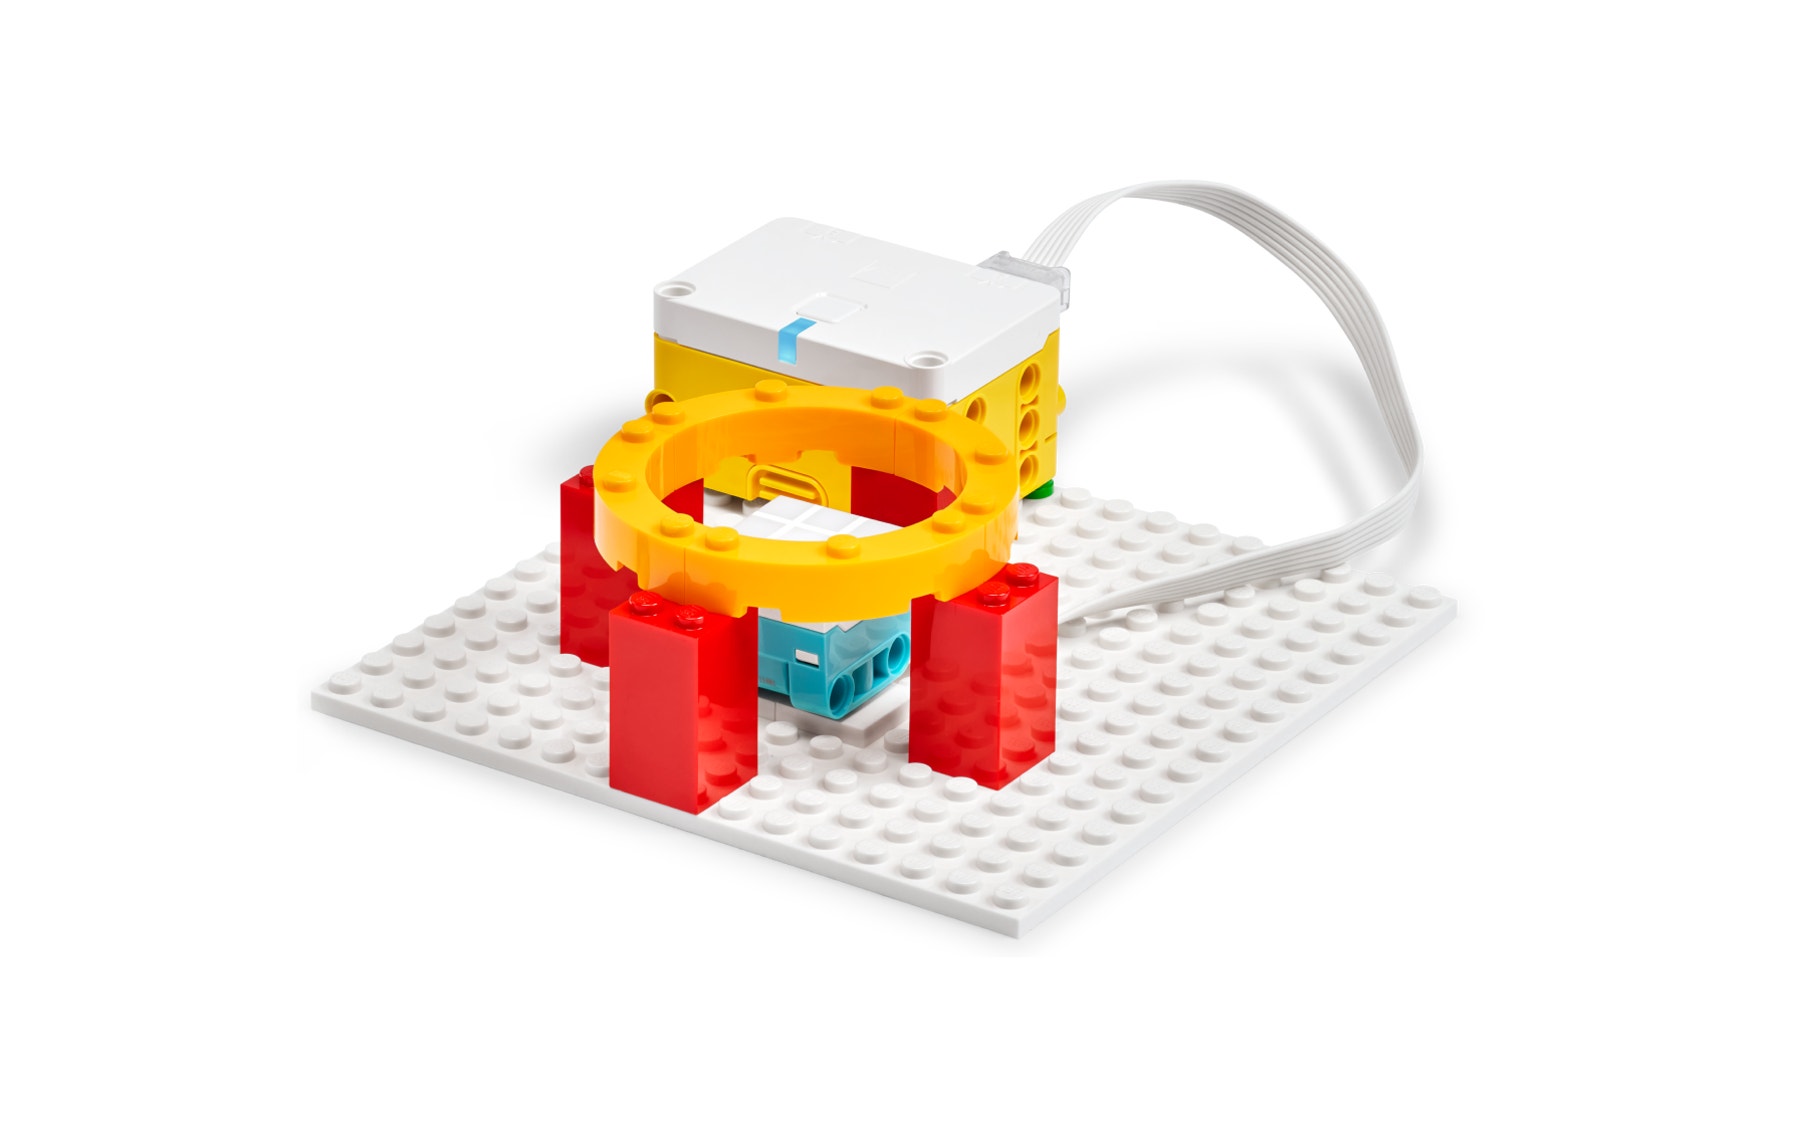
Clarify that the image(s) show possible solutions and pupils should build their own idea for a light source.
Have pupils work in pairs to:
- Use the base model to BUILD a light source to help Leo test items made of different materials.
- PROGRAM the model to light up.
- Plan a way to test how much light shines through their collection of items.
- Facilitate brainstorming about ways to use the Light Matrix. The yellow or white colour will help pupils conduct a good test. Support investigation plans with options for reviewing and sorting (See Prepare.)
Darken the room to show the light beam from the Light Matrix more easily. Have pupils work individually to test their selected items using the plan they made, including
- Examining their selected items.
- Checking their prediction (from Engage) of what would happen when a light beam hits each item.
- Placing each item in the path of the light beam.
- Describing how much light goes through each item, using the terms “all light”, “some light”, or “no light.”
Halfway through work time, have pupils exchange testing ideas using a familiar classroom routine and then update their plans with inspiration from sharing.
Example Ideas

Explain
(Whole Class, 10 minutes)
Gather pupils for sharing.
Have each group use their light model and test plan to demonstrate and explain:
- What items did they test and what materials were the items made of?
- Which materials let all light, some light or no light through?
- Which materials would work best to create shade on a sunny day? (Materials that let some light or no light through would make the best sunshade. Pupils may argue that shades that let no light through would make it too dark under the shade.)
- If the test plan worked or they had to change it.
If you wish to continue in Part B – Explain, have pupils keep their models intact or allow time for rebuilding.
PART B (45 minutes)
Explain
(Whole Class, 10 minutes)
- Repeat the steps from Part A – Explain to have additional groups demonstrate and explain their learning.
Elaborate
(Whole Class, 30 minutes)
(5 min) Share background to help pupils Elaborate: How could you decide if a material to make shade should let no light or some light through? Discuss how using a model could help.
(20 min) Have pupils build a model of a sandpit with a frame that can hold a piece of material over the box. Have them test groups of materials in the sunlight (outdoors or on a windowsill) and decide whether transparent (all light), translucent (some light) or opaque (no light) materials would work the best.
(5 min) Invite pupils to share knowledge, ideas or skills that:
- Helped them complete the challenge.
- They learned while building.
Have pupils clean up the sets and work areas.
Evaluate
(Whole Class, 5 minutes)
- Ask guiding questions to elicit pupils’ thinking and their decisions while developing ideas, building and programming.
Observation Checklist
- Review the key objectives (Teacher Support box).
- Use the checklist to observe pupils’ progress:
- They build a light device to test how well a light beam passes through different materials.
- Their investigation plan includes a way to examine, test and categorise the materials.
- Their description uses the test results to accurately classify the materials by how they affect light beams.
- They use evidence from their investigation to answer a question about creating shade on a sunny day.
Self-Assessment
Have each pupil choose the brick that they feel best represents their performance。
- Blue brick: I think I can follow instructions to create a program.
- Yellow brick: I can follow instructions to create a program.
- Green brick: I can follow instructions to create a program, and I can help a friend do it too.
Peer Feedback
In their small groups, have your pupils discuss their experiences working together.
Encourage them to use statements like these:
- I liked it when you…
- I’d like to hear more about how you…
Differentiation
Simplify this lesson by
- Reducing the number of materials to test and scaffolding the methods pupils use for sorting as needed.
Increase the difficulty by
- Having pupils add the Hub and sensors or motors to their Elaborate models to show and then test their model’s functionality under different lighting conditions (for example, on cloudy or rainy days).
Cross-curricular Learning
- Have pupils create one page of an illustrated book about how they and their families use transparent or translucent items. Collect the pages into a class book and have pupils collaborate to count and number the pages. Pupils may
include the LEGO® Minifigures if they wish.
If facilitated, this will extend beyond the 45-minute lesson.
Teacher Support
Pupils will:
- Plan and conduct an investigation to compare how different materials affect a beam of light.
- Use evidence from tests to answer a question about choosing a material for a sunshade.
(one for every two pupils)
- LEGO® Education SPIKE™ Essential Set
- Device with the LEGO Education SPIKE App installed
- See Prepare - Materials.
Year 2 Uses of everyday materials
Pupils should be taught to identify and compare the suitability of a variety of everyday materials for particular uses.
English cross curricular learning
Year 2 Writing (composition)
