Sort to Recycle
Design a device that sorts objects using their physical properties, including shape and size.
1. Preparation
(15-30 minutes)
• Read about the project so you have a good idea of what to do.
• Define how you want to introduce this project: Use the video provided in the project in the WeDo 2.0 Software, or use material of your own choice.
• Determine the end result of this project: the parameters to present and produce the document.
• Make sure that timing allows for expectations to be met.
Important
This project is a design brief. Please refer to the “WeDo 2.0 in Curriculum” chapter for further explanations of design practices.
2. Explore phase
(30-60 minutes)
The introductory video may set the stage for the following ideas to be reviewed and discussed with pupils for this project.
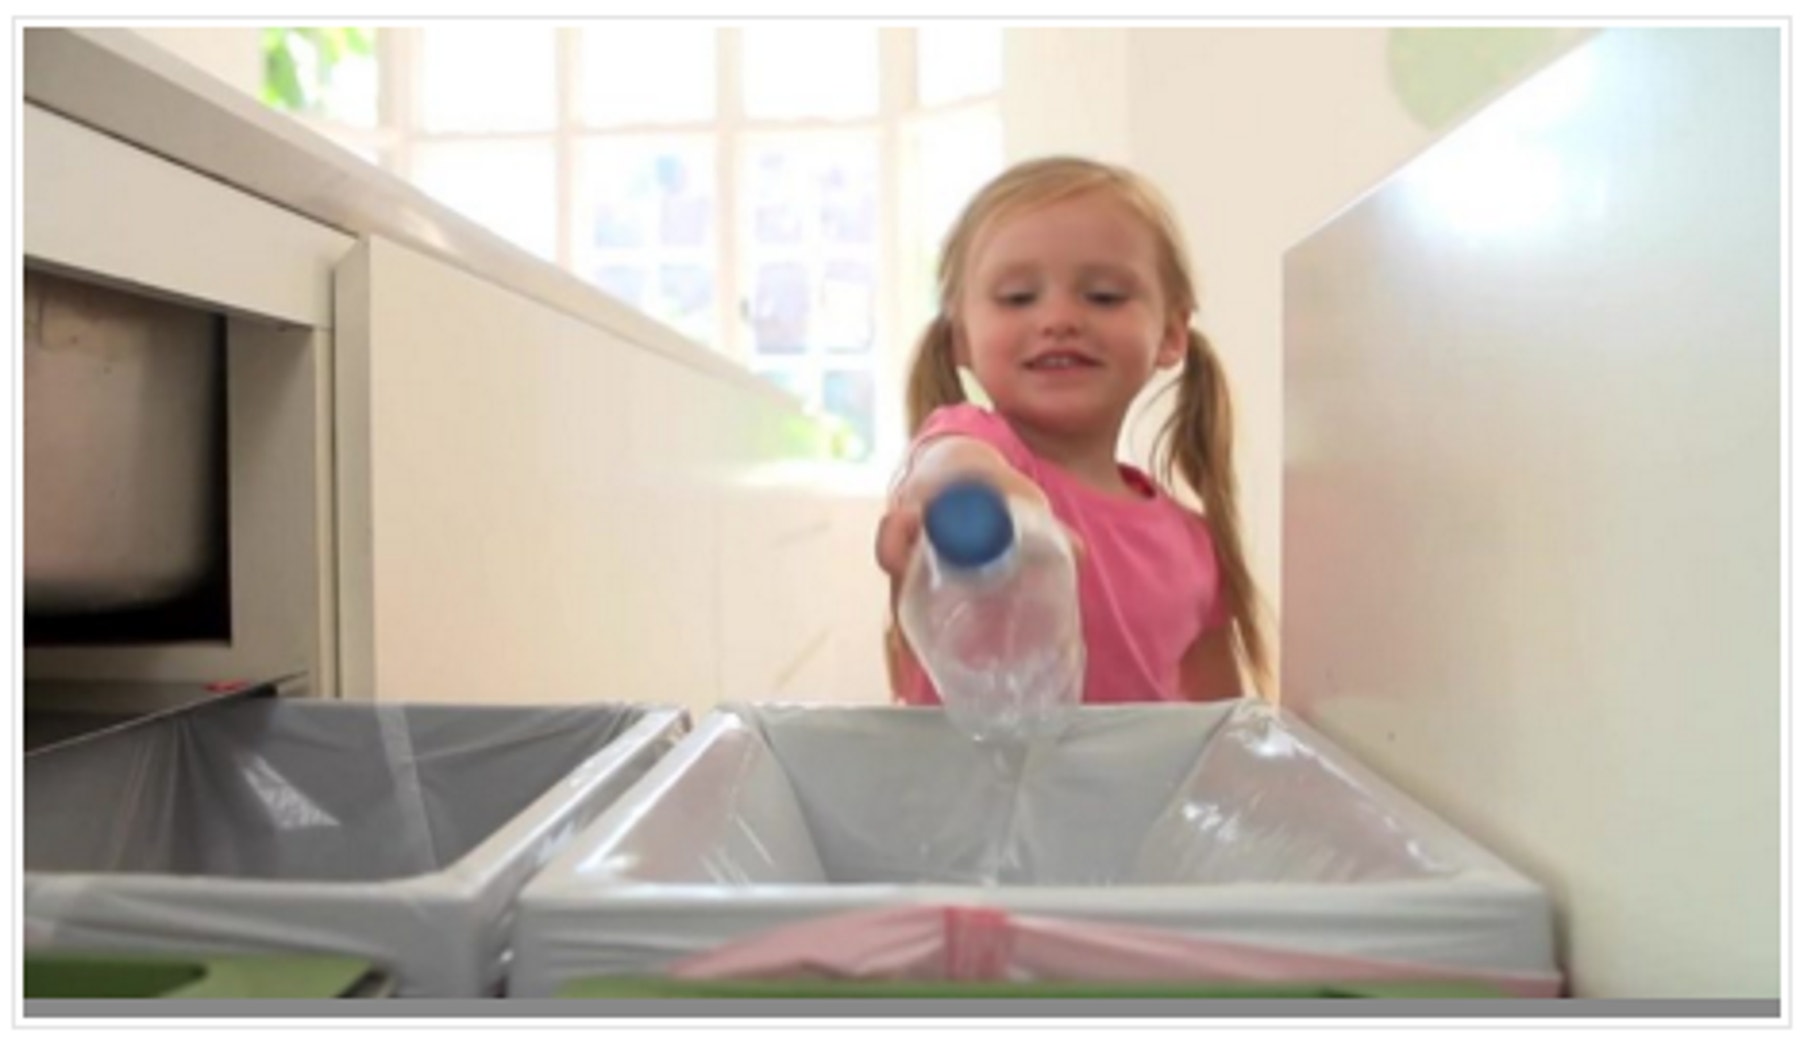
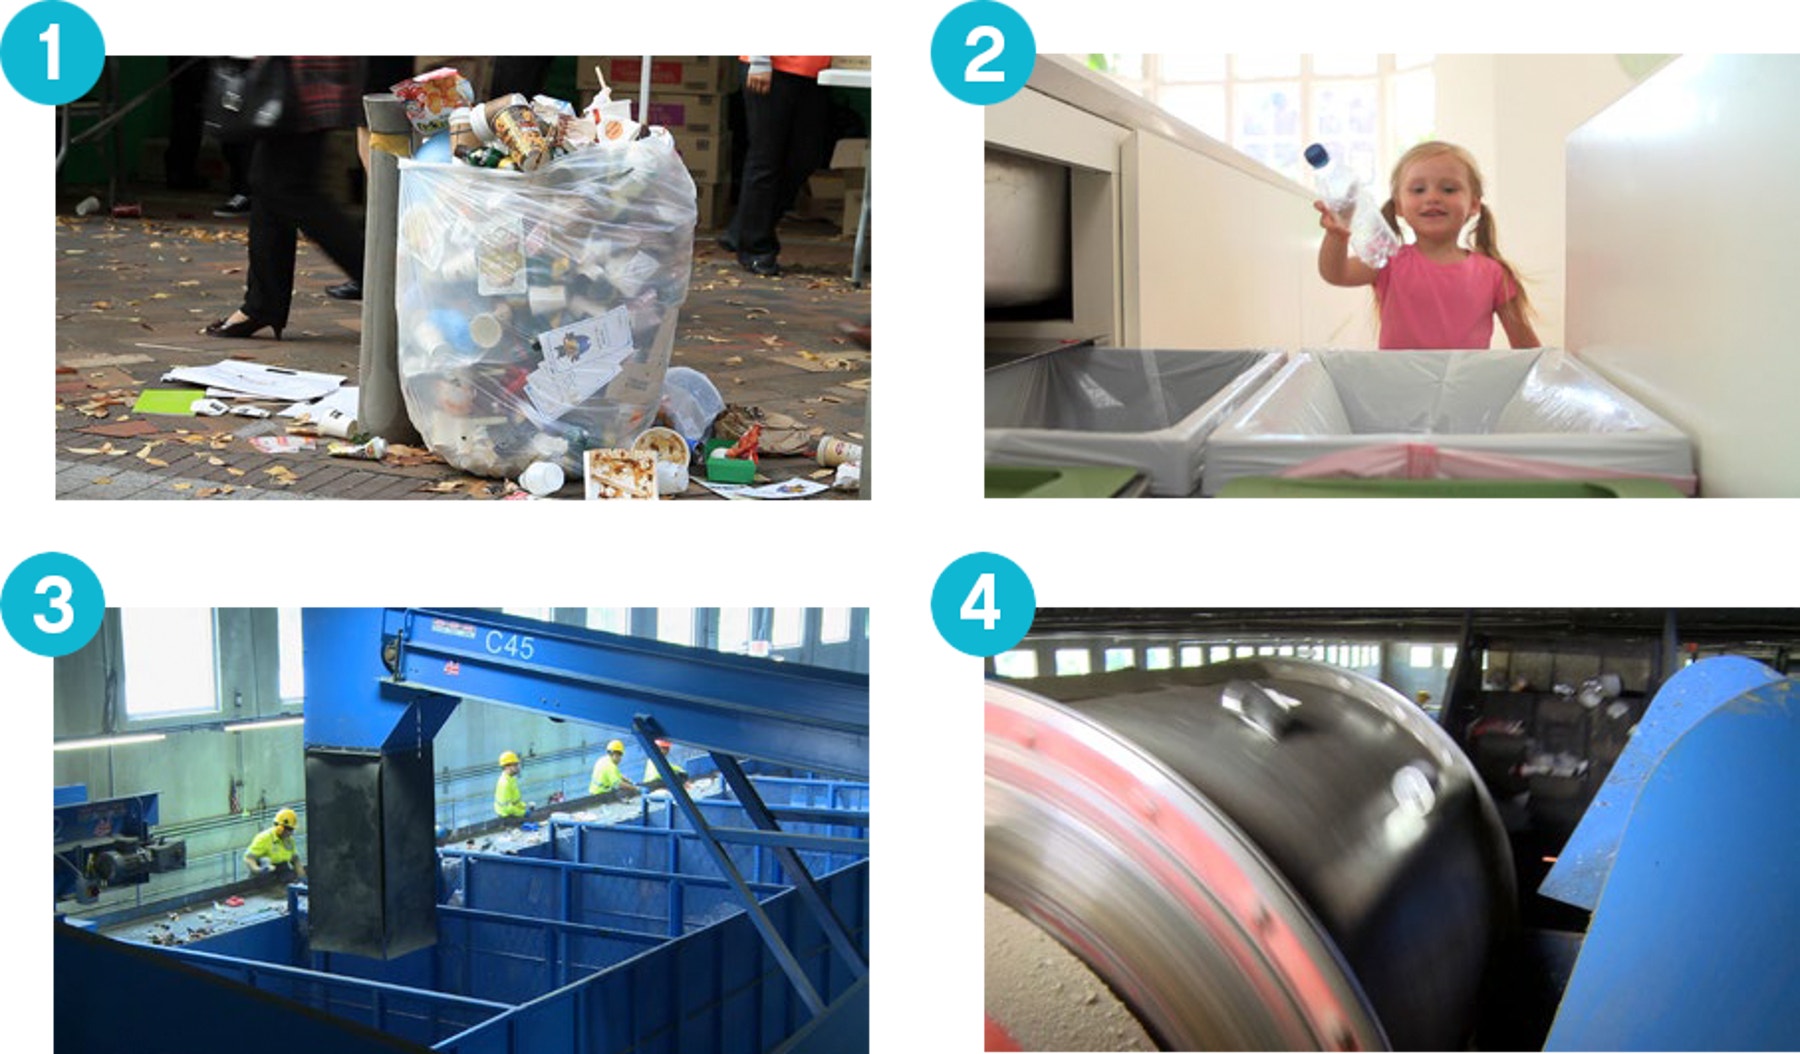
Introductory video
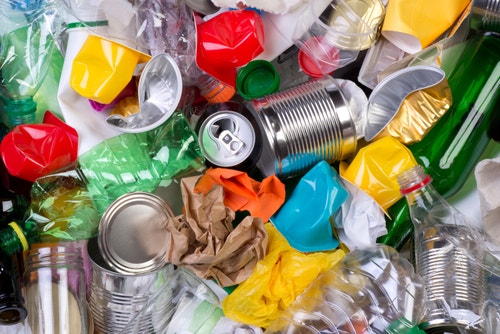
Recycling material is one of the biggest challenges of the 21st century. Recycling can give a second life to the waste materials. Encouraging more people to consistently recycle their waste is a challenge. One way to encourage more widespread recycling is to increase the efficiency of sorting methods:
- People must adopt behaviour that leads to a reduction in the disposal of waste.
- Recyclable materials should be sorted at the beginning of the recycling process, instead of being mixed together and sent to recycling centres.
- People or machines can separate waste according to its kind: paper, plastic, metal, or glass.
- When a machine is used to sort objects, it needs to use one of the objects physical characteristics, such as weight, size, shape, or even its magnetic properties.
Questions for discussion
1.What does it mean to recycle?
Recycling is a process for converting waste materials into something new. Commonly recycled items include paper, plastic, and glass.
2.How are recyclable materials sorted in your area?
Discuss whether the materials are sorted by hand or machine, together with your pupils. Ask the pupils if they sort waste items for recycling at home.
3.Imagine a device that can sort waste according to its shape.
The answer to this question will guide pupils to the design process.
4.Where does your recycling material go?
The answer to this question will be different according to your location, but most likely, materials will go to the local recycling facility. Non-recyclable material will go to a different location, such as a landfill or an incinerator.
Ask your pupils to answer with text or pictures using the Documentation tool.
3. Create phase
(45-60 Minutes)
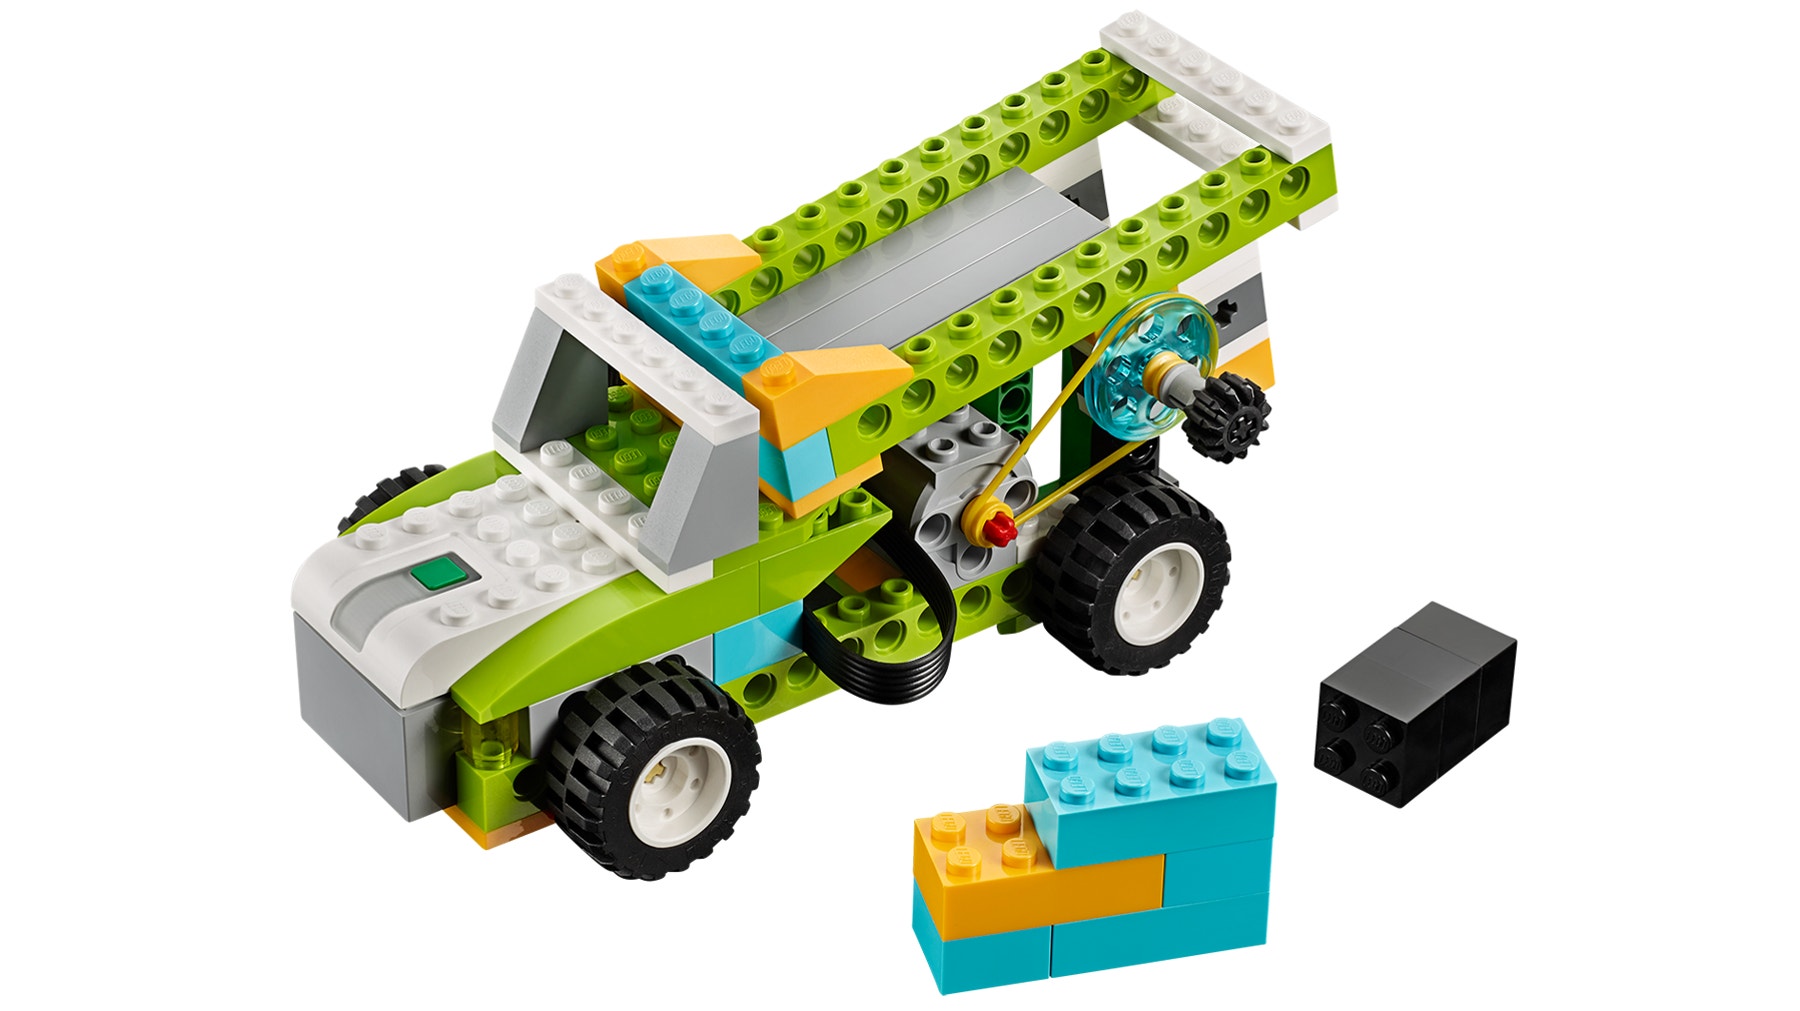
Build and program a truck to sort recyclable objects
Pupils will follow the building instructions to create a sorting truck and the recyclable objects.
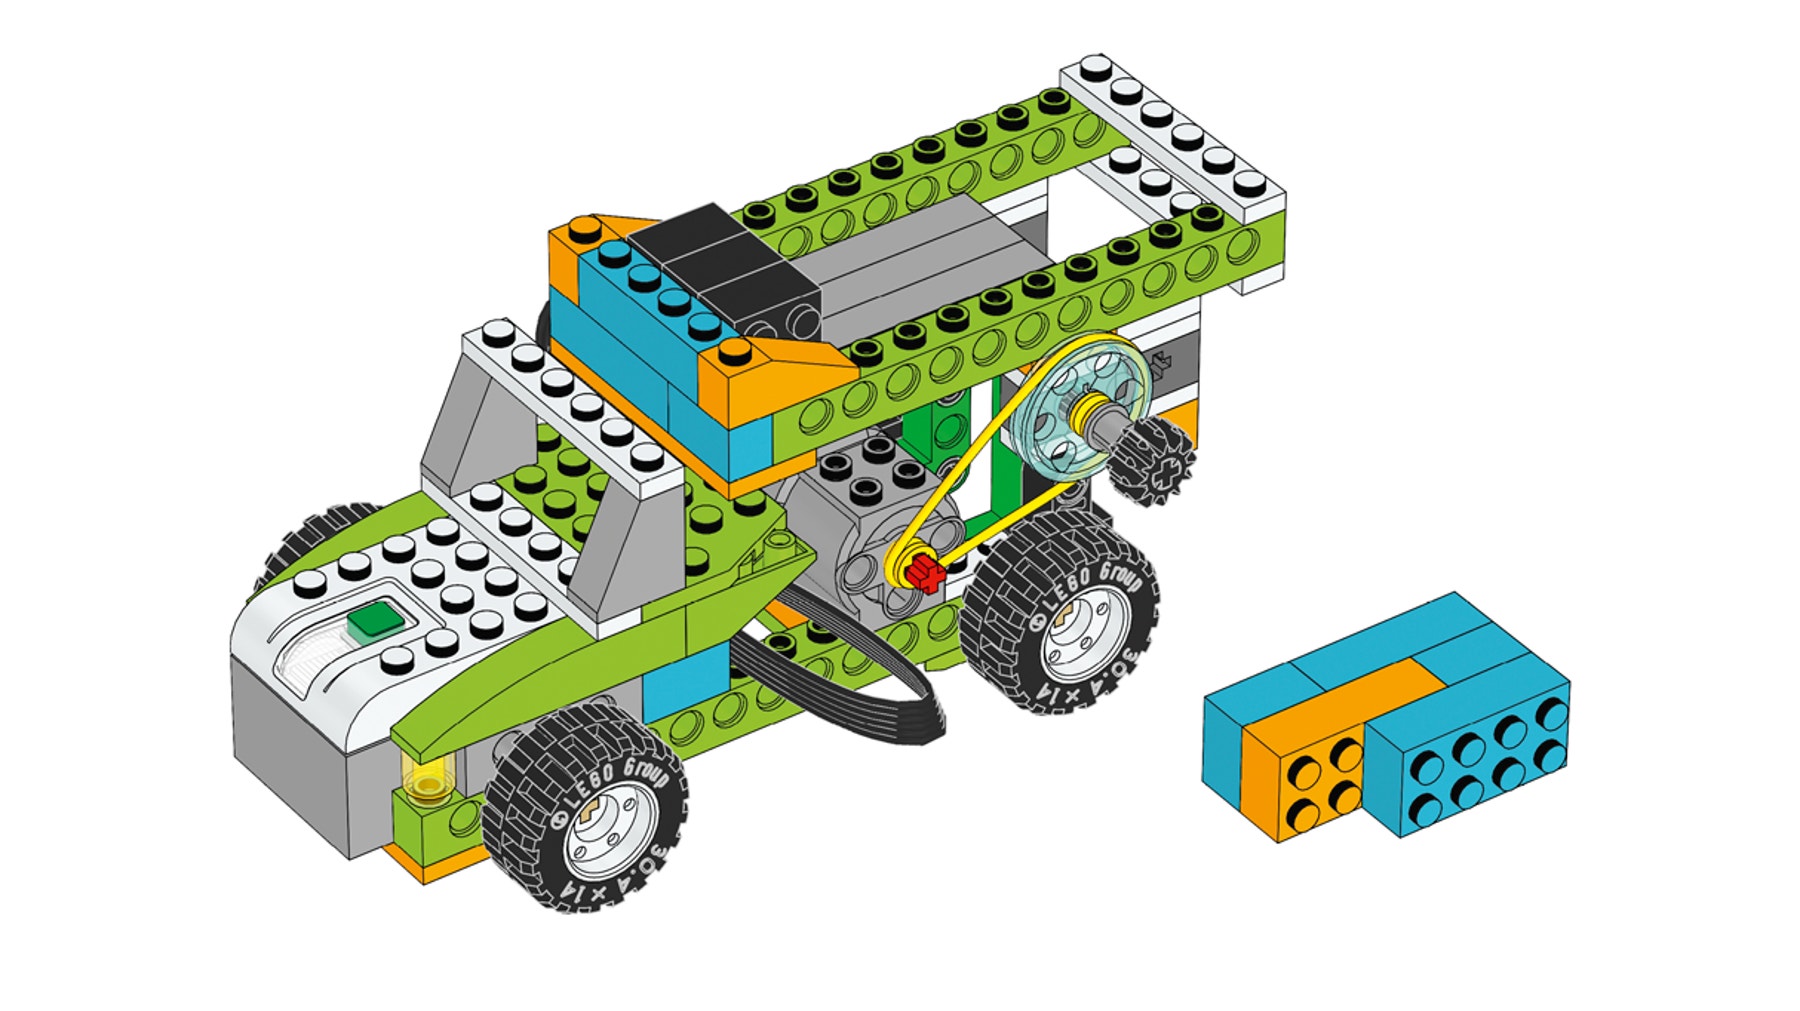
1. Build a sorting truck.
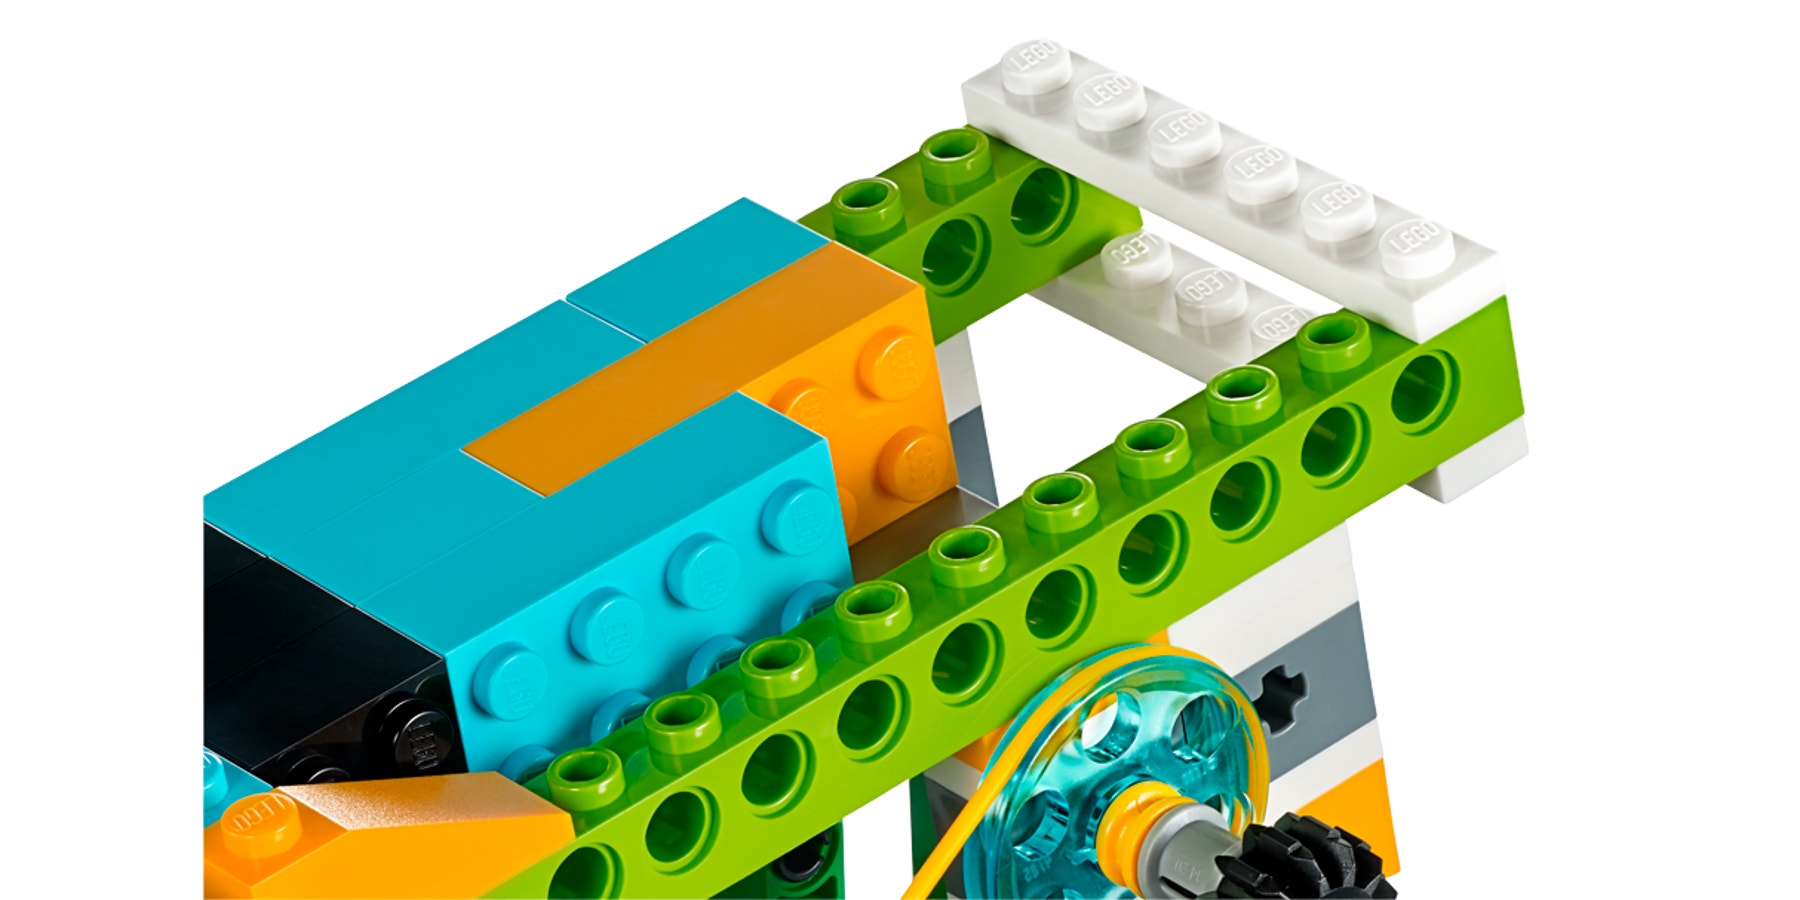
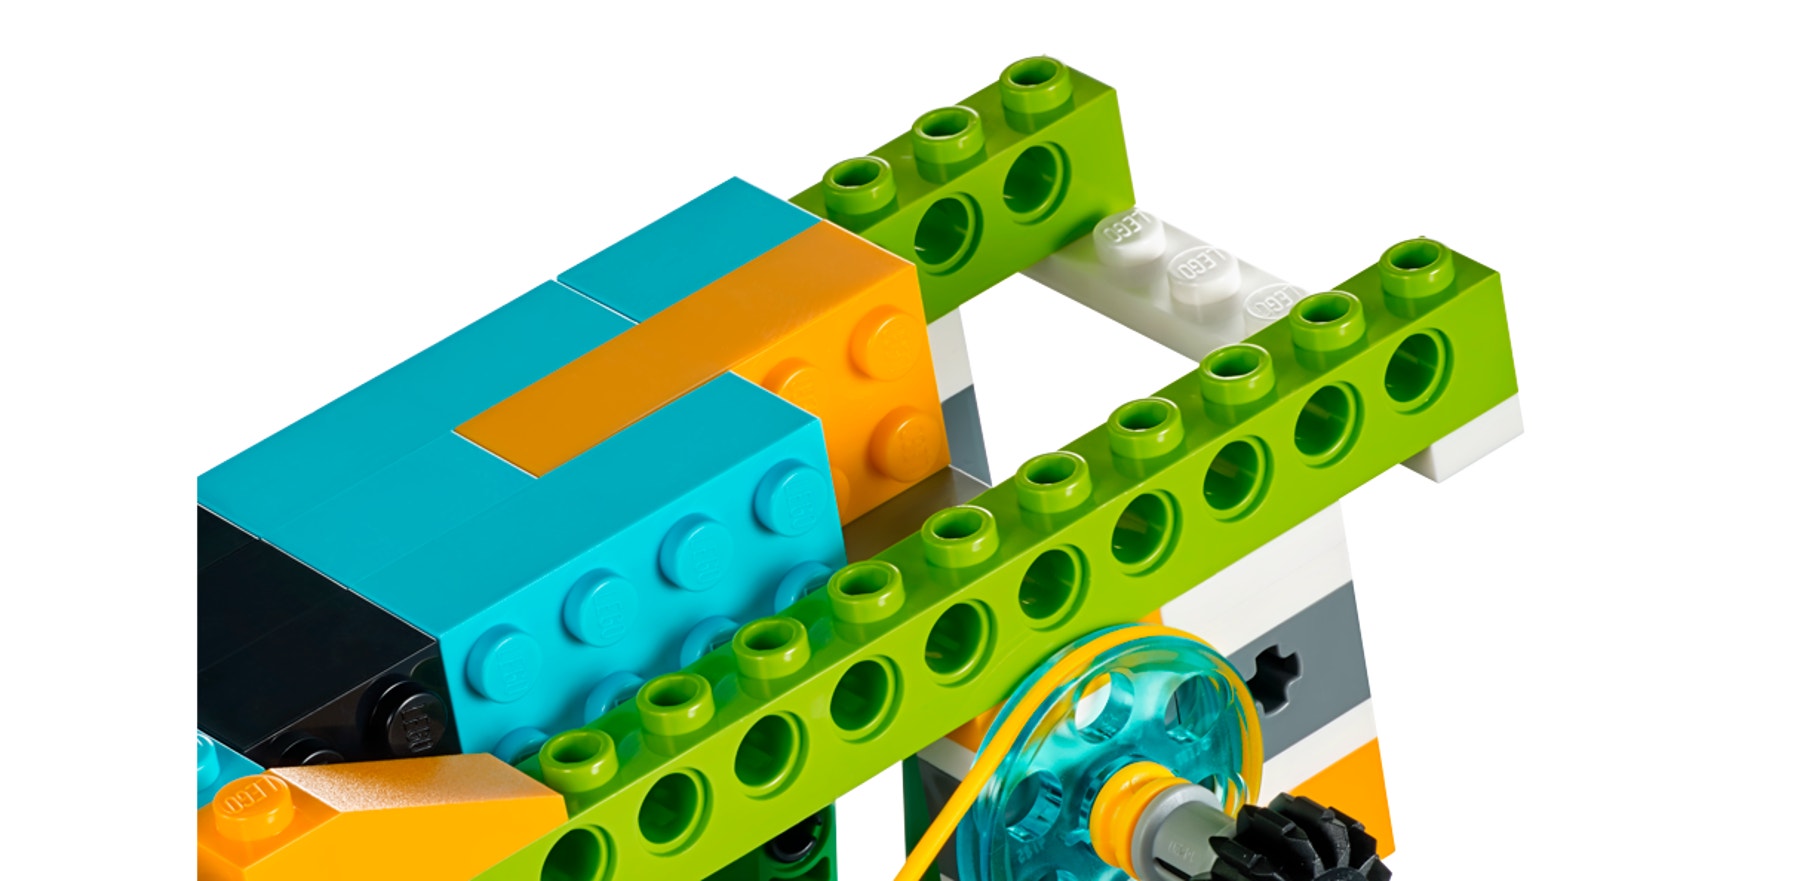
The model used in this project uses a pulley system to flip the truck load on an axis. At first, both parts should be able to pass through, even though they are different shapes. Later, pupils will be challenged to modify the design so that the objects are sorted by size.
2. Program the truck bed.
This program will turn the motor on in one direction for 1 second to make sure that the bed is at its reset position. It will wait 3 seconds for the boxes to be loaded by the pupil, play an engine sound, and then flip the bed to drop the boxes.

Important
Pupils may have to adjust the power level of the motor in order for this program to work. The power efficiency of the motors can vary.
Suggestion
Before your pupils begin their investigations, ask them to adjust the parameters of the program so that they fully understand it.
Design another solution
From this model, pupils should be able to change the design of the truck load to sort the boxes into two different groups according to their shape. Allow the pupils a lot of flexibility. There are simple and more complex solutions to this problem that may involve changes to the design of the sorter, the program, or a combination of both.
Solution ideas
1. Modify the truck to sort the boxes.
By removing the LEGO® back plate of the truck, one box should be able to fall into the first hole while the other box slides off the back, due to its shape. Other designs may work just as well.
2. Use the Motion Sensor to sort.
By placing the Motion Sensor on the side of the load in the proper position and by creating the right program, the sensor can detect objects based on size.
3. Sort the boxes outside the truck.
This solution would require building something else in addition to, or instead of, the truck. The boxes can be delivered to the factory and sorted in another way.
Important
It is important to note that pupils’ models will vary according to their individual choices, there are no building instructions or sample programs provided to pupils for this part of the project.
Design further solutions (optional, 45-60 minutes)
Use the “Design further solutions” section of the pupil project as an optional extension. Keep in mind that these tasks are an extension of the “Use the model” section and are designed for older or more advanced pupils.
Ask pupils to design a third object to sort. In order to sort items, pupils will probably have to move away from the truck model and design another type of device:
- Sort the objects using a conveyor belt.
- Sort the objects using a robot arm.
- Sort the objects using two different devices.
Note, it is not essential that the device works perfectly, or that the pupils find a successful solution. It is more important that the reasoning behind the sorting principles are well articulated as pupils apply principles of engineering design.
Collaboration suggestion
If you group teams together, pupils will get more options to create sorting strategies. You could ask one team to sort the objects and then ask the second team to sort them further. For example, the first team could sort small objects from the medium and large ones. The second team would then sort the medium from the large.
4. Share phase
(45+ minutes)
Complete the document
Ask the pupils to document their project in several ways:
• Ask the pupils to take photographs of each version they create and ask them to
explain the most successful solution or the one with the most potential.
• Ask the teams of pupils to compare and contrast their designs with each other.
• Ask the pupils to document how the objects could be sorted by shape, and how
the shape of each object was important to the solution.
Present results
Pupils should describe how their solutions sorts objects according to their shape.
To enhance pupils’ presentations:
• Ask the pupils to present how they worked toward solving this problem.
• Ask them to explain the challenges they encountered and how they worked to
modify their designs and programs as a result.
• Ask them to describe the context around their explanation.
• Discuss if this solution could be applied in real life.
Project assessment
Scientific understanding assessment rubrics
You can use these assessment rubrics with the observation rubrics grid, which you will find in the “Assess with WeDo 2.0” chapter.
Explore phase
During the Explore phase, make sure that each pupil is actively involved in the discussion, asks and answers questions, and can explain how the properties of an object help them to sort it.
- The pupil is unable to provide adequate answers to questions, participate in discussions, or adequately describe the properties of the object and how it can be sorted.
- The pupil is able, with prompting, to provide adequate answers to questions, participate in discussions, or with help, describe the properties of the object and how it can be sorted.
- The pupil is able to provide adequate answers to questions and participate in class discussions, and can describe the properties of the object and how it can be sorted.
- The pupil is able to extend on explanations in discussions and describe the properties of the object and how it can be sorted.
Create phase
During the Create phase, make sure that each pupil can work as part of a team, demonstrates the use of the engineering design process, and gathers and uses information to solve problems.
- The pupil is unable to work as part of a team to solve problems and does not demonstrate the ability to use the engineering design process to solve problems.
- The pupil is able to work as part of a team to solve problems, or with help can demonstrate the use of the engineering design process to gather and use information to solve problems.
- The pupil is able to work as part of a team to solve problems, and can demonstrate the use of the engineering design process to gather and use information to solve problems.
- The pupil works as a team leader, is able to extend the use of engineering design and can gather and use information to solve problems in many ways.
Share phase
During the Share phase, make sure that each pupil can explain how they solved the problem and that they communicate how they used the size of objects to sort them.
- The pupil does not explain how he/she solved the problem and does not communicate how he/she sorted the objects by size.
- The pupil can partially explain how he/she solved the problem and communicates, with prompting, some ideas on how he/she sorted objects by size.
- The pupil can explain adequately how he/she solved the problem and communicates how he/she sorted objects by size.
- The pupil can explain, in detail, how he/she solved the problem and communicates very clearly and thoroughly how he/she sorted objects by size.
Presentation and problem-solving assessment rubrics
You can use these assessment rubrics with the observation rubrics grid, which you will find in the “Assess with WeDo 2.0” chapter.
Explore phase
During the Explore phase, make sure that each pupil can effectively explain his/her own ideas and comprehension related to the questions posed.
- The pupil is unable to share his/her ideas related to the questions posed during the Explore phase.
- The pupil is able, with prompting, to share his/her ideas related to the questions posed during the Explore phase.
- The pupil adequately expresses his/her ideas related to the questions posed during the Explore phase.
- The pupil uses details to extend explanations of his/her ideas related to the questions posed during the Explore phase.
Create phase
During the Create phase, make sure that each pupil makes appropriate choices (i.e., screenshot, image, video, text) and follows the established expectations for documenting their findings.
- The pupil fails to document findings throughout the investigation.
- The pupil documents his/her findings, but the documentation is incomplete or does not comply with all of the established expectations.
- The pupil adequately documents findings for each part of the investigation and makes appropriate choices and selections.
- The pupil uses a variety of appropriate methods for documentation and exceeds the established expectations.
Share phase
During the Share phase, make sure that each pupil uses the evidence that they athered during their investigations to justify their reasoning, and that they adhere o established guidelines when presenting their findings to an audience.
- The pupil does not use evidence from his/her findings when sharing ideas uring the presentation. The pupil does not follow the established guidelines.
- The pupil uses some evidence from his/her findings, but the justification is imited. In general, established guidelines are followed, but may be lacking in ne or more areas.
- The pupil adequately provides evidence to justify his/her find ings and follows stablished guidelines for presenting.
- The pupil fully discusses his/her findings and thoroughly utilises appropriate vidence to justify his/her reasoning, while following all established guidelines.
5. Differentiation
To ensure success, consider giving more guidance on building and programming, such as:
• Allow more time for pupils to understand how the first prototype works.
• Allow them time to create more than one prototype.
• Explain engineering-based design.
Be specific about how you would like them to present and document their findings. For example, a team sharing session.
Design further solutions
For more experienced pupils, you may want to allocate extra time for building and programming to allow them to create different types of devices that sort according to other properties beyond shape. Ask them to use the design process to explain all of the versions they make.
Pupils’ misconceptions
Pupils will often confuse weight, mass, and volume. They will make the correlation that the heavier an object is, the bigger it is. They will also fail to connect gravity to the content. Be sure to formulate equations in the areas of weight, mass, and volume.
Teacher Support
Pupils will:
- Explore how better sorting methods for recycling can aid in cutting back the amount of waste that is discarded.
- Create and program a device that will sort recyclables according to their size and shape.
- Present and document the solution you have developed.
LEGO® Education WeDo 2.0 Core Set
WeDo 2.0 Software or Programming App


