マイロのチルトセンサー
主な目標
このプロジェクトの内容:
• チルトセンサーを使って、マイロのメッセージ送信アーム を組み立てて、プログラミングする。
• マイロと拠点とのやり取りを記録する。
![milo-tilt-sensor](https://assets.education.lego.com/v3/assets/blt293eea581807678a/blt7f1fcd3f07844bcb/5ebe64da2a79326d92da759b/milo-tilt-sensor.jpg?locale=ja-jp&auto=webp&format=jpeg&width=1800&quality=90&fit=bounds)
1. 調べる
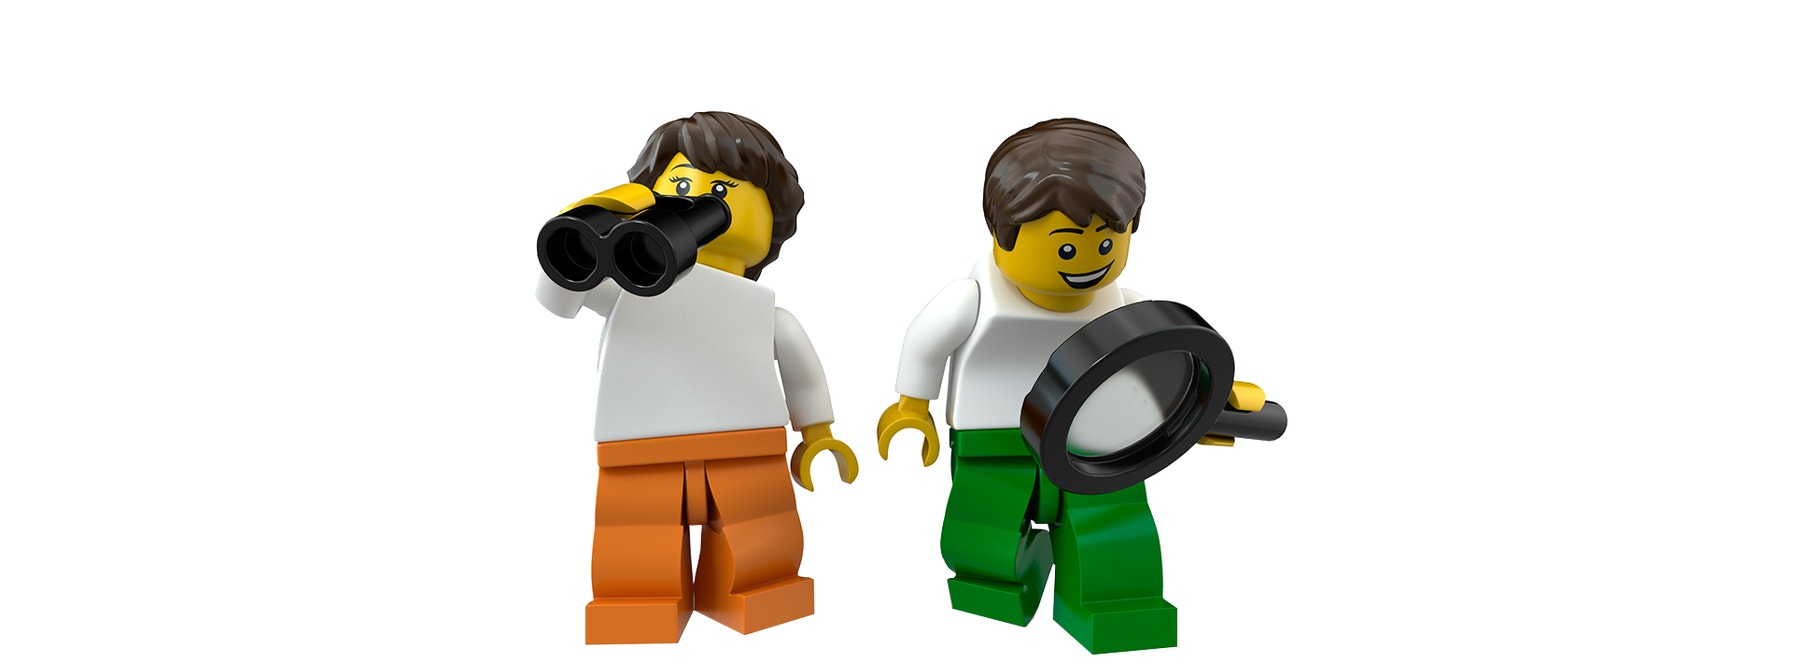
マックスとミアは、マイロが発見した事柄についてメッセージを送ってくれるのを待っています。
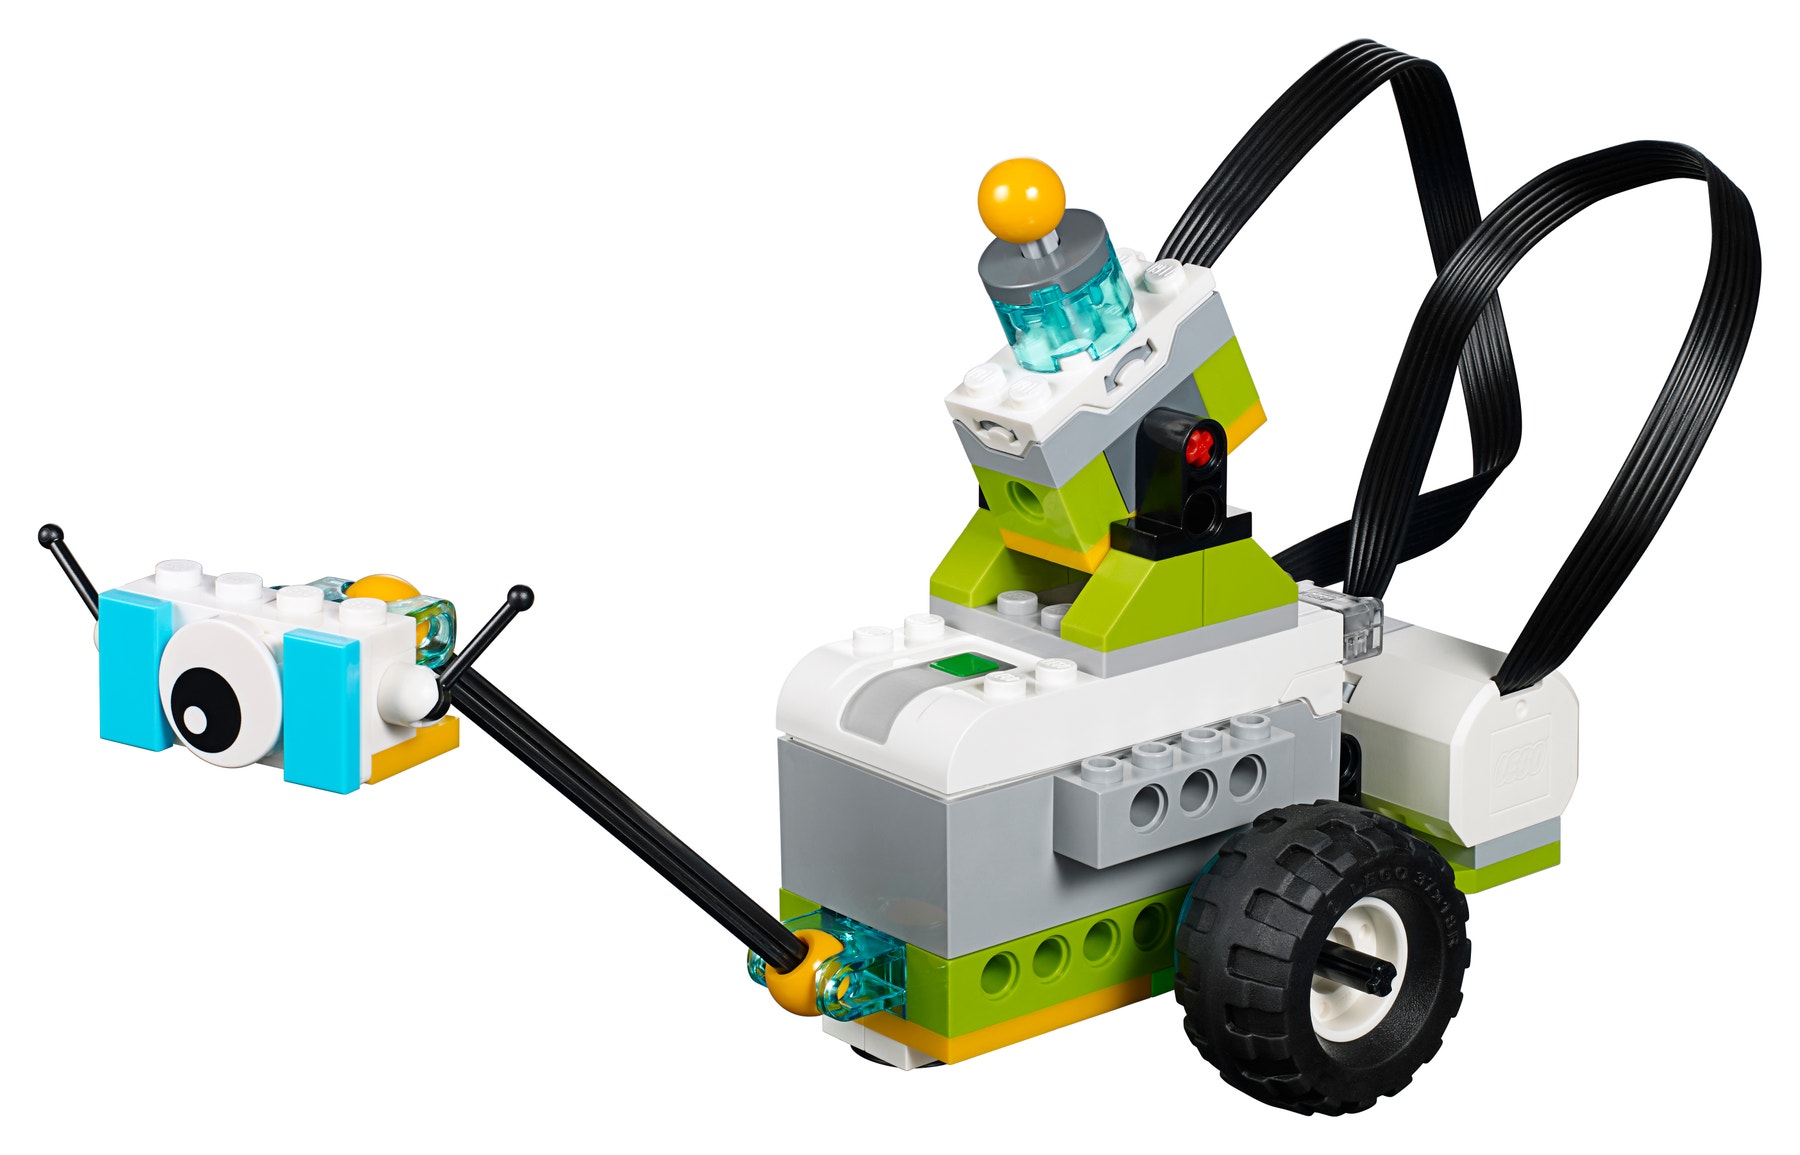
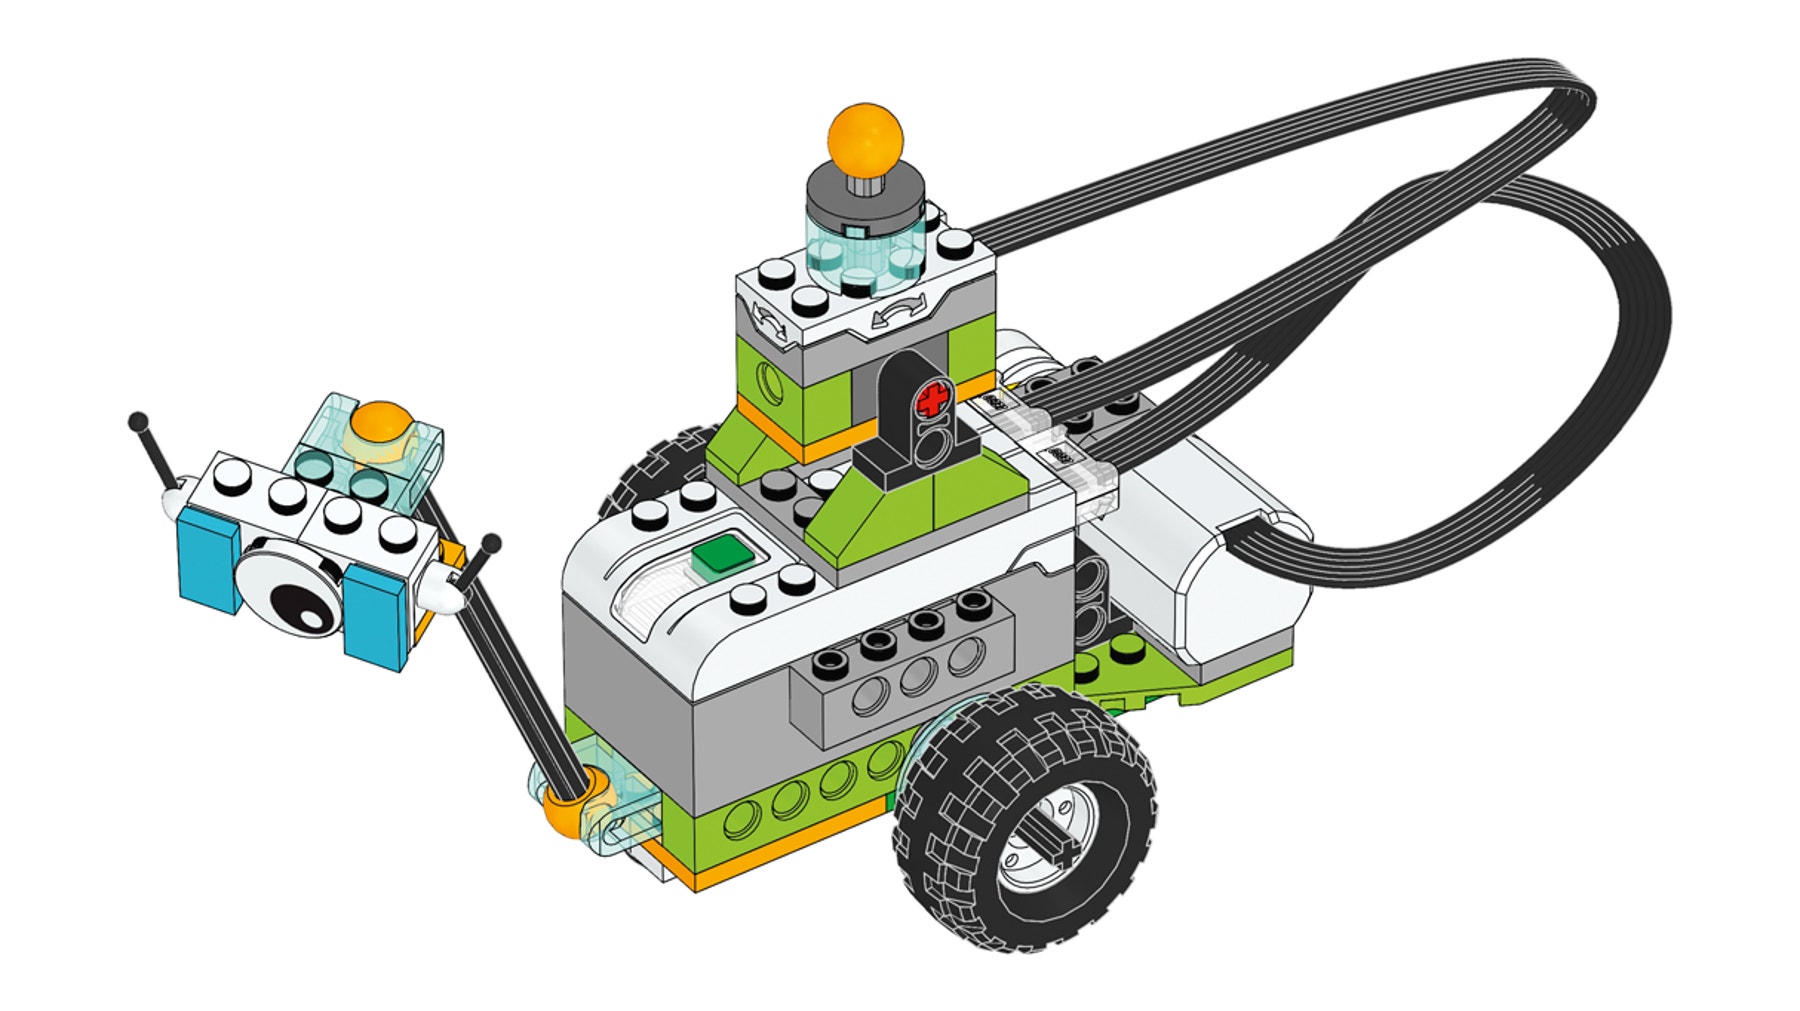
![explore](https://assets.education.lego.com/v3/assets/blt293eea581807678a/blt36e628dafa951e81/5ebe6432a7506f408a57cf1b/explore.png?locale=ja-jp&auto=webp&format=jpeg&width=1800&quality=90&fit=bounds)
2. 組み立てる
ブロックを使う:
科学探査機マイロが発見を報告できるよう、メッセージ送信アームを作りましょう
![milo-c-thumbnail](https://assets.education.lego.com/v3/assets/blt293eea581807678a/blt580ea4b88a9353bf/5ebe5dc11d6a876d93f41be0/milo-c-thumbnail.png?locale=ja-jp&auto=webp&format=jpeg&width=1800&quality=90&fit=bounds)
![milo-c-instructions-preview](https://assets.education.lego.com/v3/assets/blt293eea581807678a/blt01ec535f9a7c6f4e/5fc4cc3609ed4c6f277f14c0/milo-c-instructions-preview-c6a744b14863e07aa95c721f3c70594e.png?locale=ja-jp&auto=webp&format=jpeg&width=1800&quality=90&fit=bounds)
スマートハブの電源を入れ、デバイスに接続します。やり方がわからない場合はビデオを見てください。
ヒントが必要な場合はヘルプパネルを見てください。
植物サンプルを見つけたことを伝えるメッセージを送信できるよう、マイロをプログラミングします。
![getting-started-c-program](https://assets.education.lego.com/v3/assets/blt293eea581807678a/blt5041759182dac187/5ebe5dbc47b43755bb89fc9c/getting-started-c-program.png?locale=ja-jp&auto=webp&format=jpeg&width=1800&quality=90&fit=bounds)
3. 発表する
マイロのプログラムのスクリーンキャプチャをとりましょう。
プログラムを実行すると何が起きるか記録します。
![photograph](https://assets.education.lego.com/v3/assets/blt293eea581807678a/blt41b654080deab5c6/5ebe64b1b112c256a78f3417/photograph.png?locale=ja-jp&auto=webp&format=jpeg&width=1800&quality=90&fit=bounds)