Geluidsmachine

1. Introduction and Discussion
Hand out the Student Worksheets and allow the students to interpret the activity themselves, or read the Maker "Connect” text aloud to set the scene.
2. Defining the Problem
As students look at the “connect” images and questions, facilitate a discussion to steer them toward a problem or new design opportunity. Once they have decided upon a problem to solve, ensure that they record this in some way. They can use the worksheet to help structure their project documentation, or use their own preferred method to record their design journey.
3. Brainstorm
Students should initially work independently, spending three minutes to generate as many ideas as they can to solve the problem. They can use the bricks from the LEGO set during the brainstorming process, or sketch out their ideas in the space provided on the worksheet.
It is important for students to spend time tinkering with the LEGO® bricks in order to generate ideas. The goal of tinkering is to explore as many solutions as possible. You can use the tinkering examples at the end of these materials for inspiration, or as a means for getting started.
Students can now take turns sharing their ideas within their groups. Once all of the ideas have been shared, each group should select the best idea(s) to make. Be prepared to help facilitate this process, ensuring that the students choose an idea that is possible to make. Encourage diversity, not all groups have to make the same thing.
Tinkering Examples
Some students may need a little inspiration and scaffolding to help them get started. Students can remix an existing model, or invent a new design. For support, find Additional Teacher's Notes here.
Note: You are advised not to share these images with students.
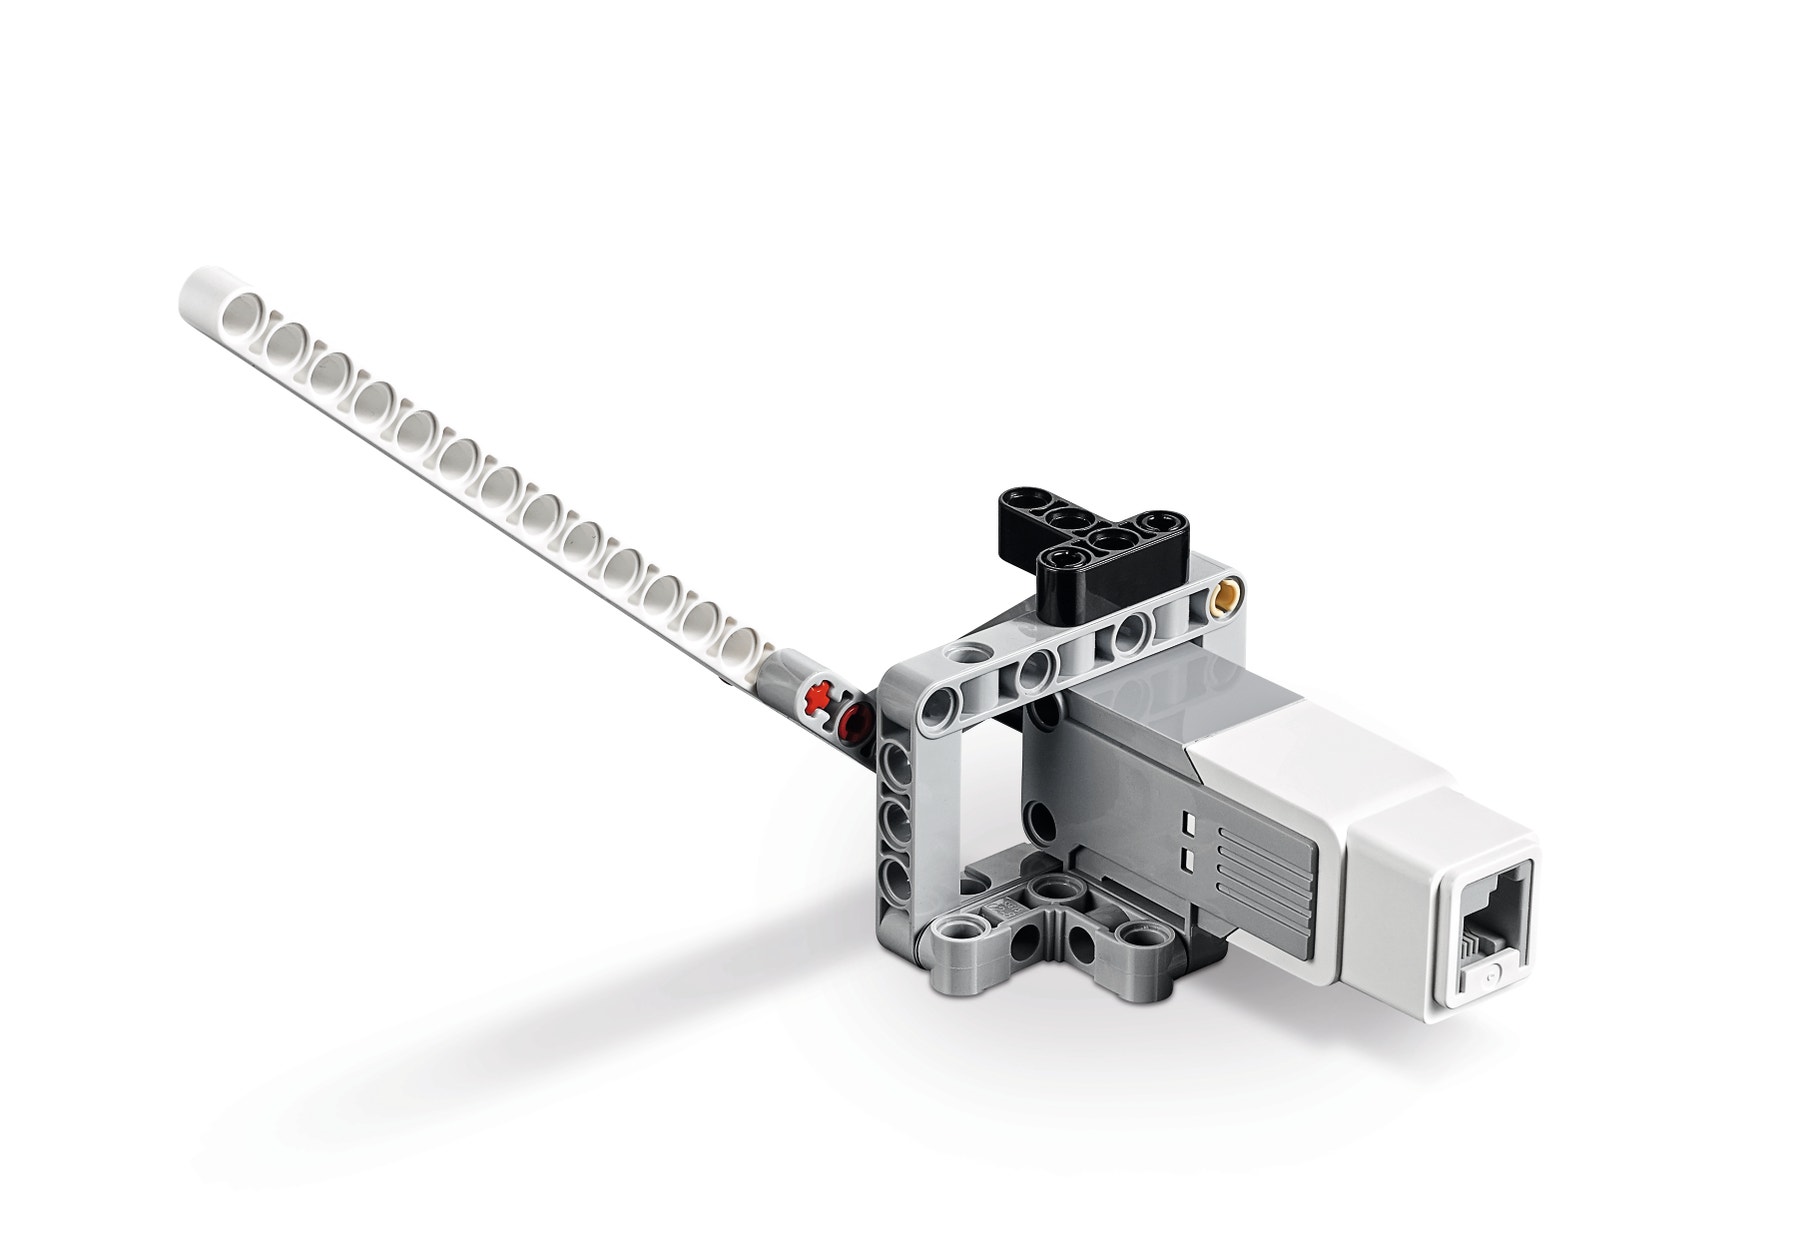
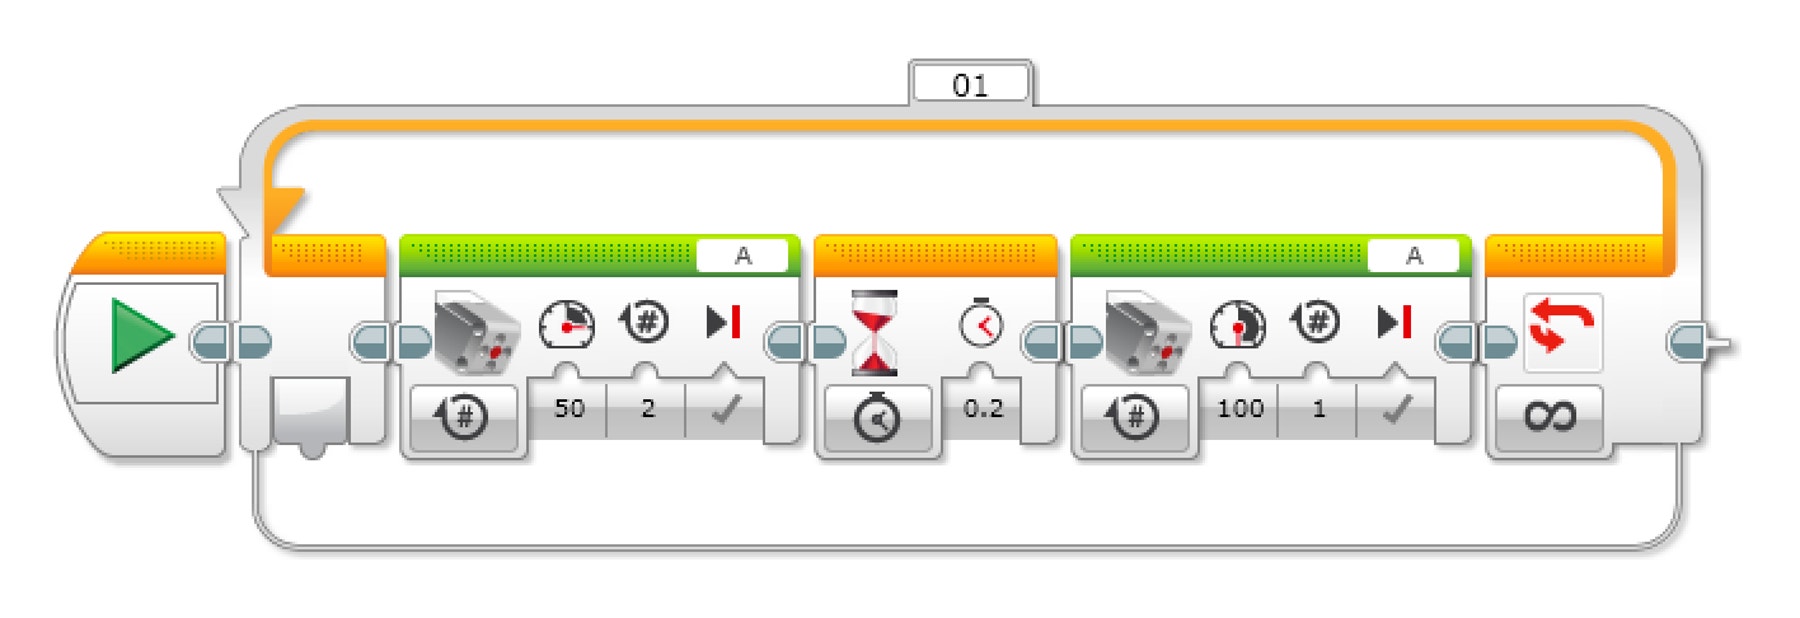
POSSIBLE SOLUTION


4. Define the Design Criteria
Students should record up to three design criteria on their worksheets. They will refer to this again as they review and revise their solutions.
5. Go Make
Now the students will make one of their group’s ideas using the LEGO MINDSTORMS® Education EV3 Core Set, and other materials as needed.
Reinforce that students do not have to come up with the whole solution from the start.
During the making process, remind students to test and analyze their idea as they go, making improvements where necessary. If you want students to submit their documentation at the end of the lesson, ensure that they use sketches and photos of their models to record their design journey during the making stage of the lesson.
6. Review and Revise Your Solution
Students will test and evaluate their designs against the design criteria they recorded before they started making their solutions. They can record notes on their Student Worksheets.
7. Communicate Your Solution
Allow time for each student or student group to present what they have made to the class. A good way to do this is to set out a table large enough to display all of the models. If time is short, pair off the groups and have them present to each other.
8. Assessment
Students will use the Student Worksheet assessment rubric to evaluate their design work according to the learning goals. Each rubric includes four levels: Bronze, Silver, Gold, and Platinum. The intention of the rubric is to help students reflect on what they have done well in relation to the learning goals and what they could have done better. Each rubric can be linked to engineering-related learning goals from the NGSS.
9. Tidy Up
Ensure that you leave approximately 10-15 minutes at the end of the lesson to break down the models and sort them back into the LEGO boxes.
Ondersteuning voor de leraar
Na deze les hebben leerlingen:
• Het ontwerpproces gebruikt en begrepen.
• Een duidelijke ontwerpbehoefte gedefinieerd.
• Hun vermogen ontwikkeld om ontwerpoplossingen te testen en te verbeteren.
• Probleemoplossende en communicatieve vaardigheden ontwikkeld.
LEGO MINDSTORMS EV3 coreset
LEGO® MINDSTORMS Education EV3 Lab or EV3 Programming
Enkele voorbeelden van materialen:
Elastiekjes
Pijpenragers
Dun karton
Stevig papier
Dunne draad
Dunne plastic vellen
Gerecyclede materialen
Schuimrubber
Materiaal voor de leerlingen
Delen met:
 Google Classroom