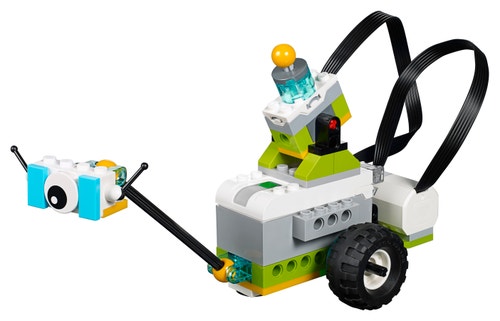
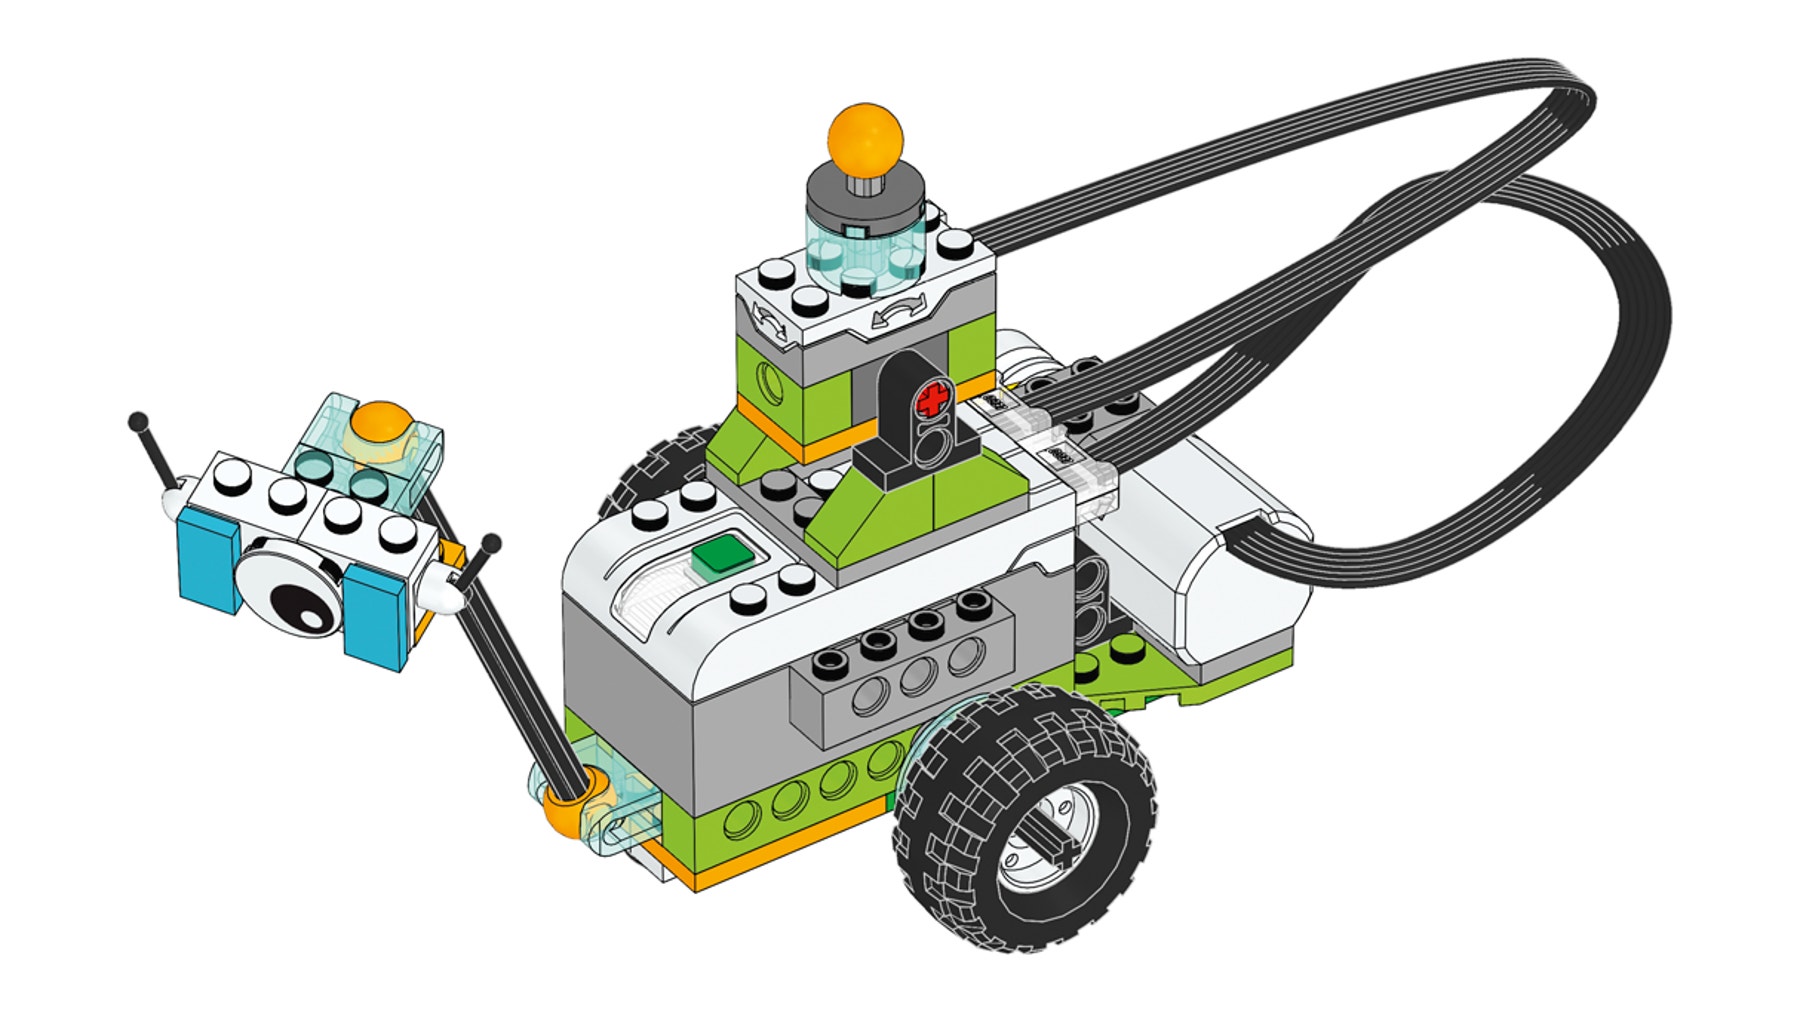
Getting Started Project, part C: Milo’s Tilt Sensor
Discover how to use the Tilt Sensor to help Milo send a message to the base.

1. Preparation
(15-30 minutes)
• Read the general preparation in the “Classroom Management” chapter.
• Read about the project so you have a good idea of what to do.
• Define how you want to introduce this project: Use the video provided in the project in the WeDo 2.0 Software, or use material of your own choice.
• Determine the end result of this project: the parameters to present and produce the document.
• Make sure timing allows for expectations to be met.
Important
It is recommended that you complete the four Getting Started Projects in a single sequence. If not, then it is preferable that you complete these prior to continuing on to other projects in order to provide students ample time to explore the materials.
Approximate timing for the four Getting Started Projects is:
• Part A: Milo, the Science Rover: 40 min.
• Part B: Milo’s Motion Sensor: 15 min.
• Part C: Milo’s Tilt Sensor: 15 min.
• Part D: Collaborate: 15 min.
2. Explore phase
(3 minutes)
When rovers locate what they are looking for, they send a message back to the base.
Questions for discussion
- Why is communication between a rover and the base important?
If a rover is successful in its mission but fails to send back the results, the whole mission will be worth nothing. Communication remains to link between the remote mission and the base. - What are some ways you might communicate with rovers?
Currently satellites are used to send radio signals between the base and
the rover.
3. Create phase
(7 Minutes)
With the provided building instructions, your students will build a device using the Tilt Sensor that can send a message back to the base.
The program string will trigger two actions depending on the angle detected by the Tilt Sensor:
• If tilted down, the red LED will light up.
• If tilted up, a text message will appear on the device.


4. Share phase
(5 minutes)
In this section of the Getting Started Project, ask your students to take a screen capture of their final program. Have them practice documenting the program strings they used in their project.
Wsparcie dla nauczyciela
Students will:
Create an program Milo’s messaging arm using the Tilt Sensor.
Document Milo’s communication with the base.
Materiały dla uczniów
Arkusz dla ucznia
Download, view or share the student worksheet, either as an online HTML page or a printable PDF