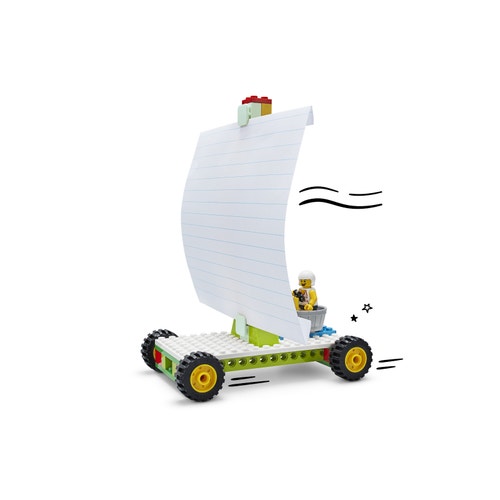
Sail Car
Ahoy! Build a sail car and explore an invisible push force.
Which sail design will catch the most wind and make your sail car go the farthest?
Prepare
- Review the online pupil material. Use a projector to share this material with your pupils during the lesson.
- Set up a testing area for the sail cars:
- You'll need a smooth surface of about 3 meters long and 1 meter wide.
- Use masking tape to mark the start line.
- If you don’t have electric fans, have your pupils wave their storage box lids or blow on their sails to create ‘wind’ instead.
- Make sure that you have covered the concept of push in an earlier lesson.
- Consider the abilities and backgrounds of all your pupils. Differentiate the lesson to make it accessible to everyone. See the Differentiation section below for suggestions.
Engage
(Whole Class, 5 Minutes)
- Watch the pupil video here or access it via the online pupil material.
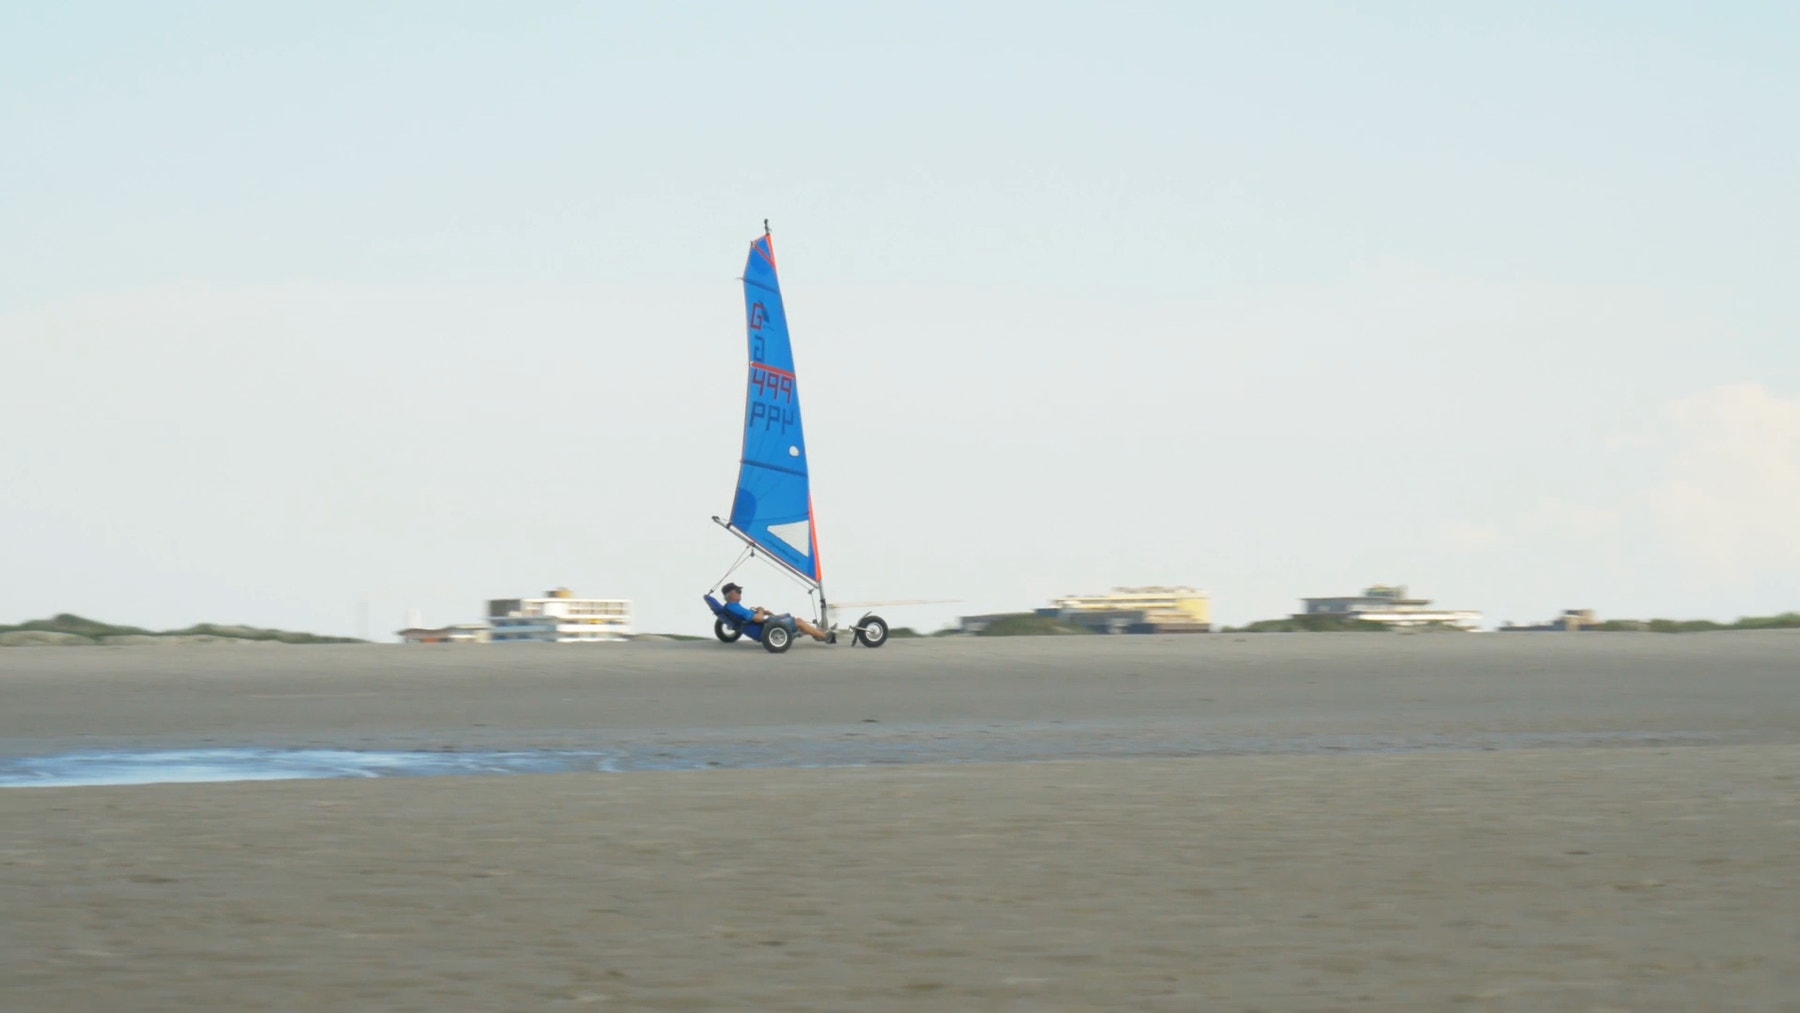
- Facilitate a discussion about how wind is a force that pushes and pulls, and how sails are shaped to capture that force most effectively.
- Ask questions like these:
- How does a sail car move? The wind pushes it.
- Can you see the wind? No, but you can see the effects of the wind.
- If the pupils need a little guidance, help them by asking:
- How many different sail shapes did you see in the video?
- What shape and size sail do you think will work best?
- Tell the pupils that They are going to build a sail car and design their own sails.
- Distribute a set to each group.
Explore
(Small Groups, 30 Minutes)
- Have the pupils work in pairs to build the Sail Car model. Tell them to take turns, one partner searching for the bricks while the other builds, switching roles after each step has been done.
- You can find building help in the Tips section below.
- When the pupils have finished building, have them design and make at least 2 different paper sails to test.
- Part 1: Ask the pupils to predict how far their sail car will go with each type of sail. Tell them to put a brick or a Minifigure next to the testing area to mark where they think their sail car will stop during each trial. Have them use a measuring tape to measure. Make sure that they record their actual results after each trial (Teacher Support – Additional Resources).
- Part 2: After the pupils have tested all their sails, have them:
- Design one more sail each (i.e. 2 per group)
- Test their sail cars again
- Decide which sail shape is best and why
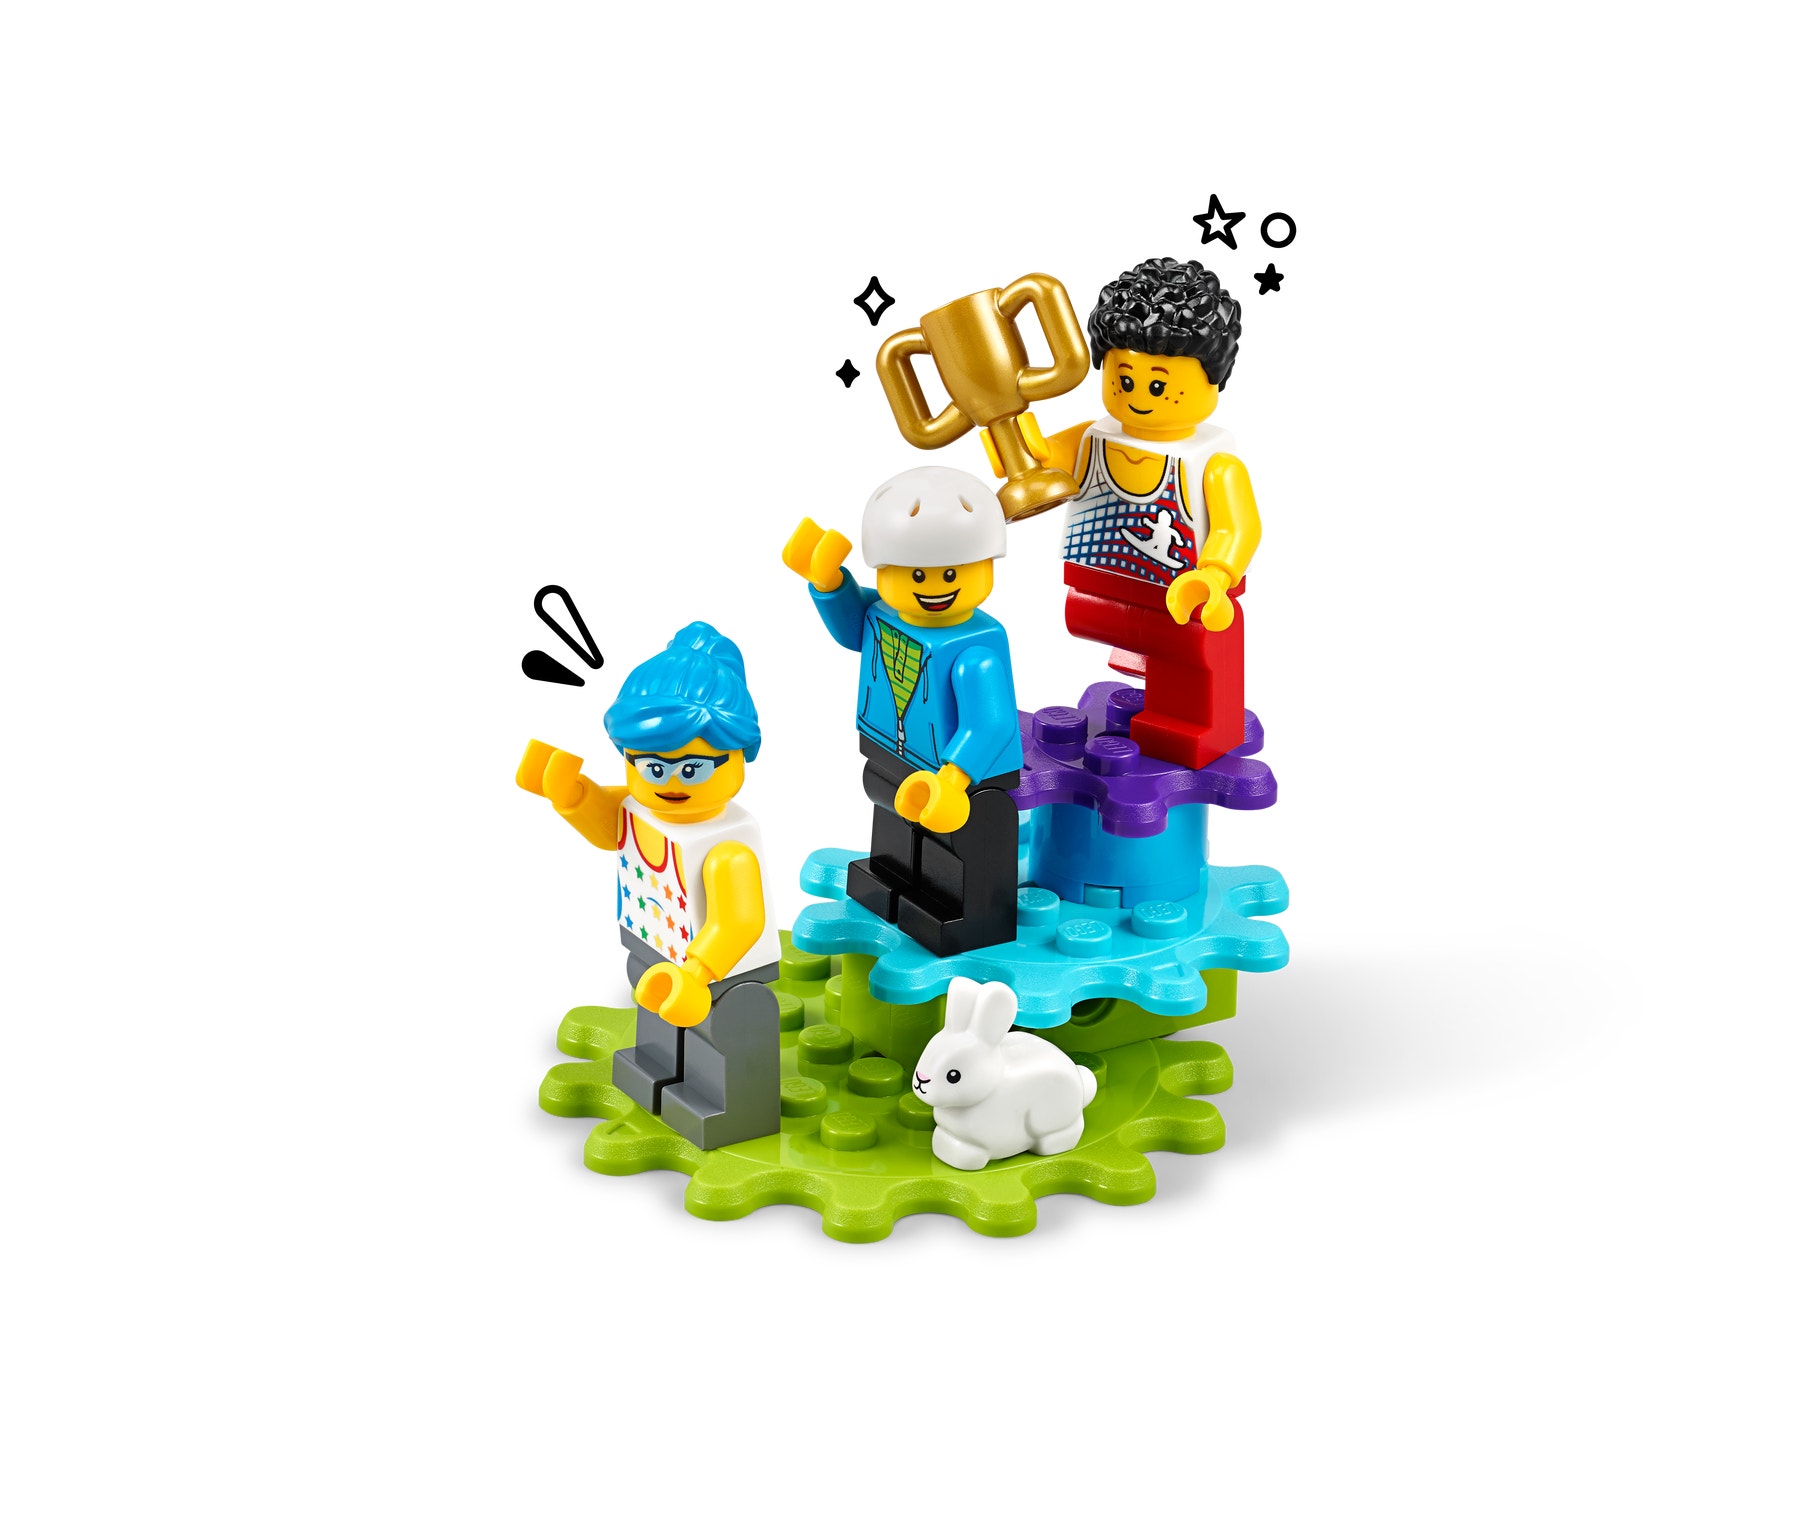
- If time permits, have the whole class race their favourite sail designs in a ‘sail car regatta’.
Explain
(Whole Class, 5 Minutes)
- Gather the pupils together to share what they have built.
- Ask questions like these:
- Which shape of sail pushed your sail car the farthest? Why?
- Explain that the shape and size of the sail help to capture the wind to push the sail car forwards and that the direction of the wind may affect its motion. Bigger sails have more area for the wind to push on, so big sails will move the car faster, making it go farther than smaller sails.
Elaborate
(Whole Class, 10 Minutes)
- Ask questions to help the pupils compare the strengths and weaknesses of their sail and car designs. Here are some suggestions:
- Which sail pushed your sail car the farthest?
- Why do you think it was your best design? Was it the shape? The size? Something else about the design?
- What would you change to make it even better?
- Allow time for the pupils to disassemble their models, sort the bricks back into the trays and tidy up their workstations.
Evaluate
(Ongoing Throughout the Lesson)
- Ask guiding questions to encourage the pupils to ‘think aloud’ and explain their thought processes and reasoning in the problem-solving decisions they have made when building their models.
Observation Checklist
- Measure your pupils’ proficiency in describing how different sail designs catch the wind and how this affects how the sails push their cars.
- Establish a scale that suits your needs, For example:
- Requires additional support
- Can work independently
- Can teach others
Self-Assessment
- Have each pupil choose the brick that they feel best represents their performance.
- Green: I think I can describe what ‘push’ and ‘pull’ mean.
- Blue: I know I can describe what ‘push’ and ‘pull’ mean.
- Purple: I can describe and explain what ‘push’ and ‘pull’ mean, and I can help a friend to understand, too.
Peer Feedback
- In their small groups, have the pupils discuss their experiences working as a group.
- Encourage them to use statements like these:
- I liked it when you…
- I'd like to hear more about when you…
Tips
Model Tips
- The pupils can use scissors to cut out their sail designs or simply tear the paper. Encourage them to also experiment with folding the paper to make it more rigid along the direction of the fold.
- The LEGO® paper clip elements hold the sails in place by gripping the top and bottom of the sail. If the paper is too thin, it might blow out of the clips. If this happens, fold the paper to double or triple the thickness, and it will stay in.
- The sails should be at least 15 cm tall to fit the default sail car build. The pupils can also make their masts taller or shorter, which will require them to adjust the height of their sails.
- The pupils can use an electric fan to push the sails, use the storage box lid as a hand fan, or blow on the sails.
- They can place a Minifigure with a chequered flag to mark the distance that their car travelled after each trial. If the previous distance is beaten, they should move the Minifigure to the new stopping point; otherwise, leave it where it is.
Differentiation
Simplify this lesson by:
- Having the pupils test 2 sail designs (limit shape choices to a rectangle and a triangle)
Increase the difficulty by: - Encouraging your pupils to use different materials for their sails (e.g. only LEGO® bricks, cardboard), then assess how this affected their performance
Extensions
(Note: This will require additional time.)
To incorporate the development of maths skills, have your pupils use LEGO® bricks in combinations of 2s, 5s, or 10s to estimate, measure and compare the length of the distance their sail car travels.
ACMMG019
Measure and compare the lengths and capacities of pairs of objects using uniform informal units
ACMMG037
Compare and order several shapes and objects based on length, area, volume and capacity using appropriate uniform informal units
Teacher Support
The pupils will:
- Explore the effects of different strengths of wind pushing on an object to move a sail car
- LEGO® Education BricQ Motion Essential Sets (one for every two pupils)
- 2-3 medium-sized electric fans (ideally, 1 for every 8 pupils)
- Pencils
- Scissors
- 3 sheets of paper for each group
- Measuring Tapes
ACSSU033
A push or a pull affects how an object moves or changes shape
ACSIS037
Pose and respond to questions, and make predictions about familiar objects and events
ACMMG019
Measure and compare the lengths and capacities of pairs of objects using uniform informal units


