Make a CNC Drawing Machine
Design, build, and program a machine that draws a pattern, performs the task accurately, and repeats the task.
Lesson plan
Prepare
- Read through this teacher material.
- If you feel it is needed, plan a lesson using the getting started material in the EV3 Lab Software or EV3 Programming app. This will help familiarize your students with LEGO® MINDSTORMS® Education EV3.
Engage (30 Min.)
- Use the ideas in the Ignite a Discussion section below to engage your students in a discussion related to this project.
- Explain the project.
- Split your class into teams of two students.
- Allow your students some time to brainstorm.
Explore (30 Min.)
- Have your students create multiple prototypes.
- Encourage them to explore both building and programming.
- Have each pair of students build and test two solutions.
- Provide them with a large sheet of graph paper and colored pencils or markers.
Explain (60 Min.)
- Ask your students to test their solutions and to choose the best one.
- Make sure they can create their own testing tables.
- Allow some time for each team to finalize their project and to collect assets for documenting their work.
Elaborate (60 Min.)
- Give your students some time to produce their final reports.
- Facilitate a sharing session in which each team presents their results.
Evaluate
- Give feedback on each student’s performance.
- You can use the assessment rubrics provided to simplify the process.
Ignite a Discussion
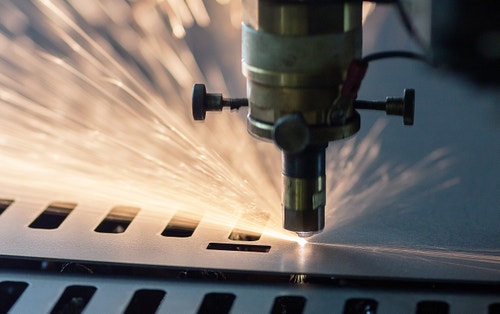
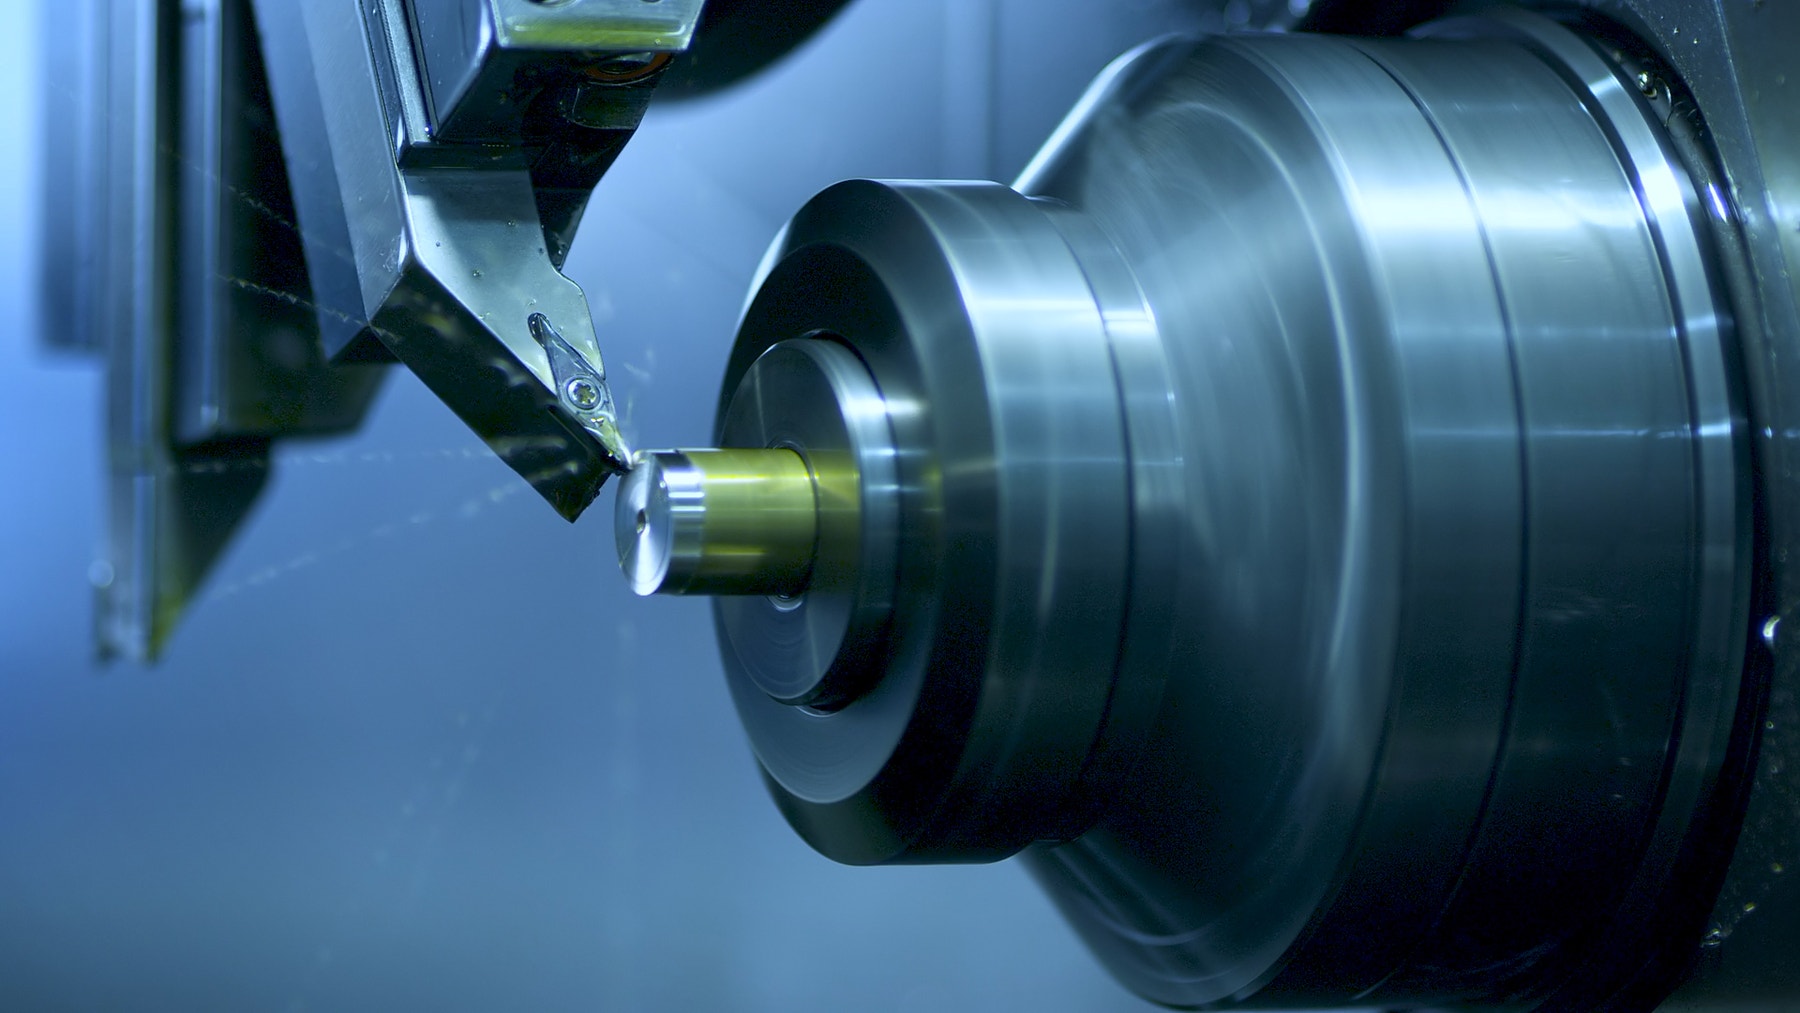
Computer numerical control (CNC) machines use programmed instructions to control a tool along one or more axes with high precision. They are commonly used in computer-integrated manufacturing to turn a digital design on a computer into a physical object.
Encourage an active brainstorming process.
Ask your students to think about these questions:
- What is a CNC machine and where is it used?
- What is the best way to attach a pencil or marker?
- Which type of motorized mechanism can move the pencil or marker in two dimensions?
- What design features will ensure the machine’s movements are accurate and repeatable?
Encourage students to document their initial ideas and explain why they picked the solution they will use for their first prototype. Ask them to describe how they will evaluate their ideas throughout the project. That way, when they are reviewing and revising, they will have specific information they can use to evaluate their solution and decide whether or not it was effective.
Language Arts Extension
To incorporate language arts skills development, have your students:
- Use their written work, sketches, and/or photos to summarize their design process and create a final report.
- Create a video demonstrating their design process starting with their initial ideas and ending with their completed project.
- Create a presentation about their program.
- Create a presentation that connects their project with real-world applications of similar systems and describes new inventions that could be made based on what they have created.
Building Tips
Building Ideas
Give your students an opportunity to build some examples from the links below. Encourage them to explore how these systems work and to brainstorm how these systems could inspire a solution to the Design Brief.
Testing Tips
Encourage your students to design their own test setup and procedure to select the best solution. These tips can help your students as they set up their test:
- Mark the position of the machine on the graph paper to help ensure that you place it in the same position for each test run.
- Use gridlines to identify 1 cm x 1 cm squares to help in recording the results of each test run.
- Create testing tables to record your observations.
- Evaluate the precision of your machine by comparing the expected results with the actual results.
- Repeat the test at least three times.
Sample Solution
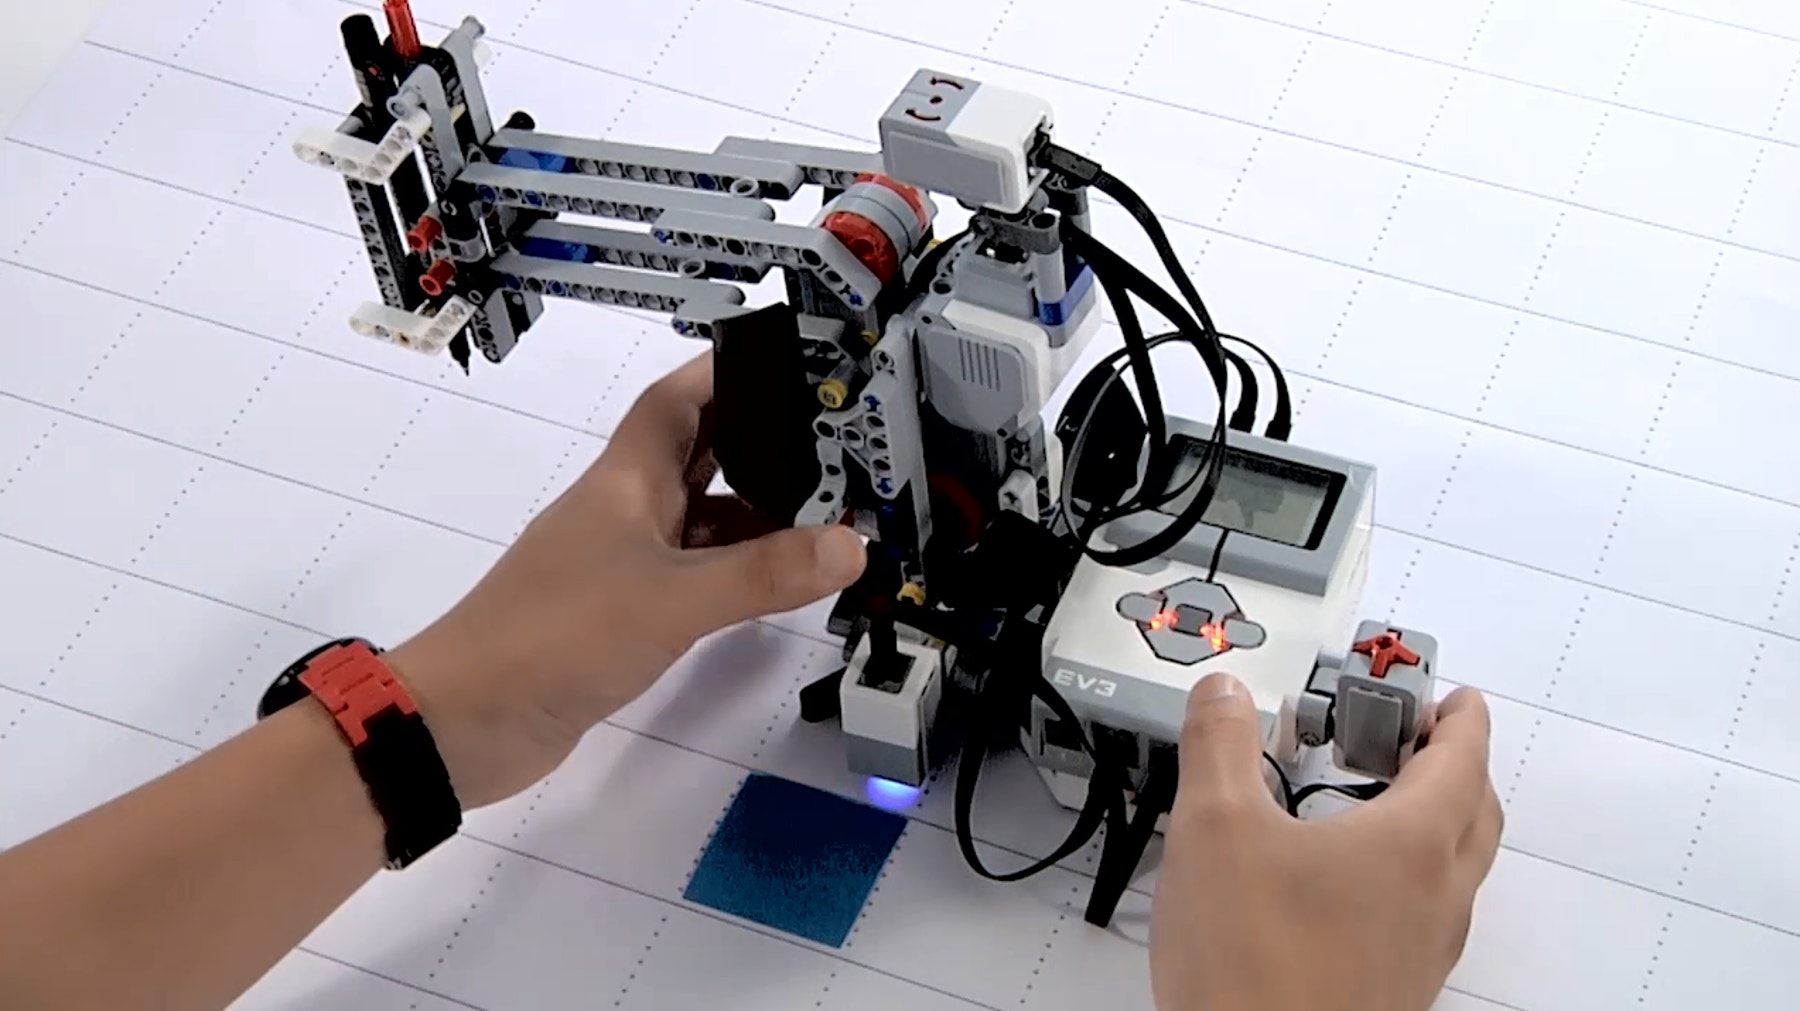
Here is a sample solution that meets the Design Brief criteria:

Coding Tips
EV3 MicroPython Sample Program
#!/usr/bin/env pybricks-micropython

from pybricks import ev3brick as brick
from pybricks.ev3devices import (Motor, TouchSensor, ColorSensor,
                                 GyroSensor)
from pybricks.parameters import Port, Stop, Direction, Color, ImageFile
from pybricks.tools import wait

# Configure the turntable motor, which rotates the arm.  It has a
# 20-tooth, a 12-tooth, and a 28-tooth gear connected to it.
turntable_motor = Motor(Port.B, Direction.CLOCKWISE, [20, 12, 28])

# Configure the seesaw motor with default settings.  This motor raises
# and lowers the Pen Holder.
seesaw_motor = Motor(Port.C)

# Set up the Gyro Sensor.  It is used to measure the angle of the arm.
# Keep the Gyro Sensor and EV3 steady when connecting the cable and
# during start-up of the EV3.
gyro_sensor = GyroSensor(Port.S2)

# Set up the Color Sensor.  It is used to detect whether there is white
# paper under the drawing machine.
color_sensor = ColorSensor(Port.S3)

# Set up the Touch Sensor.  It is used to detect when it is pressed,
# telling it to start drawing the pattern.
touch_sensor = TouchSensor(Port.S4)

def pen_holder_raise():
    # This function raises the Pen Holder.
    seesaw_motor.run_target(50, 25, Stop.HOLD)
    wait(1000)

def pen_holder_lower():
    # This function lowers the Pen Holder.
    seesaw_motor.run_target(50, 0, Stop.HOLD)
    wait(1000)

def pen_holder_turn_to(target_angle):
    # This function turns the arm to the specified target angle.

    # Run the turntable motor until the arm reaches the target angle.
    if target_angle > gyro_sensor.angle():
        # If the target angle is greater than the current Gyro Sensor
        # angle, run clockwise at a positive speed.
        turntable_motor.run(70)
        while gyro_sensor.angle() < target_angle:
            pass
    elif target_angle < gyro_sensor.angle():
        # If the target angle is less than the current Gyro Sensor
        # angle, run counterclockwise at a negative speed.
        turntable_motor.run(-70)
        while gyro_sensor.angle() > target_angle:
            pass
    # Stop the motor when the target angle is reached.
    turntable_motor.stop(Stop.BRAKE)


# Initialize the seesaw.  This raises the Pen Holder.
pen_holder_raise()


# This is the main part of the program.  It is a loop that repeats
# endlessly.
#
# First, it waits until the Color Sensor detects white paper or a blue
# mark on the paper.
# Second, it waits for the Touch Sensor to be pressed before starting
# to draw the pattern.
# Finally, it draws the pattern and returns to the starting position.
#
# Then the process starts over, so it can draw the pattern again.
while True:
    # Set the Brick Status Light to red, and display "thumbs down" to
    # indicate that the machine is not ready.
    brick.light(Color.RED)
    brick.display.image(ImageFile.THUMBS_DOWN)

    # Wait until the Color Sensor detects blue or white paper.  When it
    # does, set the Brick Status Light to green and display "thumbs up."
    while color_sensor.color() not in (Color.BLUE, Color.WHITE):
        wait(10)
    brick.light(Color.GREEN)
    brick.display.image(ImageFile.THUMBS_UP)

    # Wait until the Touch Sensor is pressed to reset the Gyro Sensor
    # angle and start drawing the pattern.
    while not touch_sensor.pressed():
        wait(10)

    # Draw the pattern.
    gyro_sensor.reset_angle(0)
    pen_holder_turn_to(15)
    pen_holder_lower()
    pen_holder_turn_to(30)
    pen_holder_raise()
    pen_holder_turn_to(45)
    pen_holder_lower()
    pen_holder_turn_to(60)

    # Raise the Pen Holder and return to the starting position.
    pen_holder_raise()
    pen_holder_turn_to(0)
Career Links
Students who enjoyed this lesson might be interested in exploring these careers pathways:
- Manufacturing and Engineering (Machine Technology)
- Media and Communication Arts (Digital Media)
Assessment Opportunities
Teacher Observation Checklist
Create a scale that matches your needs, for example:
- Partially accomplished
- Fully accomplished
- Overachieved
Use the following success criteria to evaluate your students’ progress:
- Students can evaluate competing design solutions based on prioritized criteria and tradeoff considerations.
- Students are autonomous in developing a working and creative solution.
- Students can clearly communicate their ideas.
Self Assessment
Once your students have collected some performance data, give them time to reflect on their solutions. Help them by asking questions, like:
- Is your solution meeting the Design Brief criteria?
- Can your machine’s movement(s) be made more accurate?
- What are some ways that others have solved this problem?
Ask your students to brainstorm and document two ways they could improve their solutions.
Peer Feedback
Encourage a peer review process in which each group is responsible for evaluating their own and others’ projects. This review process can help students develop skills in giving constructive feedback as well as sharpen their analysis skills and ability to use objective data to support an argument.
Teacher Support
Students will:
-Use the design process to solve a real-world problem
LEGO® MINDSTORMS® Education EV3 Core Set
Large sheet of graph paper or paper pre-printed with gridlines
Colored pencils or markers
