Grabbing Objects
Explore how prosthetic designs help people with disabilities.

1. Preparation
(15-30 Minutes)
- Read the project and the relevant Teacher Assistant material.
- Define how you would like to introduce this project. You can use the video provided with the project or use your own material.
- Determine the end result of this project. For example, define the parameters of your students’ presentations and the specific elements that they should include in their documents.
2. Explore Phase
(10-45 Minutes)

The human hand can perform several different movements. When combined, these movements present a whole range of possible motions and actions. These important movements are: finger flexion and extension (closing and opening), thumb flexion and extension (closing and opening), thumb rotation, and wrist flexion, extension and rotation.
When a person can’t perform one or more of these movements, some actions become difficult and sometimes impossible for them to do.
Prosthetic arms can help people to regain mobility. Some very advanced robotic arms can almost replicate all of the movements of a normal hand.
Questions for discussion
- What are some of the different movements that you can do with your hand?
Pupils will probably describe movements with words such as grabbing, holding and throwing. Have them describe in detail how the fingers are used in these motions. - What is the role of the muscles in your hand?
Muscles are responsible for all of its movements. - How can you create an artificial arm?
A motor can be used to create movements that are similar to a human hand. It can also be used to apply pressure on objects in order to hold them.
3. Create and Test Phase
(40-60 Minutes)
Build and program
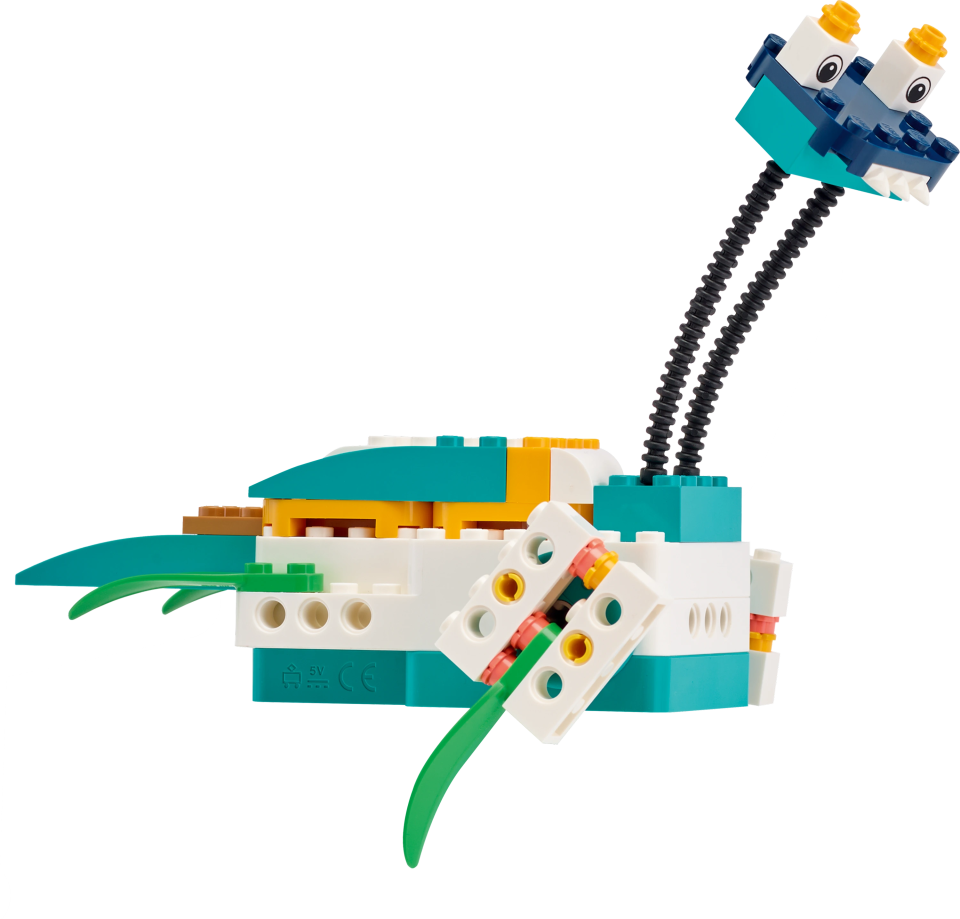
The students will build a robotic hand that they can program to grab, lift and place objects. The hand is equipped with a Motion Sensor that can be used to detect objects, detect a table and detect movement of the arm.
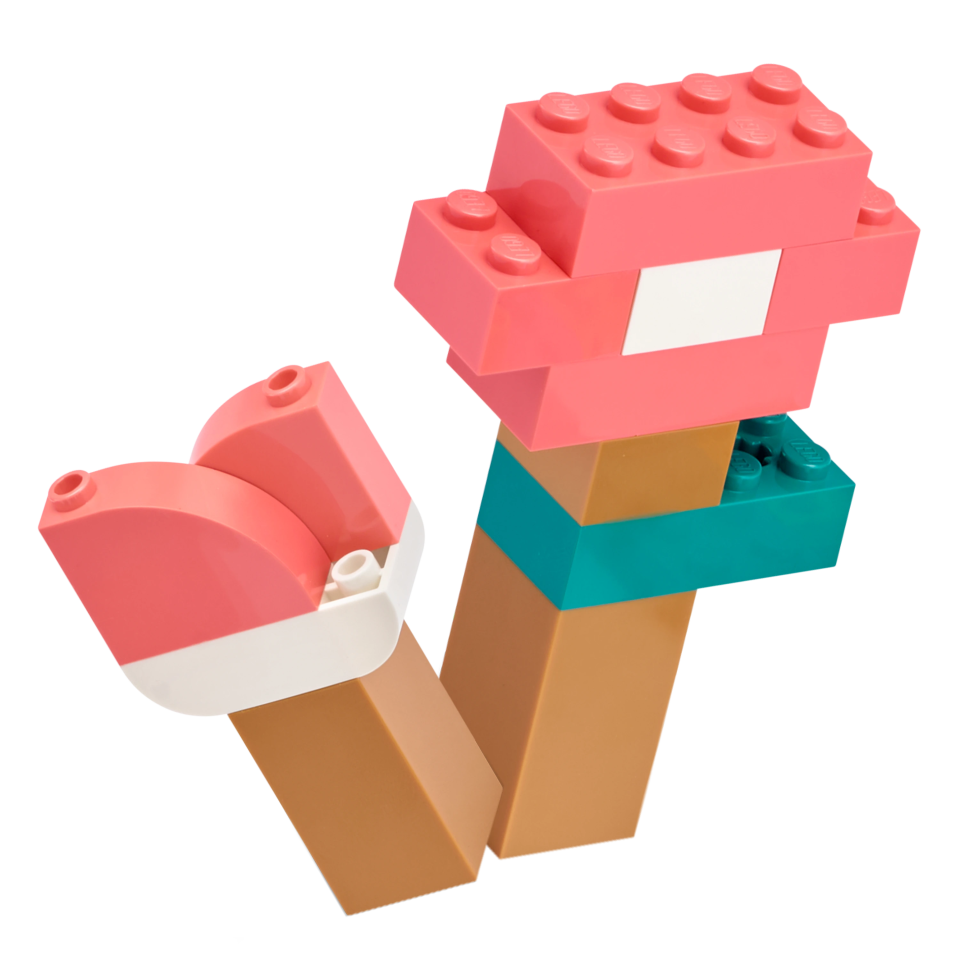
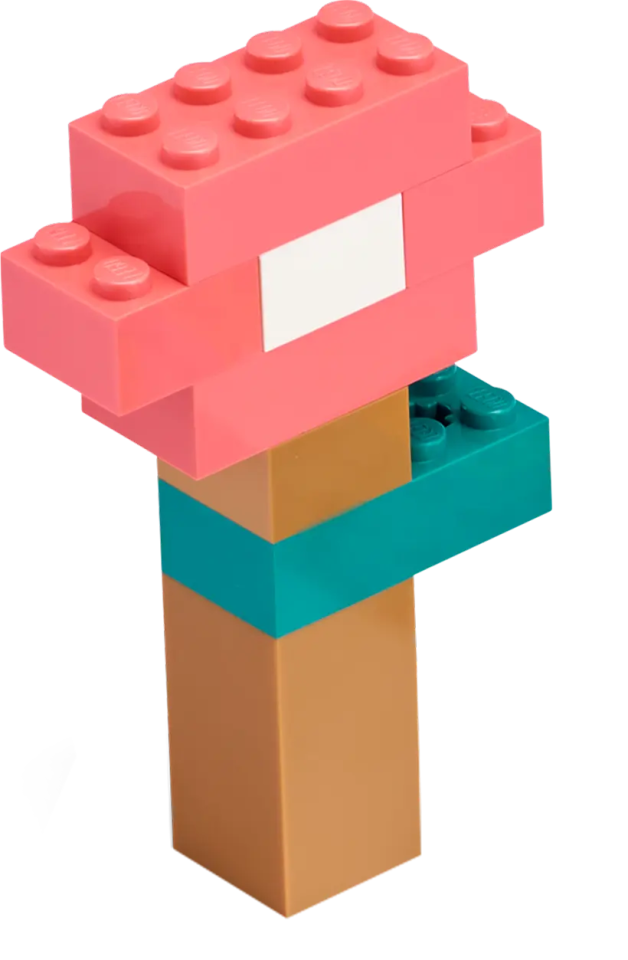
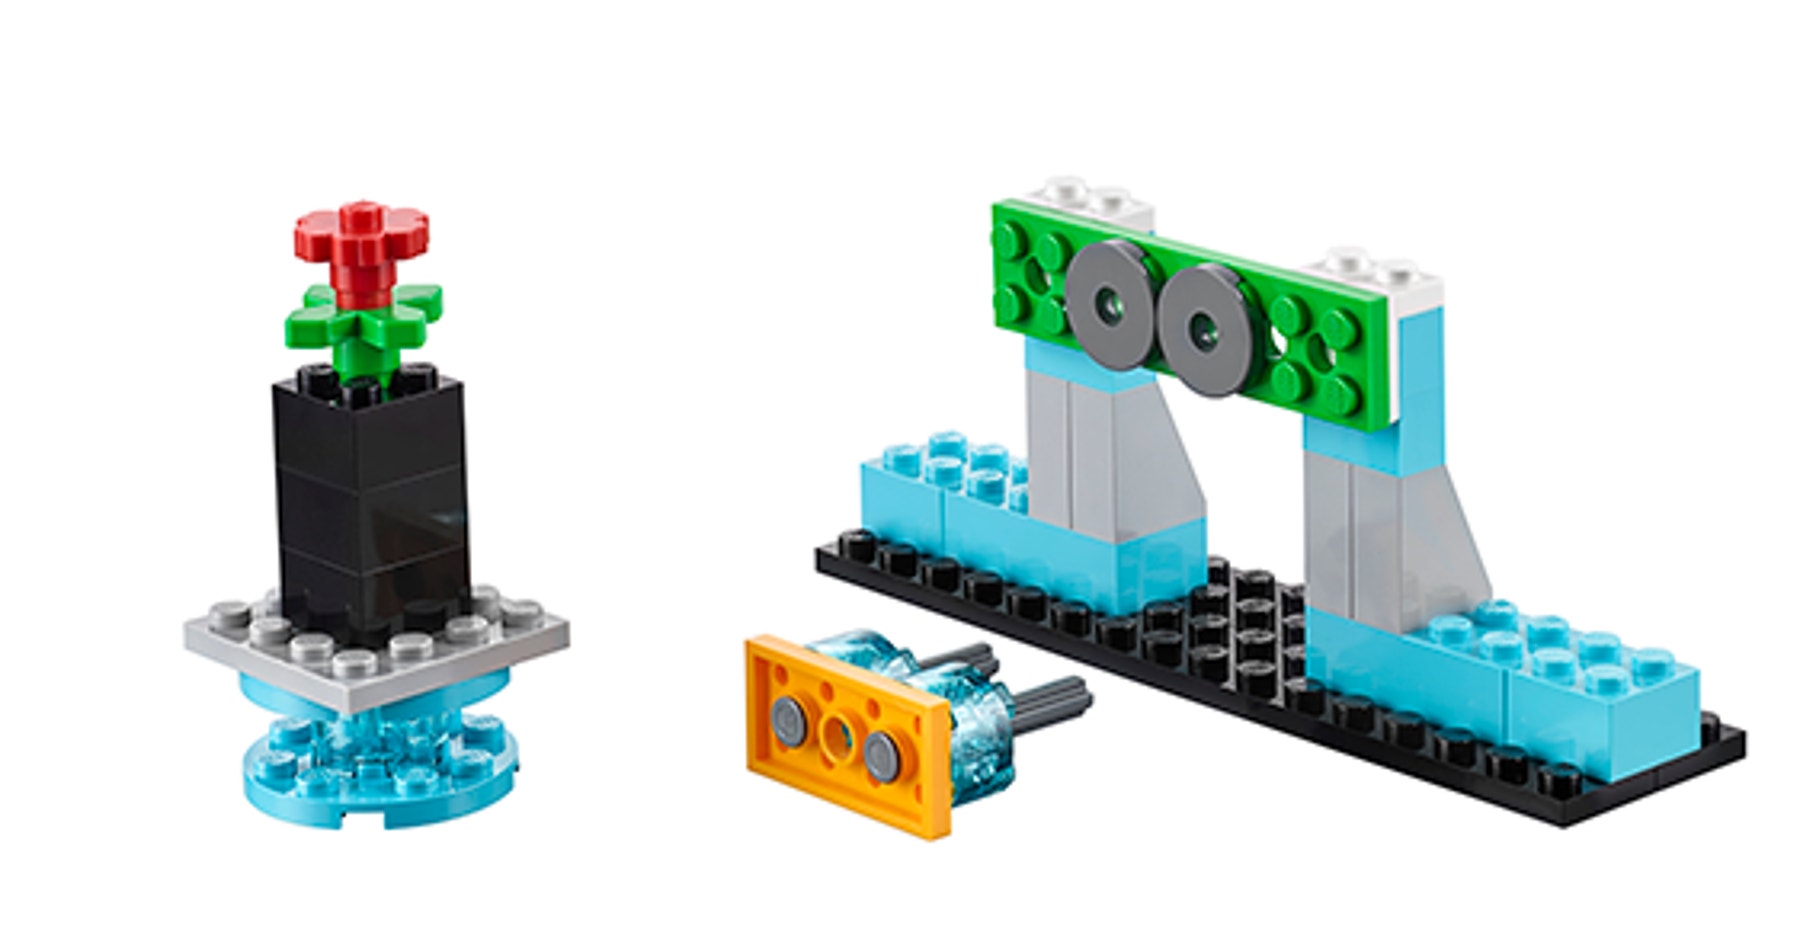
The students will use this robotic hand to move small objects. Their first task is to grab a flower and place it on the table. Their second task is to grab an electric plug and insert it into the socket. The students can also choose to build their own objects to use in these tasks.
This program will enable your students to control the opening and closing of the hand. Allow some time for exploration and tinkering as your students become familiar with the arm’s movements.

Plan and try a solution:
Program your robotic hand to:
- Grab the flower and put it on the stand
- Grab the electric plug and plug it in the socket
Try and modify your solution:
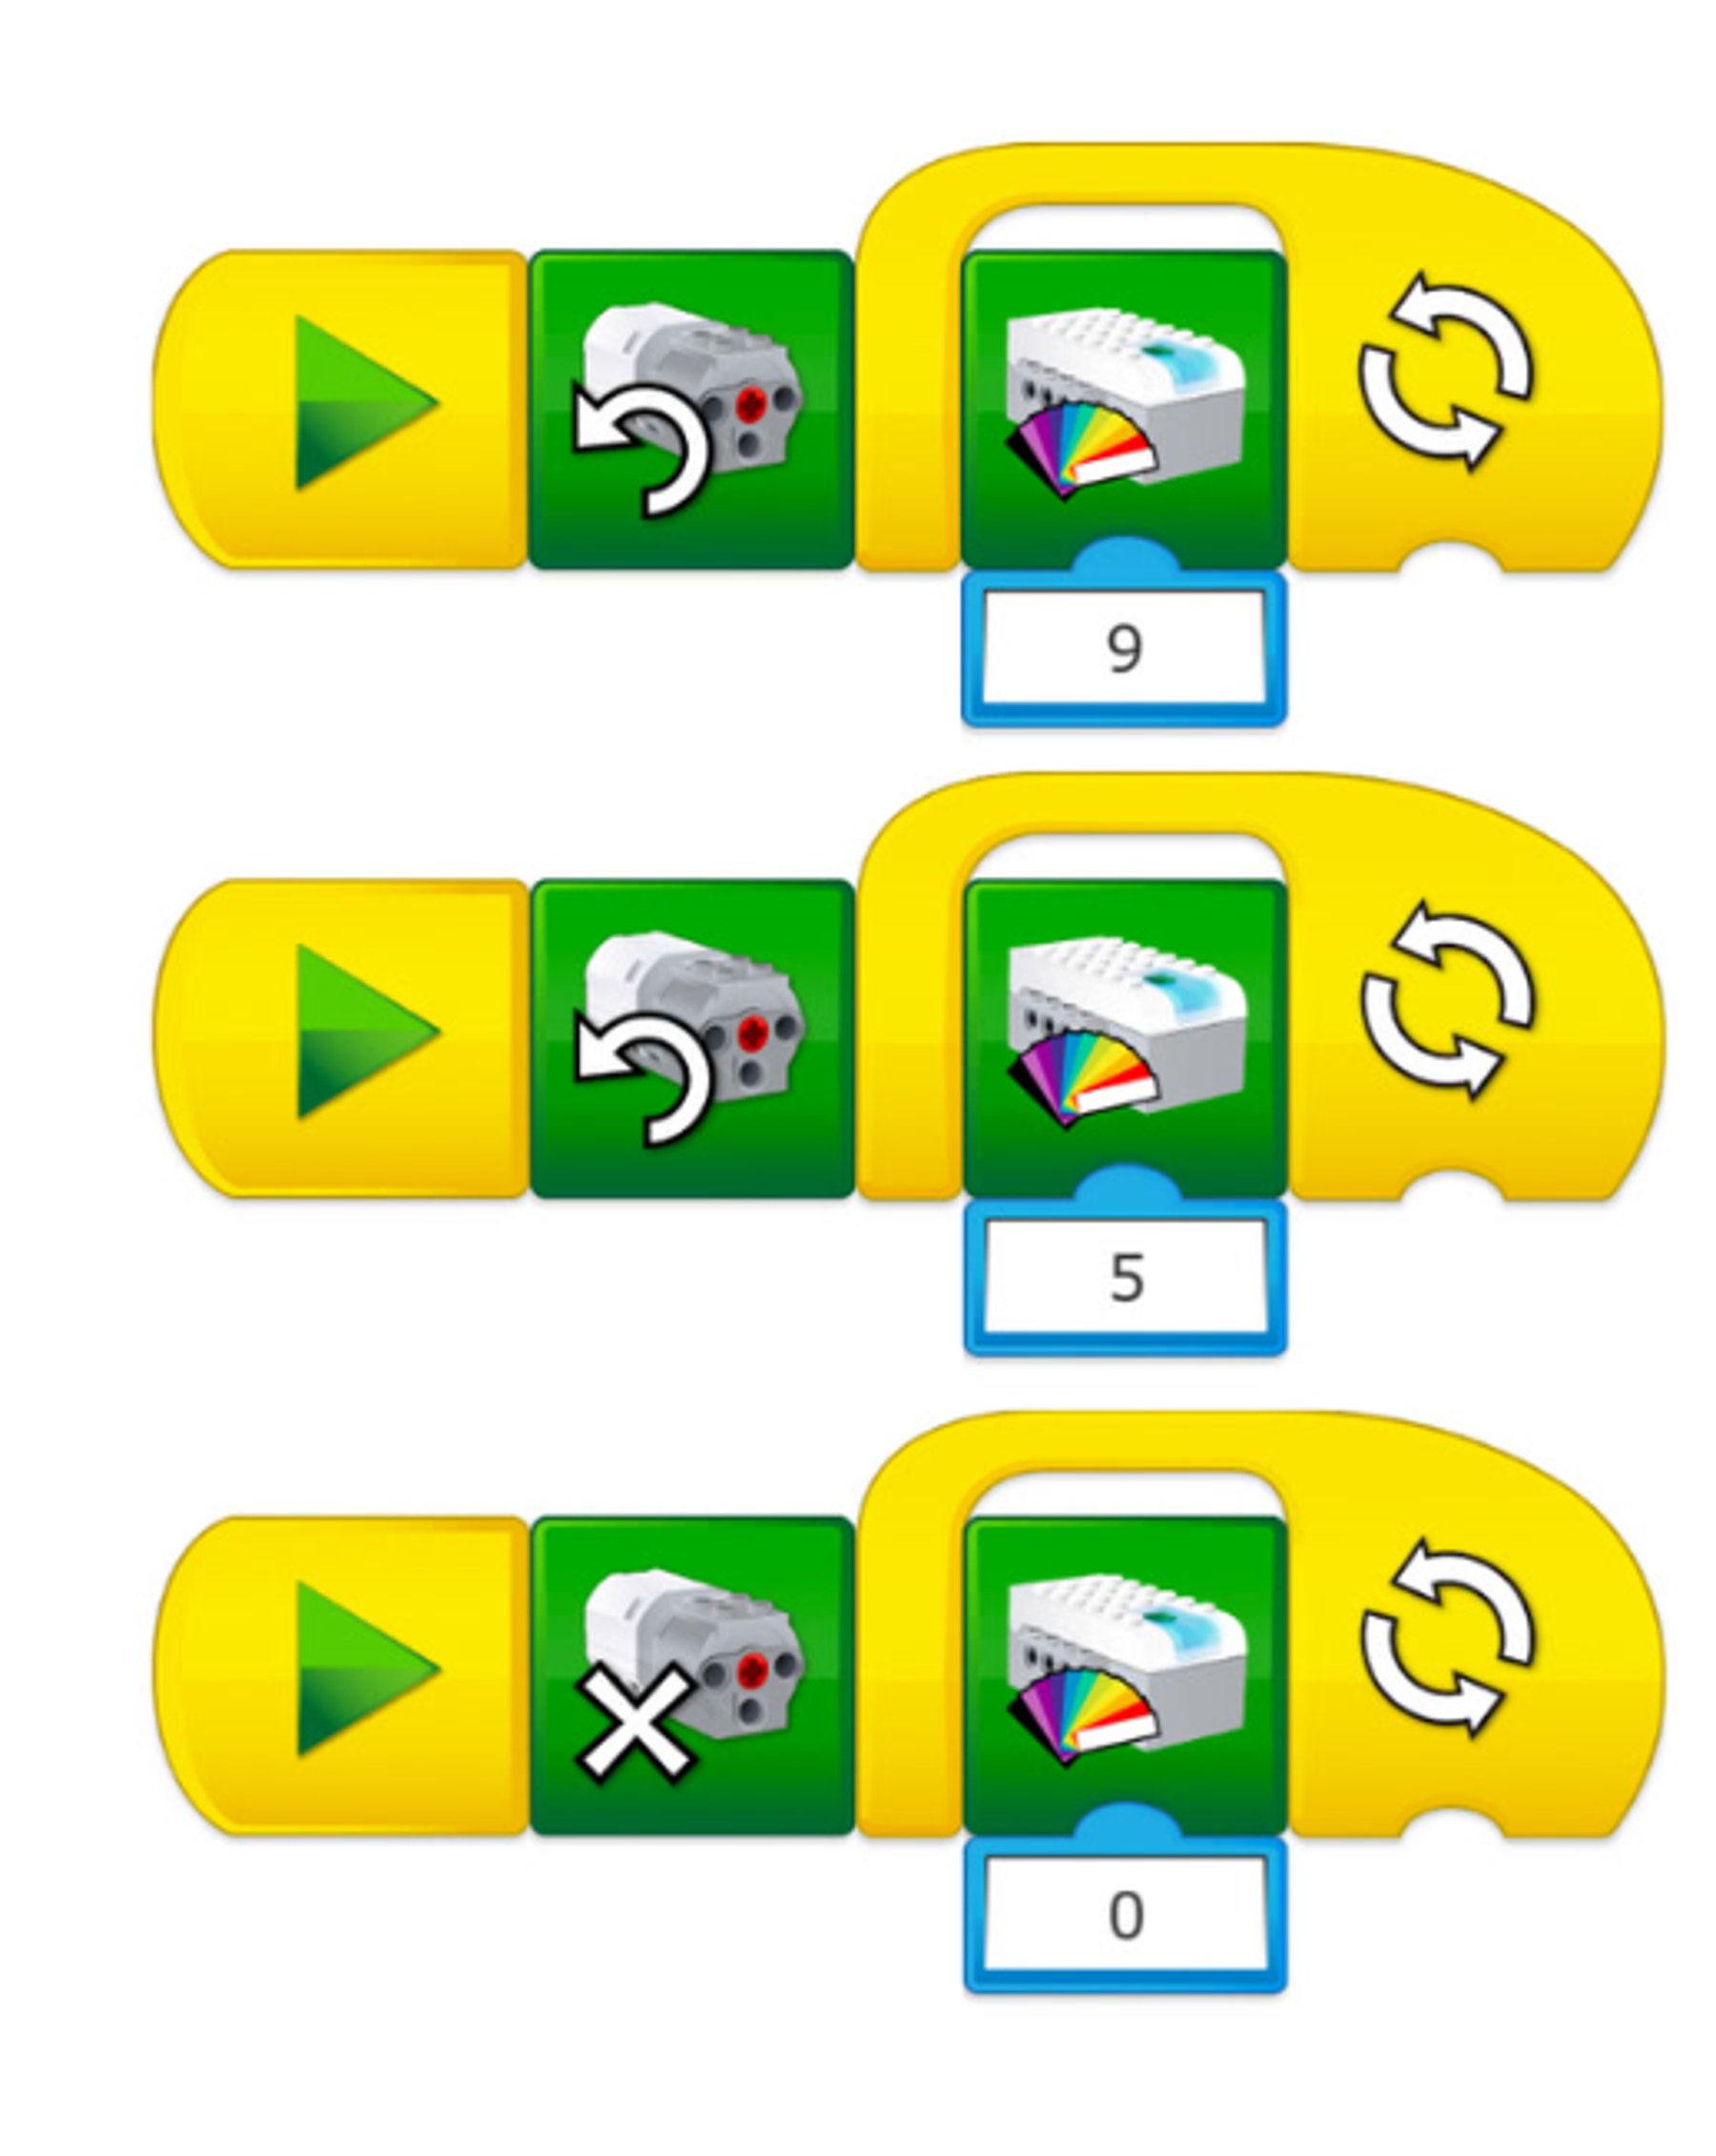
The robotic hand is not working correctly with this program.
It should turn on the green light on the Smarthub when the clamp is closed and turn on the red light when the clamp is opened.
Make changes to the program in order to fix the problem.
4. Share Phase
(45+ Minutes)
The students should take some time to compile the information that they have collected throughout this project.
Depending on which skill(s) you would like to focus on, you might ask each team or student for one or more of the following:
- A sketch of their strategy (Decomposition)
- A video of their robot (Evaluation)
- A video of them explaining their solution (Abstraction)
- A screen capture of their programming string (Algorithmic Thinking)
- An explanation of their program (Algorithmic Thinking)
- Pictures and explanations of some of the tests that they carried out during the project (Evaluation)
Organize a session in which each team can present a demonstration of their solution(s).
Teacher Support
Students will:
Explore how prosthetic designs help people with disabilities
Create and program a prosthetic hand to move objects around
Test your program to make the hand as functional as possible
Share your program and ideas for how to succeed in this project
