Turn Using Sensor
Your mission is to program your robot to complete a point turn to an exact angle by using the Gyro Sensor.
Step by Step
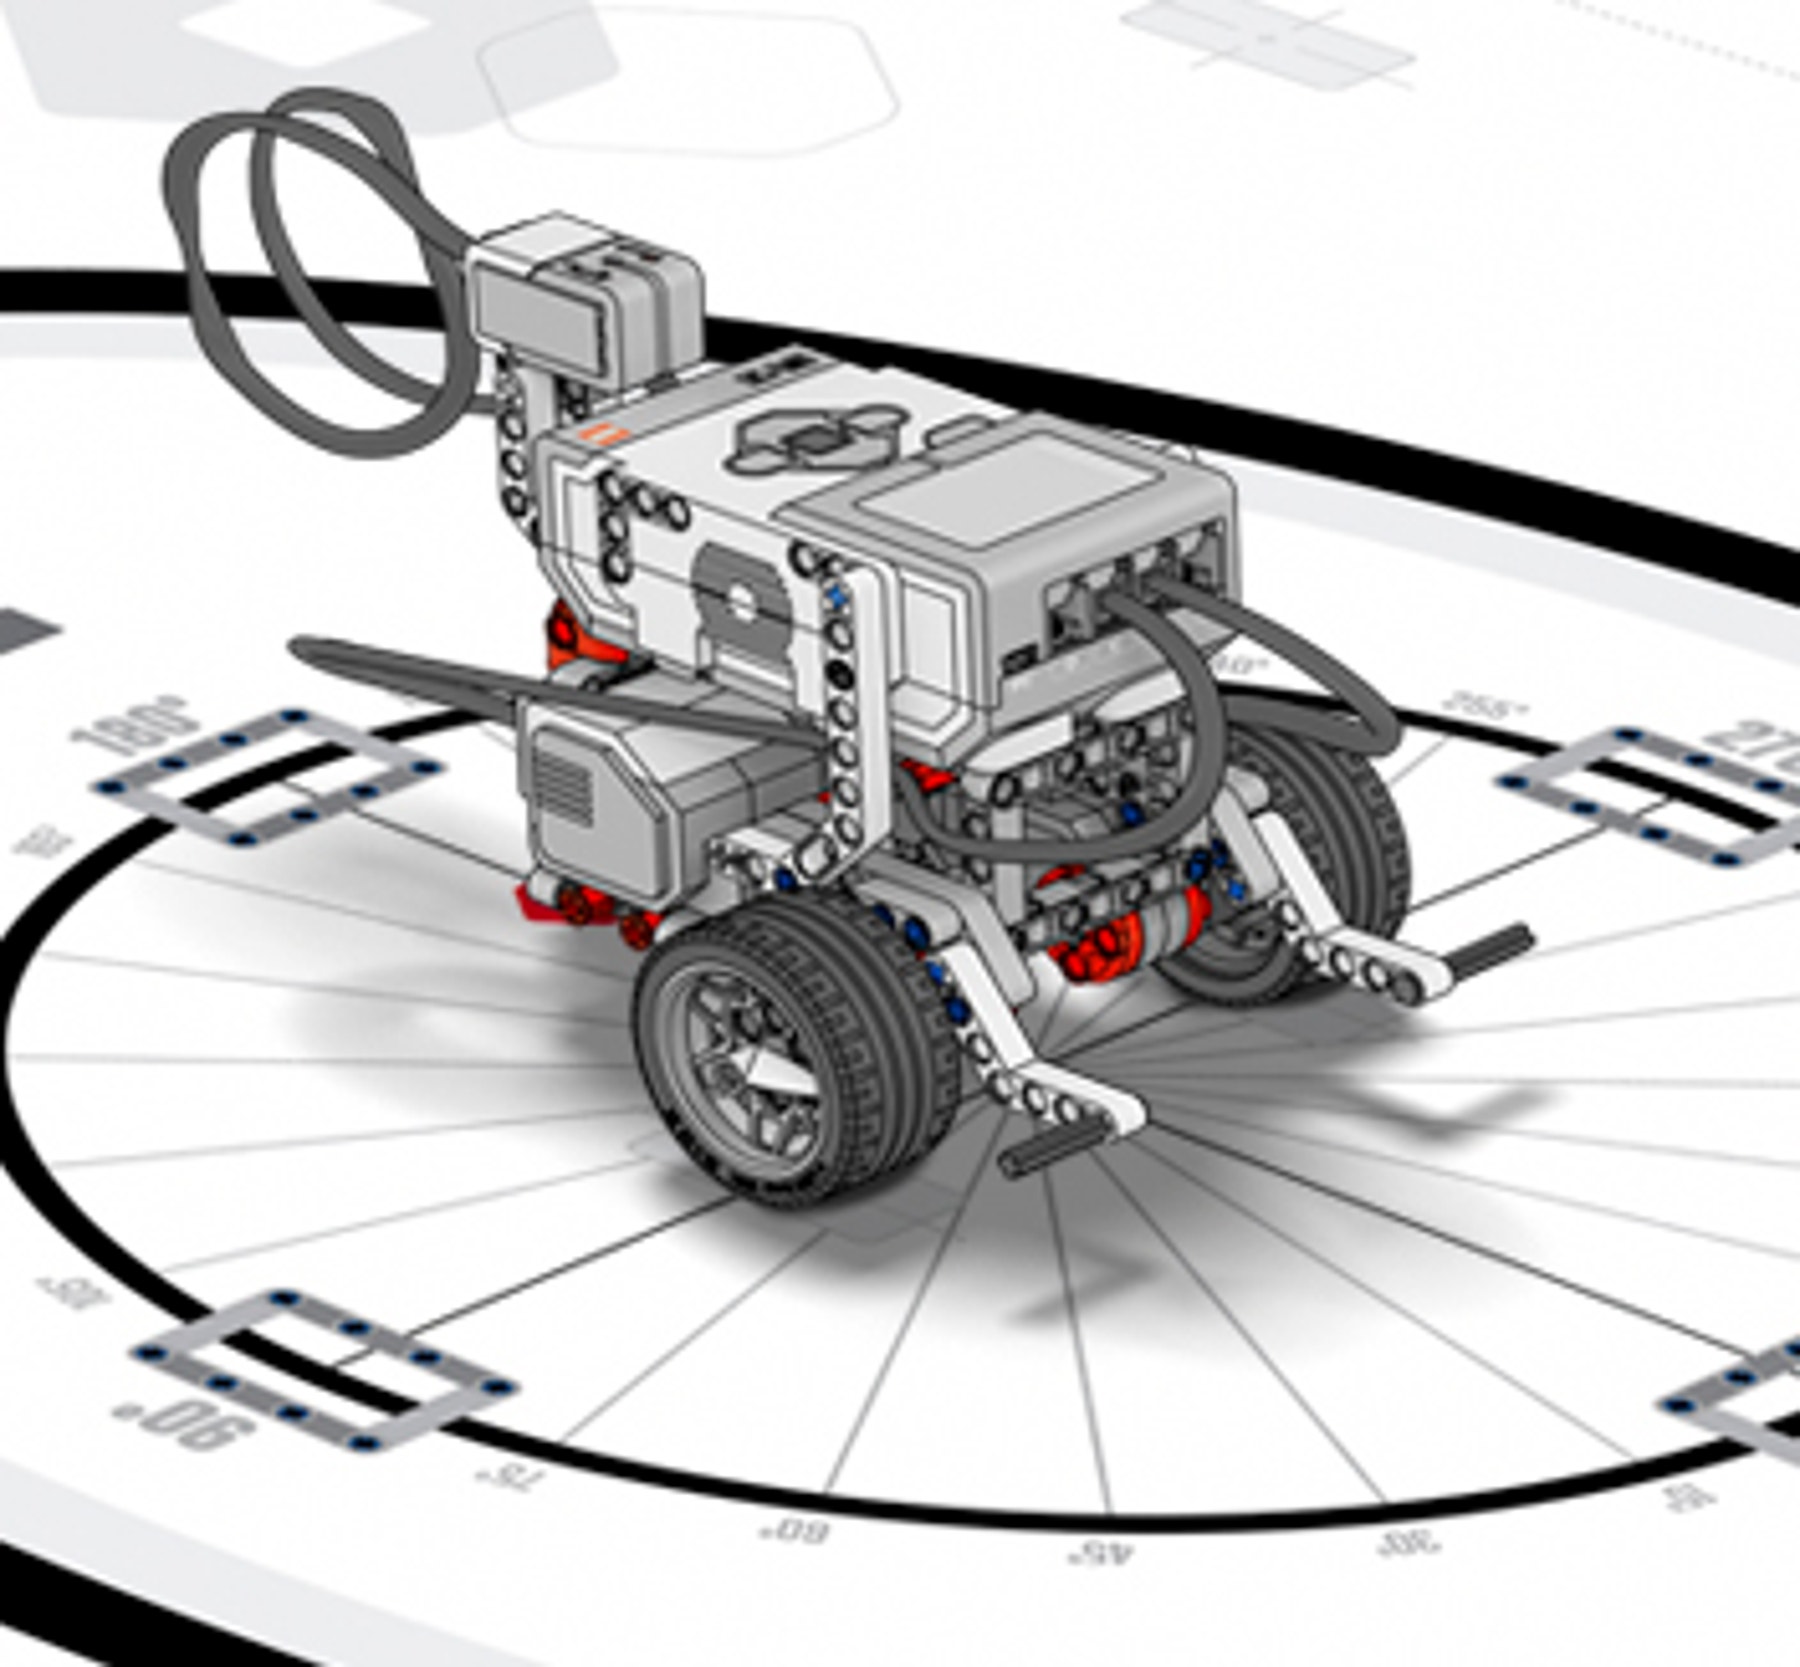
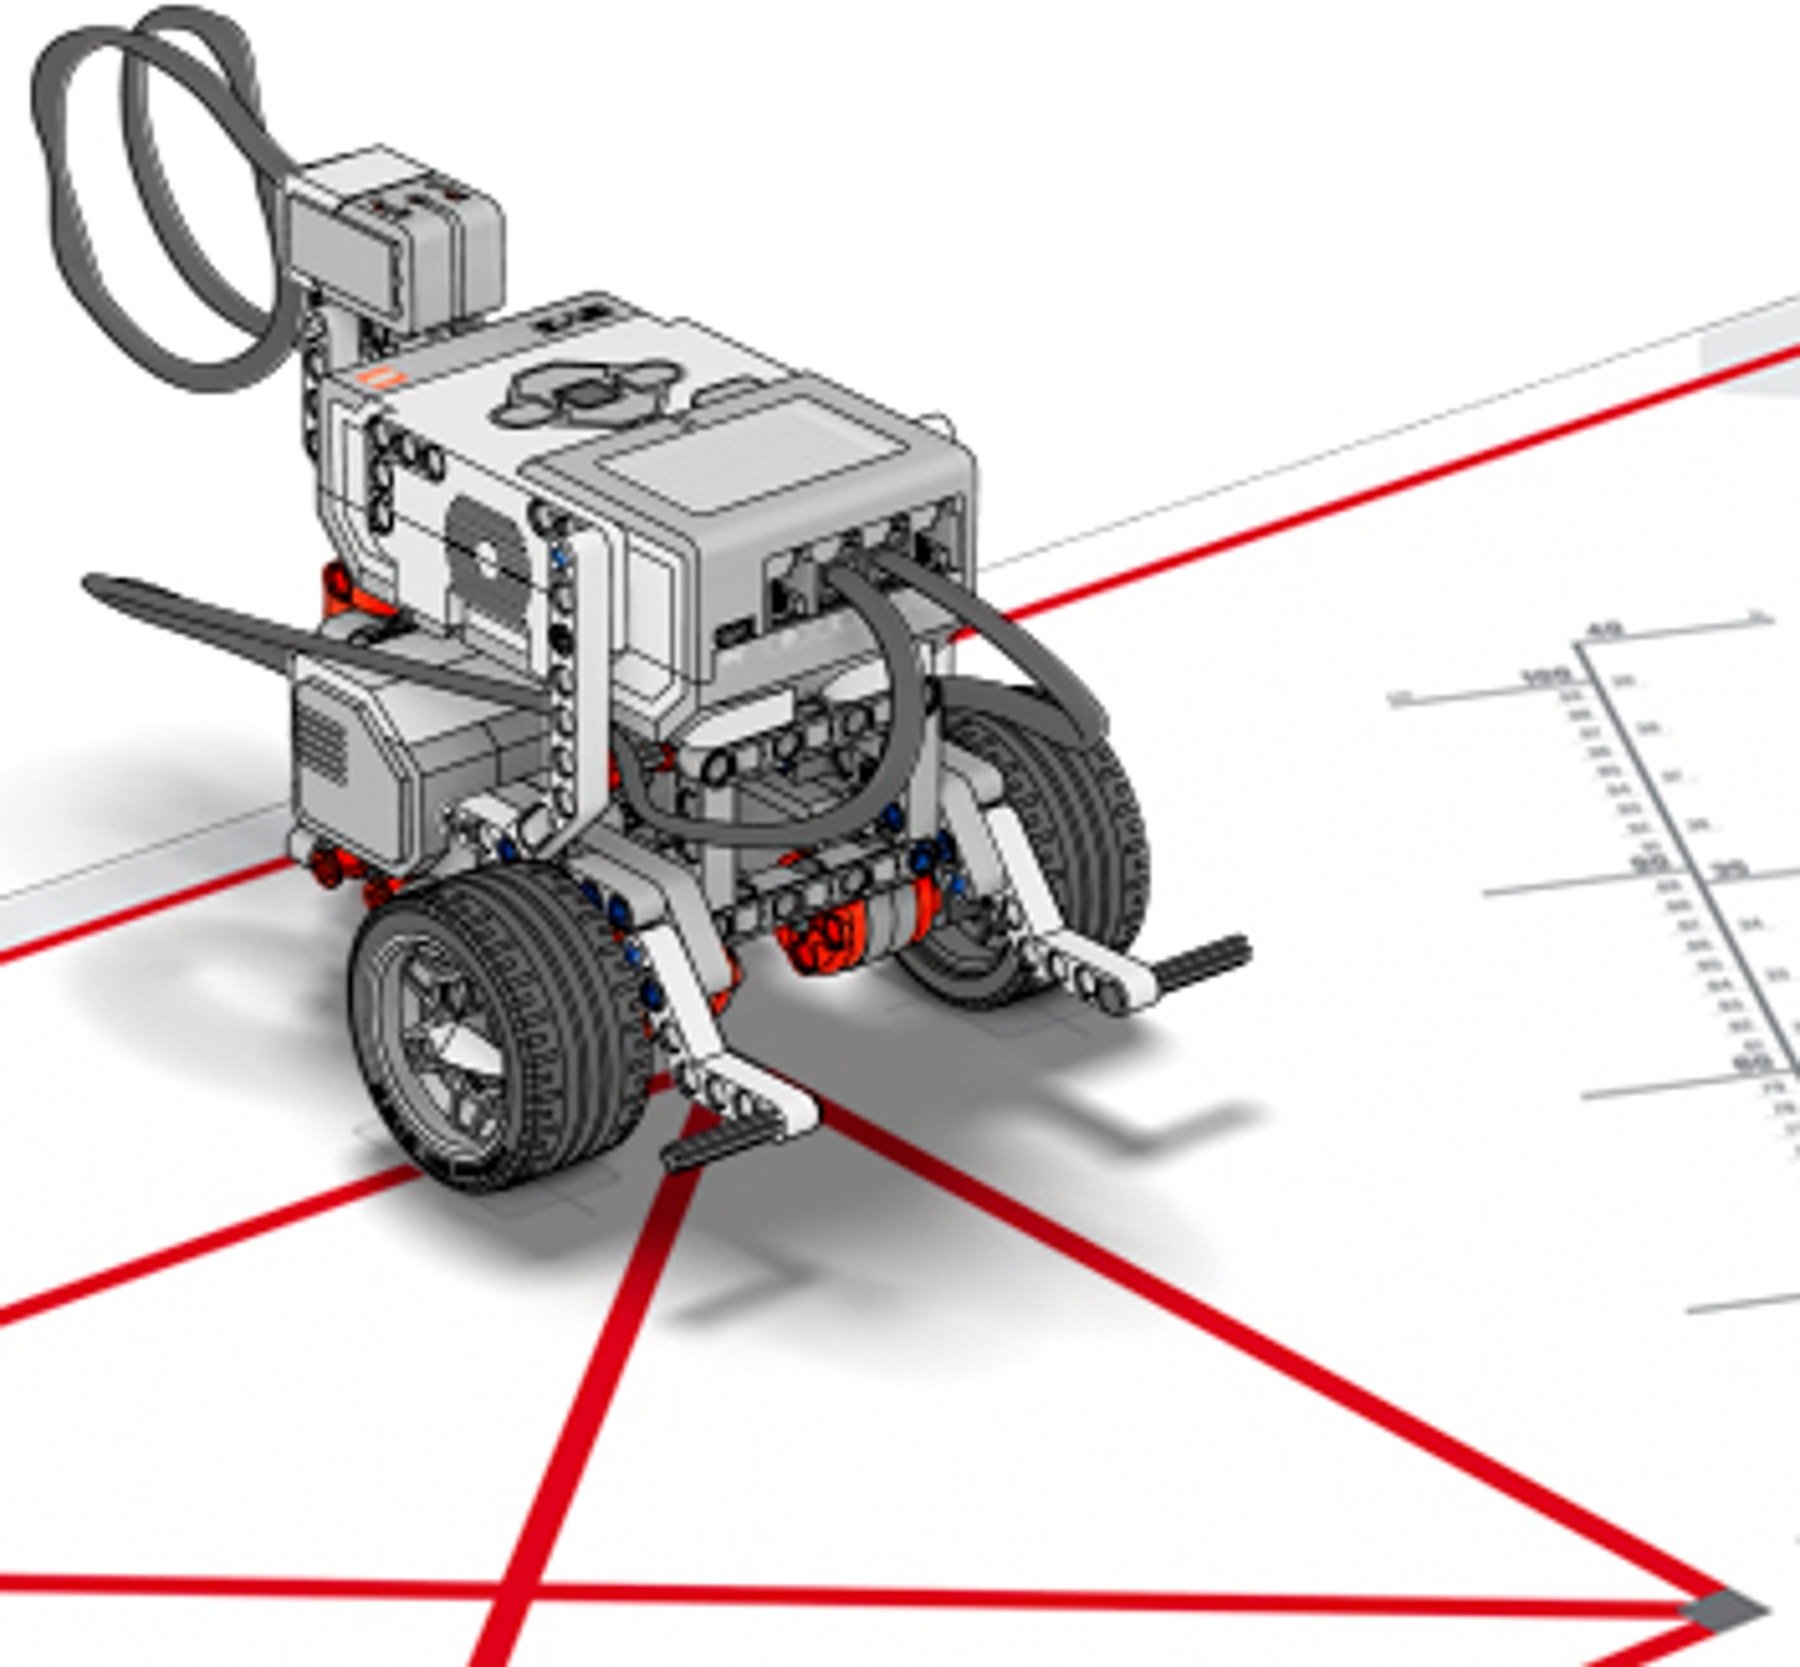
- Build your robot.
- Create your program.
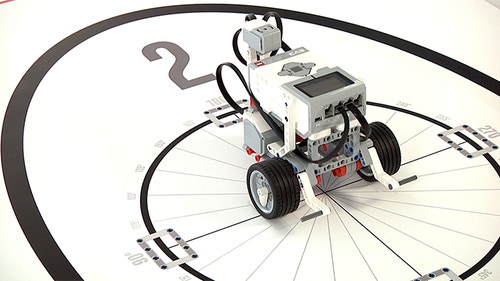
- Place your robot in position 2 on mat 2 and run the program.
- Document your findings.
- Continue to learn more about using the Gyro Sensor to control your robot’s movements.
Before you start this mission, you might want to review these Robot Educator tutorials:
- Stop at Angle
- Loop
During this mission, the students will explore the relation between sensor input and robot behaviour. The driving base rotations are going to be controlled by the Gyro Sensor.
Observe students to determine if they
use the correct terminology;
recognise the function of the programming blocks;
find good ways to test the turning angle of their robot; and
realise which factors might affect the stopping precision when using a Gyro Sensor (sensor tolerance, motor slack, and the rotational momentum).
Connect
(5 minutes)
Rotating using a wheel is not very precise. If you try to turn your robot in the dust or on a slippery surface, it may not reach the right angle. What the Gyro Sensor does is to help you make much more precise movements.
Your mission is to program your robot to complete a point turn to an exact angle by using the Gyro Sensor.
Construct
(20 minutes)
Build Your Robot
Click the links below to open the building instructions, then build the model and return to this project to continue. Skip this step if the model is already built.
IMPORTANT:
Keep the Gyro Sensor and EV3 Brick steady when connecting the cable and during start-up of the EV3 Brick.
Create your Program
Re-create the program shown and then download it to your robot.

Program Summary
Start
Move Tank - Power B[10], Power C[-10]
Wait - Gyro Sensor - Compare Angle - Type[3] (Greater Than or Equal), Degrees [90]
Move Tank – Off
Troubleshooting
The angle needs adjustment – typically the value needs to be lower than 90 degrees.
Theory
When using the Gyro Sensor, the value of rotation written in the sensor block corresponds to the rotation of the driving base. The precision of the sensor is +/- 3 degrees. The motor slack and the delay caused by stopping the rotational momentum can also affect the precision.
The power of the battery, the size of the wheels, the friction of the robot on the surface, the distance between the two wheels are no longer factors that can influence the precision of the rotation of the robot.
Contemplate
(20 Minutes)
Run your program and observe.
Place your robot on starting position 2 of mat 2 and run your program.
Document Your Findings
- Describe here what each of your programming blocks did: My robot point turned until the Gyro Sensor read the value 90 degrees and stopped.
- Estimate the rotation angle of your robot: My robot turned approximately 90 degrees.
- Explain the difference between the rotation of your robot with and without the Gyro Sensor: The rotation controlled by the Gyro Sensor is linked to fewer factors of uncertainty on your robot.
Contemplate and Modify
Rebuild your program to make your robot do the following point turns:
- Clockwise for 45 degrees
- Clockwise for 180 degrees
- Clockwise for 360 degrees followed by an anti-clockwise point turn for 360 degrees
How much did your robot rotate, compared to what the program told it to do?
Typically, it rotated further due to the rotational momentum.
Task
Turn your robot clockwise for 45 degrees.

Solution - Program Summary
Move Tank - Power B[10], Power C[-10]
Wait - Gyro Sensor - Compare Angle - Type[3] (Greater Than or Equal), Degrees [45]
Move Tank – Off
Troubleshooting
The angle needs adjustment – typically the value needs to be lower than 45 degrees.
Task
Turn your robot clockwise for 180 degrees.

Solution - Program Summary
Move Tank - Power B[10], Power C[-10]
Wait - Gyro Sensor - Compare Angle - Type[3] (Greater Than or Equal), Degrees [180]
Move Tank – Off
Troubleshooting
The angle needs adjustment – typically the value needs to be lower than 180 degrees.
Task
Turn your robot clockwise for 360 degrees, followed by an anti-clockwise point turn for 360 degrees.

Solution- Program Summary
Start
Move Tank - Power B[10], Power C[-10]
Wait - Gyro Sensor - Compare Angle - Type[3] (Greater Than or Equal), Degrees [360]
Move Tank – Off
Wait - Seconds[2]
Move Tank - Power B[10], Power C[-10]
Wait - Gyro Sensor - Compare Angle - Type[5] (Less Than or Equal to), Degrees [0]
Move Tank – Off
Continue
(15 Minutes)
Continue to Explore
Create a new program using a Loop to make your robot drive in a square.
When you are ready, test your program on starting position 4 on learning mat 1.

Solution - Program Summary
Loop - Count[4]
Move Steering - Degrees[682], Power[30]
Wait - Time[1s]
Move Tank - On, Power B[10], Power C[-10]
Wait - Gyro Sensor - Change Angle - Direction[0] (Increase), Degrees [85]
Move Tank – Off
Wait - Time[1s]
Troubleshooting
The angle needs adjustment – typically the value needs to be lower than 90 degrees.
Explain here what a Loop can be used for:
I can use the Loop structure to repeat actions.
Optional
- Create a new program that makes your robot drive in a triangle. When you are ready, test your program in starting position 4 on mat 1.
- Program your robot to drive in other shapes.

You are now able to use the Gyro Sensor to make turns. Well done!
Teacher Support
The students will learn:
Science and Engineering:
- patterns
- cause and effect: Mechanism and Explanation
Mathematics: - Solve real-life and mathematical problems involving angle measure, area, surface area, and volume.
- Look for and express regularity in repeated reasoning.
Robotics: - movement control of the robot using the Gyro Sensor
- understanding the difference between plain output programming and sensor-based programming
- advantages and limitations of sensors
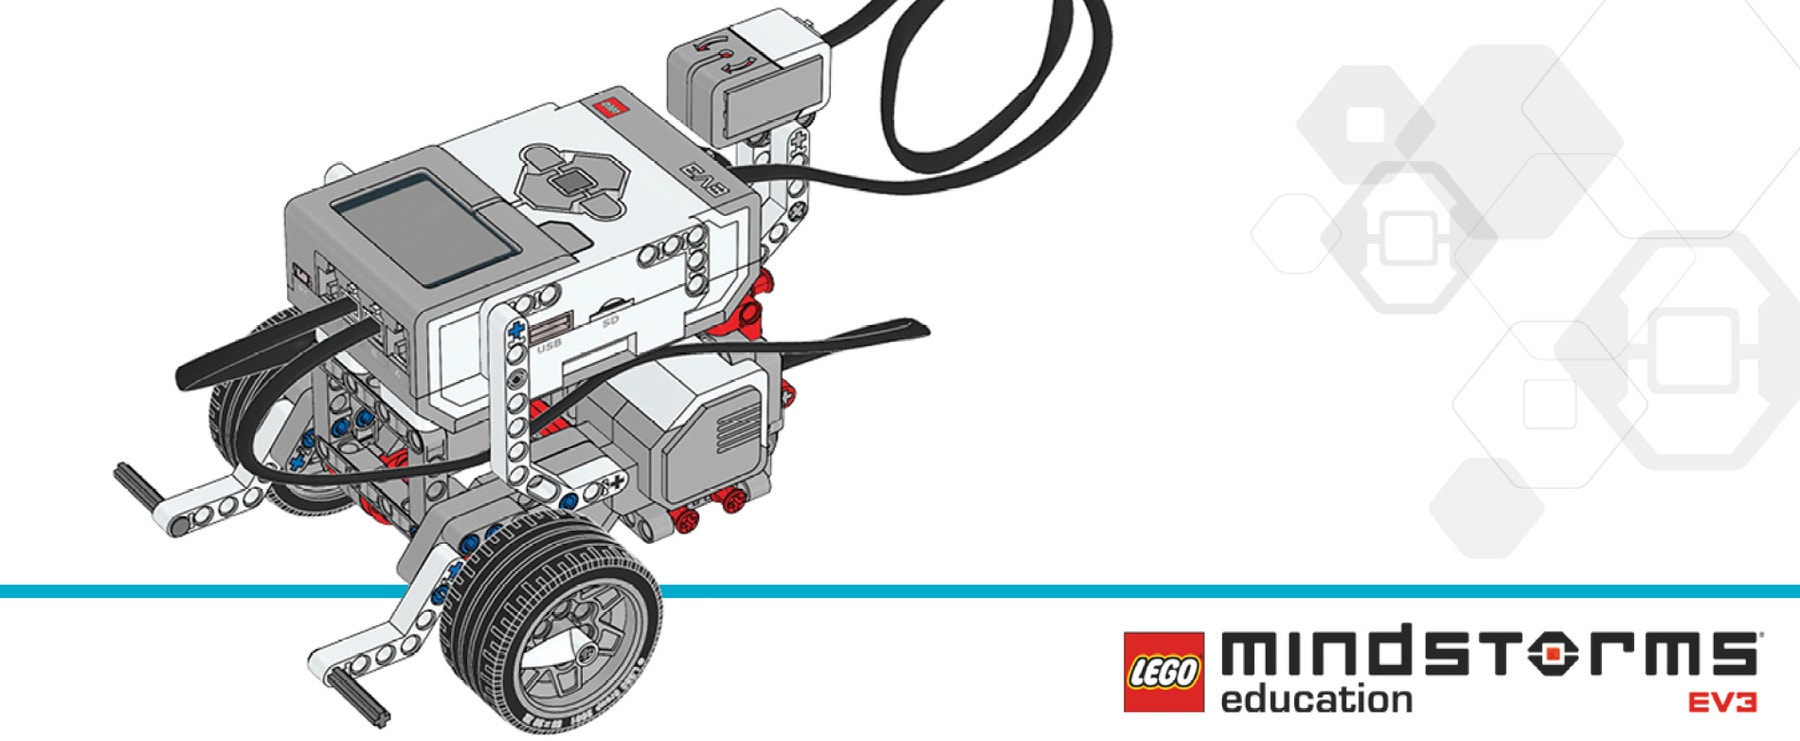
LEGO® MINDSTORMS Education EV3 Core Set
EV3 Space Challenge Set
EV3 Software or Programming App


