Make a Life Hack
Create an invention to help solve one of the little problems kids face in life at home, school, and play!
1. Introduction/Discussion
Introduction
There’s inspiration for life hacks all around us. A great place to start is to ask your
pupils to brainstorm simple problems that they face in their daily lives. Ask them to
think about things like:
• What could they make or hack together in order to make their lives easier?
• Do they need help waking up in the morning?
• Do they need a helper for household chores?
• Do they need a reminder to do something?
Be sure to have materials on hand that they can repurpose into something new.
Preparation
Ensure that each pupil has a copy of the Pupil Worksheet for recording their design process. They will also need the LEGO® Education WeDo 2.0 Core Set (one set for every two pupils is recommended).
Discussion
Hand out the Pupil Worksheets and allow your pupils to interpret the lesson for
themselves, or read the Maker ‘Connect’ text aloud to set the scene.
2. Find a Problem
As pupils look at the ‘Connect’ images and questions, facilitate a discussion
to steer them towards a problem or a new design opportunity. Once they have
decided upon a problem to solve, ensure that they record this in some way. They
can use the worksheet to help structure their project documentation or use their
own preferred method to record their design journey.
3. Brainstorm
Pupils should initially work independently or in pairs, spending a few minutes to
generate as many ideas as they can to solve the problem. They can use bricks
from the LEGO® set during the brainstorming process or sketch out their ideas in
the space provided on the worksheet.
It is important for pupils to spend time tinkering with the LEGO® bricks in
order to generate ideas. The goal of tinkering is to explore as many solutions
as possible. You can use the tinkering examples that are provided at the end
of this material for inspiration or as a means for getting started.
Your pupils can now take turns sharing their ideas within their groups. Once all of
the ideas have been shared, each group should select the best idea(s) to make.
Be prepared to help facilitate this process, ensuring that pupils choose an idea
that is possible to make. Encourage diversity, not all groups have to make the
same thing.
4. Choose the Best Idea
Pupils should record up to three design criteria on their worksheets. They will
refer to this again as they review and revise their solutions.
5. Make the Idea
Let your pupils carry out one of their group’s ideas using the WeDo 2.0 Core Set
and other materials as needed. Reinforce the idea that they do not have to come
up with the whole solution from the start.
During the making process, remind your pupils to test and analyse their ideas as
they go along, making improvements where necessary. If you would like pupils
to submit their documentation at the end of the lesson, ensure that they use
sketches and photos of their models to record their design journey during the
making stage of the lesson.
Tinkering Examples
Some pupils may require a little inspiration and support to help them to get started.
Pupils can explore the Model Library to find inspiration for their solutions. By asking questions (e.g. Would you like to make a life hack that lifts something? That carries something? That protects something?) you can help lead your pupils to the most relevant models. Pupils can remake their models by adding or removing LEGO® elements and other objects.
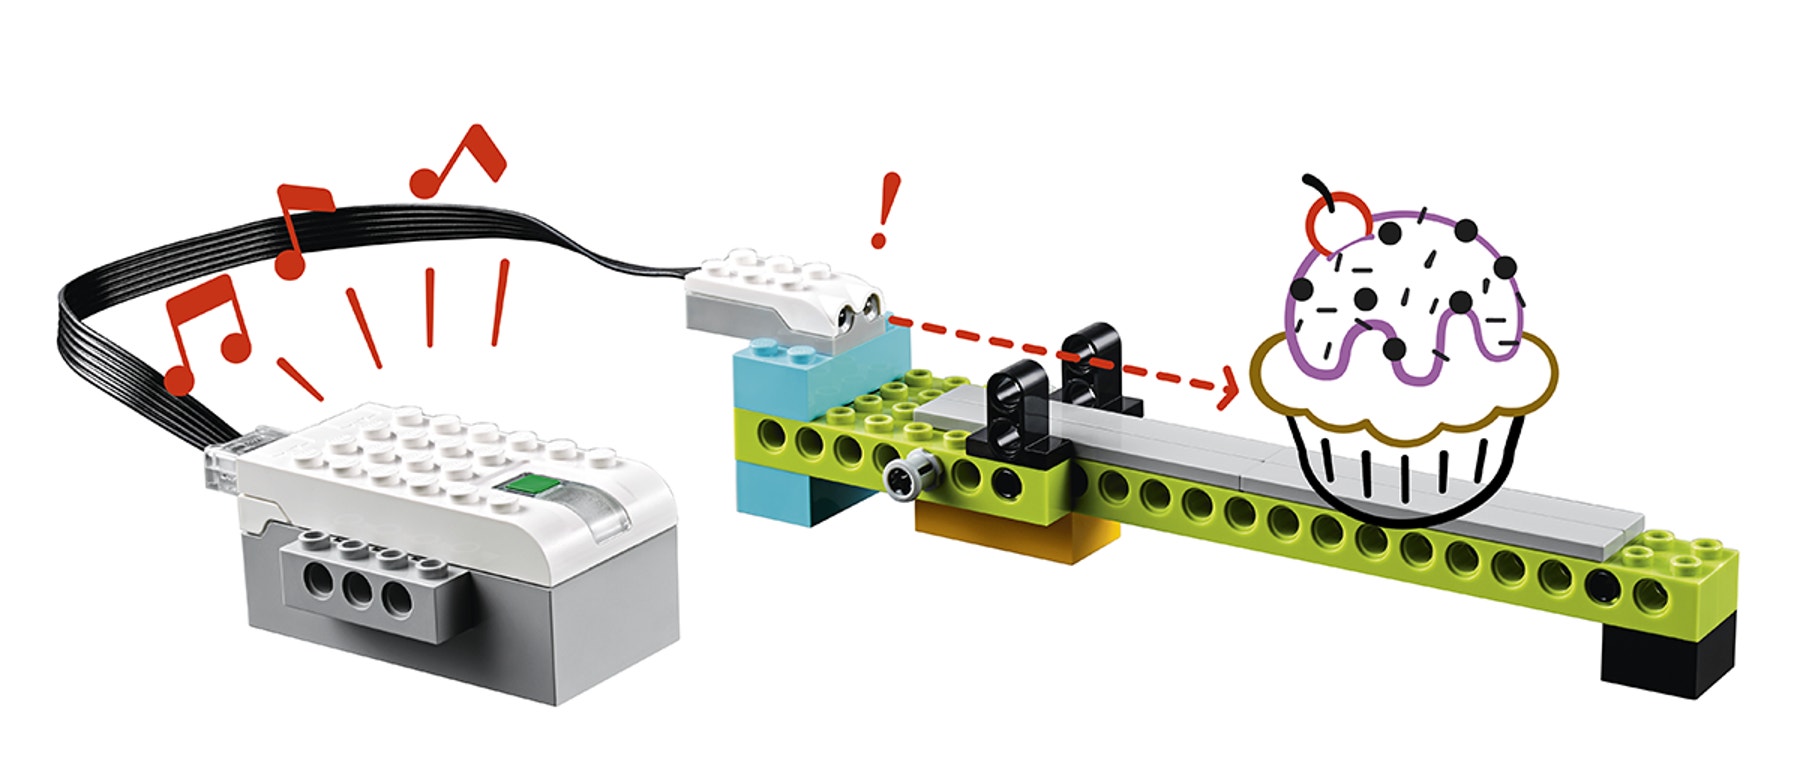
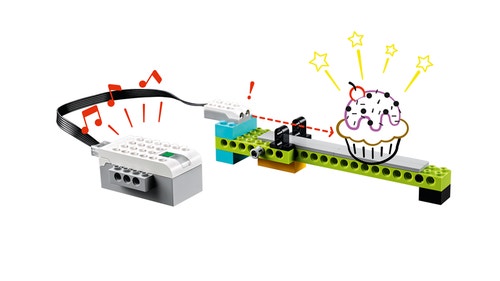
Remade from model #14. Motion


Remade from model #5. Spin
Fans can be dangerous. Please take care when choosing the shapes and materials for your model.

6. Evaluate What You Have Made
Pupils will test and evaluate their designs against the design criteria that they
recorded before they started making their solutions. They can record notes on
their Pupil Worksheets.
7. Share Your Model
Allow time for each pupil or group of pupils to present what they have made
to the class. A good way to do this is to set out a table that is large enough to
display all of the models. If you are short of time, pair off the groups and have
them present to each other.
8. Assessment
The pupils will use the Pupil Worksheet assessment rubric to evaluate their
design work according to the ‘Four Bricks Scale’.
9. Tidy Up
Ensure that you leave approximately 10-15 minutes at the end of the lesson to
break down the models and sort them back into the LEGO® boxes.
Teacher Support
After completing this lesson, pupils will have:
- Used and understood the design process
- Defined a clear design need
- Developed their ability to iterate and improve design solutions
- Developed their problem-solving and communication skills
LEGO® Education WeDo 2.0 Core Set
WeDo 2.0 Software or Programming App
Optional
Use craft materials that you already have in your classroom to add another
dimension to this lesson. Some materials could be:
Plastic or paper cups
Cardboard boxes
Egg cartons
Fabric or felt
Foam, pom-poms or beads
Pipe cleaners
Pupil Material
Share with:
 Google Classroom


