Ramp
Explore the scientific concepts of simple machine; inclined plane and wheel and axle, measuring the effect of force on an object and mechanical advantage.
Connect
(5-10 Minutes)
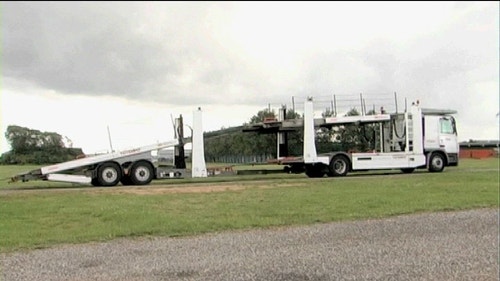
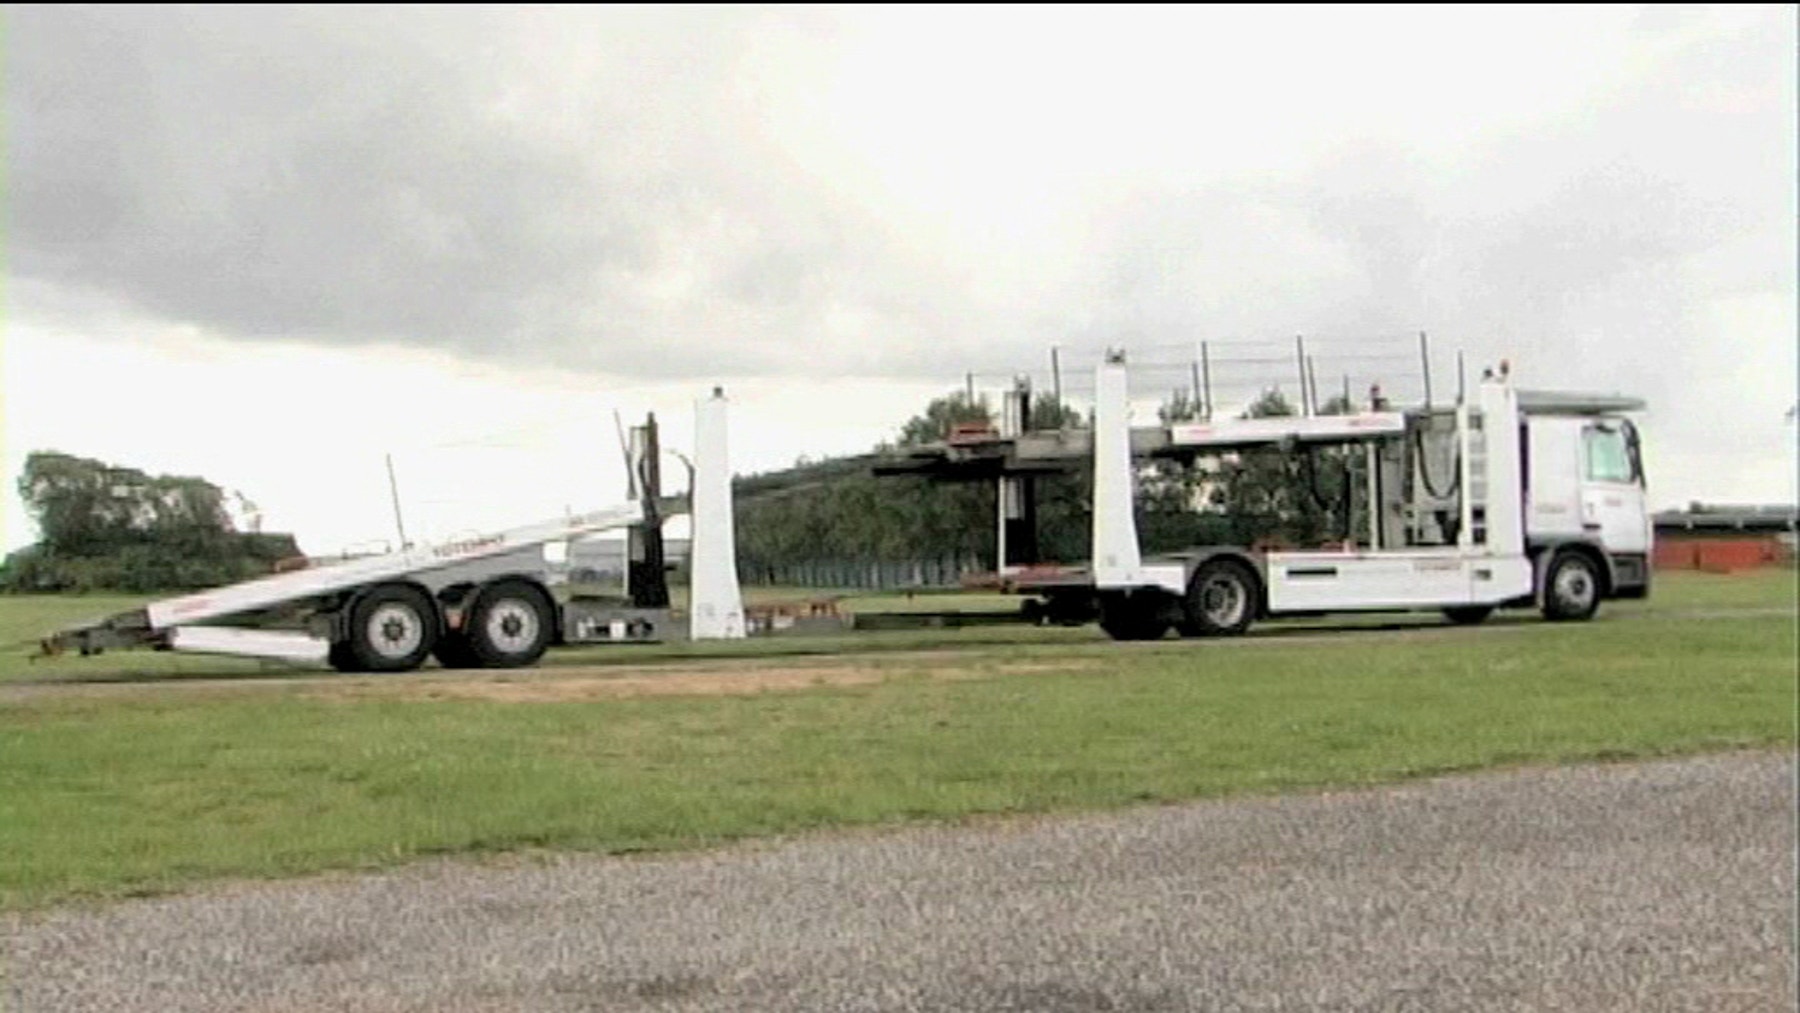
Ramps have been used since ancient times to help move heavy objects or large quantities of materials from one level to another. Today, automobile transport services use ramps on their trucks to load multiple vehicles on one transport. These multi-vehicle transports use ramps for easy of use, safety and efficiency.
You will build a model ramp and the box frame and investigate how angle and wheels affects the needed effort.
Construct
(20-25 Minutes)
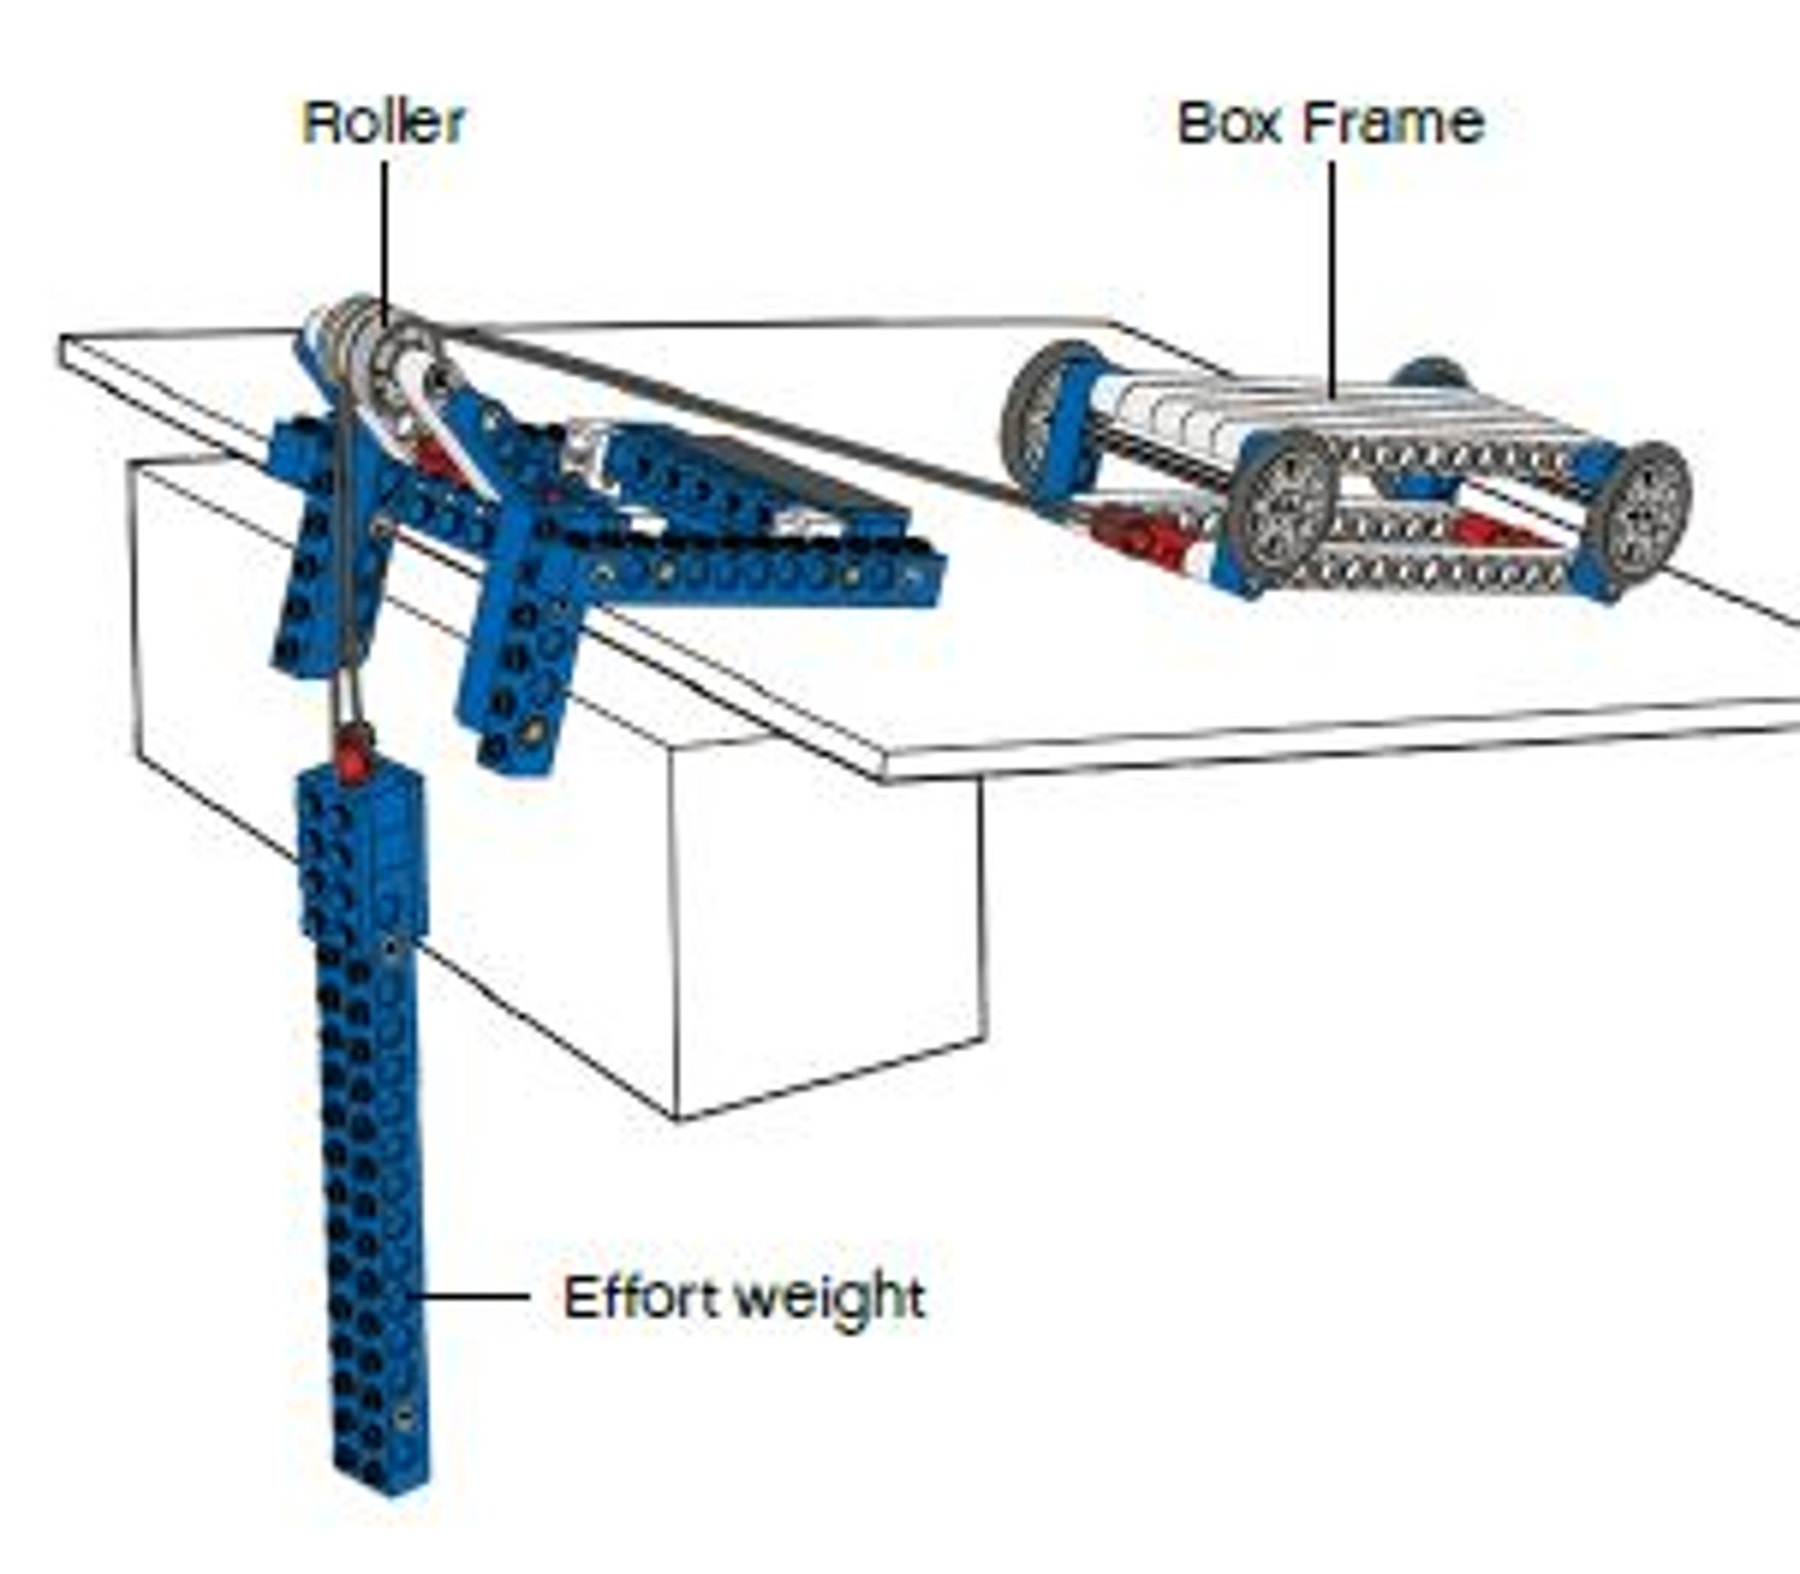
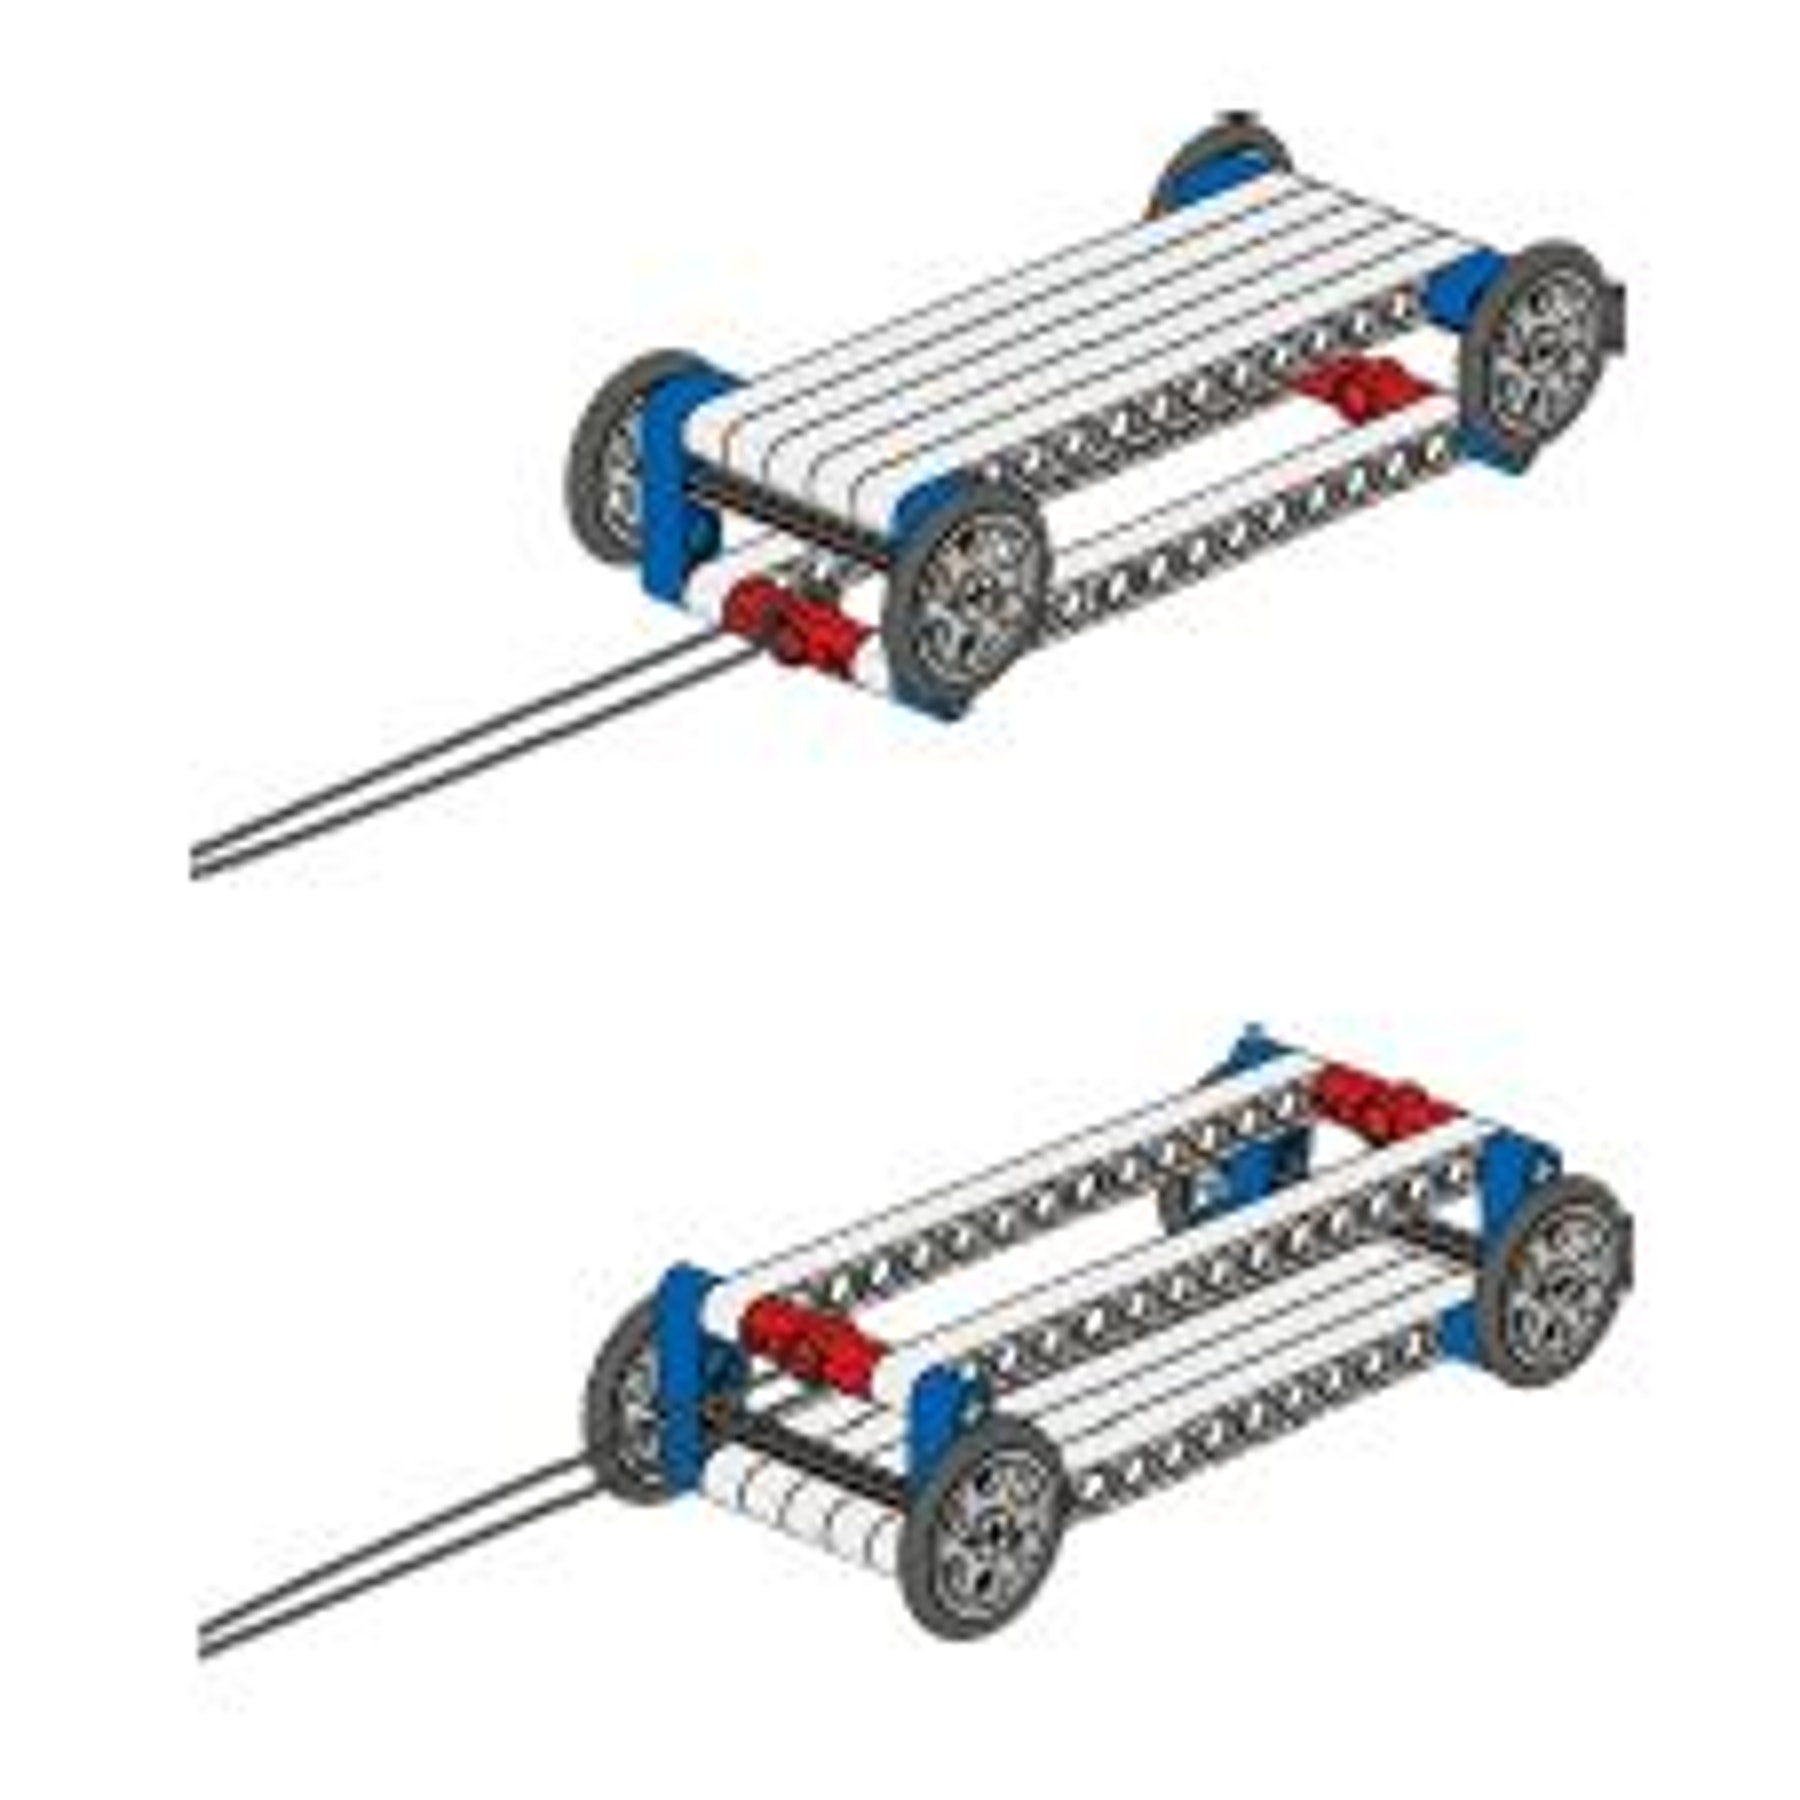
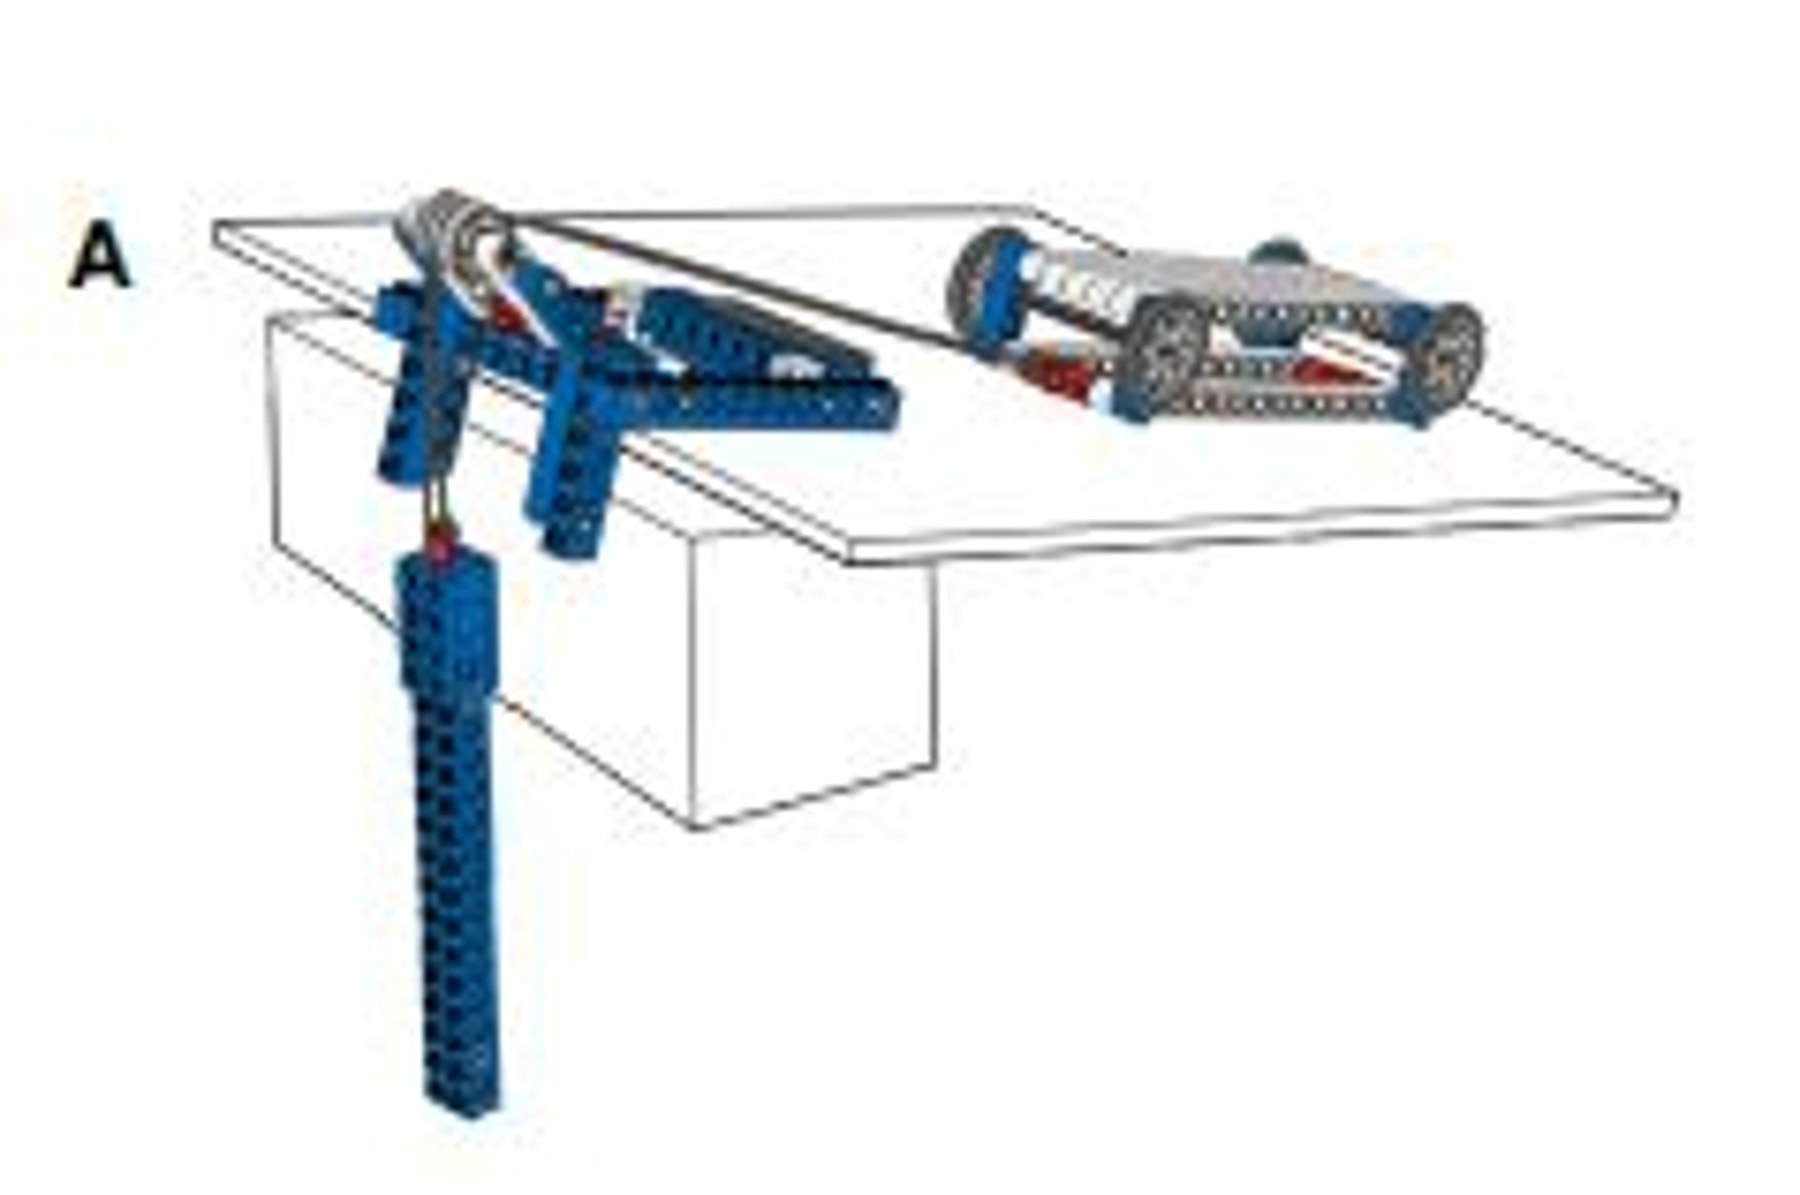
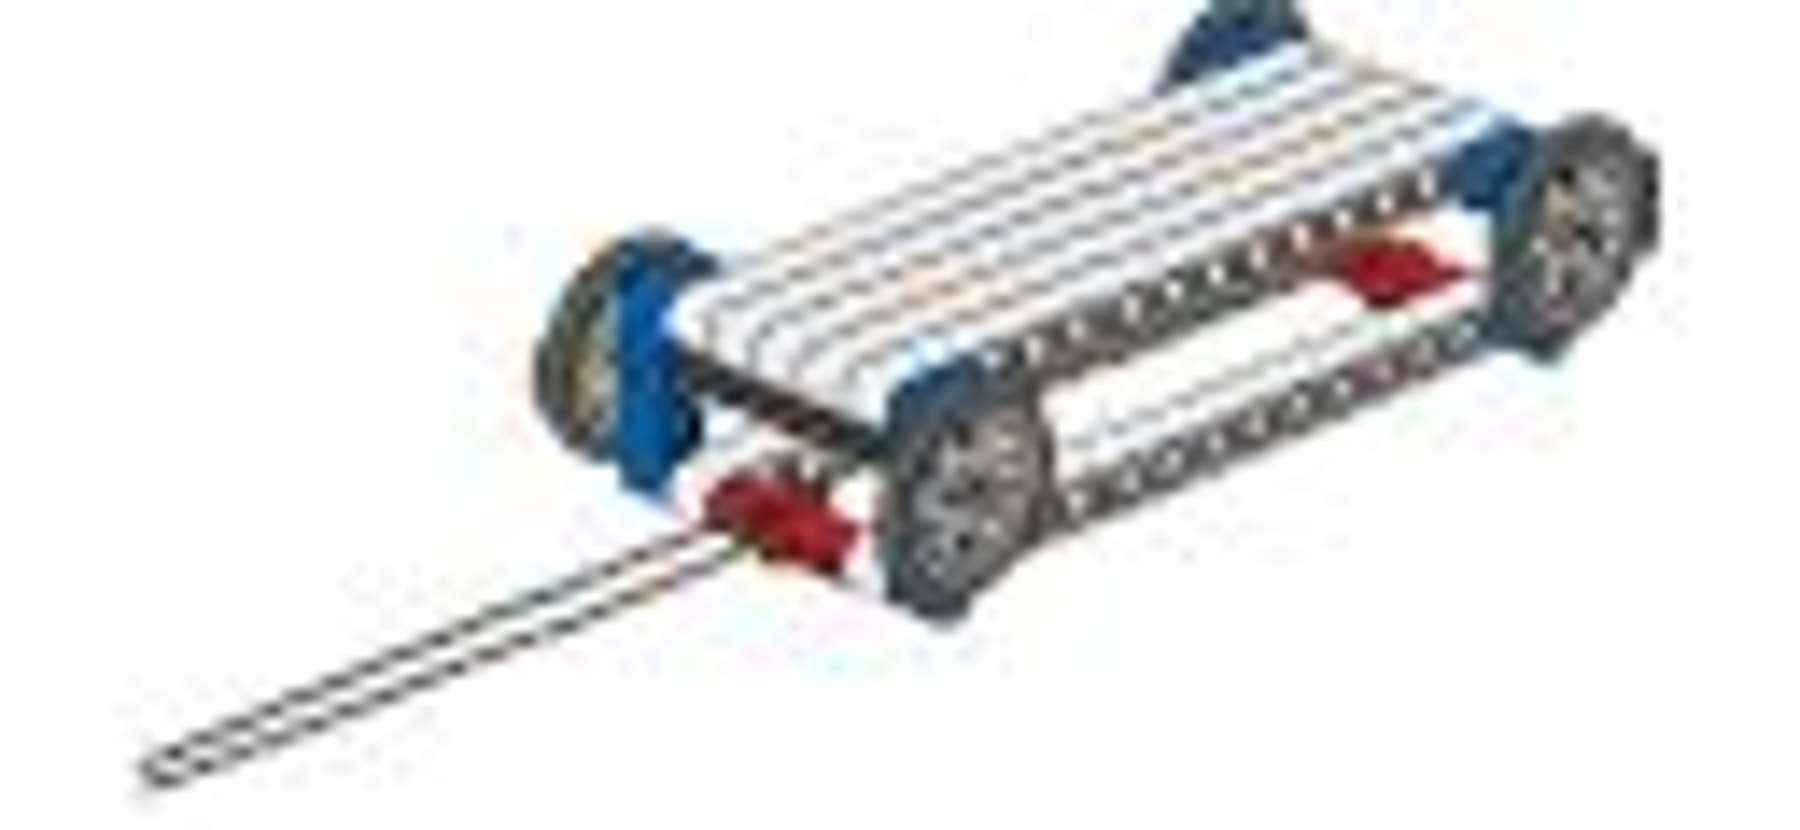
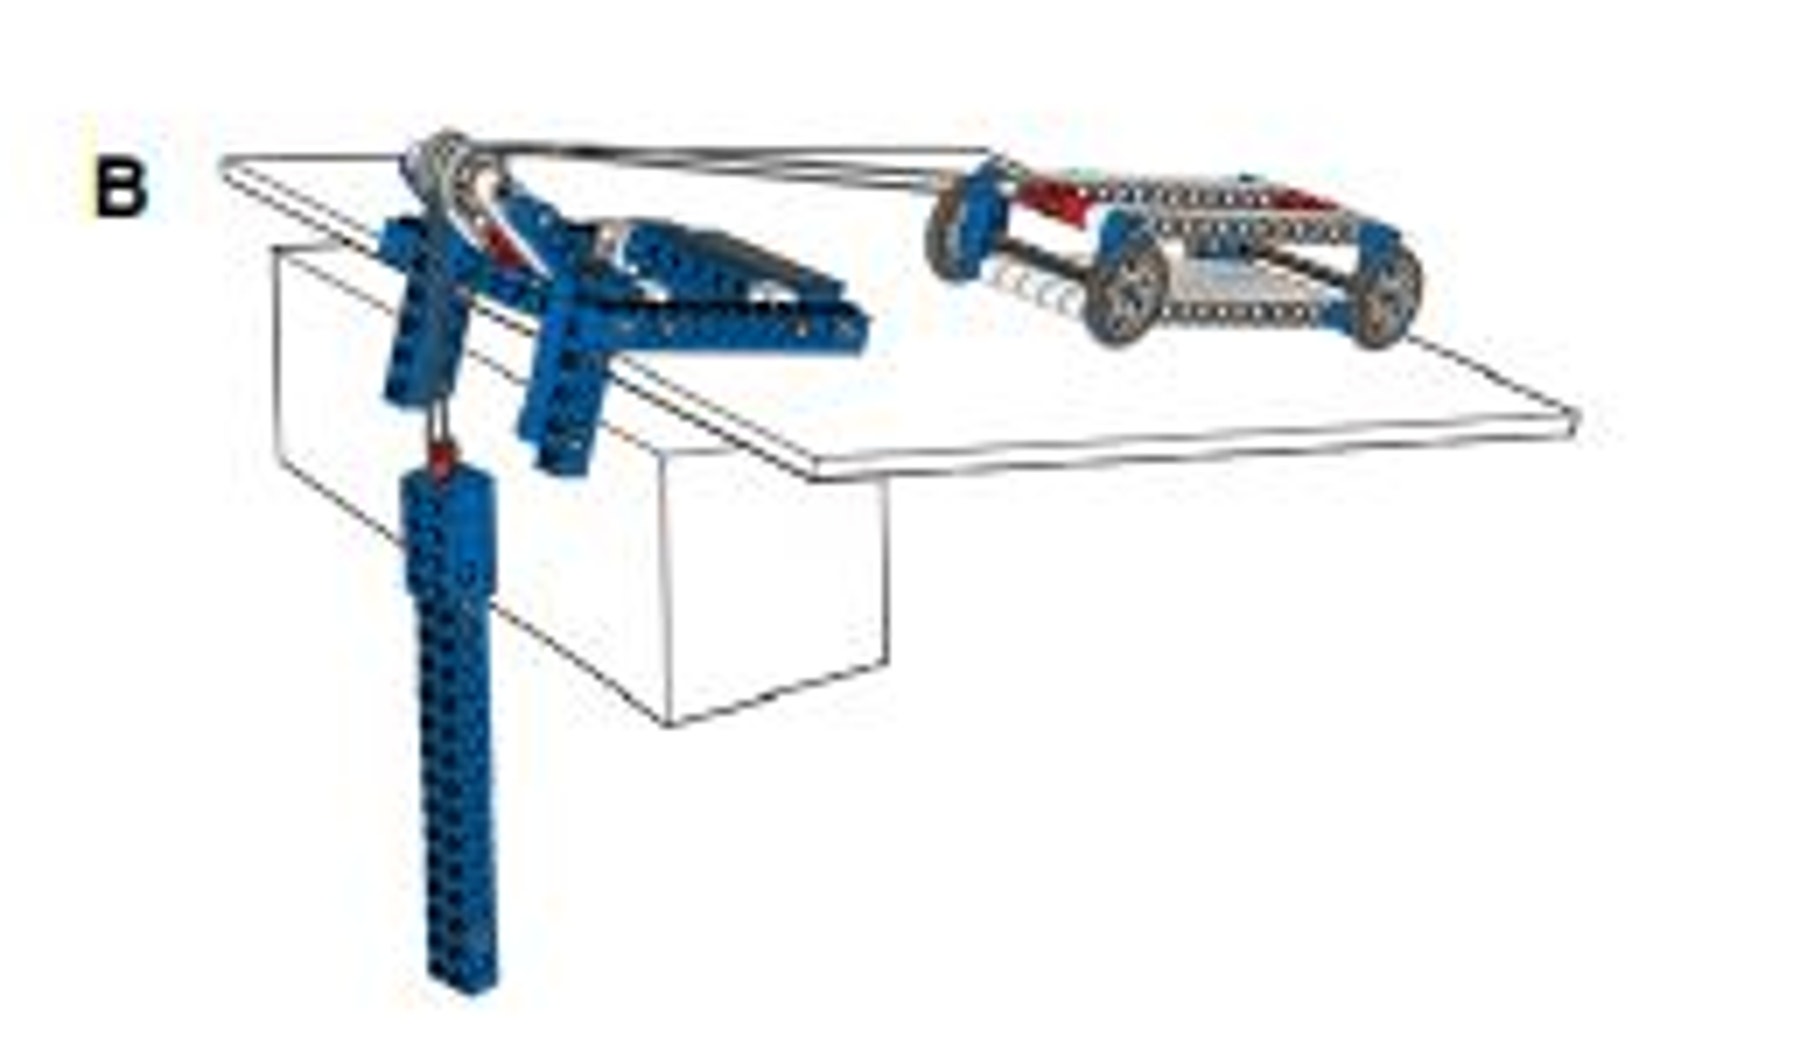
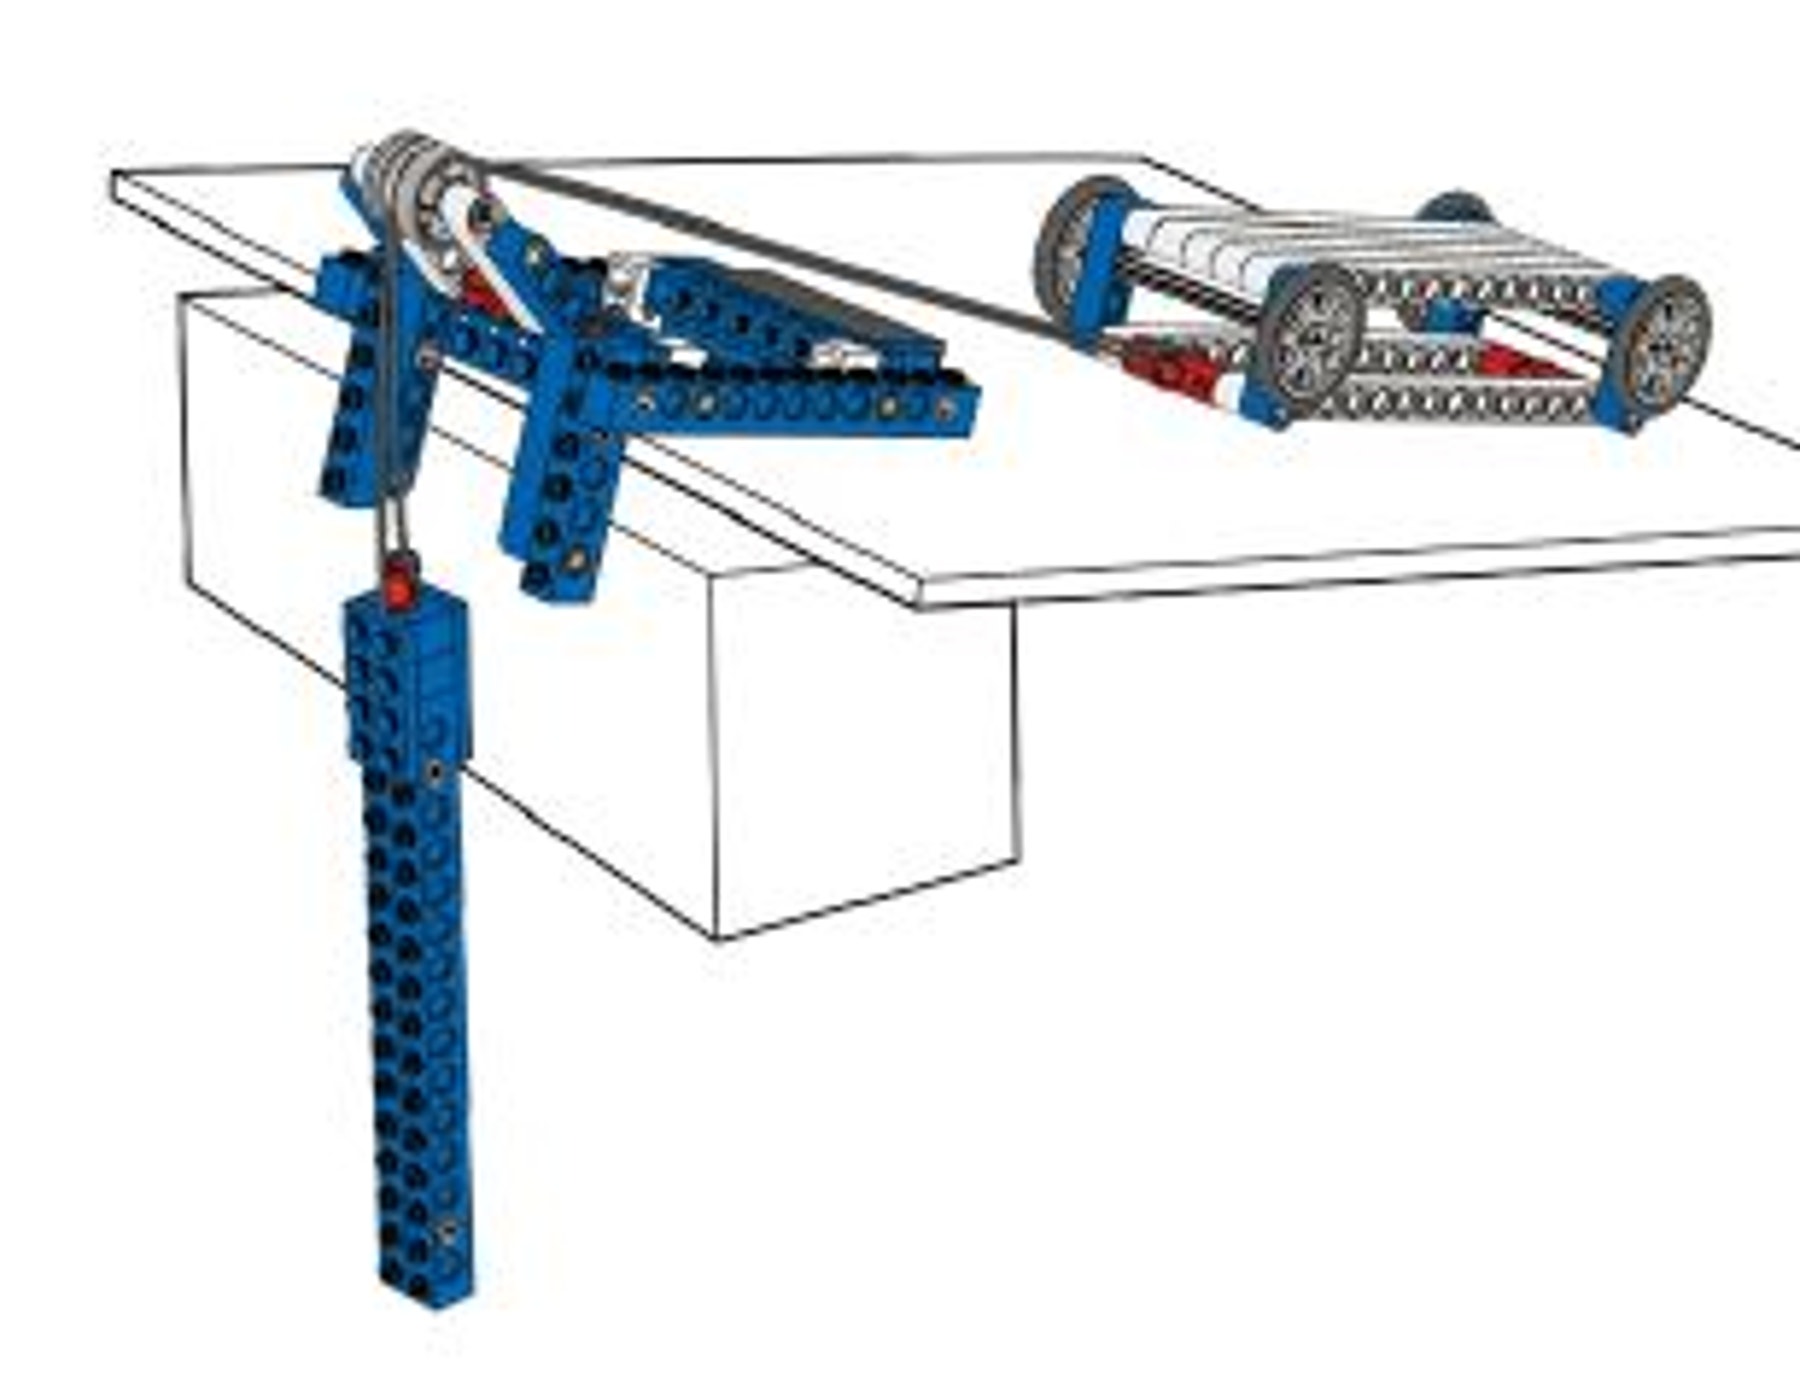
Build the Box Frame, Roller and Effort Weight
(building instructions 17A and 17B to page 11, step 15)
Make sure the wheels on the box frame turn freely.
The box frame can be turned upside down, to be used as a sled, without the wheels. Or turned around again as a cart with wheels.
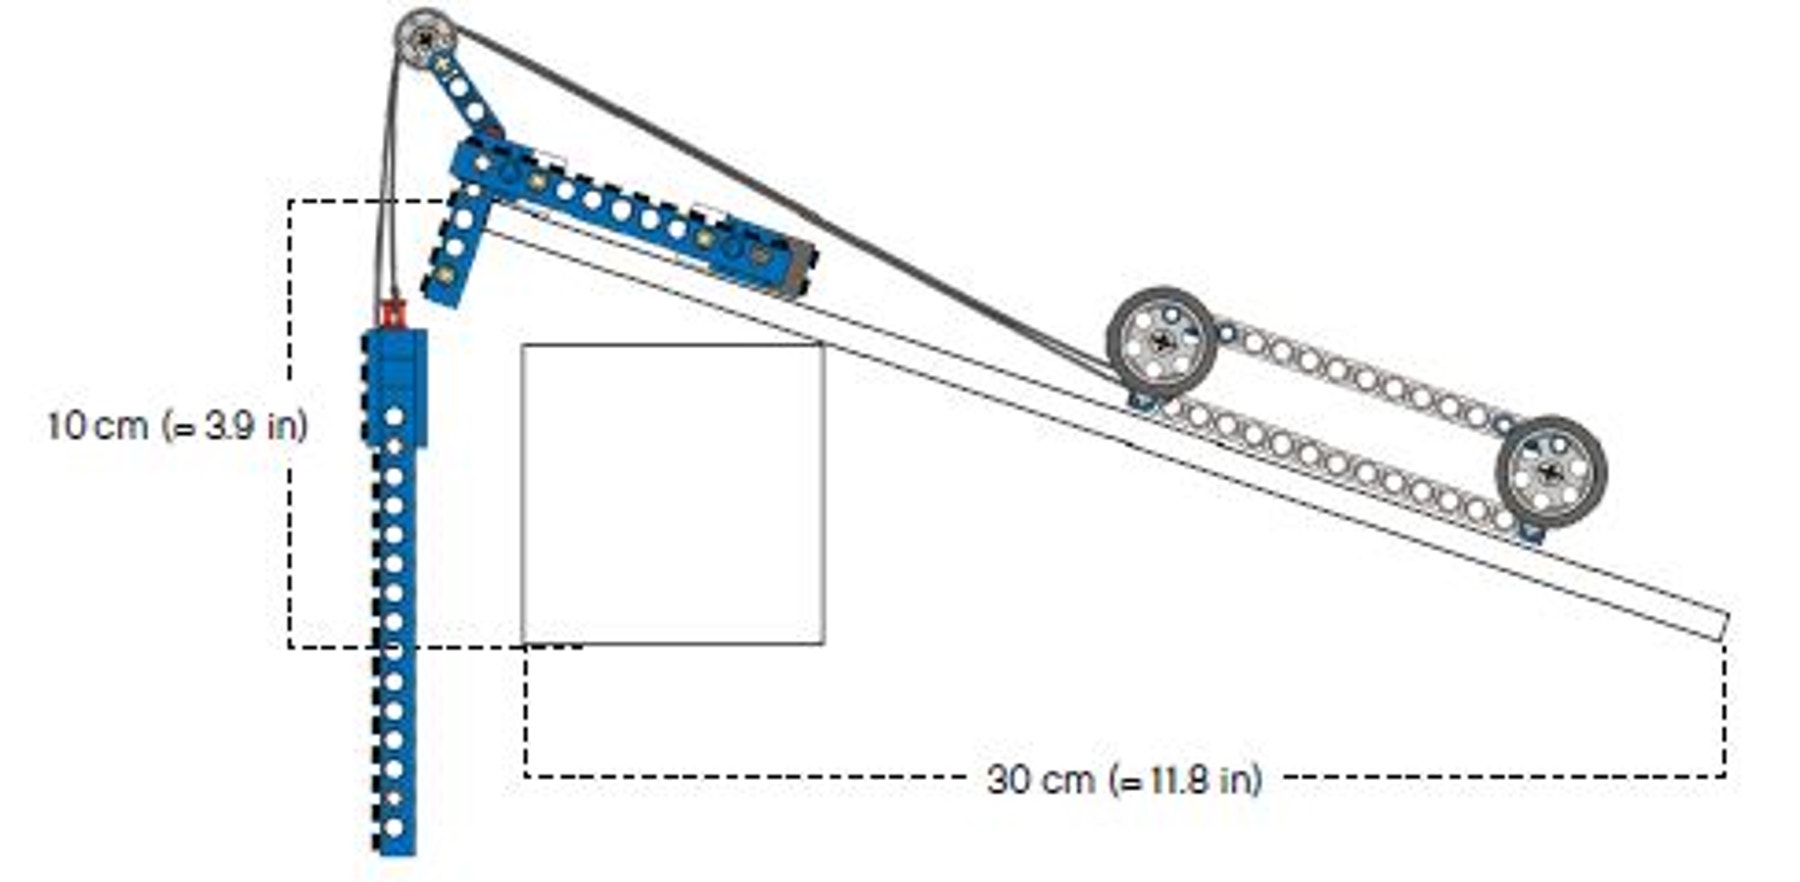
Build the Ramp
Place a support so the top of the 30 cm (≈ 11.8 in) plank is situated 10 cm (≈ 3.9 in) off the floor.
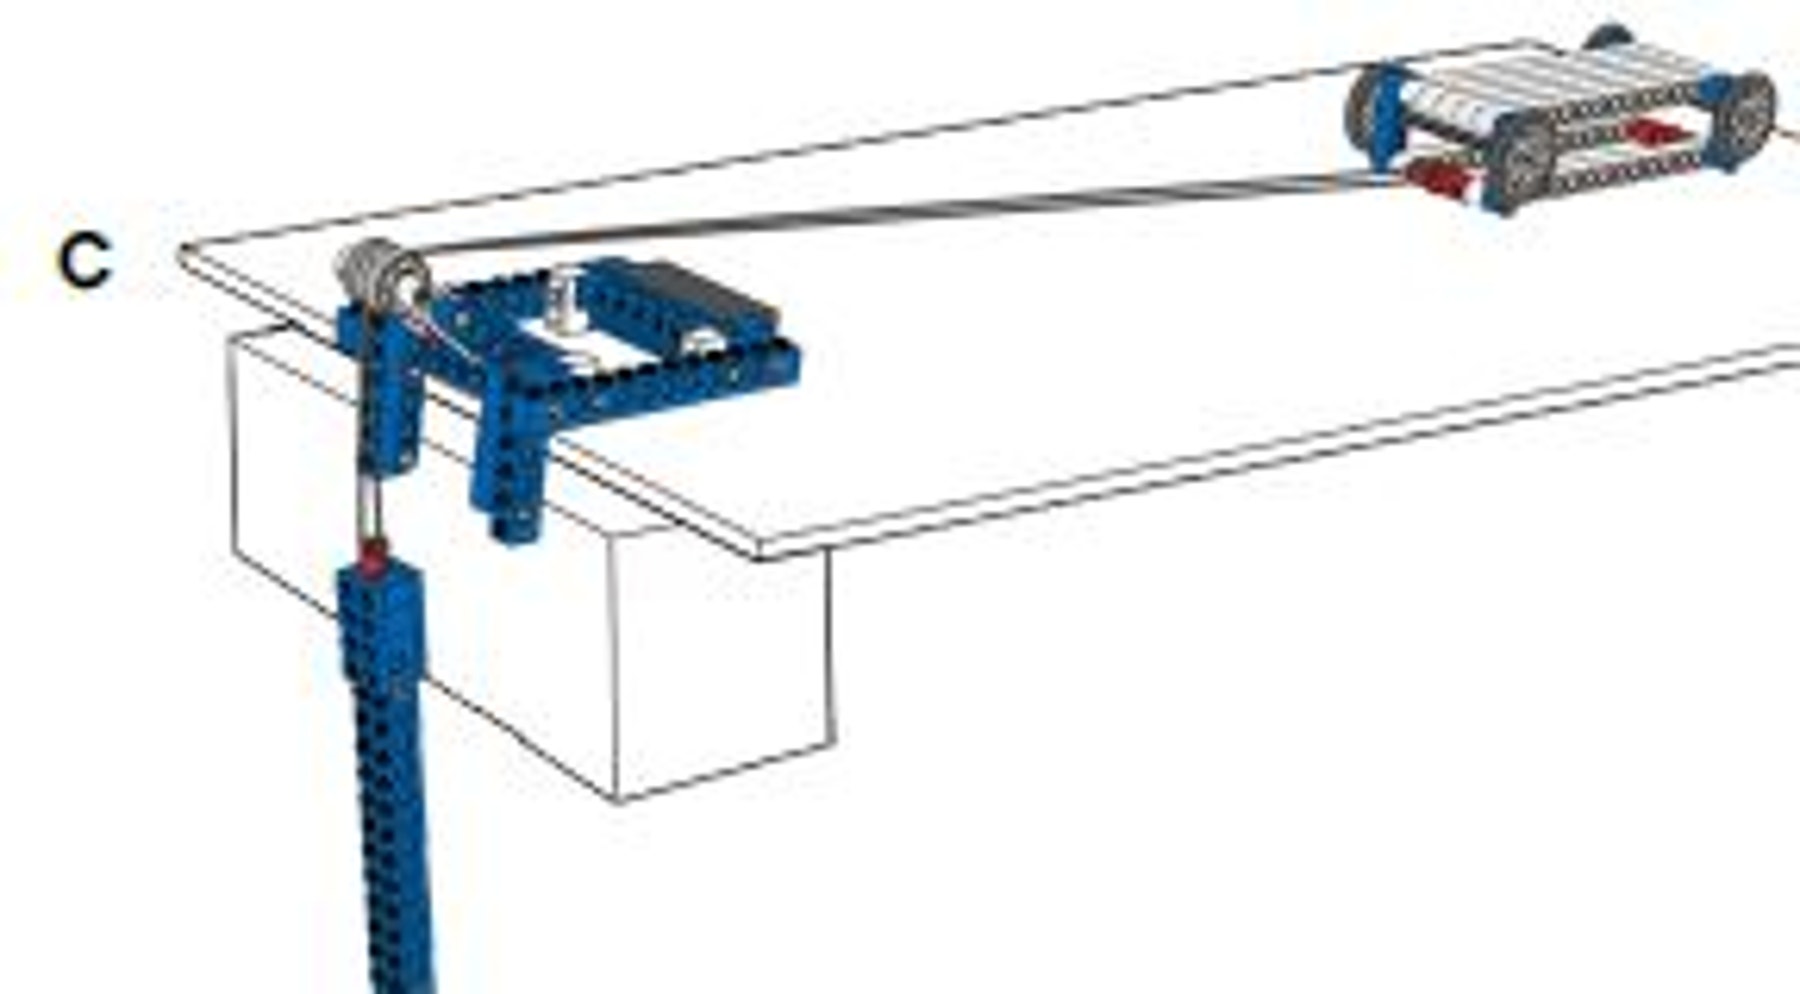
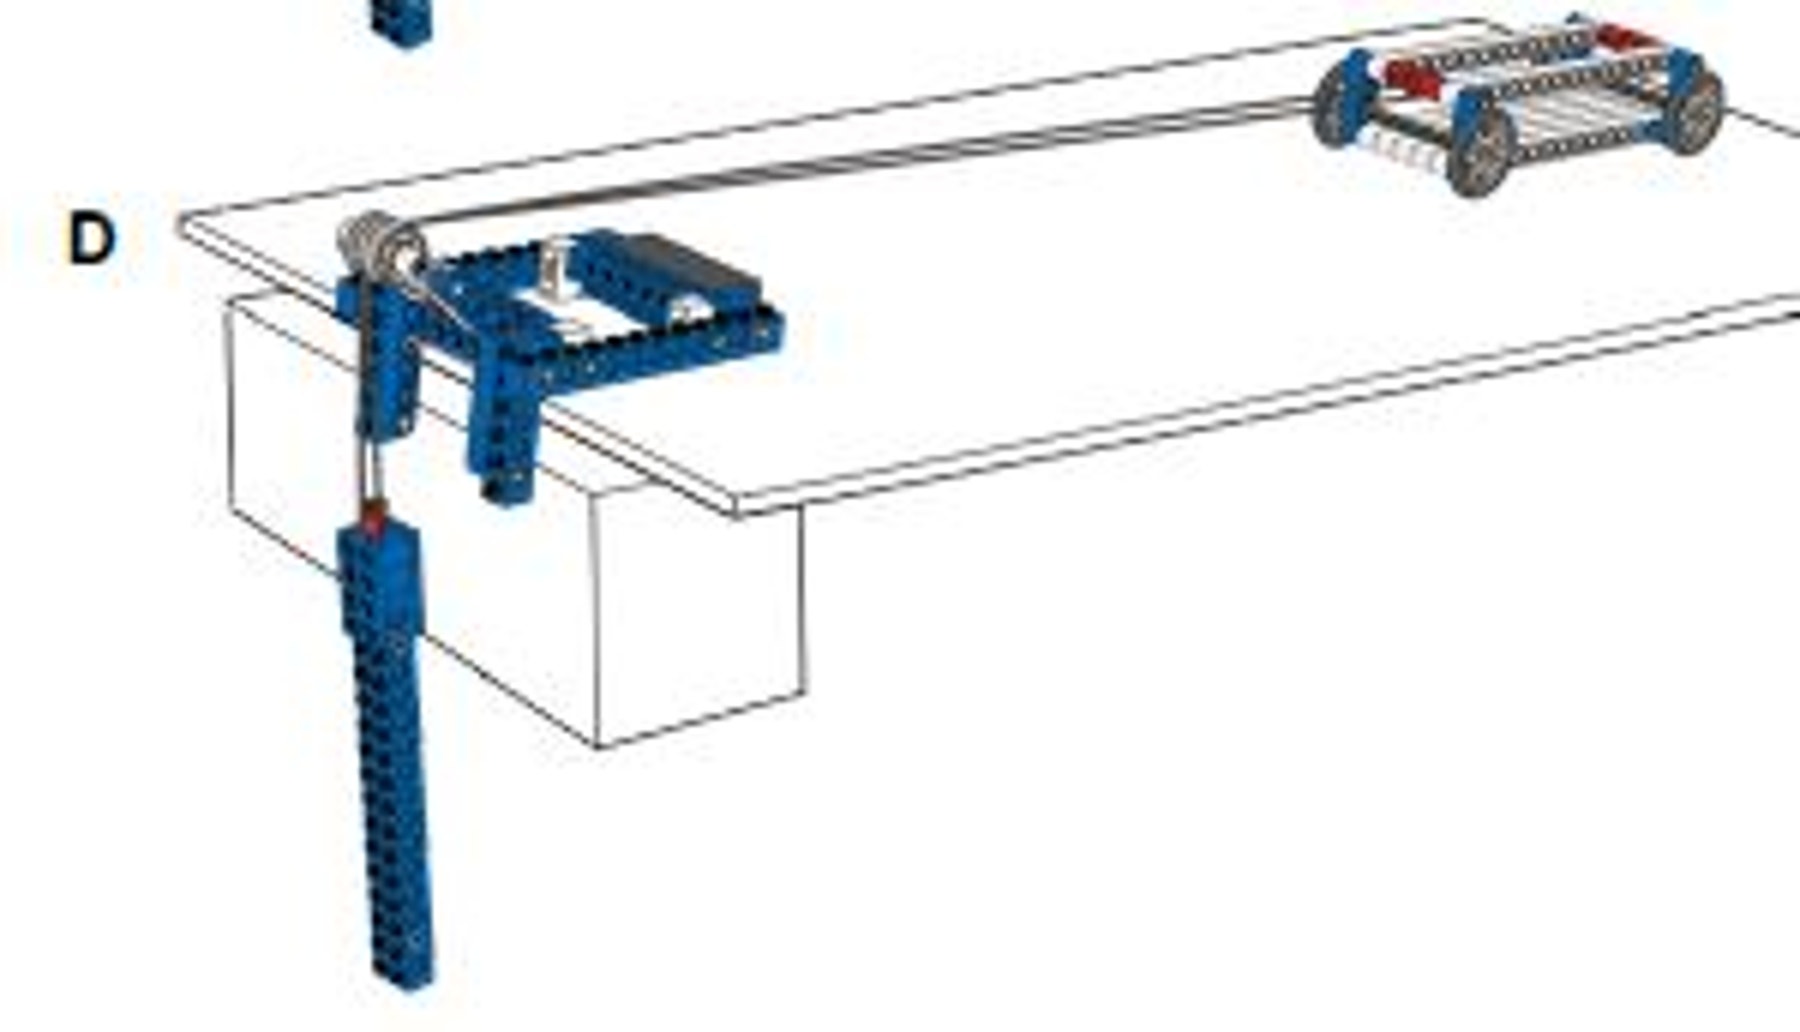
Place the box frame on the ramp and the roller at the top edge. Let the effort weight hang lose over the edge.
Have the 60 cm (≈ 23.6 in) plank ready to make changes to the ramp.
Contemplate
(20-25 Minutes)
What is the advantage of using the ramp?
Investigate the difference between ideal and actual mechanical advantage.
First, calculate the ideal mechanical advantage and predict how much effort is actually needed to pull the box frame A to the top of the ramp.
Record the mechanical advantage and your predictions on the worksheet.
Then test how much effort is needed by adding LEGO® bricks to the effort weight and calculate the actual mechanical advantage.
Record your findings on the worksheet.
Hint:
You can find all of the formulas you need to perform this investigation in the principle models section for inclined plane.
Did you know?
The box frame weighs 52 g.
Next, follow the same procedure for box frames B, C and D.
The ideal mechanical advantage of the short ramp is 3. The actual mechanical advantage depends on the surface of the plank.
The ideal mechanical advantage of the long ramp is 6. The actual mechanical advantage depends on the surface of the plank.
Continue
(25-30 Minutes)
Redesign needed?
A ramp can come in many shapes and sizes to match specific needs.
Now redesign the ramp to make it the best in its class. We have highlighted some questions you could explore. Choose one area that you would like to investigate.
Then design a test that will help you explore how it functions and possible additional improvements you could make to your new ramp. Remember to record all your test results.
When the students have chosen an area of interest sparked by the ‘what if’ suggestions ask them to:
a) Explain clearly the relevant part in the original model
b) Identify the key features of that part that makes it work in the way that it does
c) Consider which of these key features might be changed
d) Make possible changes to see their effect
e) Decide which changes achieve the desired effect
f) Record their new design and add notes to explain
a. What changes they made
b. Why they made them
c. The effect that the changes have had
Students can record their designs by sketching them, or by taking digital photos or video. It will help if students work collaboratively as they will be able to question one another as they move through the task.
Teacher Support
Students will explore the concepts of:
Science
Experiment and measure the effect of force on an object
Scientific investigation
Simple Machines – Inclined Plane
Simple Machines – Wheel and Axle
Technology
Assembling components
Construct simple machines
Evaluating
Mechanical advantage
Engineering
Describe and explain parts of a structure and the effects of loads
Engineering design
Test and evaluate before making improvements
Mathematics
Determine percent of error
Select and apply techniques and tools to accurately find length and angle measures to appropriate levels of precision
Understand the metric system of measurement
9686 Simple & Powered Machines Set (two students per set recommended)
30 cm (≈ 11.8 in) plank of wood or thick piece of cardboard
60 cm (≈ 23.6 in) plank of wood or thick piece of cardboard
Fabrics and abrasive papers to create different surfaces
Measuring tape
Weighing scales
Pile of books or boxes to elevate the planks
Crosscutting Concepts
Cause and effect: Mechanism and explanation
Scale, proportion, and quantity
Systems and system models
Structure and Function
Stability and change
Science and Engineering Practices
Asking questions and Defining Problems
Developing and using models
Planning and carrying out investigations
Analyzing and interpreting data
Using mathematics, Informational and Computer Technology, and computational thinking
Constructing explanations and designing solutions
Obtaining, evaluating, and communicating information
Common Core Mathematics Standards
MP4 / 6.EE.C / 7.EE.B / 8.EE.B / 8.F.B
Common Core English Language Arts
SL 6.1 / SL 6.4 / SL 6.6 / SL 7.1 / SL 7.4 / SL 8.1 / SL 8.4 / SL 8.6
RST 6-8.1 / RST 6-8.2 / RST 6-8.3 / RST 6-8.4 / RST 6-8.5 / RST 6-8.10
WHST 6-8.2 / WHST 6-8.4
Student Material
Share with:
 Google Classroom


