BricQ Motion Prime
Ski Slope
It's time to hit the slopes, and race! What does it take to go from the bunny slope to being a downhill pro?
30-45 min.
Intermed.
Grades 6-8

Prepare
- Review the online student material. Use a projector to share this material with your students during the lesson.
- Make sure that you've covered Newton's second law of motion in an earlier lesson.
- Consider the abilities and backgrounds of all of your students. Differentiate the lesson to make it accessible to everyone. See the Differentiation section below for suggestions.
Engage
(Whole Class, 5 Minutes)
- Watch the student video here or access it via the online student material.
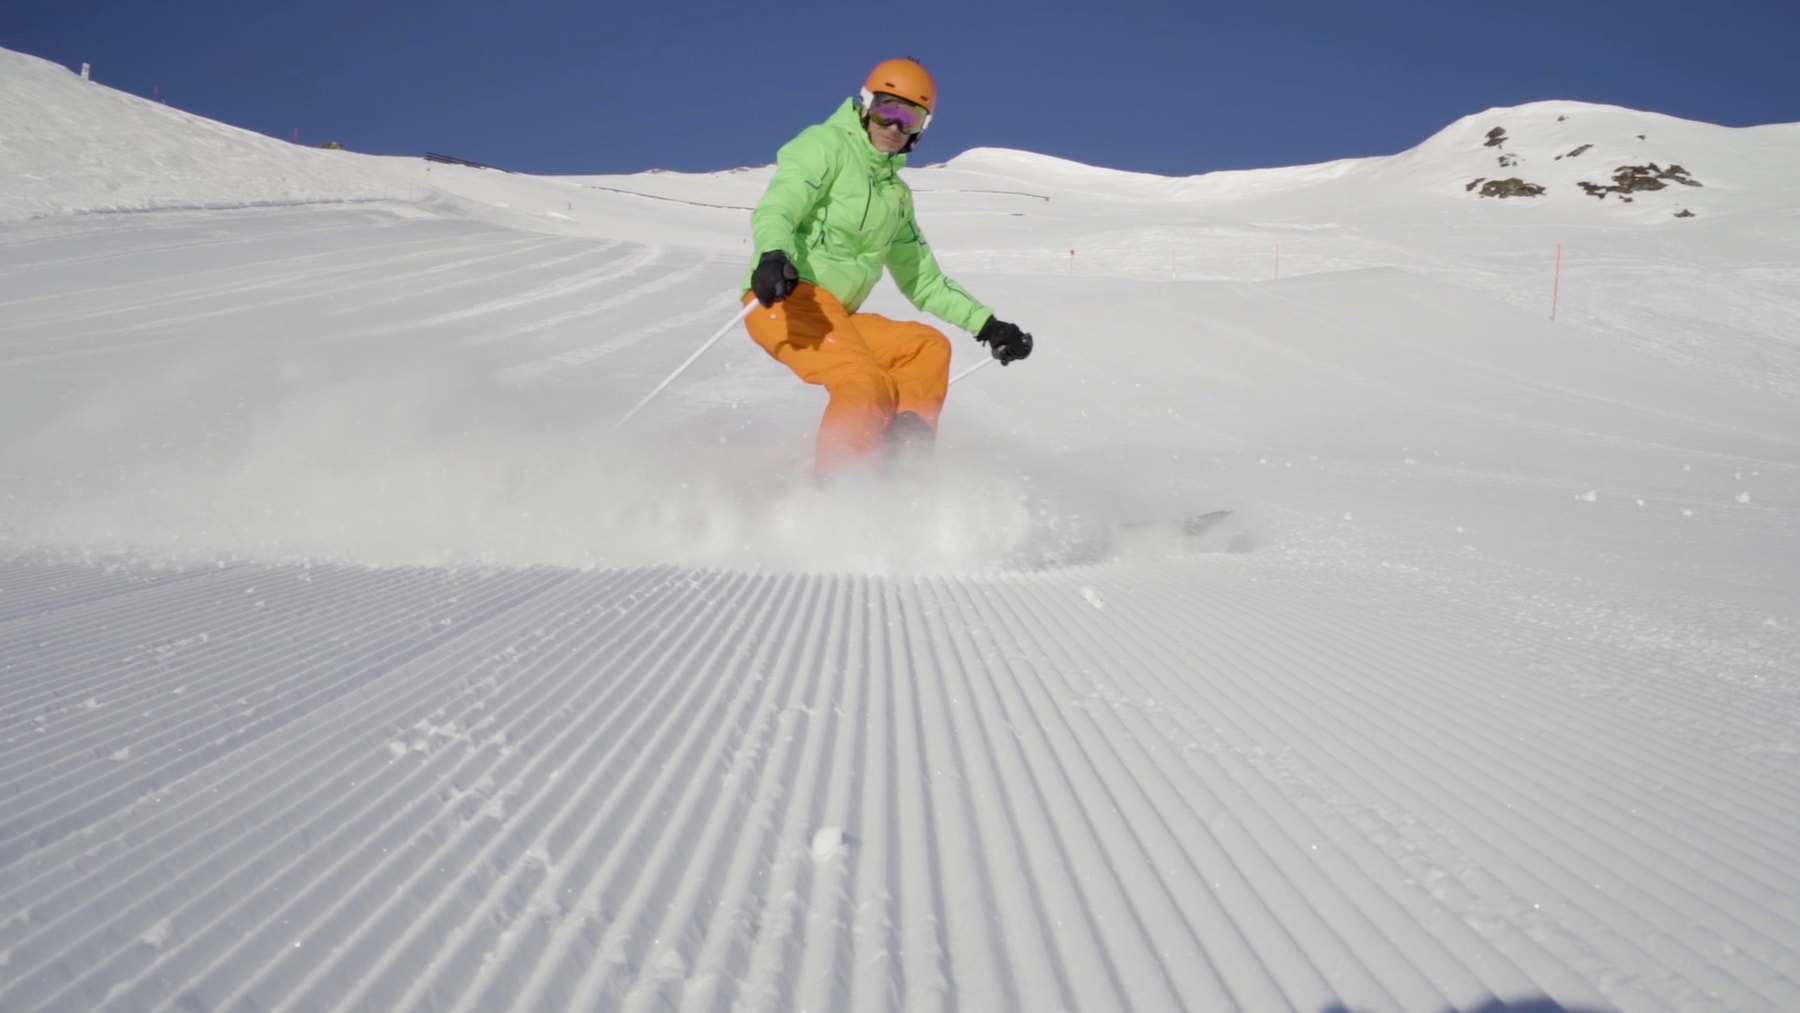
- Facilitate a quick discussion about the forces that affect a skier on a ski slope.
- Ask questions, like:
- Which force(s) make a skier move down a slope? (Gravity)
- How does weight effect a skier's motion? (More weight causes more momentum.)
- Tell the students that they'll be building a model of a downhill ski slope.
- Distribute a set to each group.
Explore
(Small Groups, 30 Minutes)
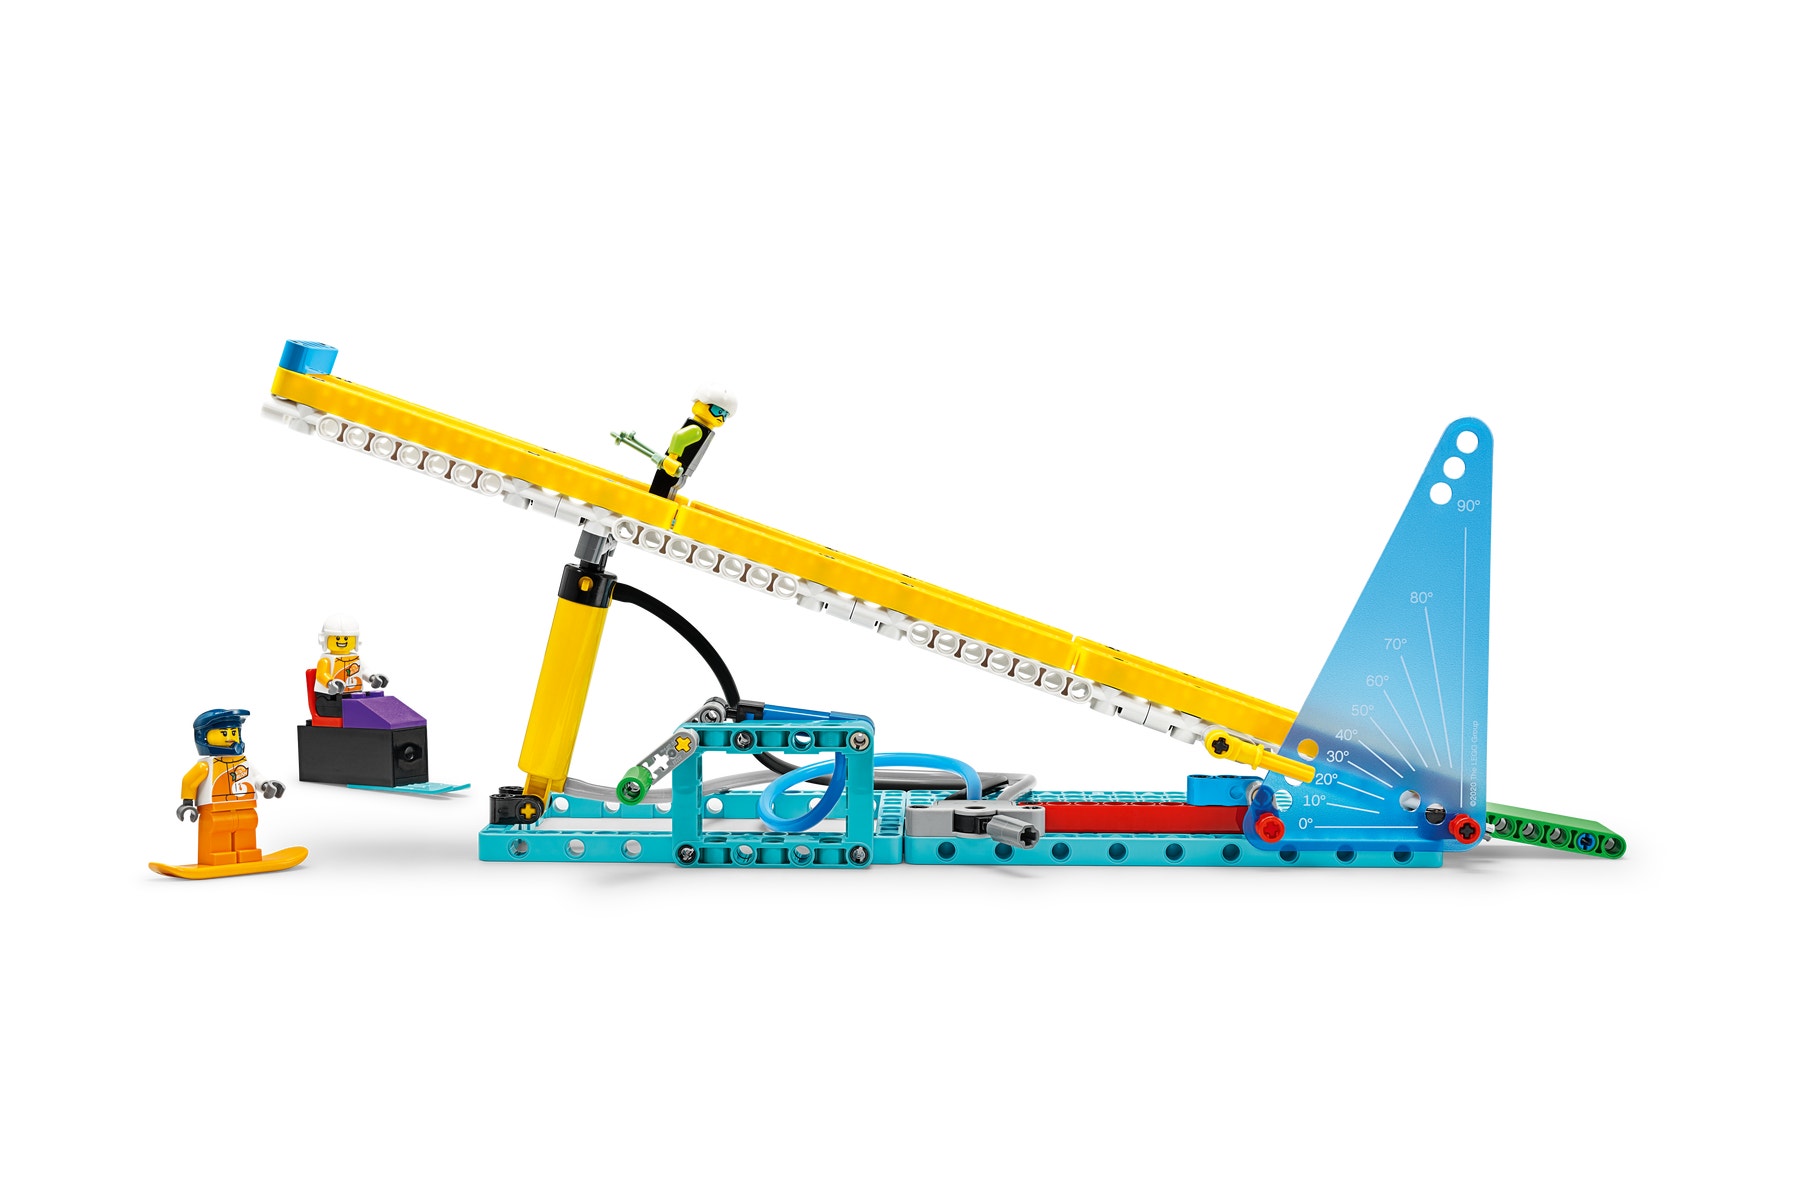
- Ask the students to work in pairs to build the Ski Slope model. Tell them to take turns, one partner searching for the bricks while the other builds, switching roles after each step has been done.
- You can find support for building in the Tips section below.
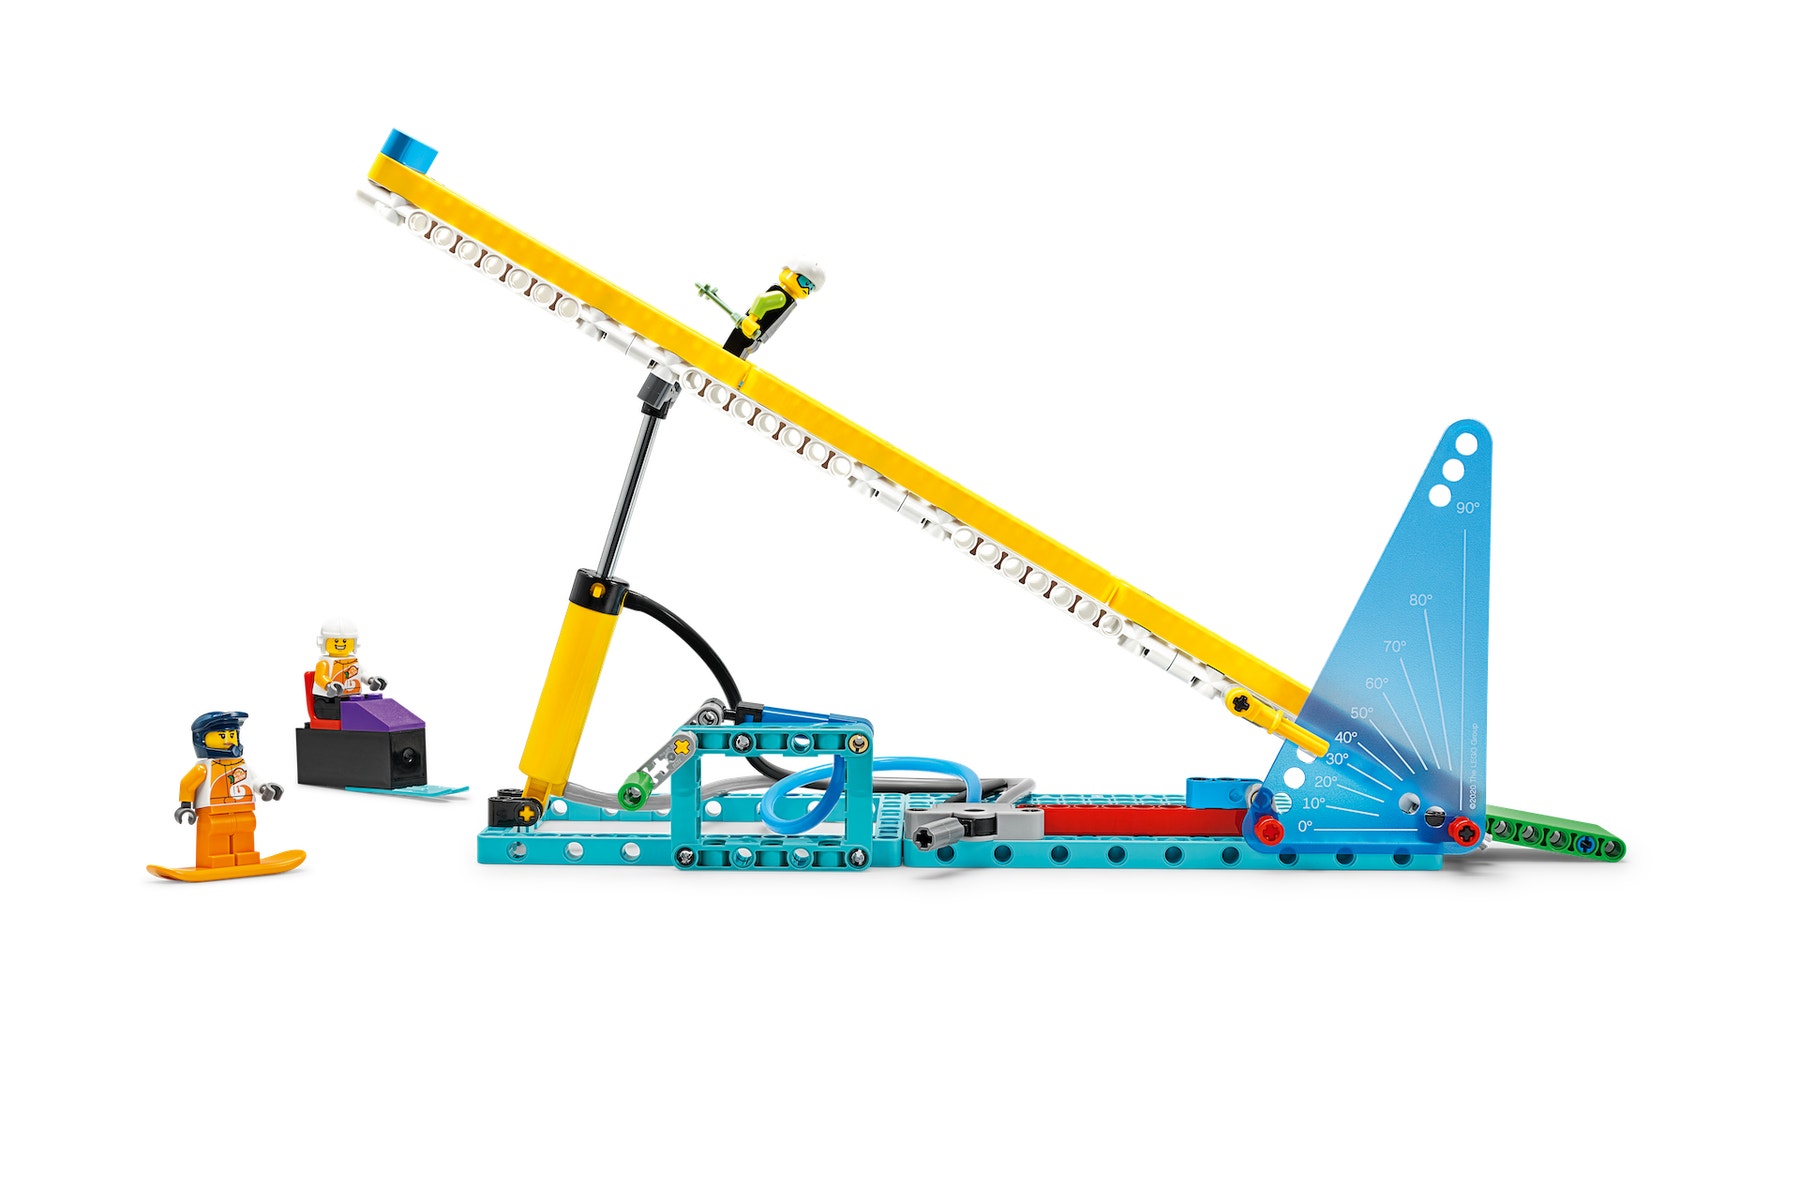
- Have everyone stop building after 20 minutes. By this point, they should've at least built the skiers and the ramp with the scale for measuring angles (up until step 25 on page 47). If time allows, they can add the pneumatic system later.
- Tell the students to find a smooth surface that's least 1 yard long and to place their models at one end.
- Demonstrate how to ensure a fair test of the skiers. You can refer to this as the inertial frame of reference.
- Ask: Would this experiment be the same if you did it on a plane traveling at 500 mph? (Yes. Even in this classroom, it feels like we're standing still but the earth is rotating at close to 1000 mph/ 1600 kph. If your inertial frame of reference is this room, then the model is moving slowly. If your inertial frame of reference is the sun, then it’s moving super-fast.)
Experiment 1:
- Ask the students to set the angle of the ski slope to 20 degrees and slide the skiers down one at a time.
- Tell them to measure the distance traveled by each skier and to mark it on their Student Worksheets or in their science notebooks. It's best if they make three or more runs for each skier and calculate the average distance for each.
Explain
(Whole Class, 5 Minutes)
- Gather your students together to share what they’ve built.
- Ask questions, like:
- Why did the heavier skier go the farthest? (The heavier skier has more mass, so it'll have more momentum, and will keep sliding for longer.)
- What would happen if you removed the skis from the heavier skier?
- Have them gather around one of the models and demonstrate that it'll go a shorter distance. (The curved skis vs. a sharp rectangular corner affect the distance that the skier travels because they reduce friction as the skier slides off the bottom of the slope.)
Experiment 2:
- Now have your students set the angle of the ski slope to 30 degrees and predict where they think each skier will finish. They can do this by placing different colored bricks beside the yardstick.
- Ask them to slide each skier down the ramp and see if their predictions were correct. Tell them to calculate an average distance for each skier, as they did in the previous experiment. Remind them to record the distances on their Student Worksheets (Teacher Support – Additional Resources) or in their science notebooks.
Elaborate
(Whole Class, 5 Minutes)
- Gather your students together to review and discuss the results of their experiments.
- Ask questions, like:
- What patterns did you recognize in the skiers' motion when you changed the height of the slope (The higher the angle of the slope, the farther the skiers traveled.)
- Were you able to predict what would happen next?
- If time allows, encourage the students to describe the phenomenon in their own words in their science notebooks.
- Allow time for the students to disassemble their models, sort the bricks back into the trays, and clean up their workstations.
Evaluate
(Ongoing Throughout the Lesson)
- Encourage your students to explore the movement of their models as they build them.
- Can they use the pneumatic pump controlled by the hand crank to make the ramp go up and down?
- Give feedback on each student's performance.
- Facilitate self-assessment.
- Use the assessment rubrics provided to simplify the process.
Observation Checklist
- Measure your students’ proficiency in describing that larger forces cause more significant changes in motion than smaller forces.
- Create a scale that matches your needs. For example:
- Needs additional support
- Can work independently
- Can teach others
Self-Assessment
- Have each student choose the brick that they feel best represents their performance:
- Green: With some help, I can describe how more momentum causes a bigger change in motion.
- Blue: I can describe how more momentum causes a bigger change in motion.
- Purple: I can explain how and why more momentum causes a bigger change in motion.
Peer-Feedback
- Encourage your students to assess their peers by:
- Using the brick scale above to score each other's performance
- Presenting their ideas and giving constructive feedback

Tips
Model Tips
- The students will need to mark a starting line position with a piece of tape. Alternatively, they can line their models up with a mark on the table or floor to ensure that the ski slope stays in the same position each time they test.
- To launch each skier, the students should place it at the top of the ski slope and let it go. The models are different lengths, so have the students measure from the top of the slope to where each skier stops.
Differentiation
Simplify this lesson by:
- Having your students explore the motion of just one skier from the two different angles
Increase the difficulty by:
- Having the students try the experiment again on a different surface (e.g., with a large sheet of paper in front of the ski slope)
- For an extra challenge, have them remove the skis from the heavier skier and see what happens
- Challenging your students to build their own skiers, make predictions, and test their models to see if they can go even farther
Extensions
(Note: This will require additional time.)
To incorporate math skills development, ask your students to calculate and compare the momentum of each skier:
- P (Momentum), M (Mass), V (Velocity)
- P = M x V
- (Small skier) P1 = 5g x ? m/s
- (Large skier) P2 = 62g x ? m/s
- V = V (acceleration due to gravity is the same for both, with minor differences in sliding friction, but we can assume the speed of each is very similar)
- P2 > P1
CCSS.MATH.CONTENT.6.EE.B.7
Teacher Support
Students will:
- Explore how forces effect changes in a skier's motion on ski slopes of different heights
- Explore the relationship between the mass and motion of an object on an inclined plane
- Understand what is meant by inertial frame of reference
- LEGO® Education BricQ Motion Prime Set (one for every two students)
- Masking tape
- Yardsticks (one per group)
- NGSS MS-PS2-2
- ISTE: 4c, 6c, 7c
- CCSS.ELA-LITERACY.SL6.4
Lesson extension
- CCSS.MATH.CONTENT.6.EE.B.7


