BricQ Motion Essential
Push Car Derby
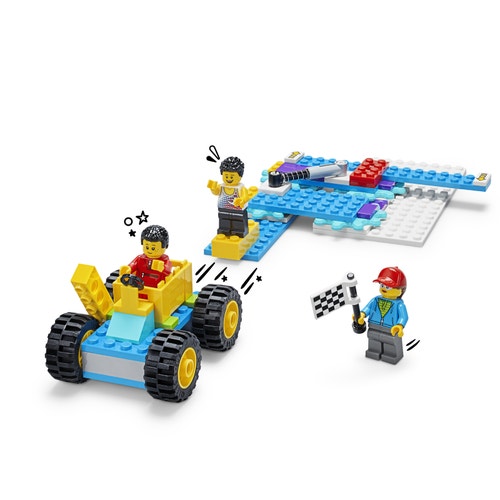
Build a spring launcher and a car with a removable brake to explore push and pull forces, and the effects of friction.
30-45 min.
Intermed.
K-2
Prepare
- Review the online student material. Use a projector to share this material with your students during the lesson.
- Make sure that you've covered the relevant concepts (i.e., push, pull, friction, measuring distance) in an earlier lesson.
- Set up a racetrack by clearing an area of smooth floor at least a yard (i.e., 36 in.) long where students can test their cars. Use masking tape to mark the starting line.
- Consider the abilities and backgrounds of all of your students. Differentiate the lesson to make it accessible to everyone. See the Differentiation section below for suggestions.
Engage
(Whole Class, 5 Minutes)
- Before showing the video, ask these questions:
- How can you make a car move without using a motor?
- Have you heard of a push car derby?
- Watch the student video here, or access it via the online student material.
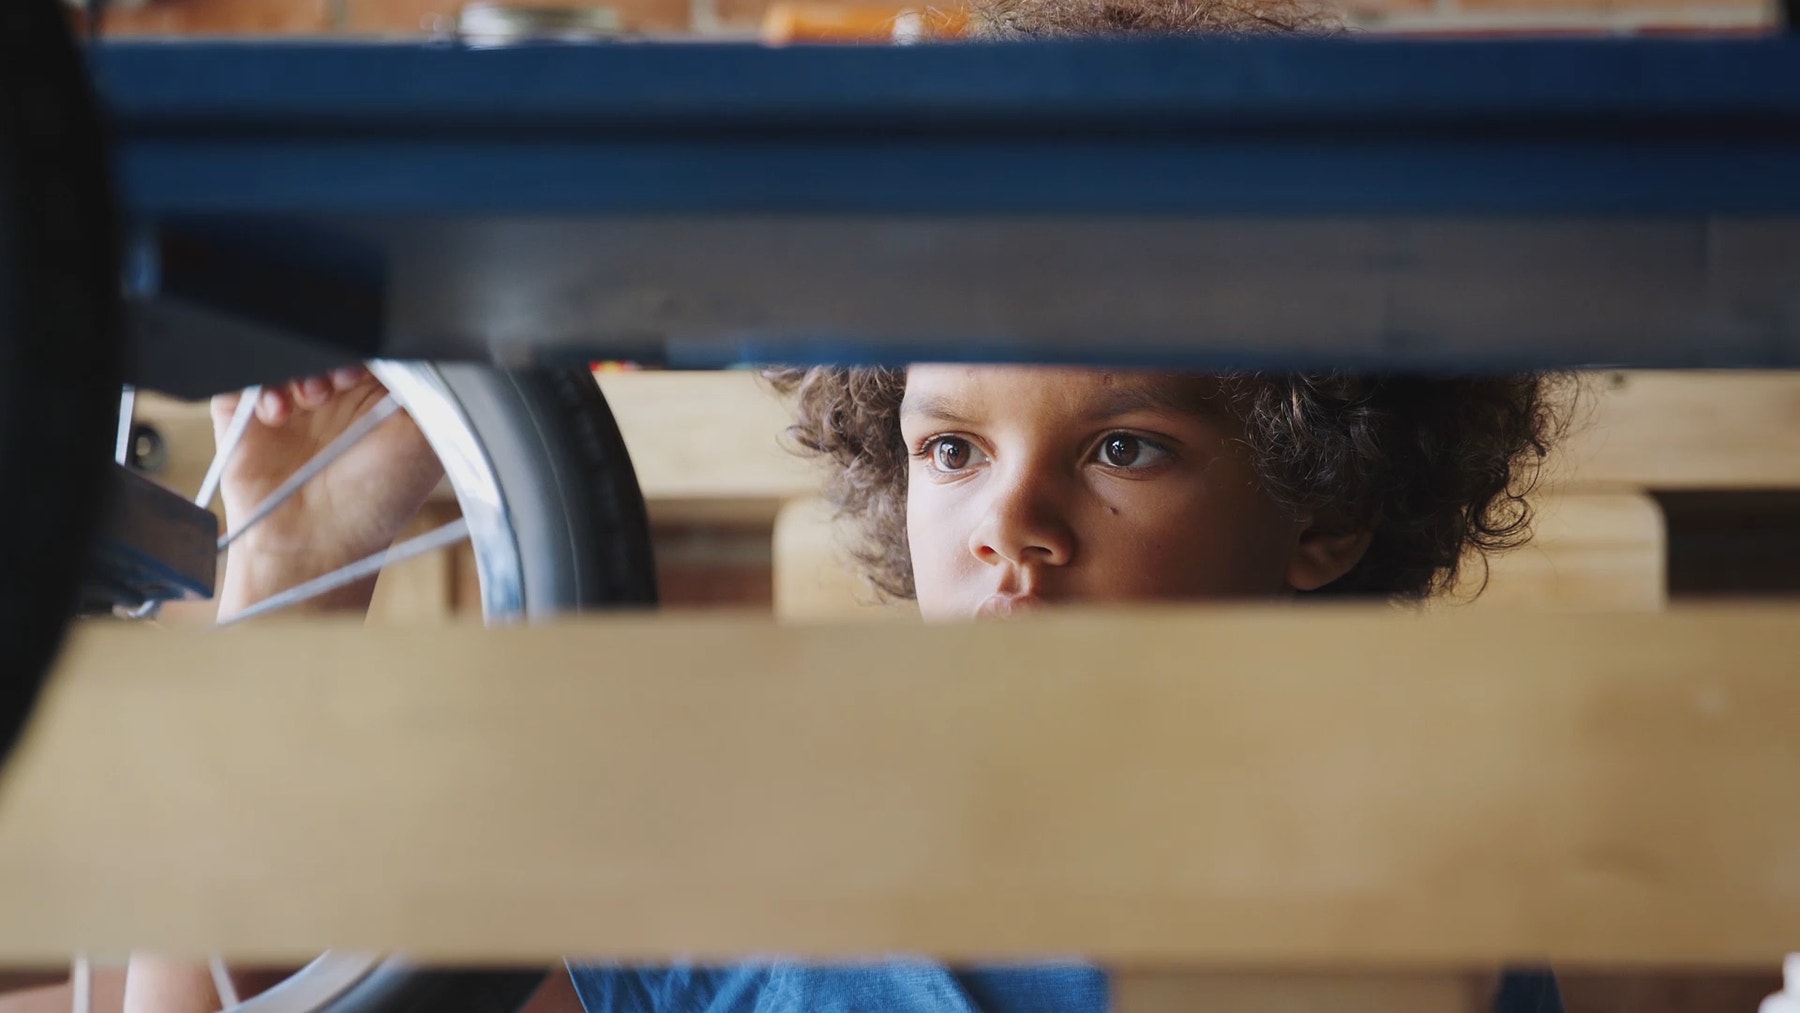
- Facilitate a discussion about the forces the students noticed in the push car derby shown in the video.
- If the students need a little guidance, help them by asking:
- What made the cars move fast or slow? (Push strength, hills, friction.)
- What would happen if the people let go of their car? (It would keep rolling.)
- What can slow a car down? (A brake, friction.)
- Tell students that they'll be building a push car and a spring launcher.
- Distribute a set to each group.
Explore
(Small Groups, 25 Minutes)
- Have the students work in pairs to build the Push Car model. Tell them to take turns, one partner searching for the bricks while the other builds, switching roles after each step has been done.
- You can find support for building in the Tips section below.
- When the students have finished building, have the teams place their launchers at the starting line.
- Tell the students to measure the distance traveled each time they launch their car. They can use a ruler, or they may use manipulatives that can measure.
- Give your students these instructions for the test challenge:
- Push or pull the spring forward and hold it in place. Highlight that this retracts the spring and changes its shape.
- Place the car next to the Minifigure.
- Tip: The car goes the farthest if you roll it back, so it's touching the yellow pushing brick before you let go of the spring. Demonstrate this to your students.
- Release the spring and watch the car go.
- Try pushing with the yellow brake on, then remove it and see how far the car goes without the brake.
- Measure 3 tries with the brake on, and 3 without it. Place another Minifigure with a checkered flag at the car's stopping point after each trial. If the previous distance is beaten, move the Minifigure to mark the new stopping point; otherwise, leave it where it is.
- Students can record the results of their trials on the Student Worksheet (Teacher Support – Additional Resources).
Explain
(Whole Class, 5 Minutes)
- Gather the students together to share what they've built.
- Ask questions, like:
- What did you notice about how the brake affected how far the car moved?
Explain that the brake pushes against the wheel of the car and slows it down.
The floor also pushes against the wheel. These forces are called "friction." - Why do you think the car went farther in some of the trials than in others?
- What did you notice about pushing as a force?
- What did you notice about how the brake affected how far the car moved?
- Have students look at the arrows on the launcher.
- Why are there two arrows on the launcher?
- What are they indicating (i.e., push/pull)?
- To further explain friction, have the students wave their hands in the air. Explain that it’s easy because there's low friction. Then ask them to drag their hands across their desks. Explain that the harder they push down, the harder it is to move their hands. That’s because there's high friction. The brake on a car works the same way.
Elaborate
(Whole Class, 10 Minutes)
- Ask your students to line up all of their launchers and have a push car derby. Whose car goes the farthest? Why?
- Allow time for the students to disassemble their models, sort the bricks back into the trays, and clean up their workstations.
Evaluate
(Ongoing Throughout the Lesson)
- Ask guiding questions to encourage your students to “think aloud” and explain their thought processes and reasoning in the problem-solving decisions they've made when building their models.
Observation Checklist
- Measure your students’ proficiency in describing how different forces affect how a bigger push or pull makes things speed up or slow down.
- Create a scale that matches your needs, for example:
- Needs additional support
- Can work independently
- Can teach others
Self-Assessment
- Have each student choose the brick that they feel best represents their performance:
- Green: I think I can describe what "push" and "pull" mean.
- Blue: I know I can describe what "push" and "pull" mean.
- Purple: I can describe what "push" and "pull" mean, and can help a friend understand, too.
Peer-Feedback
- In their small groups, have the students discuss their experiences working as a group.
- Encourage them to use statements like:
- I liked it when you….
- I'd like to hear more about when you….
Tips
Model Tips
- This is a challenging model. If you see students making mistakes, point them out so that the errors don’t compound as they go on. Most students should have at least the launcher built within 20 minutes. It's best to stop students at the 20-minute mark to give them time to experiment. If they haven’t finished building the car, they can push a marker or a ball of paper.
- Before the lesson, build this model yourself. Keep it as an example to clarify to the students how their models should work.
- When launching the car:
- One partner should pull forward on the yellow arrow and hold the launcher in place.
- The second partner places the car next to the Minifigure. To maximize the transfer of energy, ensure that the car is touching the brick that will push it.
- Release the spring to launch the car.
Differentiation
Simplify this lesson by:
- Having the students practice pushing just the base of the car, without the yellow box
Increase the difficulty by:
- Challenging your students to rebuild the launcher, changing the placement of the spring to see if it improves the launcher's performance (i.e., Does the launcher even need a spring?)
- Challenging the students to design new cars that will roll even farther
Extension
(Note: This will require additional time.)
To incorporate math skills development, have your students use different units of measure to record the distance their car travels, and compare them. They can, for example, measure how far their car travels in LEGO bricks, LEGO studs, shoes, or another creative unit of measure.
CCSS.MATH.CONTENT.2.MD.A
Teacher Support
Students will:
- Explore and explain how force and friction can change the speed of an object and affect how far it'll go in a push car race
- LEGO® Education BricQ Motion Essential Sets (one for every two students)
- Yardstick (one per student group)
- NGSS K-PS2-1
- ISTE: 7c
- CCSS.ELA-LITERACY.SL.1.2
Lesson extension
- CCSS.MATH.CONTENT.2.MD.A
