BricQ Motion Essential
Cheering Crowd
Your students will explore the engineering design process in this final project, which tests their understanding of balanced and unbalanced forces.
The race is nearly over. The runners come around the final bend, they can see the finish line, and the crowd goes wild!
45-90 min.
Advanced
Grades 3-5
Hybrid
Prepare
- Review the online student material. Use a projector to share this material with your students during the lesson.
- This lesson is designed to be facilitated over at least two 45-minute class sessions. Part A comprises session 1, and Part B comprises session 2.
- Make sure that you've covered the relevant concepts (i.e., simple mechanisms, patterns in motion, and balanced and unbalanced forces) in an earlier lesson.
- Consider the abilities and backgrounds of all of your students. Differentiate the lesson to make it accessible to everyone. See the Differentiation section below for suggestions.
Part A (45 Minutes)
Engage
(Whole Class, 5 Minutes)
- Watch the student video here, or access it via the online student material.

- Facilitate a quick discussion about what your students observed in the video as the people celebrated the win.
- Ask questions, like:
- How were the people moving? (jumping, waving, giving a high five)
- Think back to the mechanisms in previous lessons. How can you use what you've already learned about forces and motion to create mechanisms that imitate some of these actions?
- Tell the students that they're going to design and build a mechanism(s) to make an automated cheering crowd.
Explore
(Small Groups, 30 Minutes)
- Ask the students to invent a mechanism that represents a cheering crowd or celebration.
- Have them sketch and build their ideas.
- Explain that they can use the models they've built in earlier lessons for inspiration, or invent something new.
- Encourage them to make models with as many interconnected moving parts as possible.
- Tell the students to discuss and sketch their ideas before they start building.
- Each student should build their own mechanism.
- You can find support for building in the Tips section below.
Explain
(Whole Class, 5 Minutes)
- Gather your students together to review and discuss what they've built.
- Ask questions, like:
- How is your model celebrating a win?
- Which models inspired you?
- Which parts of your model are the same as your sketch? What's different?
- What could you change?
- If you need to use the bricks for another class, take a photo of each group’s build for them to reference next time, and then ask the students to take apart their models and clean up. If you don't need the bricks for another class, you can have the students carefully store their models until next time.
Part B (45 Minutes)
Engage
(Whole Class, 5 Minutes)
- Hand out your students' sketches or models from Part A of the lesson.
- Have the students share what they're planning to do today to refine, improve, and finish their models.
- Ask the students what they could do if they get stuck. Answers could include:
- Ask a classmate in another group for advice
- Use the building instructions for inspiration
Explore
(Small Groups, 30 Minutes)
- Allow 20 minutes for the students to finish their models. After 15 minutes, tell them that they have 5 minutes left to create a functional model.
- Allow 2 minutes for them to test their models with their partners.
- If some of the students finish building early, have them mark the start and finish lines, 50 inches apart, for a Minifigure race.
- Now gather the students for one big class celebration!
Explain
(Whole Class, 5 Minutes)
- Have the students explain their models.
- Ask questions, like:
- How well did your model work?
- What could you change to make it even better?
Elaborate
(Whole Class, 5 Minutes)
- Ask questions, like:
- What part of this lesson was fun?
- What was the most challenging?
- Which students' models inspired you?
- Allow time for the students to disassemble their models, sort the bricks back into the trays, and clean up their workstations.
Evaluate
(Ongoing Throughout The Lesson)
- Ask guiding questions to encourage them to “think aloud” and explain their thought processes and reasoning in the problem-solving decisions they've made when building their models.
Observation Checklist
- Measure your students’ proficiency in describing the forces that are at work in their models.
- Create a scale that matches your needs. For example:
- Needs additional support
- Can work independently
- Can teach others
Self-Assessment
- Have each student choose the brick that they feel best represents their performance:
- Green: I think I can describe the forces that are at work in my model.
- Blue: I know I can describe the forces that are at work in my model.
- Purple: I can describe and explain the forces that are at work in my model, and I can help a friend understand, too.
Peer-Feedback
- In their teams, have the students discuss their experiences working together.
- Encourage them to use statements like:
- I liked it when you…
- I'd like to hear more about how you…
Tips
Model Tips
- If any of your students get stuck, help them by asking open-ended questions, like:
- What's your idea?
- What have you already tried?
- What could you try next?
- Is there a model you've already built in another lesson that can make something jump or wave?
- Some students might have ideas that are too big to build within the available time. Encourage them to think about ways they could simplify their idea before the next class. Foster their creativity, explaining that many designers take time away from a project to rethink and revise their plans.
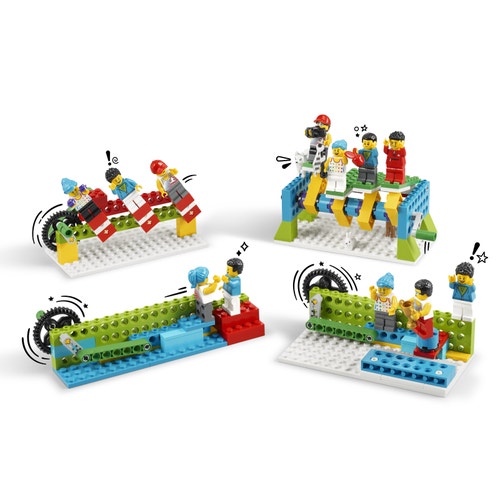
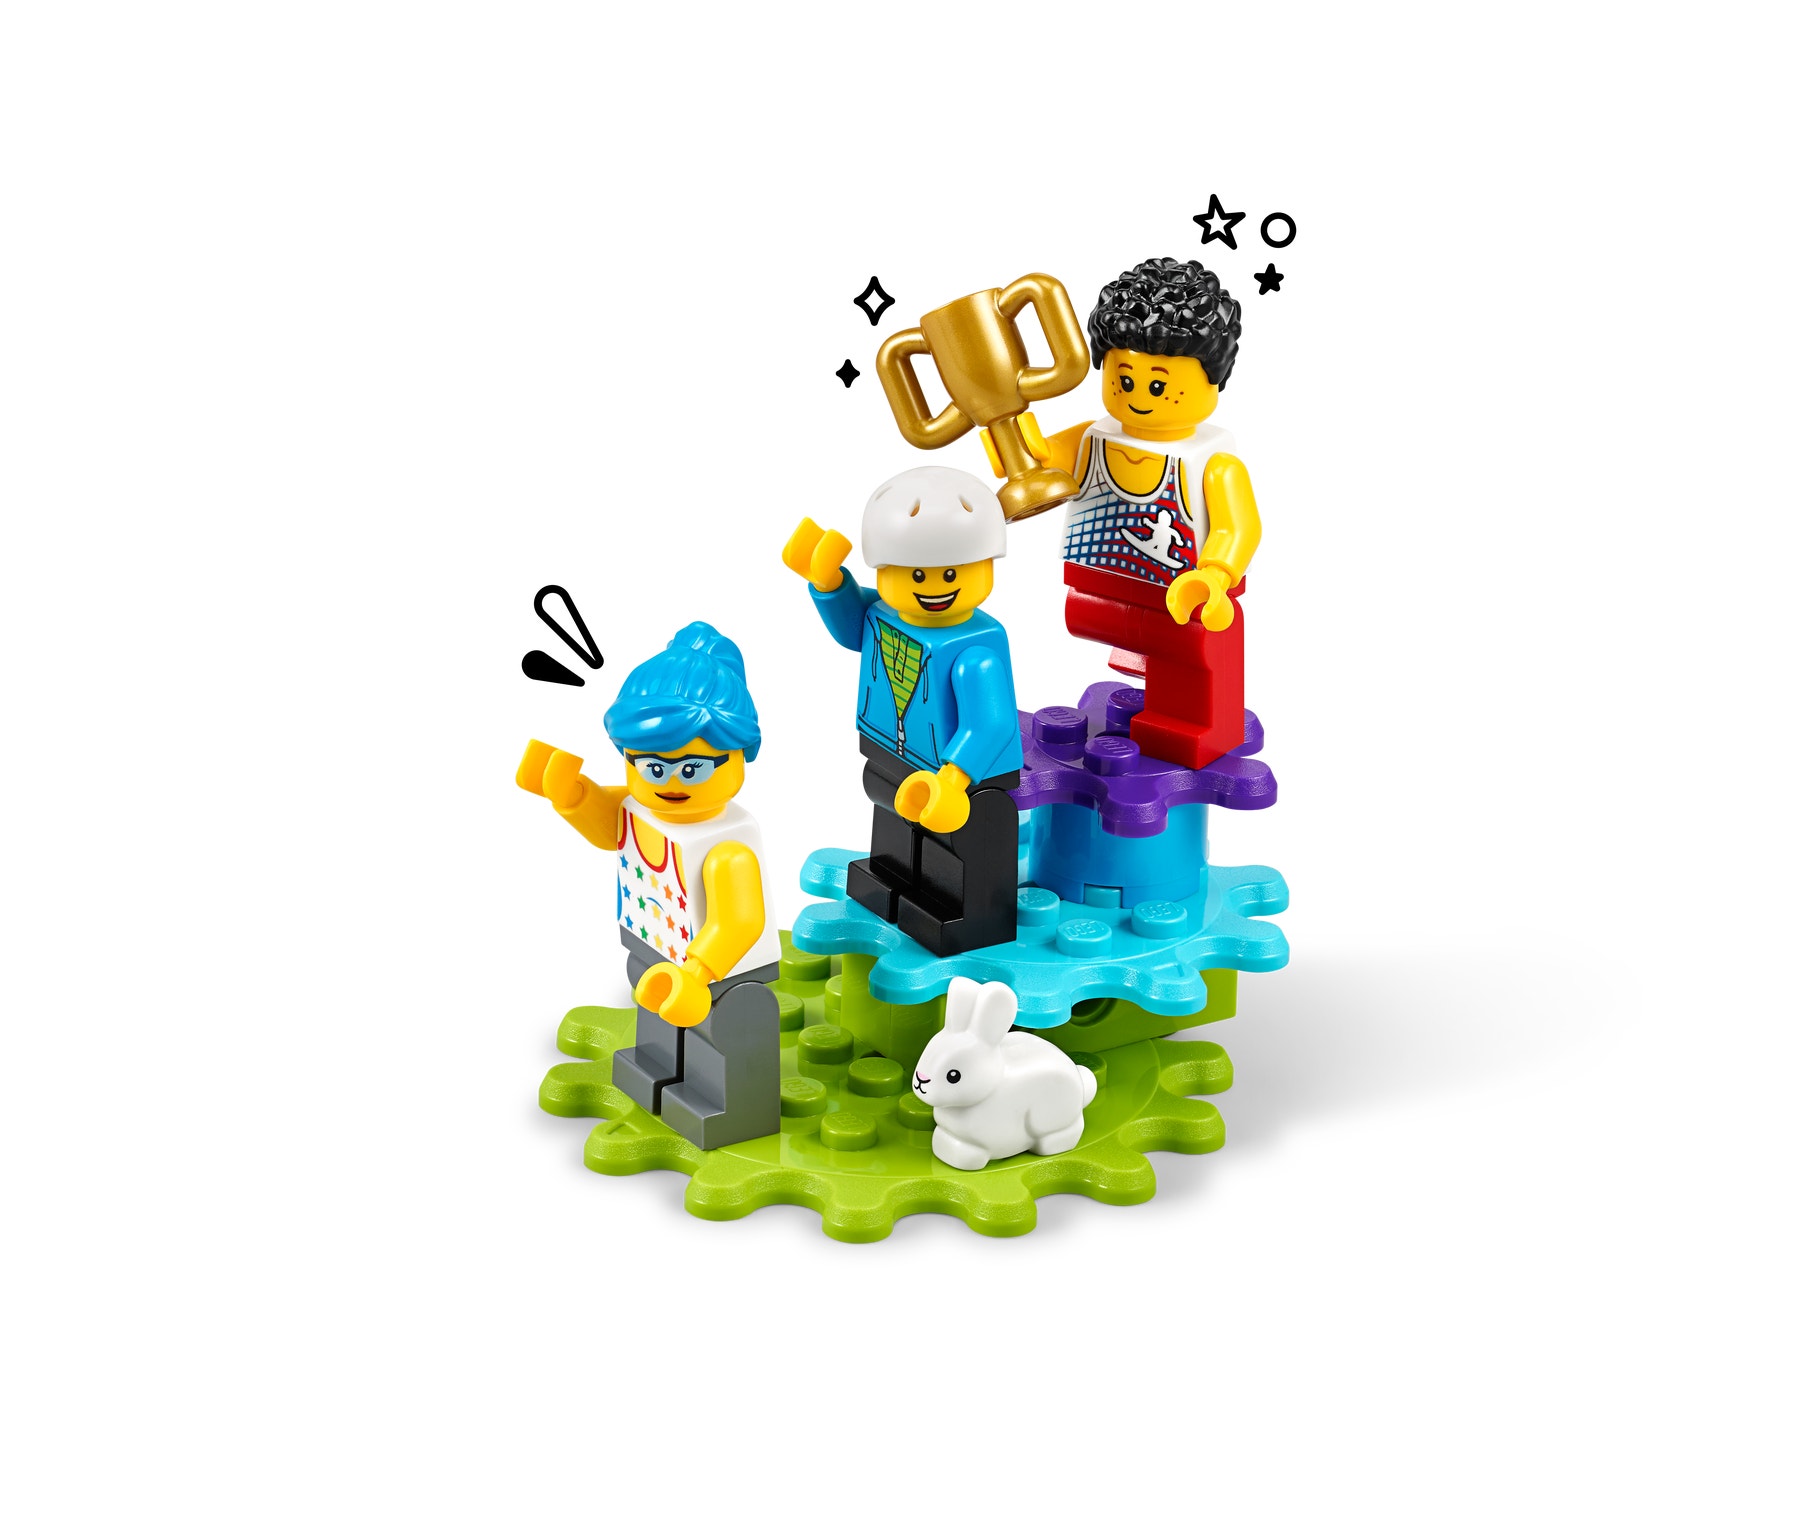
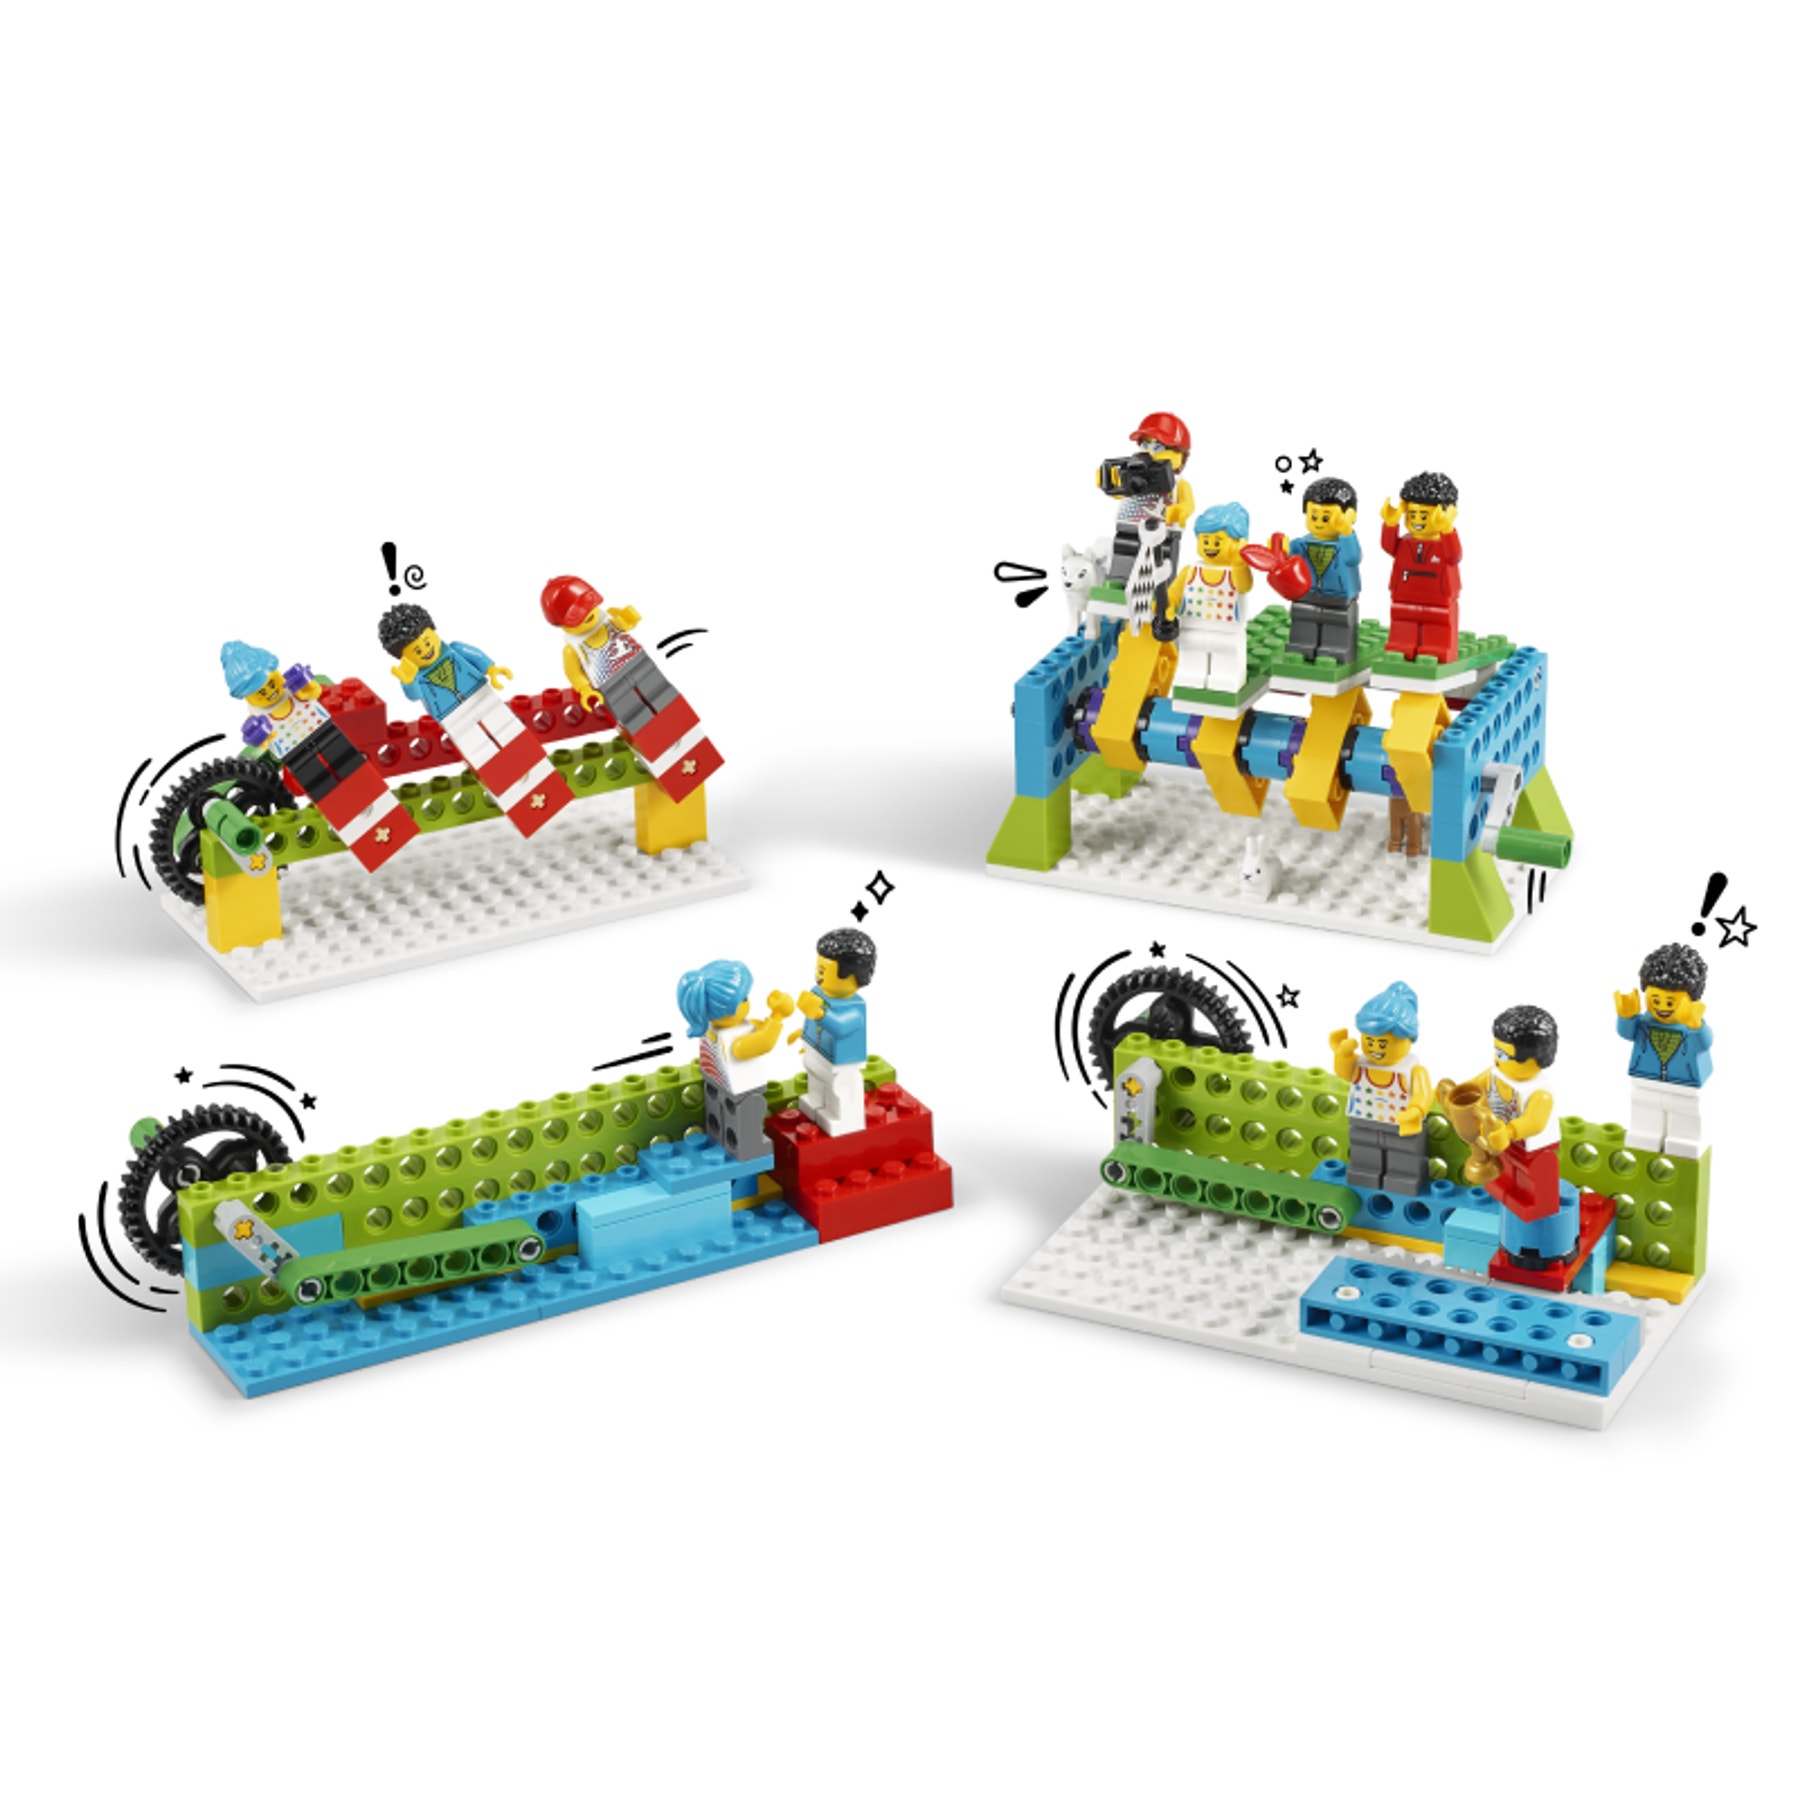
- The photos below show sample solutions. However, we recommend not sharing these with your students unless they're having trouble coming up with ideas because it tends to limit their creativity.
Differentiation
Simplify this lesson by:
- Having the students start by exploring the cam mechanism from page 2 in the building instructions book
Increase the difficulty by:
- Assigning each group two mechanisms from pages 2 - 3 of the building instructions book and challenging them to combine both mechanisms into one model
Extensions
(Note: This will require additional time.)
To incorporate language arts skills development, have each student create a presentation about what they've learned in this lesson, and present it to the class.
CCSS.ELA-LITERACY.SL6.4
1:1 Hybrid Learning
Download the Personal Learning Kit lesson plan from the hybrid learning resources.
Teacher Support
Students will:
- Brainstorm, sketch, design, prototype, build, test, iterate, rebuild, and experiment to make their own mechanisms
- Apply their knowledge of cause and effect, and balanced and unbalanced forces to build an animated Minifigure cheering crowd
- LEGO® Education BricQ Motion Essential Set (one for every two students)
- NGSS 3-PS2-1
- ISTE: 4c
- CCSS.ELA-LITERACY.SL.3.1
Lesson extension
- CCSS.ELA-LITERACY.SL6.4


