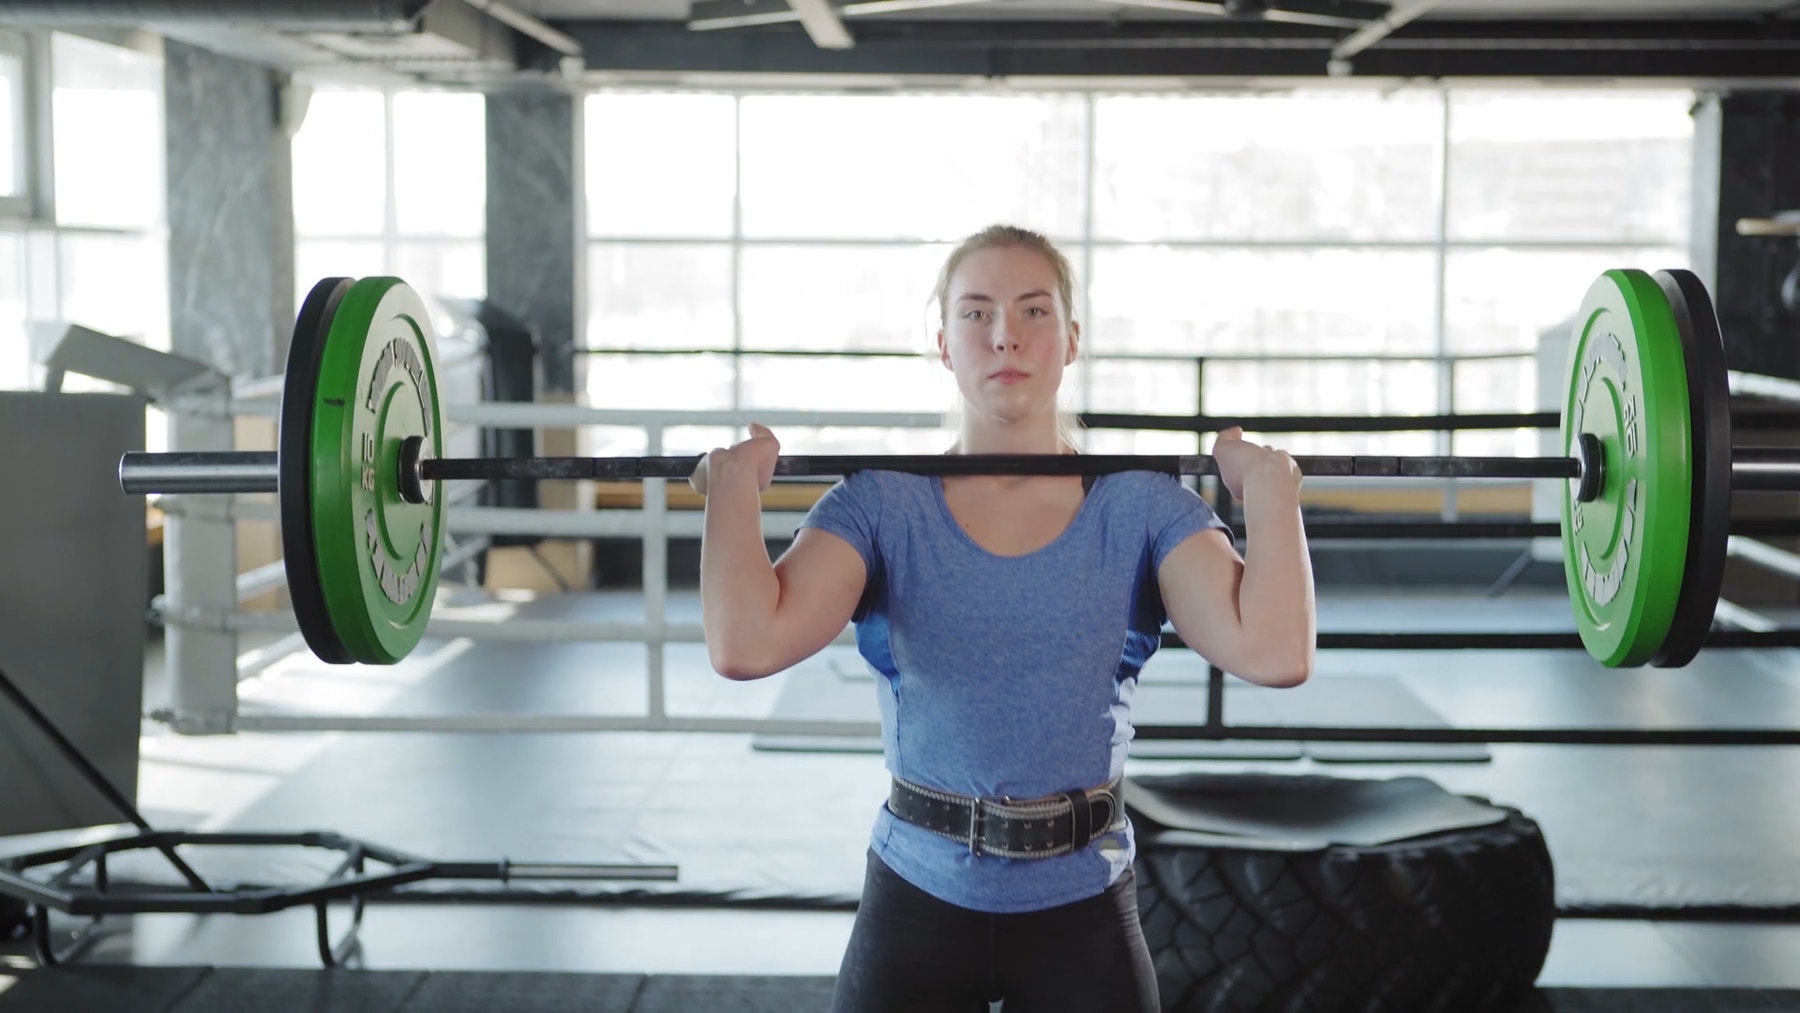
Weightlifter
Explore the motion of a weightlifter as they train at the gym. How can mechanical advantage help them to lift more weight?

Prepare
- Review the online student material. Use a projector to share this material with your students during the lesson. Consider prebuilding the Weightlifter model to use during the lesson to help students who are having trouble building.
- Make sure that you've covered the relevant concepts (i.e., gravity, gearing up, and gearing down) in an earlier lesson.
- Consider the abilities and backgrounds of all of your students. Differentiate the lesson to make it accessible to everyone. See the Differentiation section below for suggestions.
Engage
(Whole Class, 5 Minutes)
- Watch the student video here or access it via the online student material.
- Facilitate a quick discussion about which forces the students have seen in the different types of weightlifting in the video.
- Ask questions, like:
- Which forces help a weightlifter lift the weights? (Muscles pull to move our bodies, and they push or pull to lift and lower weights.)
- Which force makes the weights come back down? (Gravity)
- What's a pulley, and what's a block and tackle? How can these help a weightlifter train? (Pulleys are wheels that a rope or cable rolls over. A block and tackle is a system of two or more pulleys with a rope or cable threaded between them that can achieve a mechanical advantage in pulling a load.)
- Tell the students that they're going to build a model of a weightlifter, and then experiment to explore balanced and unbalanced forces.
Explore
(Small Groups, 25 Minutes)
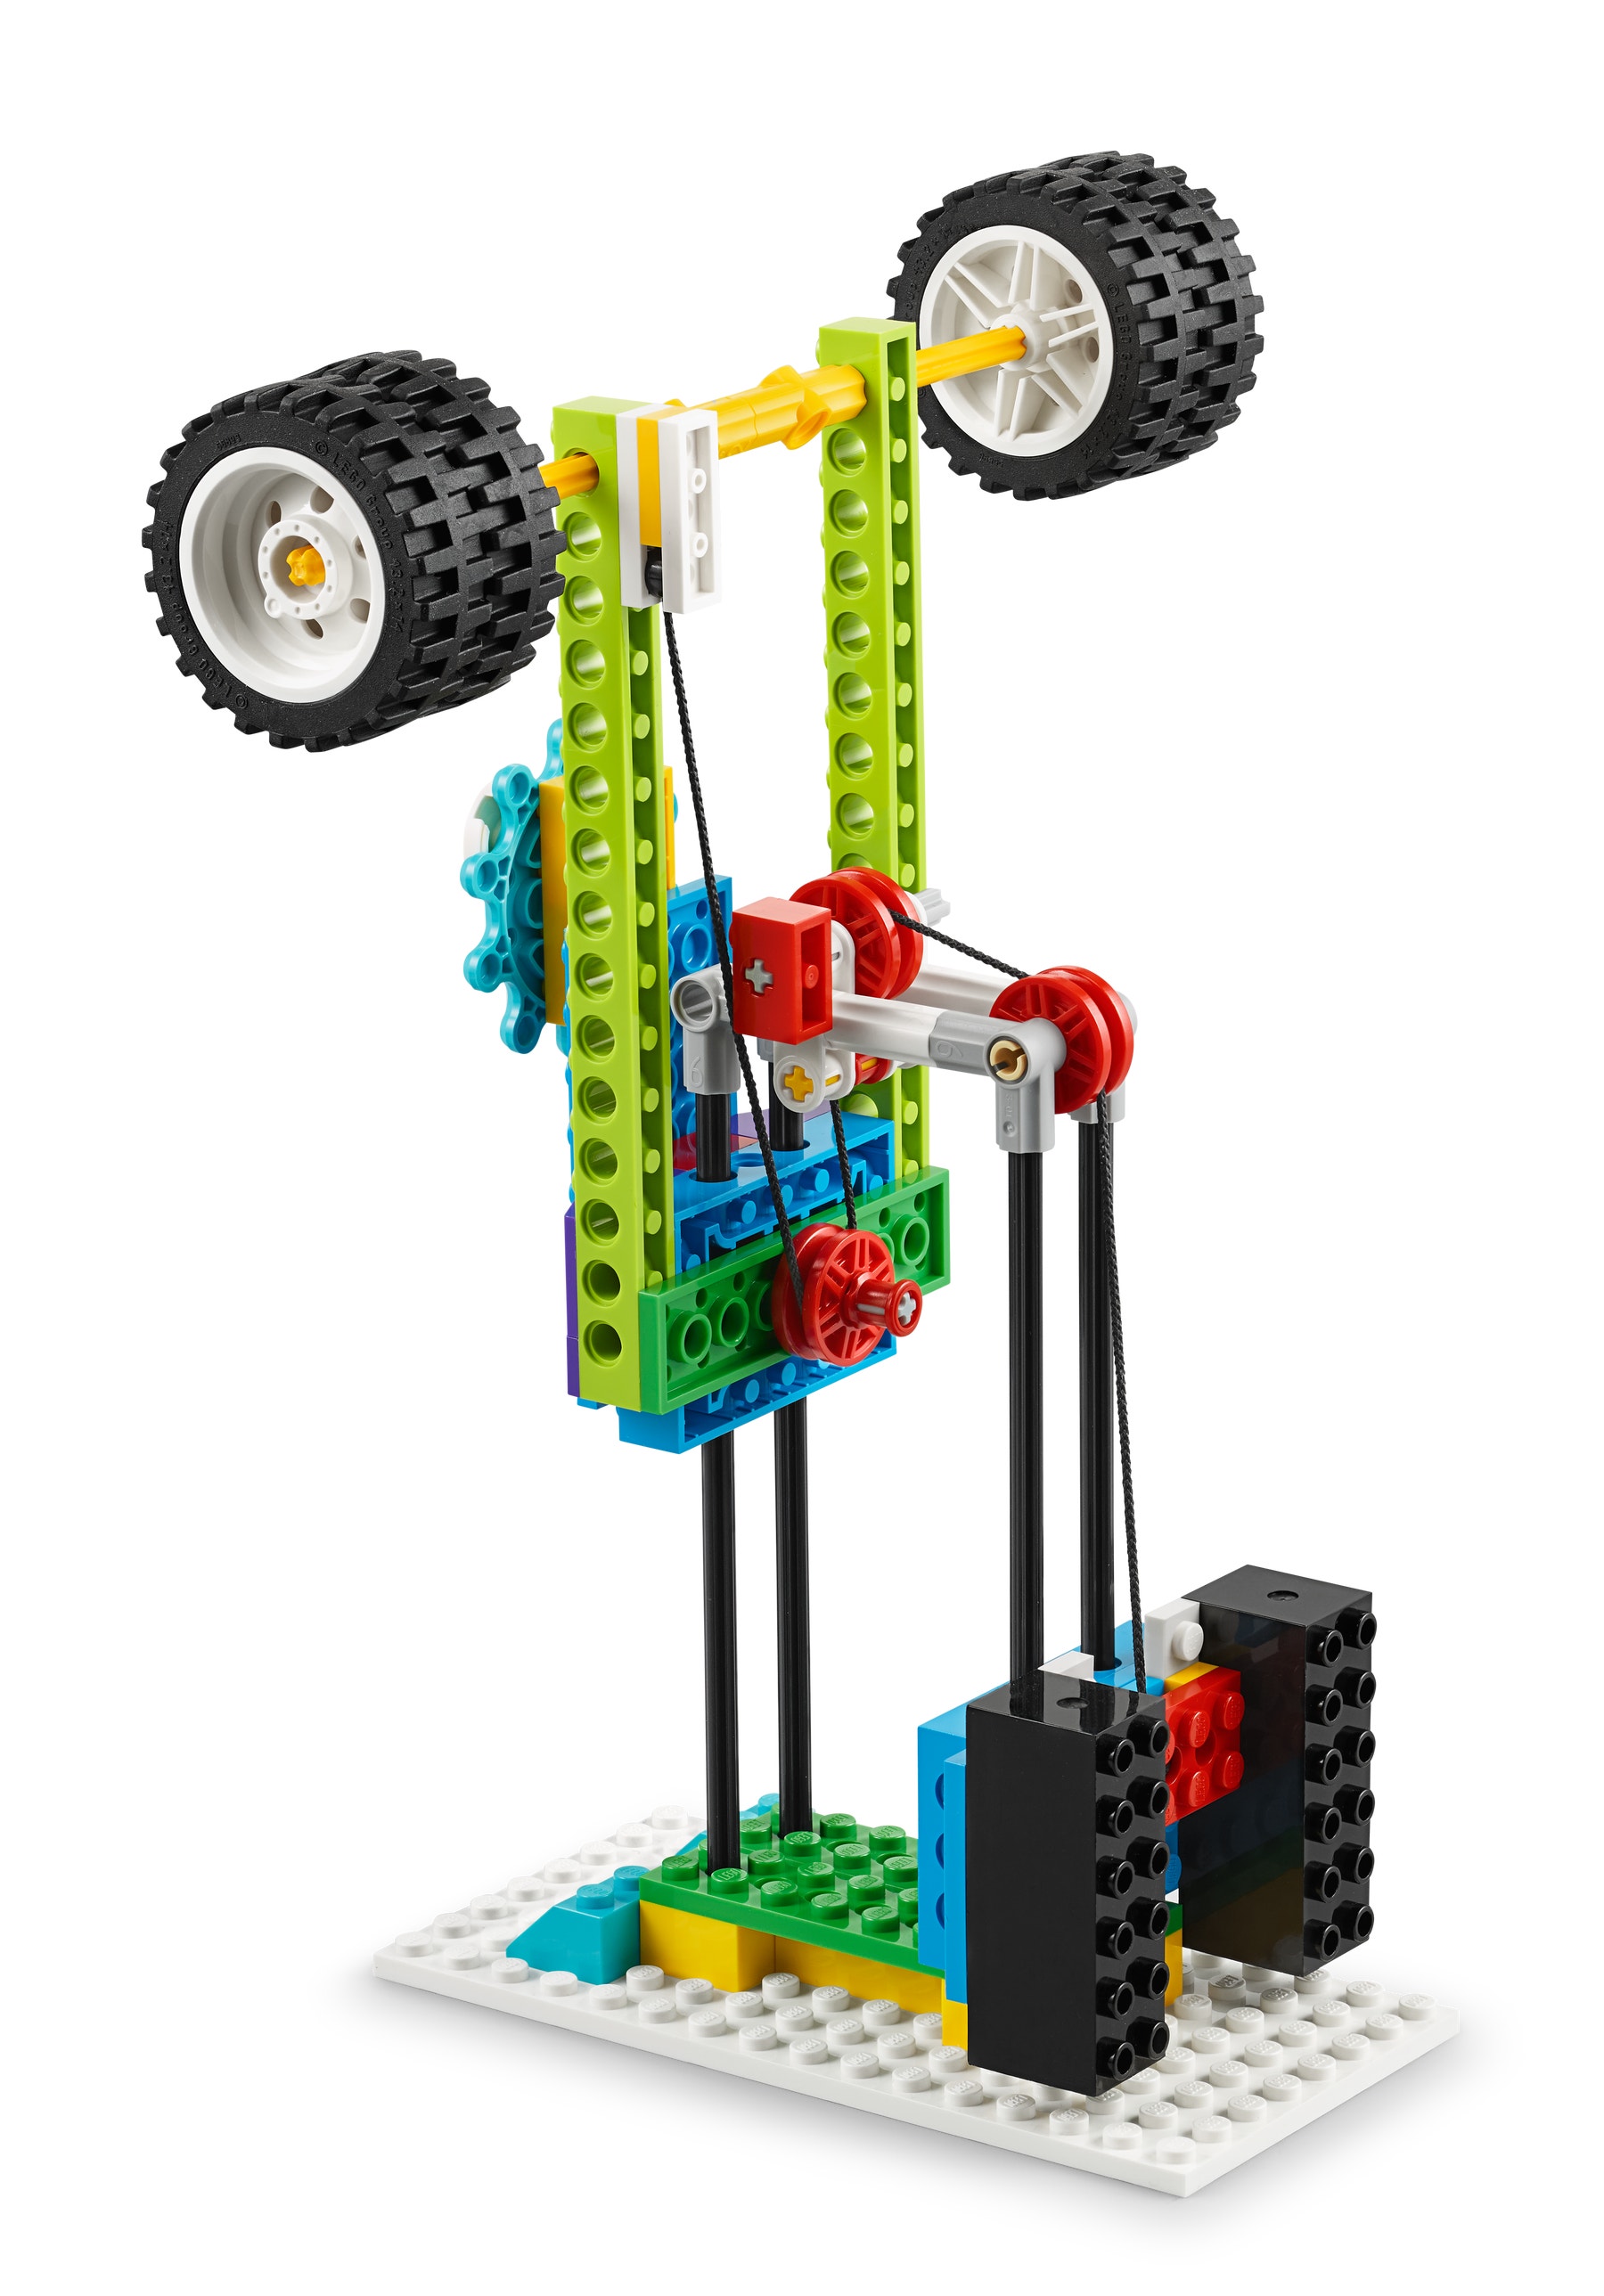
- Have the students work in pairs to build the Weightlifter model. Tell them to take turns, one partner searching for the bricks while the other builds, switching roles after each step has been done.
- Building steps 21-29 can be challenging for students. In these steps, they'll start to incorporate more LEGO Technic elements into their building, and demonstrate their observational skills to route the string correctly. Use the reference model that you've prebuilt to help students self-identify any building errors.
- You can find support for building in the Tips section below.
Experiment 1:
- Have the students test the model using pulley position 1 from the building instructions to raise the barbell.
- Tell them to record their observations on their Student Worksheets (Teacher Support - Additional resources). (This model has no mechanical advantage because it doesn't generate an increase or reduction of needed effort or speed. It only changes the direction of the motion.)
- The model isn’t “strong enough” in this configuration to lift the barbell with all 4 weights (wheels) on. It can only lift with fewer wheels.
- Ask the students to remove one wheel from the barbell at a time, repeating the experiment with fewer wheels, and to record what happens.
Explain
(Whole Class, 10 Minutes)
- Gather your students together to share what they’ve learned.
- Ask: Was the force acting on the weightlifter balanced or unbalanced? (The force was balanced because the model didn't move until it was pushed/pulled up and down by hand.)
Experiment 2:
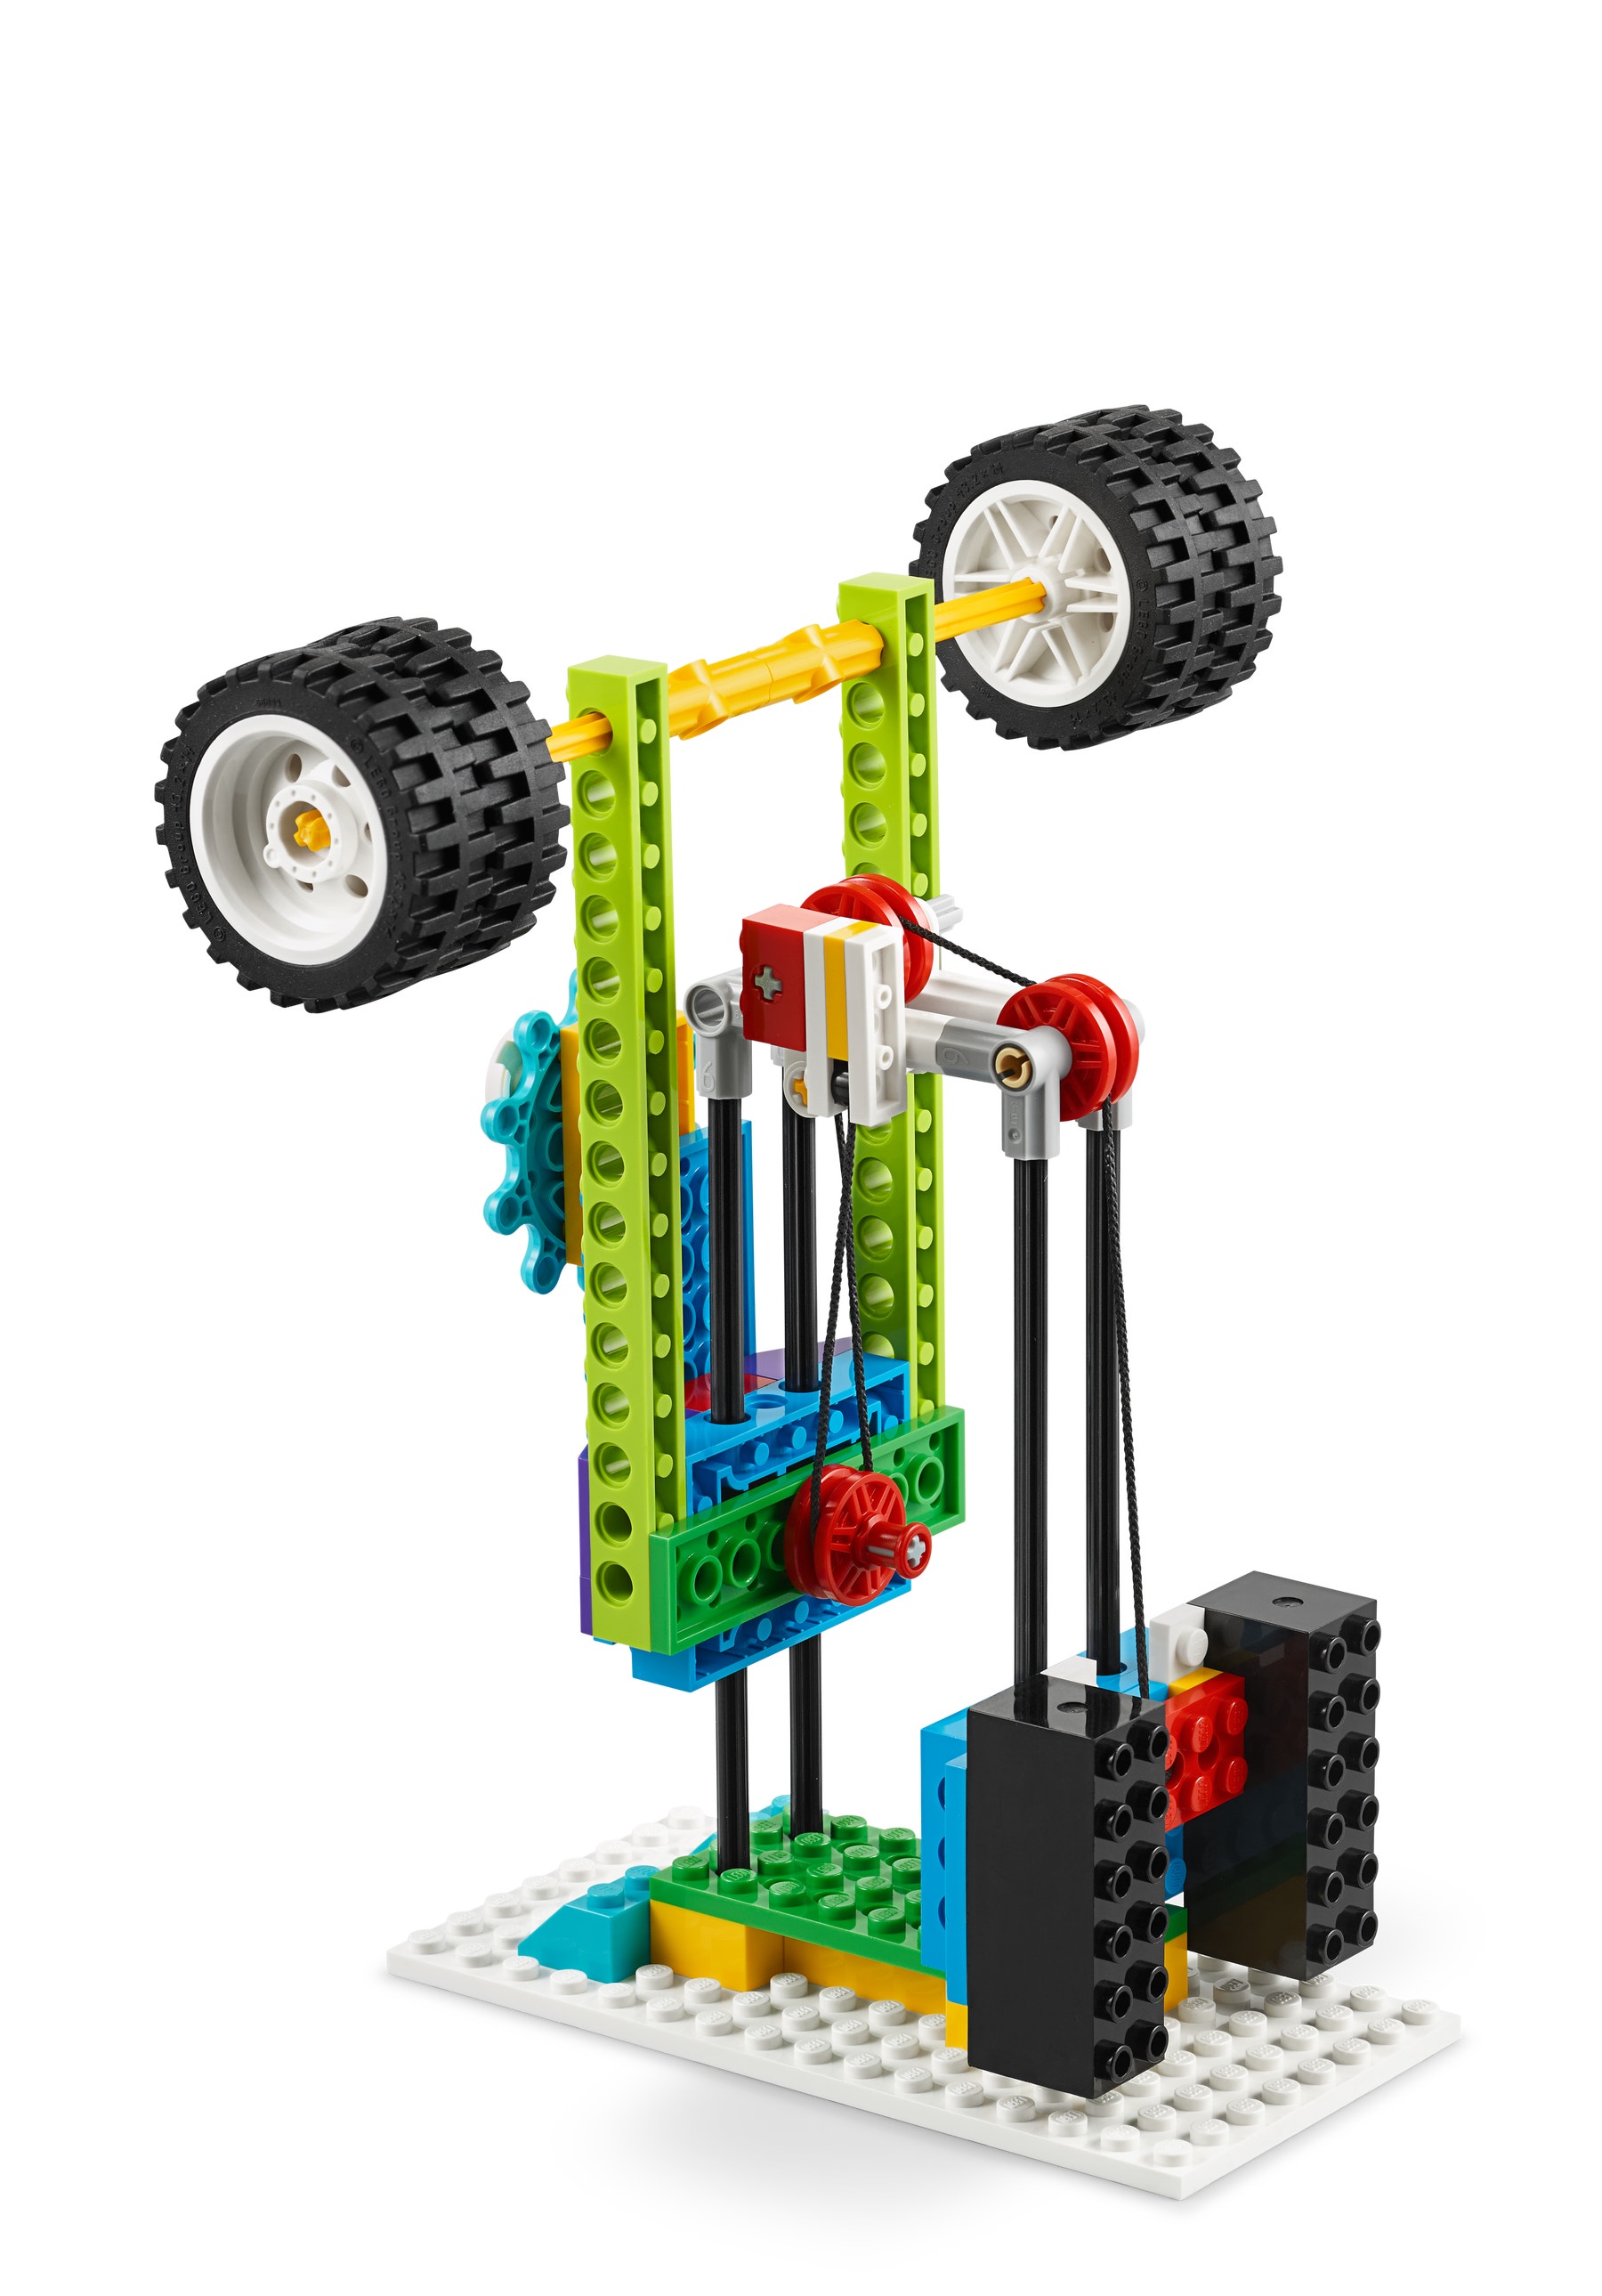
- Show the students how to change the model to pulley position 2.
- Have them test the model in this position and record their observations on their Student Worksheets.
Elaborate
(Whole Class, 5 Minutes)
- Gather your students together to review and discuss their experiments.
- Ask questions, like:
- What did you notice about the motion of the weightlifter when you changed the string position? (It was easier to move the weight, it moved by itself, and it didn’t move as high.)
- What makes the weightlifter raise the weights? (The weight [i.e., the force of gravity] pulls down on the weighted bricks, and the pulleys convert that downward motion into an upward pull.)
- Why does pulley position 2 have a different result from pulley position 1? (Position 2 gives the model a mechanical advantage of 2 to 1. This means that the model halves the effort needed to lift the load but also halves the height to which the load is lifted. You'd need to pull twice the length of string to lift the load the same height as pulley position 1.)
- Allow time for the students to disassemble their models, sort the bricks back into the trays, and clean up their workstations.
Evaluate
(Ongoing Throughout the Lesson)
- Ask guiding questions to encourage them to “think aloud” and explain their thought processes and reasoning in the problem-solving decisions they've made when building their models.
Observation Checklist
- Measure your students’ proficiency in describing the balanced and unbalanced forces that are at work in the model.
- Create a scale that matches your needs. For example:
- Needs additional support
- Can work Independently
- Can teach others
Self-Assessment
- Have each student choose the brick that they feel best represents their performance:
- Green: I think I can describe balanced and unbalanced forces.
- Blue: I know I can describe balanced and unbalanced forces.
- Purple: I can describe balanced and unbalanced forces, and I can help a friend understand, too.
Peer-Feedback
- In their teams, have the students discuss their experiences working together.
- Encourage them to use statements like:
- I liked it when you…
- I'd like to hear more about how you…

Tips
Model Tips
- The pulleys can be set up like this:
- Position 1
- Position 2
Differentiation
Simplify this lesson by:
- Having your students try the model first without the "weights" by pushing down on the yellow axle with one hand and resting the other on top of the weighted bricks
- Ask them to describe what they see and feel as they push down on the yellow axle
Increase the difficulty by:
- Having the students use bricks or the other wheels in the set to add extra weight to both the barbell and rear weights, and then challenge one another to rebalance the model
- Asking the students to use the bricks in the set to add character to their models
Extensions
(Note: This will require additional time.)
To incorporate math skills development, set up the Weightlifter model using pulley position 1 with the weight module lifted as high as it can go. The model will stay balanced. Have the students calculate how many wheels they'd need to remove to allow the weightlifter to rise, and weight to fall (i.e., unbalanced force).
These are the weights for each part of the Weightlifter model:
- Weight module 121 g
- Weightlifter 40 g
- Wheels 23 g (each)
The pulleys' alignment and the force of friction on the pulleys will have a slight effect on the weights, so the weight of each side will vary.
CCSS.MATH.CONTENT.3.MD.A.2
Teacher Support
Students will:
- Experiment and measure the effects of balanced and unbalanced forces on an object
- Explore the mechanical advantage of a block and tackle pulley system
- LEGO® Education BricQ Motion Essential Set (one for every two students)
- NGSS 3-PS2-1
- ISTE: 4c ,7c
- CCSS.ELA-LITERACY.SL.3.1
Lesson extension
- CCSS.MATH.CONTENT.3.MD.A.2


