Make a Factory Conveyor
Design, build, and program a robotic system that relies on at least one motor and one sensor to move a ball on a path that includes a 90-degree turn.

Lesson plan
Prepare
- Read through this teacher material.
- If you feel it is needed, plan a lesson using the getting started material in the EV3 Lab Software or EV3 Programming App. This will help familiarize your students with LEGO® MINDSTORMS® Education EV3.
Engage (30 Min.)
- Use the ideas in the Ignite a Discussion section below to engage your students in a discussion related to this project.
- Explain the project.
- Split your class into teams of two students.
- Allow your students some time to brainstorm.
Explore (30 Min.)
- Have your students create multiple prototypes.
- Encourage them to explore both building and programming.
- Have each pair of students build and test two solutions.
Explain (60 Min.)
- Ask your students to test their solutions and to choose the best one.
- Make sure they can create their own testing tables.
- Allow some time for each team to finalize their project and to collect assets for documenting their work.
Elaborate (60 Min.)
- Give your students some time to produce their final reports.
- Facilitate a sharing session in which each team presents their results.
Evaluate
- Give feedback on each student’s performance.
- You can use the assessment rubrics provided to simplify the process.
Ignite a Discussion
Factory conveyors transport things ranging from raw materials to finished and packaged products between different locations. The belt conveyor is most well-known, but a wide variety of conveyor systems have been developed to move all kinds of objects efficiently.
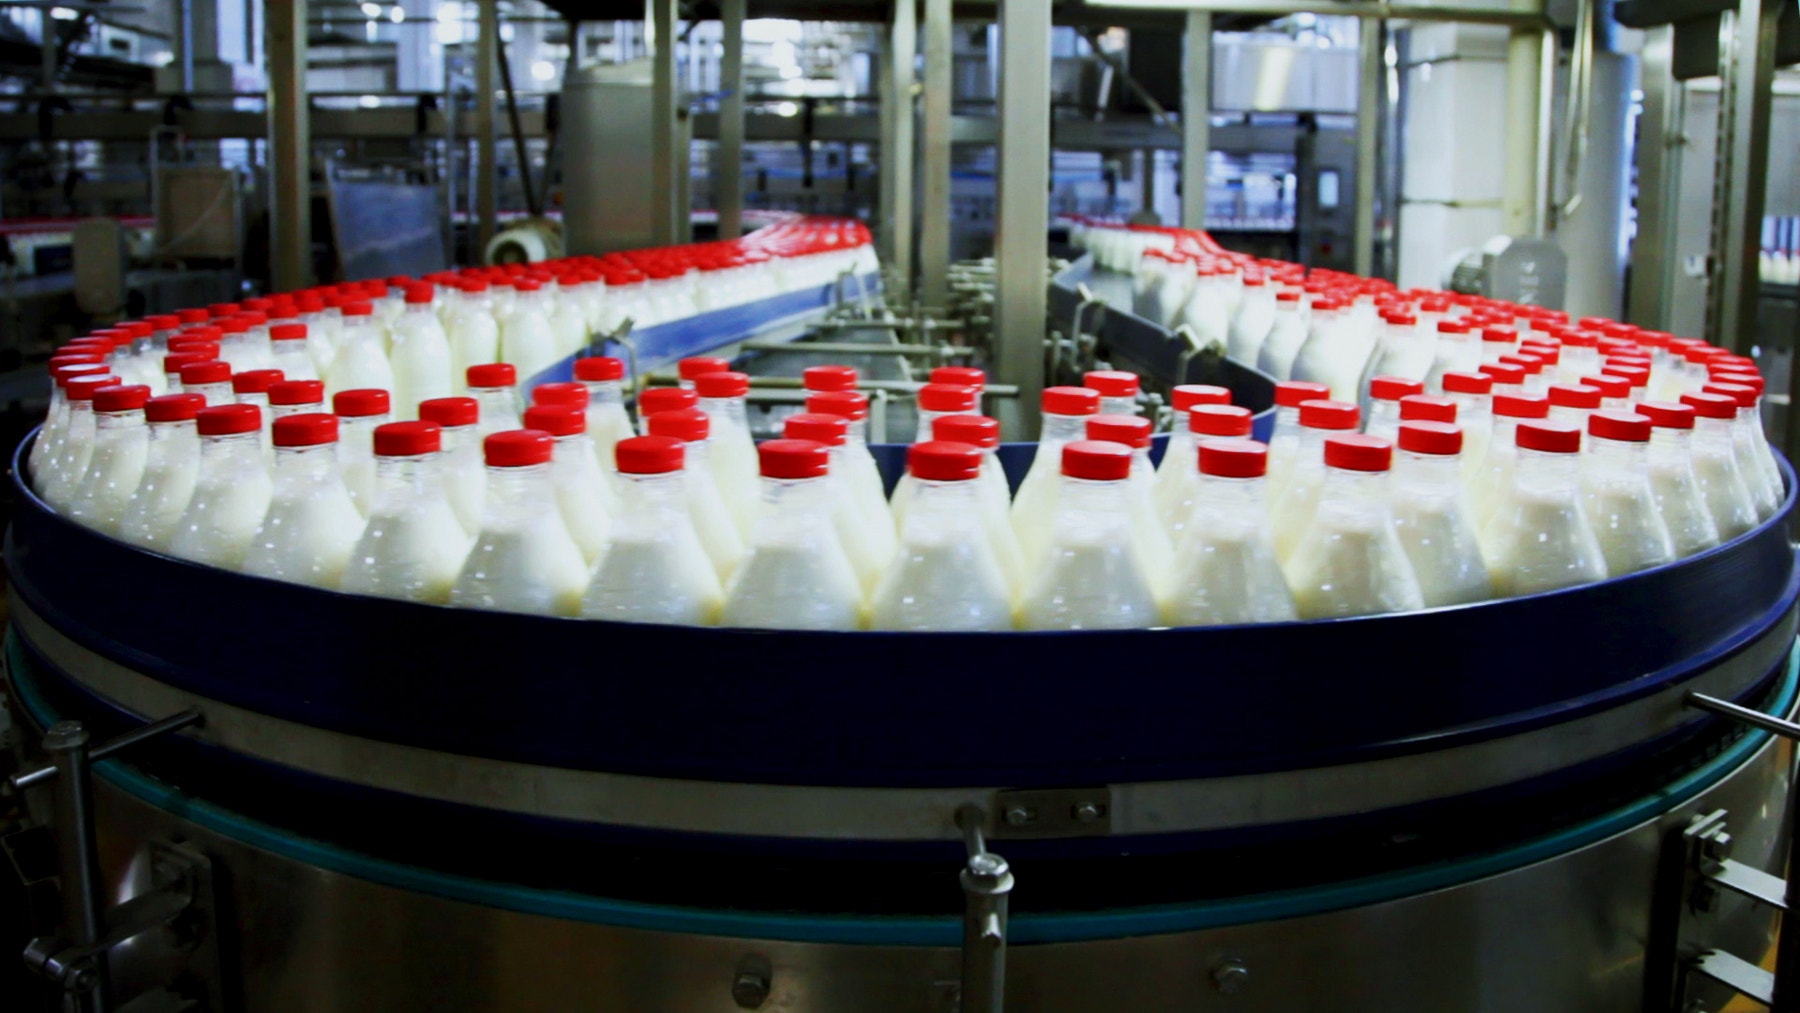
Encourage an active brainstorming process.
Ask your students to think about these questions:
- What is a factory conveyor and where is it used?
- Which type of motorized mechanism can be used to move a ball?
- How can the robotic system move the ball while maintaining control of the ball?
- What role does your sensor play? How can you measure how well your robotic system works?
Encourage students to document their initial ideas and explain why they picked the solution they will use for their first prototype. Ask them to describe how they will evaluate their ideas throughout the project. That way, when they are reviewing and revising, they will have specific information they can use to evaluate their solution and decide whether or not it was effective.
Extensions
Language Arts Extension
To incorporate language arts skills development, have your students:
Option 1
- Use their written work, sketches, and/or photos to summarize their design process and create a final report
- Create a video demonstrating their design process starting with their initial ideas and ending with their completed project
- Create a presentation about their program
- Create a presentation that connects their project with real-world applications of similar systems and describes new inventions that could be made based on what they have created
Option 2
Also, in this lesson, your students created a system that moved a ball along a path, mimicking the systems used in modern manufacturing.
- Think about whether modern manufacturing operations should be concerned about internet security or internal data security, and write a descriptive essay about modern manufacturing and the use of cloud data
- Describe the use of conveyor systems in fulfillment centers for online shopping operations
- Discuss the pros and cons of storing consumer purchasing data in the cloud
Math Extension
In this lesson, your students created a system that moved a ball along a path, mimicking the systems used in modern manufacturing. Many modern manufacturing processes utilize automation for production and quality control. A form of artificial intelligence called machine learning can be used to analyze performance data and generate new procedures to improve overall performance and efficiency. Manufacturing engineers do this by collecting vast data sets describing system performance and efficiency. Machine learning algorithms are used to analyze these data sets to help make decisions that improve performance and efficiency.
To incorporate math skills development, and explore manufacturing-related topics, such as quality control and machine learning, have your students:
Add hardware and software to their designs to measure performance and think of ways they can represent their machine’s performance using quantitative measures
Keeping in mind that when performing quality control and performance analysis, machines and humans alike must assess what's “good enough," develop quantitative representations of “good enough” for their designs
Keeping in mind that machine learning is the tool to use when exploring large data sets and trying to figure out complex relationships between machine data (i.e., the steps it followed) and performance, list as many variables as possible that are present in their systems and might impact their performance and efficiency
Building Tips
Building Ideas
Give your students an opportunity to build some examples from the links below. Encourage them to explore how these systems work and to brainstorm how these systems could inspire a solution to the Design Brief.
Testing Tips
Encourage your students to design their own tests setup and procedure to select the best solution. These tips can help your students as they set up their test:
- Create testing tables to record your observations.
- Evaluate the precision of your robotic system by comparing the expected results with the actual results.
- Repeat the test at least three times.
Sample Solution
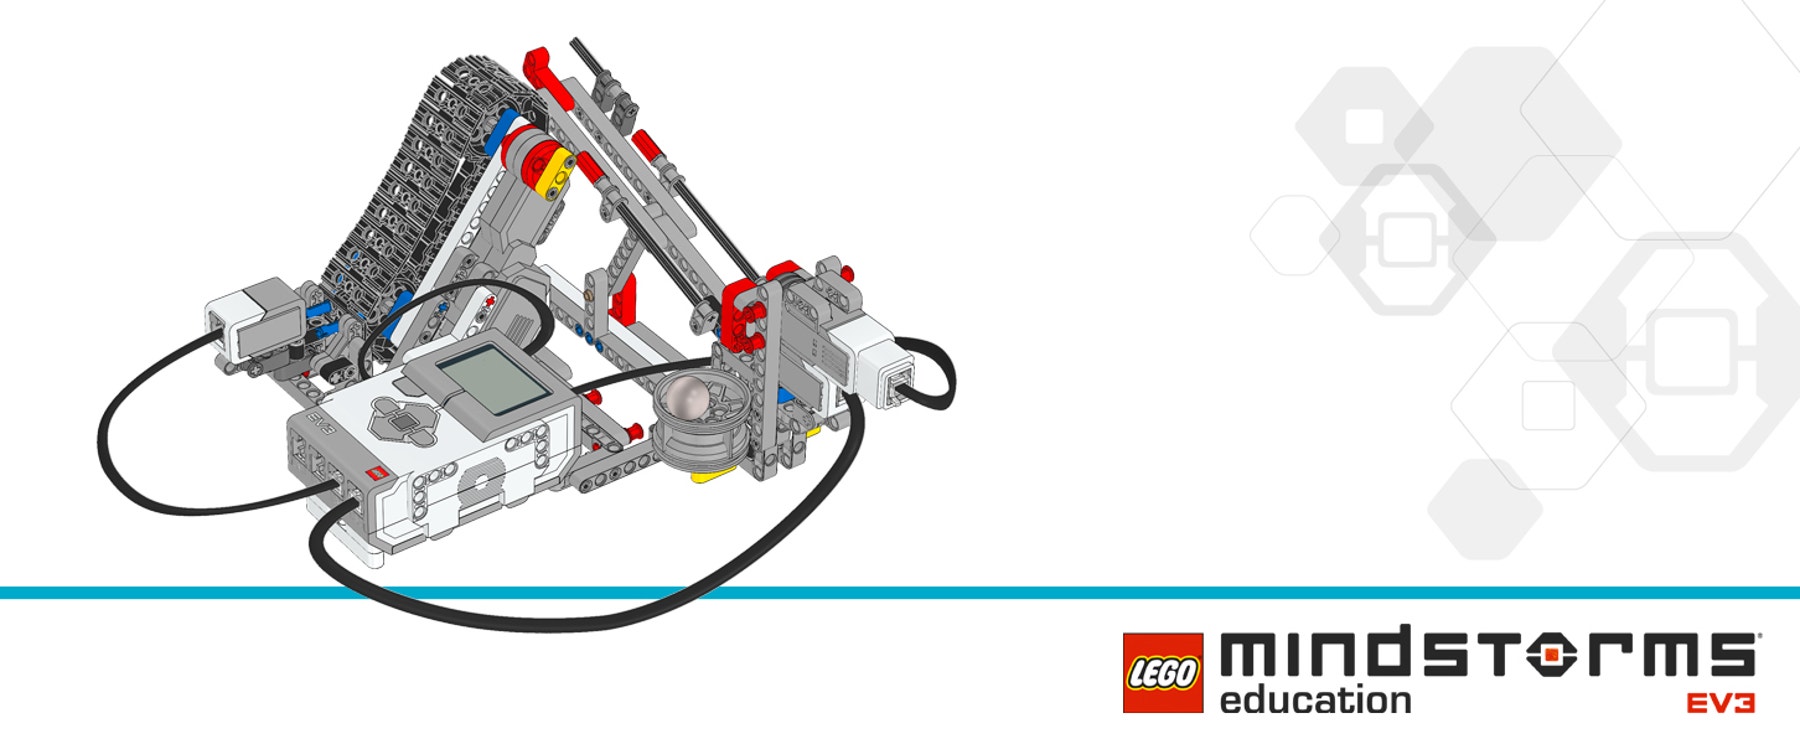
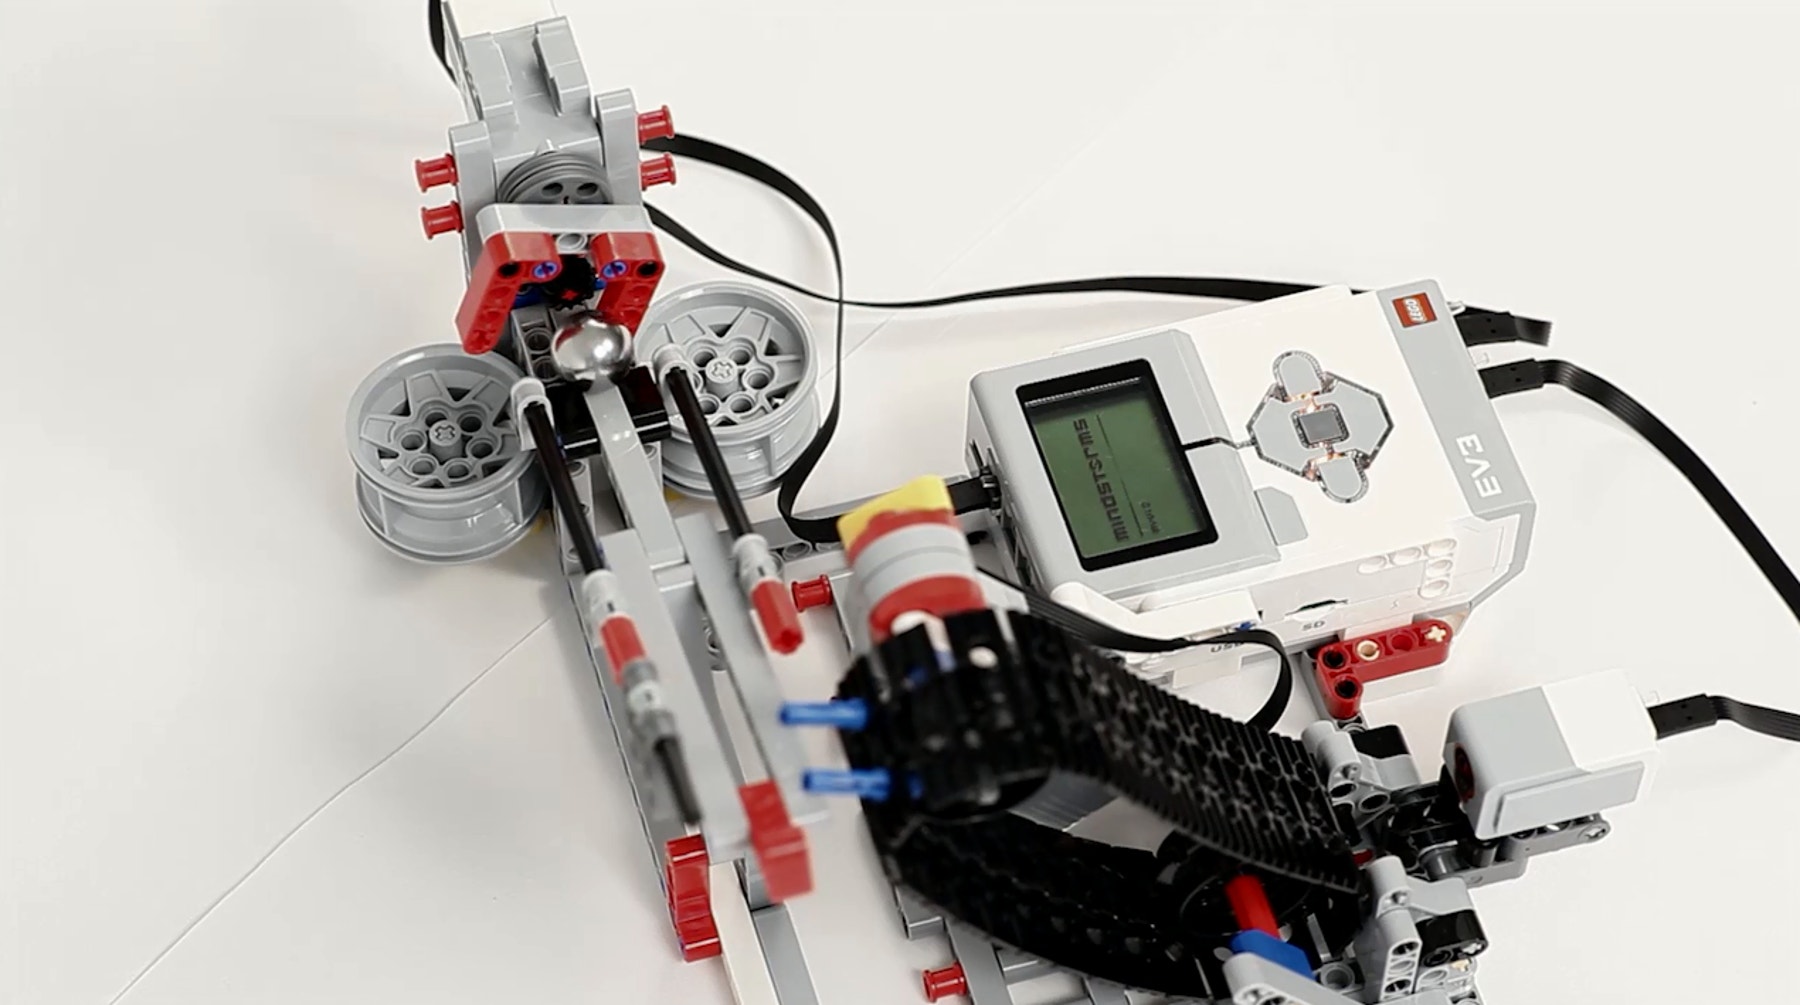
Here is a sample solution that meets the Design Brief criteria:
Coding Tips
EV3 MicroPython Sample Program
#!/usr/bin/env pybricks-micropython

from pybricks import ev3brick as brick
from pybricks.ev3devices import Motor, TouchSensor, ColorSensor
from pybricks.parameters import Port, Stop, Direction, SoundFile
from pybricks.tools import wait
from random import randint

# Configure the belt motor, which drives the conveyor belt.  Set the
# motor direction to counterclockwise, so that positive speed values
# make the conveyor move upward.
belt_motor = Motor(Port.A, Direction.COUNTERCLOCKWISE)

# Configure the "catch" motor with default settings.  This motor moves
# the ball to either cup.
catch_motor = Motor(Port.D)

# Set up the Color Sensor.  It is used in Reflected Light Intensity
# Mode to detect when the ball is placed at the bottom of the conveyor
# belt.
color_sensor = ColorSensor(Port.S3)

# Set up the Touch Sensor.  It is used to detect when the ball reaches
# the catch at the end of the ramp.
touch_sensor = TouchSensor(Port.S4)

# Initialize the conveyor belt.  This is done by slowly running the
# motor backward until it stalls.  This means that it cannot move any
# further.  Then it resets the angle to "0."  This means that when it
# rotates backward to "0" later on, it returns to this starting
# position.
belt_motor.run_until_stalled(-300, Stop.BRAKE, 30)
belt_motor.reset_angle(0)

# This is the main part of the program.  It is a loop that repeats
# endlessly.
#
# First, it waits until the ball is placed on the conveyor belt.
# Second, the ball is moved upward until it reaches the ramp where it
# rolls down to the catch.
# Finally, the ball is moved to the left or the right cup, or an error
# sound is made, chosen at random.
#
# Then the process starts over.  The ball can be placed at the
# beginning of the conveyor belt again.
while True:

    # Wait until the ball is placed in front of the Color Sensor.
    while color_sensor.reflection() < 5:
        wait(10)
    wait(500)

    # Move the ball up on the conveyor belt.
    belt_motor.run_target(250, 450, Stop.COAST, False)

    # Wait until the ball hits the Touch Sensor at the catch at the end
    # of the ramp.
    while not touch_sensor.pressed():
        wait(10)

    # Generate a random integer between "-1" and "1" to determine what
    # to do with the ball.
    catch_command = randint(-1, 1)

    # If it generates a "1," change the light to green and move the
    # ball to the right cup.
    if catch_command == 1:
        brick.light(Color.GREEN)
        catch_motor.run_target(400, -20)
        wait(1000)
        catch_motor.run_target(400, 0, Stop.HOLD)
    # If it generates a "0," change the light to orange and move the
    # ball to the left cup.
    elif catch_command == 0:
        brick.light(Color.ORANGE)
        catch_motor.run_target(400, 20)
        wait(1000)
        catch_motor.run_target(400, 0, Stop.HOLD)
    # Otherwise, change the light to red and play an error sound.
    else:
        brick.light(Color.RED)
        brick.sound.file(SoundFile.RATCHET)
        wait(1000)

    # Return the conveyor belt to its starting position.
    belt_motor.run_target(250, 0)
Career Links
Students who enjoyed this lesson might be interested in exploring these career pathways:
- Manufacturing and Engineering (Machine Technology)
- Science, Technology, Engineering & Mathematics (Engineering and Technology)
Assessment Opportunities
Teacher Observation Checklist
Create a scale that matches your needs, for example:
- Partially accomplished
- Fully accomplished
- Overachieved
Use the following success criteria to evaluate your students’ progress:
- Students can evaluate competing design solutions based on prioritized criteria and tradeoff considerations.
- Students are autonomous in developing a working and creative solution.
- Students can clearly communicate their ideas.
Self-Assessment
Once your students have collected some performance data, give them time to reflect on their solutions. Help them by asking questions, like:
- Is your solution meeting the Design Brief criteria?
- Can your robotic system’s movement(s) be made more accurate?
- What are some ways that others have solved this problem?
Ask your students to brainstorm and document two ways they could improve their solutions.
Peer Feedback
Encourage a peer review process in which each group is responsible for evaluating their own and others’ projects. This review process can help students develop skills in giving constructive feedback as well as sharpen their analysis skills and ability to use objective data to support an argument.
Teacher Support
Students will:
-Use the design process to solve a real-world problem
Main Standards
NGSS
HS-ETS1-2 Engineering Design
Design a solution to a complex real-world problem by breaking it down into smaller, more manageable problems that can be solved through engineering.
Extensions Standards
Math Extension
CCSS.MATH.PRACTICE.MP2 Reason abstractly and quantitatively.
CCSS.MATH.PRACTICE.MP4 Model with mathematics.
Language Arts Extension
CCSS.ELA-LITERACY.W.9-10.1 Write arguments to support claims
CCSS.ELA-LITERACY.W.9-10.2 Write informative/explanatory texts to examine and convey complex ideas, concepts, and information
