Make It Move In A Pattern
Design, build and program a robot that can move itself in a pattern that forms a repeatable shape.
Connect
(30 minutes)

Use this video to:
- Connect students to real-life robots that move
- Connect students to physical science and mathematics principles: distance, speed, and other challenges for robot movement
- Consider how robots think; how they know where they are and what they need to do
- Inspire students to create their own robots that move
Make It Move Discussion
- Look at the ways that machines and robots move with and without wheels. Choose one example and trace how the movement transfers from one part to another.
This question challenges students to observe and describe how a robot physically moves. - Compare the way the two walking robots move. What do you notice about how they balance as they walk?
The ZI insect robot lifts one leg on one side but not on the other. The humanoid robot is maintains its balance in several ways (e.g., moving slowly, adjusting foot position, holding hands out and down to the side).
Design Brief
Design, build, and program a robot that can move itself in a pattern that forms a repeatable shape (for example, a triangle or a square).
Brainstorm
Encourage an active brainstorming process so that students develop their conceptual understanding. For example, encourage them to:
- Review the Robots In Action videos showing robots for inspiration
- Build the suggested examples from Building Ideas and explore how they work
- Personalize their robot or describe a context in which a robot that moves in a pattern is important (e.g., the robot that is cleaning the pool in the Personal video).
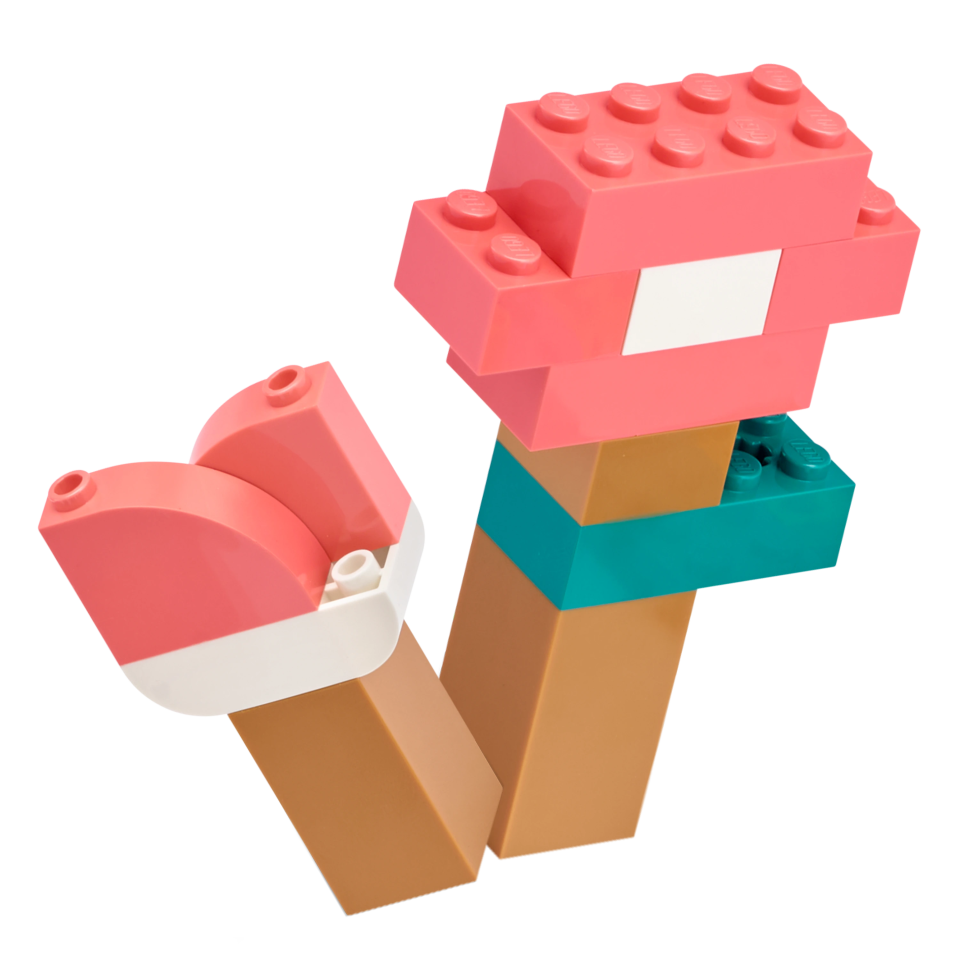
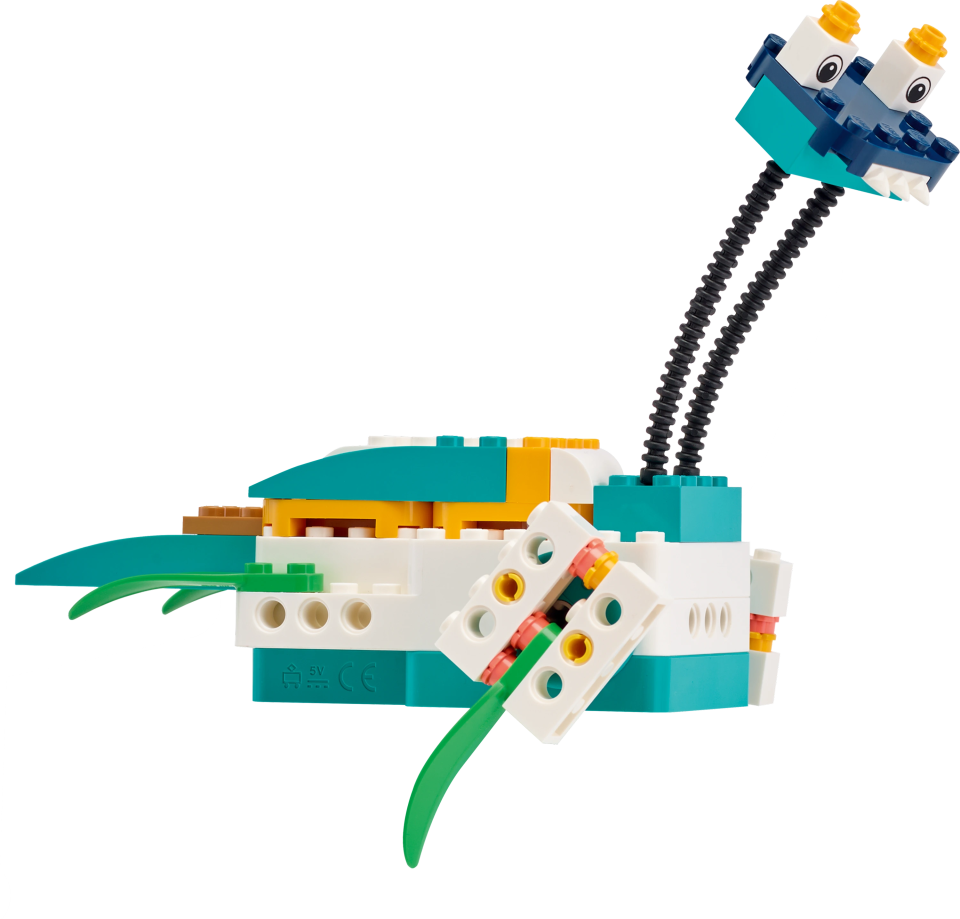
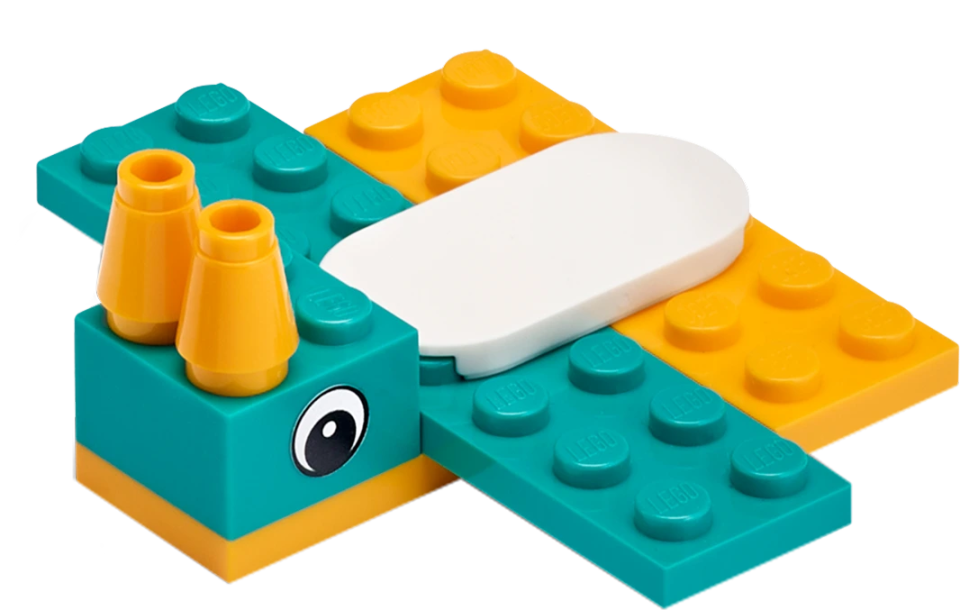
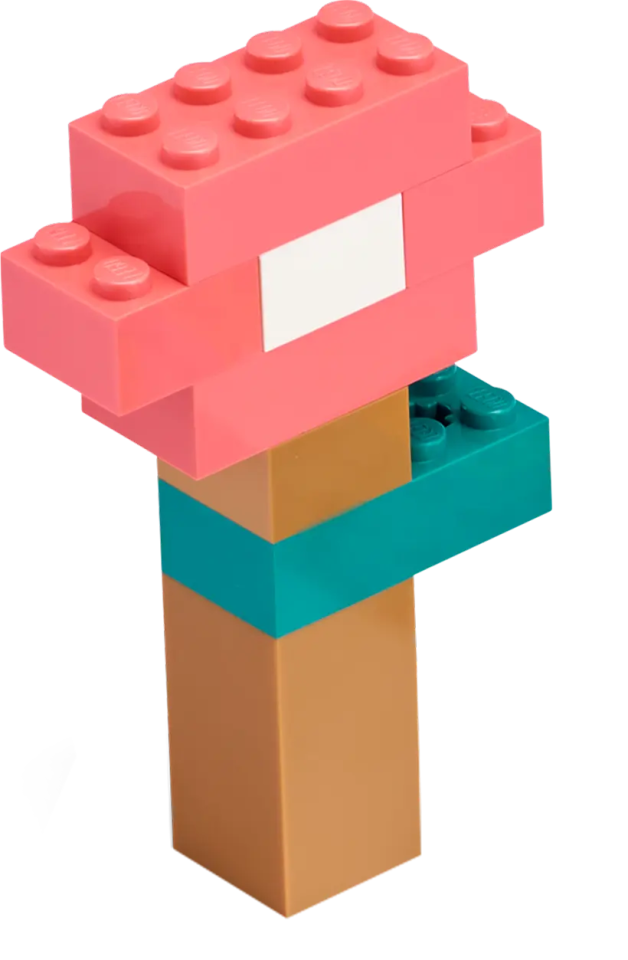
Building Ideas:
Select the Best Solution
Describe the solution that you have agreed to build and program.
Think about examples from your brainstorming discussion. Then explain why you chose this solution for the design brief. Encourage students to describe why they have chosen this solution. That way, when students are reviewing and revising, they will have specific information to use to evaluate their solution and decide whether or not it was effective.
Construct
(30 minutes)
Build and Program
Start building and programming your solution!
As you work on your solution, make sure students keep track of:
- Describe one part of your design that worked especially well.
- Describe one design change that you had to make.
- What will you try next?
Students can use images, video, text, sound, or weblinks to document their work.
Contemplate
(30 minutes)
Test and Analyze
How well does your solution satisfy the design brief?
Use a table to record data. Name the columns and rows, such as Trial Number, Moved in Correct Pattern?, and Observations.
Review and Revise
Take a moment to reflect on your robot solution.
- Can you control the movement of the robot in a precise way?
- Does repeating movements more or fewer times affect the accuracy?
Encourage students to look back at the design brief and at their own brainstorming notes and test data. Encourage a peer-review process so that each group is responsible for evaluating their own and others’ projects. This review process can help students develop skills in giving constructive feedback as well as sharpening analysis skills and the use of objective data to support an argument.
Friction motor power in the program, as well as the design of the robot, will affect the precision of the robot’s movement.
Communicate
Here are some ideas to suggest to students:
- Create a video of your project, especially your final presentation and your robot’s performance.
- Explain some important features of your software program.
- Produce a building guide for your model by taking a series of photographs as you deconstruct it.
- Include an image of your program with comments.
- Add a team photograph
Evaluate Design and NGSS Goals
You can use the included rubrics to evaluate skills progression of Design Engineering Projects.
- Students can review their design goals as well as their use of some NGSS practices using the provided rubric. Students can rate their level of work by adding a mark below the Bronze, Silver, Gold, or Platinum column.
- You may also choose to use the rubric to rate each team or student yourself.
Evaluate Creativity and Collaboration
Students can review their creative and collaboration processes using the provided rubric.
You may also choose to use the rubric to rate each team or student yourself.
Continue
(30 minutes)
Communicate
Here are some ideas to suggest to students:
- Create a video of your project, especially your final presentation and your robot’s performance.
- Explain some important features of your software program.
- Produce a building guide for your model by taking a series of photographs as you deconstruct it.
- Include an image of your program with comments.
- Add a team photograph
Evaluate Design and NGSS Goals
You can use the included rubrics to evaluate skills progression of Design Engineering Projects.
- Students can review their design goals as well as their use of some NGSS practices using the provided rubric. Students can rate their level of work by adding a mark below the Bronze, Silver, Gold, or Platinum column.
- You may also choose to use the rubric to rate each team or student yourself.
Evaluate Creativity and Collaboration
Students can review their creative and collaboration processes using the provided rubric.
You may also choose to use the rubric to rate each team or student yourself.
Sample Solution Overview
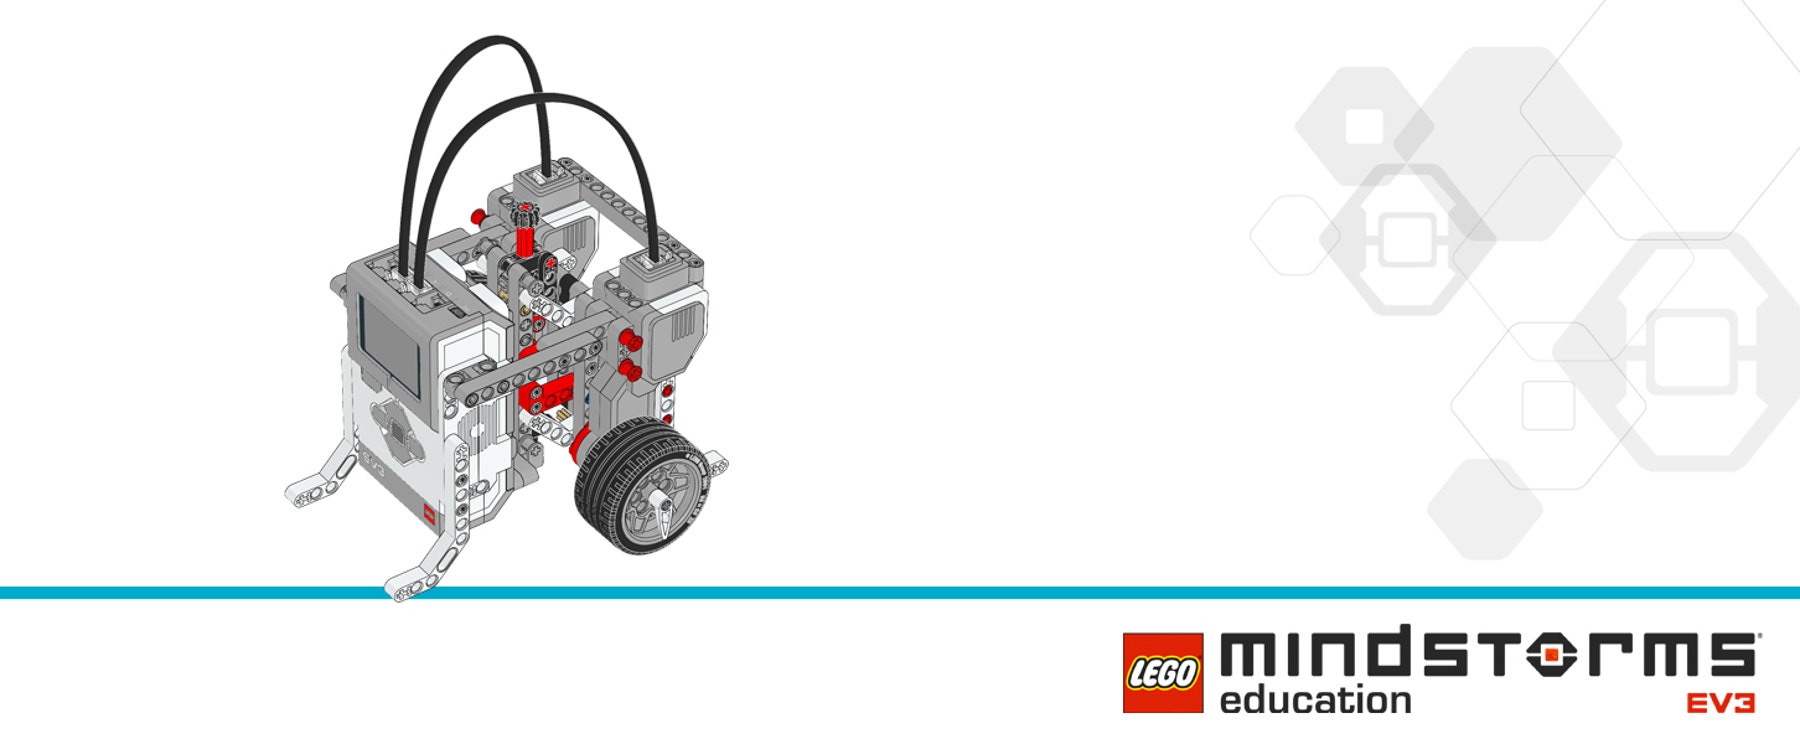
The Plot Bot Solution is one example of many possible solutions for the Make It Move In a Pattern project.
Sample Solution Building Ideas
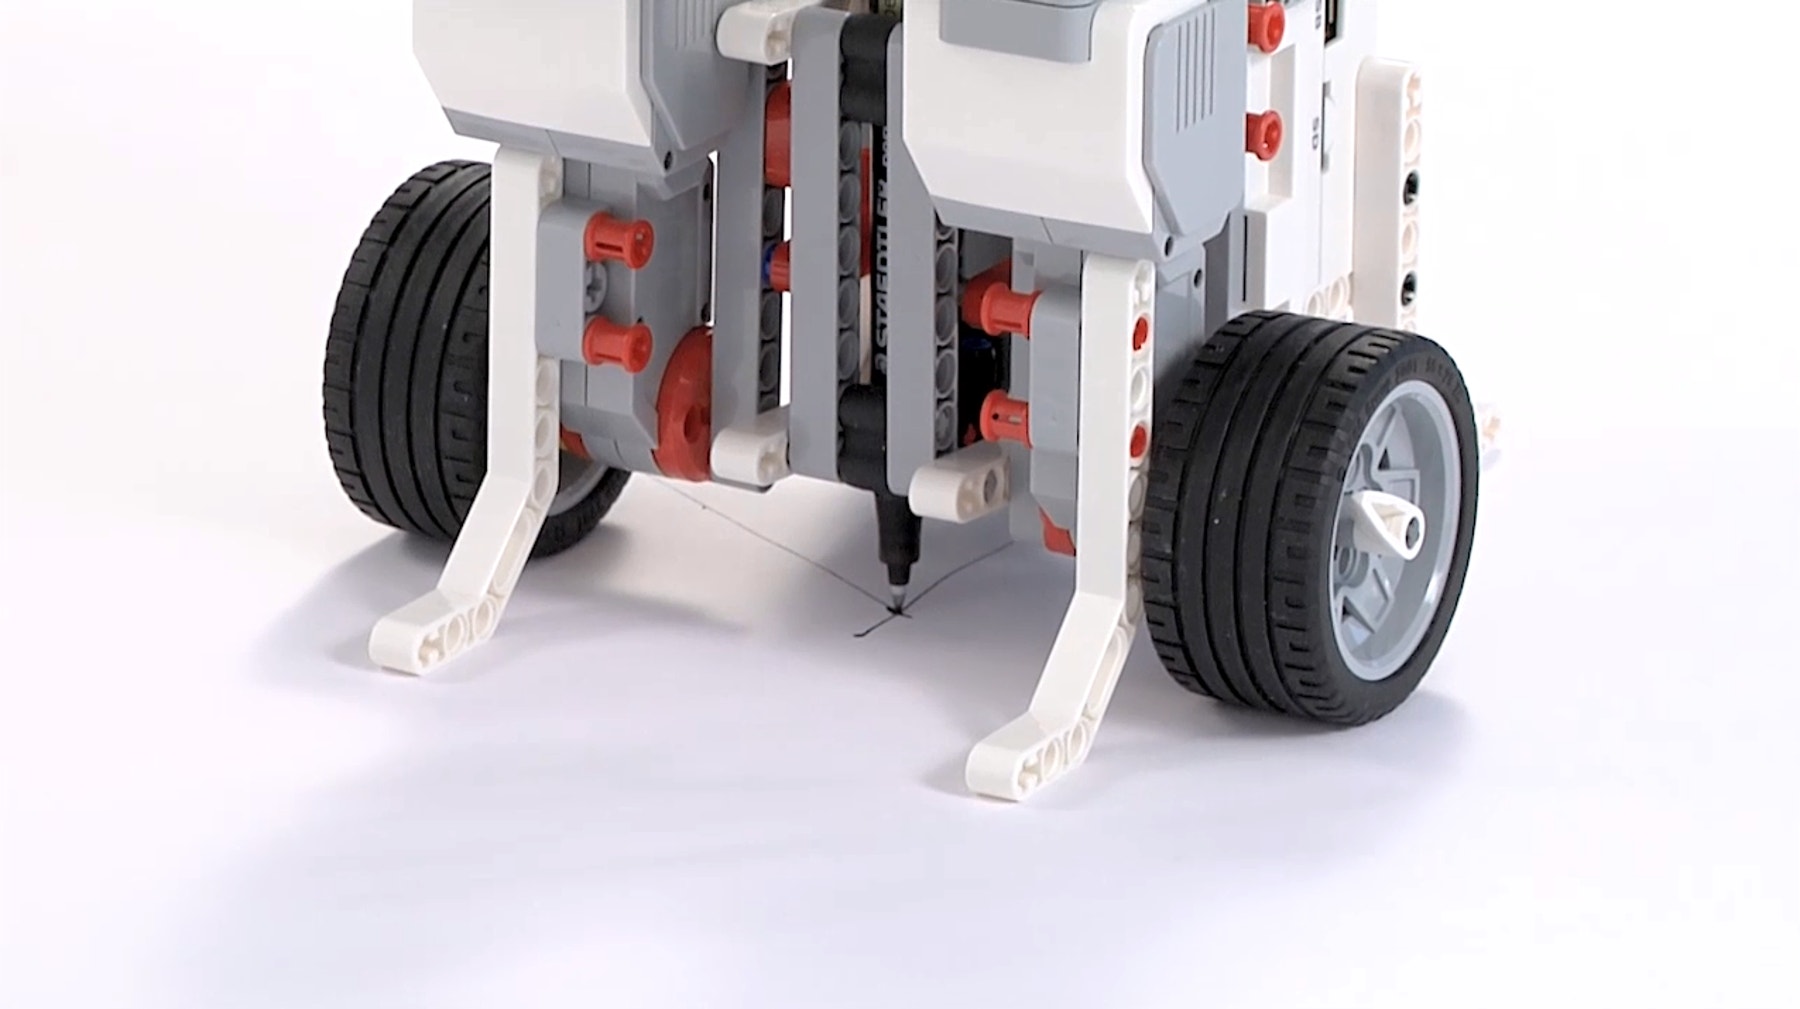
This Plot Bot Solution combines these Building Ideas: Large Motor and Wheel and Pen Holder.
One copy of Large Motor and Wheel is built and another copy is made as a mirrored version so a left and right wheel can be attached to the EV3 Brick. The design brief did not require a pen to draw the shapes; however, it is a useful feature for evaluating the pattern and the precision of the turning angles.
Two-motor robots are a good strategy for satisfying this design challenge because two-motor robots allow 360°- control turning left or right.
Sample Solution Program
This progam:
- Resets Rotation Sensors B and C to 0
- Turns on Motors B and C at 75% power for one rotation to draw the first side of the triangle
- Waits a quarter of a second to pause between movements
- Turns on Motors B and C at 100% power for 270 degrees to make a sharp turn for the triangle
- Waits a quarter of a second to pause between movements
- Loops 2 more times to complete the triangle.
Comments
• Notice that the motors are mounted upside down; to turn forward, set the motors in reverse!
• Resetting the Rotation Sensors is not strictly necessary but is generally good practice
• The Wait blocks are not strictly necessary but the slight pauses make it easier to observe the robot

Teacher Support
Students will:
• Build and program their own robot that can move forward, backward and turn
• Understand that robots moving in some patterns can create regular polygons
• Understand that patterns can be created by repeating movements
• Write a program that makes the robot move forward or backward and turn, and repeat those movements in a regular polygon pattern
LEGO® MINDSTORMS Education EV3 Core Set
LEGO® MINDSTORMS Education EV3 Lab or EV3 Programming
Regular or slim markers or pens
Prerequisites
Students should know how to create and download a program, and how to program a motor.
Common Core Science
Practices
1.1, 1.2, 1.3, 1.6, 1.8
Cross-cutting Concepts
2.1
Common Core Mathematics
Practices
1.1, 1.2, 1.4, 1.5, 1.6
ITEEA Standards for Technological Literacy
Design
8, 9, 10
Abilities for a Technological World
11, 13
The Designed World
16
ISTE National Education Technology Standards
1a, 1b, 1c, 2b, 2d, 3a, 3d, 4a, 4b, 4c, 6a, 6c, 6d
