Solar Station
Explore transfer, transformation, storage and dissipation of energy with reference to conversion of solar energy to electrical energy
Connect
(5-10 Minutes)
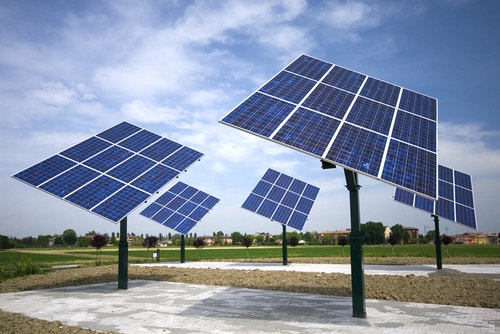
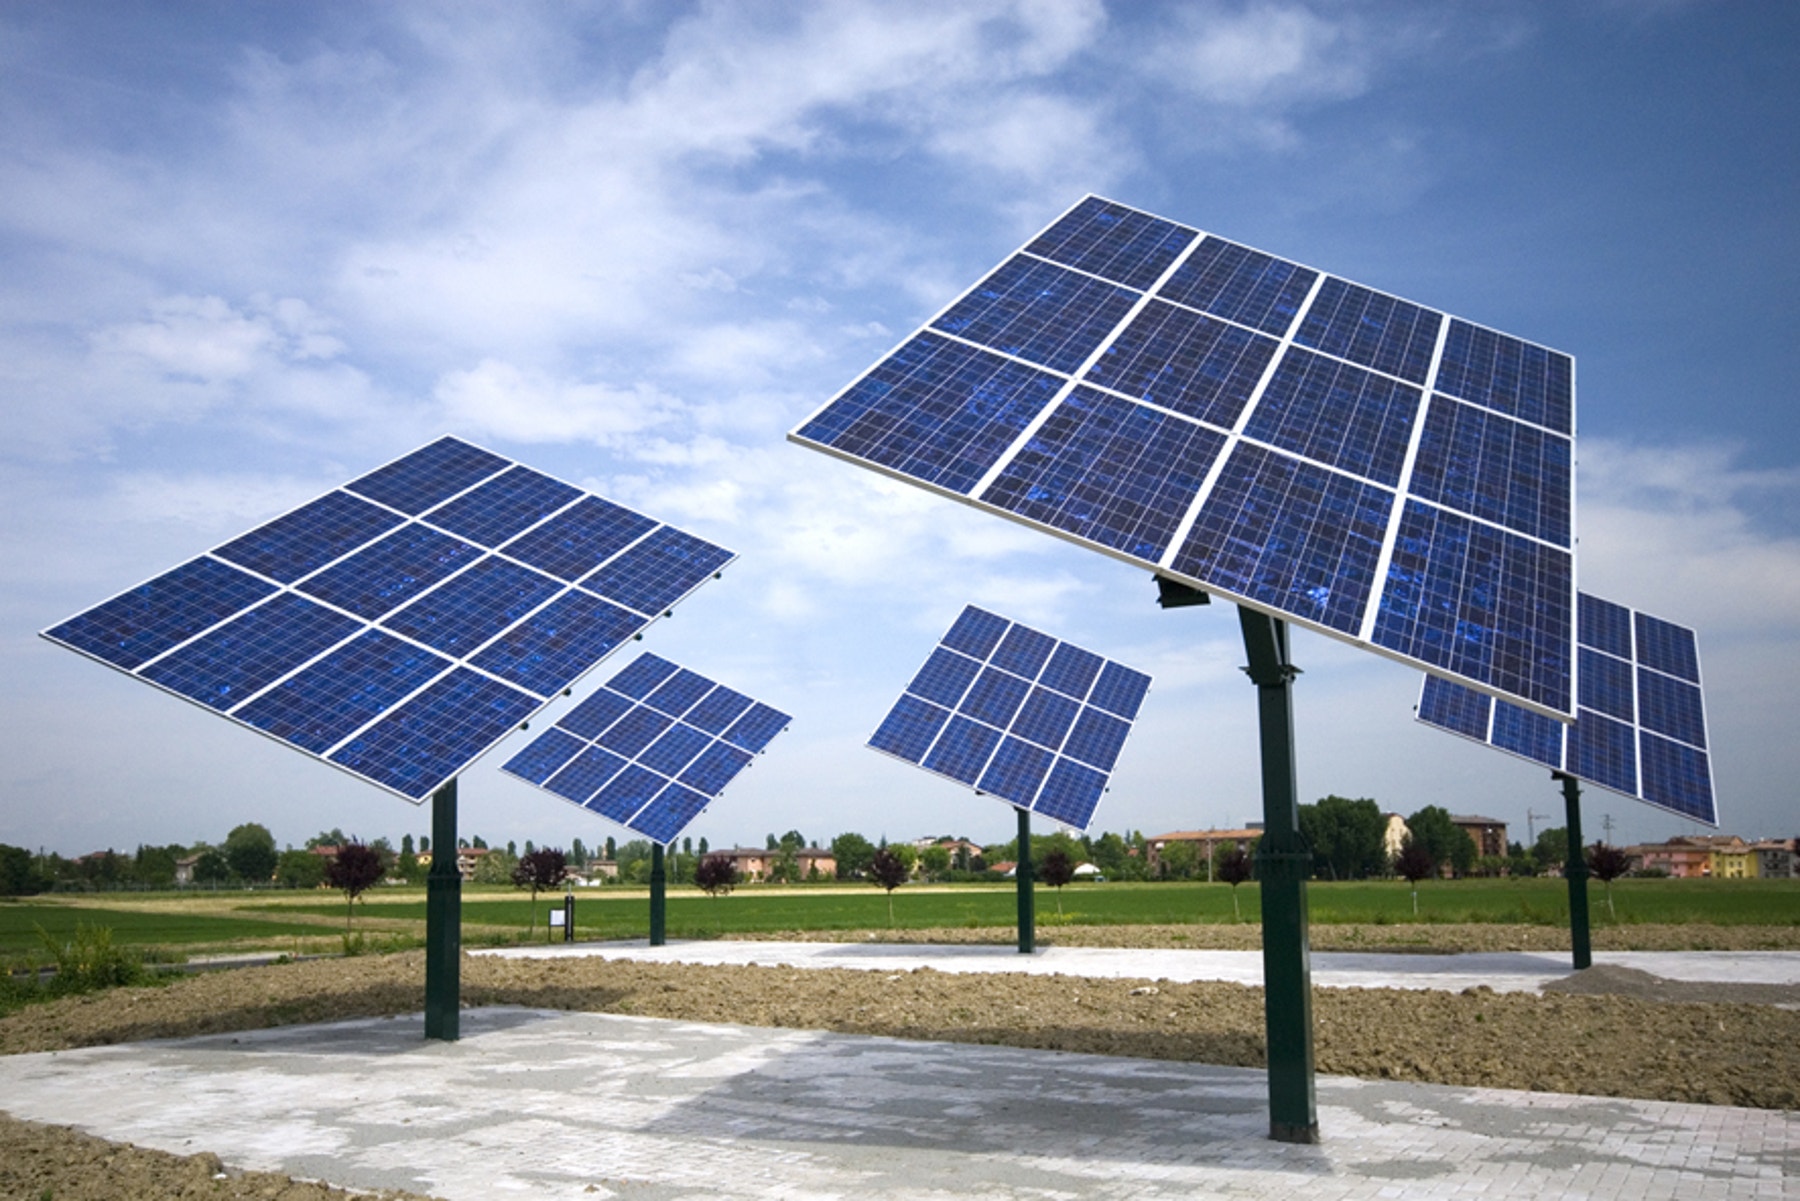
Solar panels have the ability to convert solar energy into electrical energy. They are used to generate electricity for large utility grids, for satellites in space and in isolated locations for small communities or single homes.
Now build the Solar Station and investigate its ability to generate power.
Construct
(20-25 Minutes)
Build the Solar Station
(Building Instruction booklet 2A and 2B, to page 30, step 15).
Test the model’s functionality. Loosening bushings can reduce friction. Connect the plugs properly by pressing them firmly together. Make sure to return the joules (J) reading to zero before testing.
Test Setting
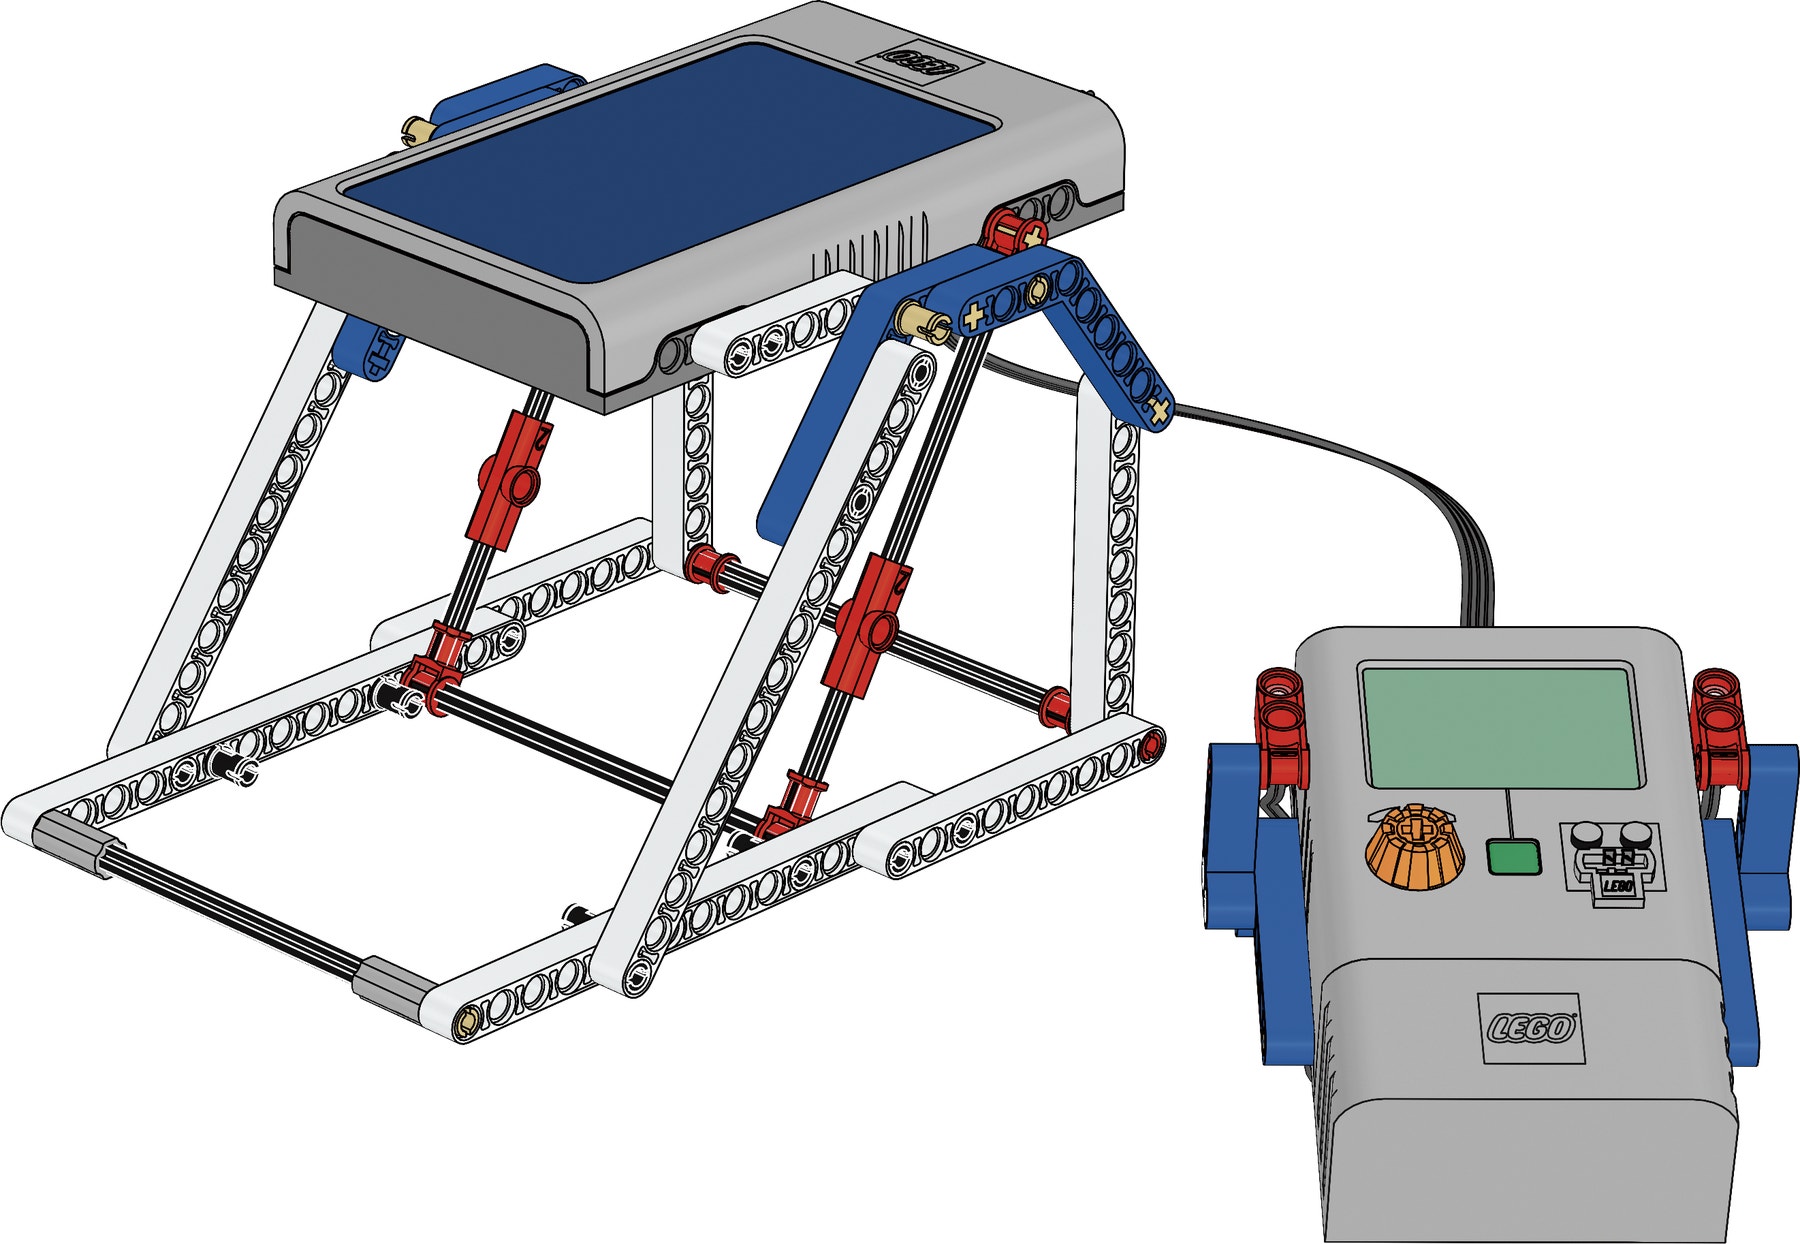
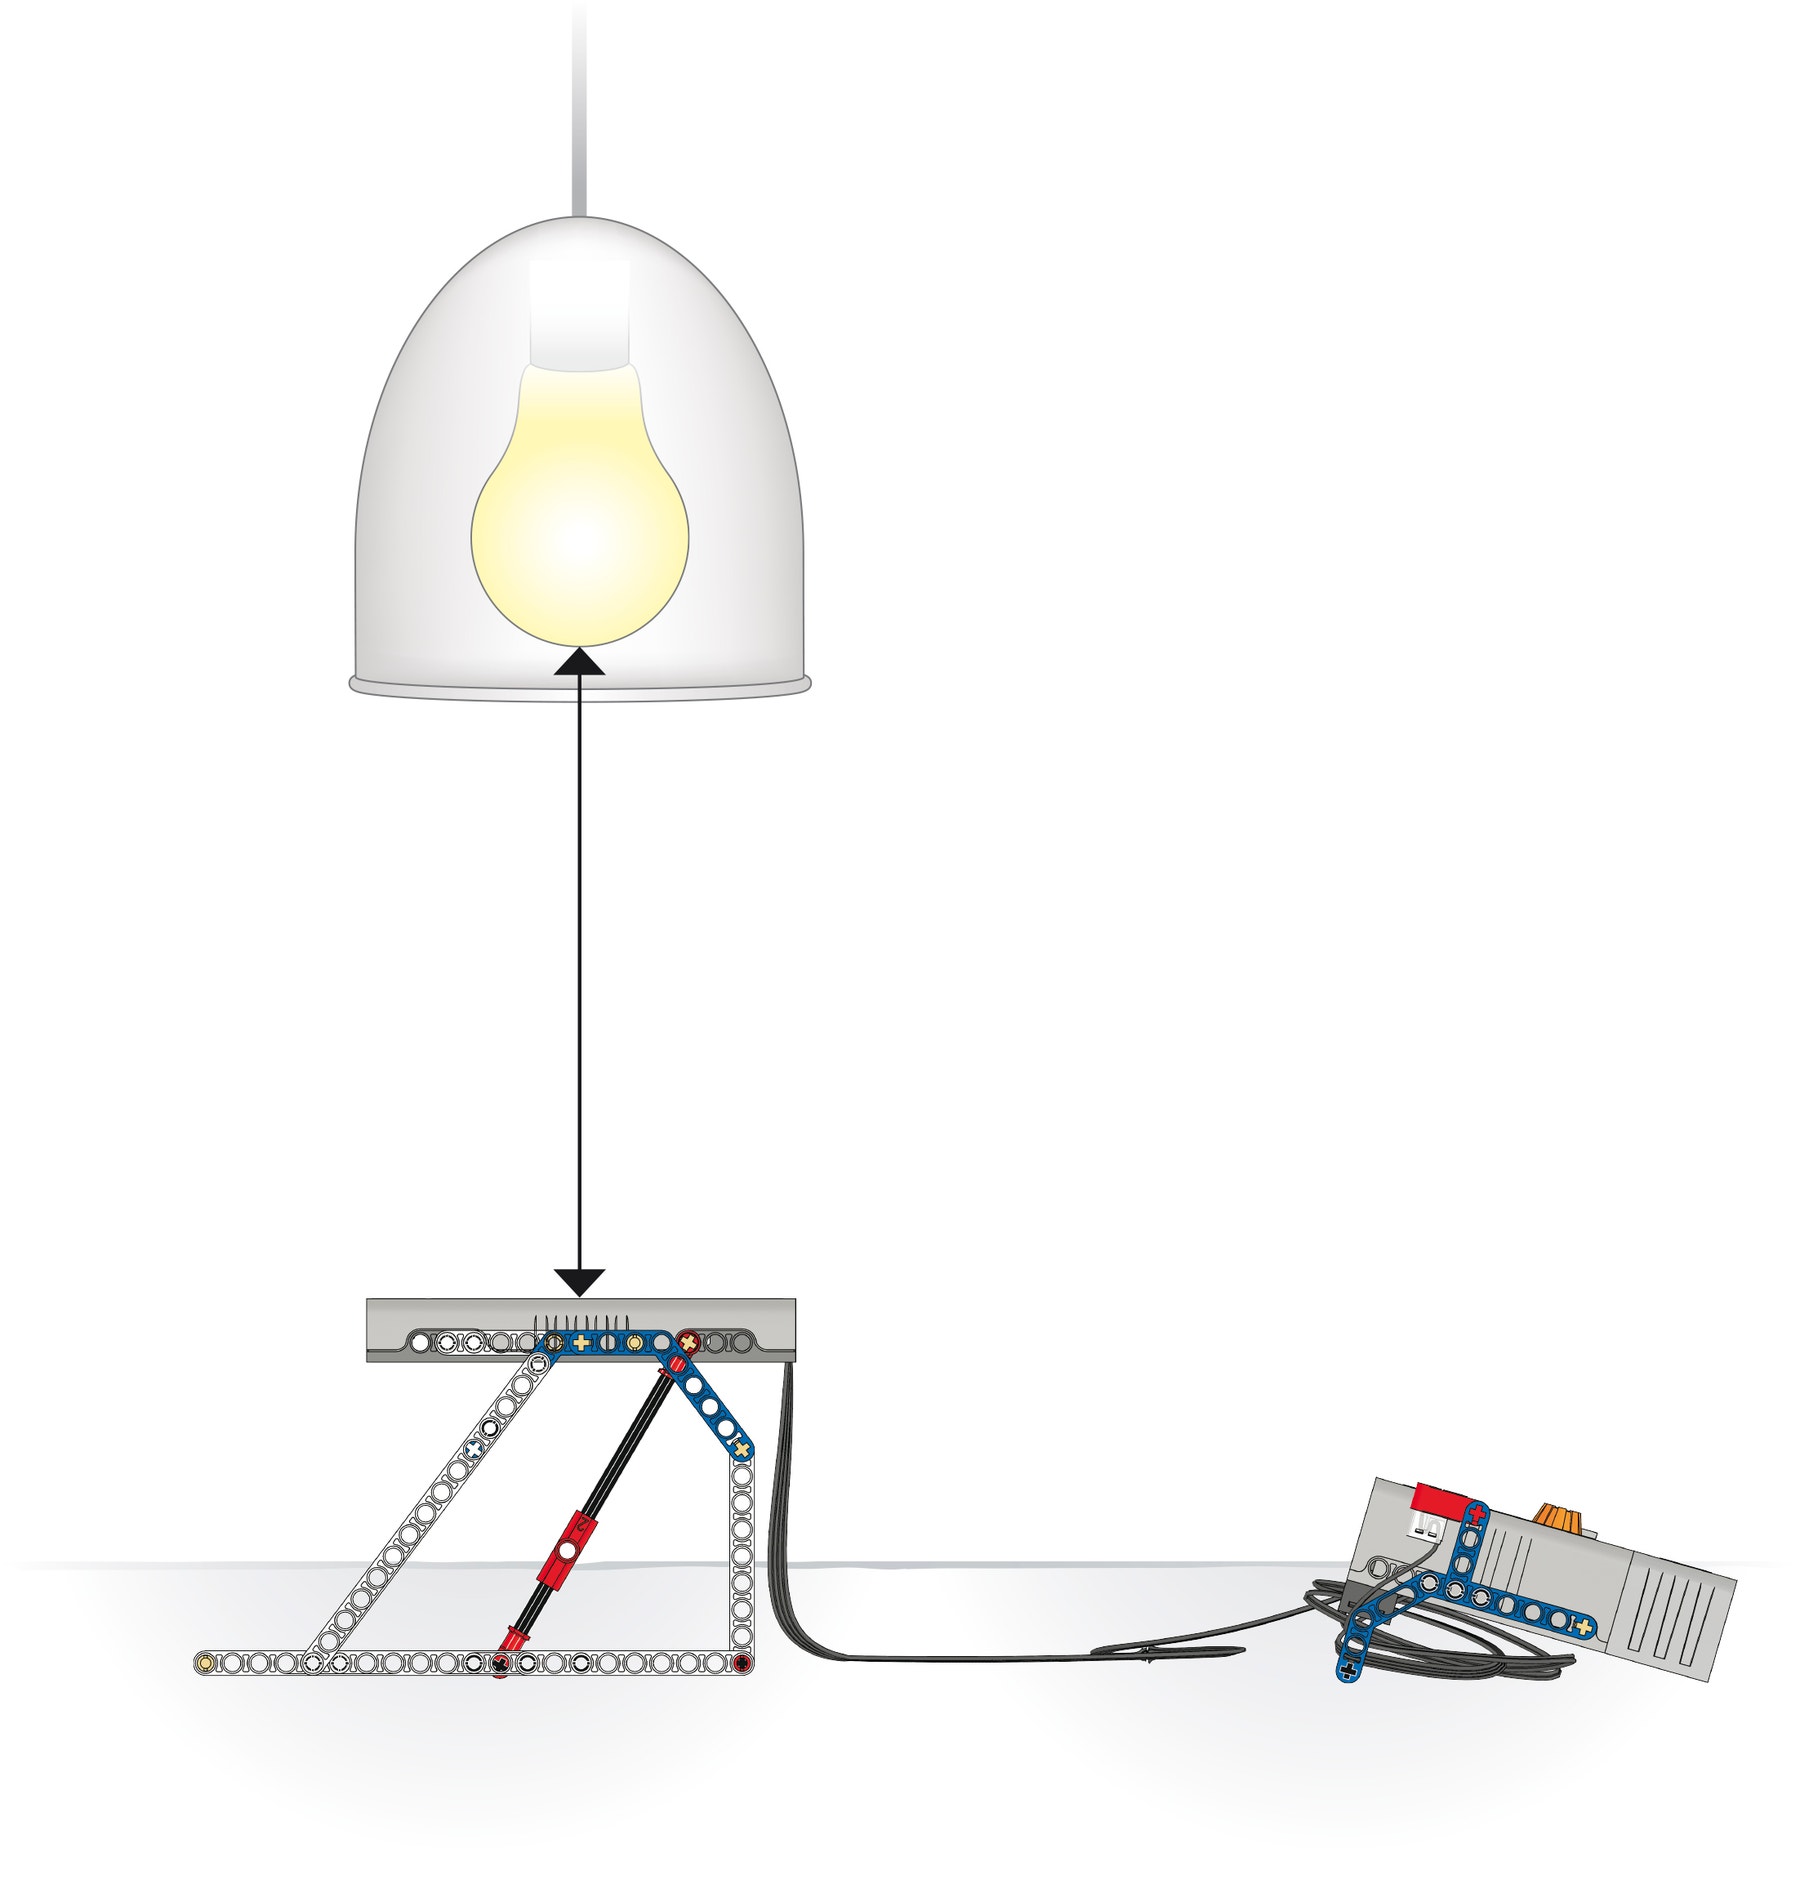
Position the Solar Station at a distance of 15 cm (= 6 in.) from the light source.
A 60W incandescent light bulb, high performance halogen emitters or any other light source that emits a high amount of IR spectra > 800 nm.
Place the Solar Panel under the center of the light source. Optimally the lamps diameter should cover the LEGO Solar Panel and have a parabolic reflector.
To help students measure the distance of the bulb in the lamp to the Solar Panel, it is helpful to make a mark on the lamp casing, level with the center of the light bulb.
Warning! This may be dangerous!
Warning!
Heat can damage the Solar Panel. Keep a distance of at least 8 cm (= 3 in.) from the Solar Panel to the light source at all times.
Make sure students handle light bulbs with great care!
Contemplate
(20-25 minutes)
Changing angles
The task requires students to investigate how changing the angle of the Solar Panel to the light source will affect the average voltage (V) and average current (A) readings.
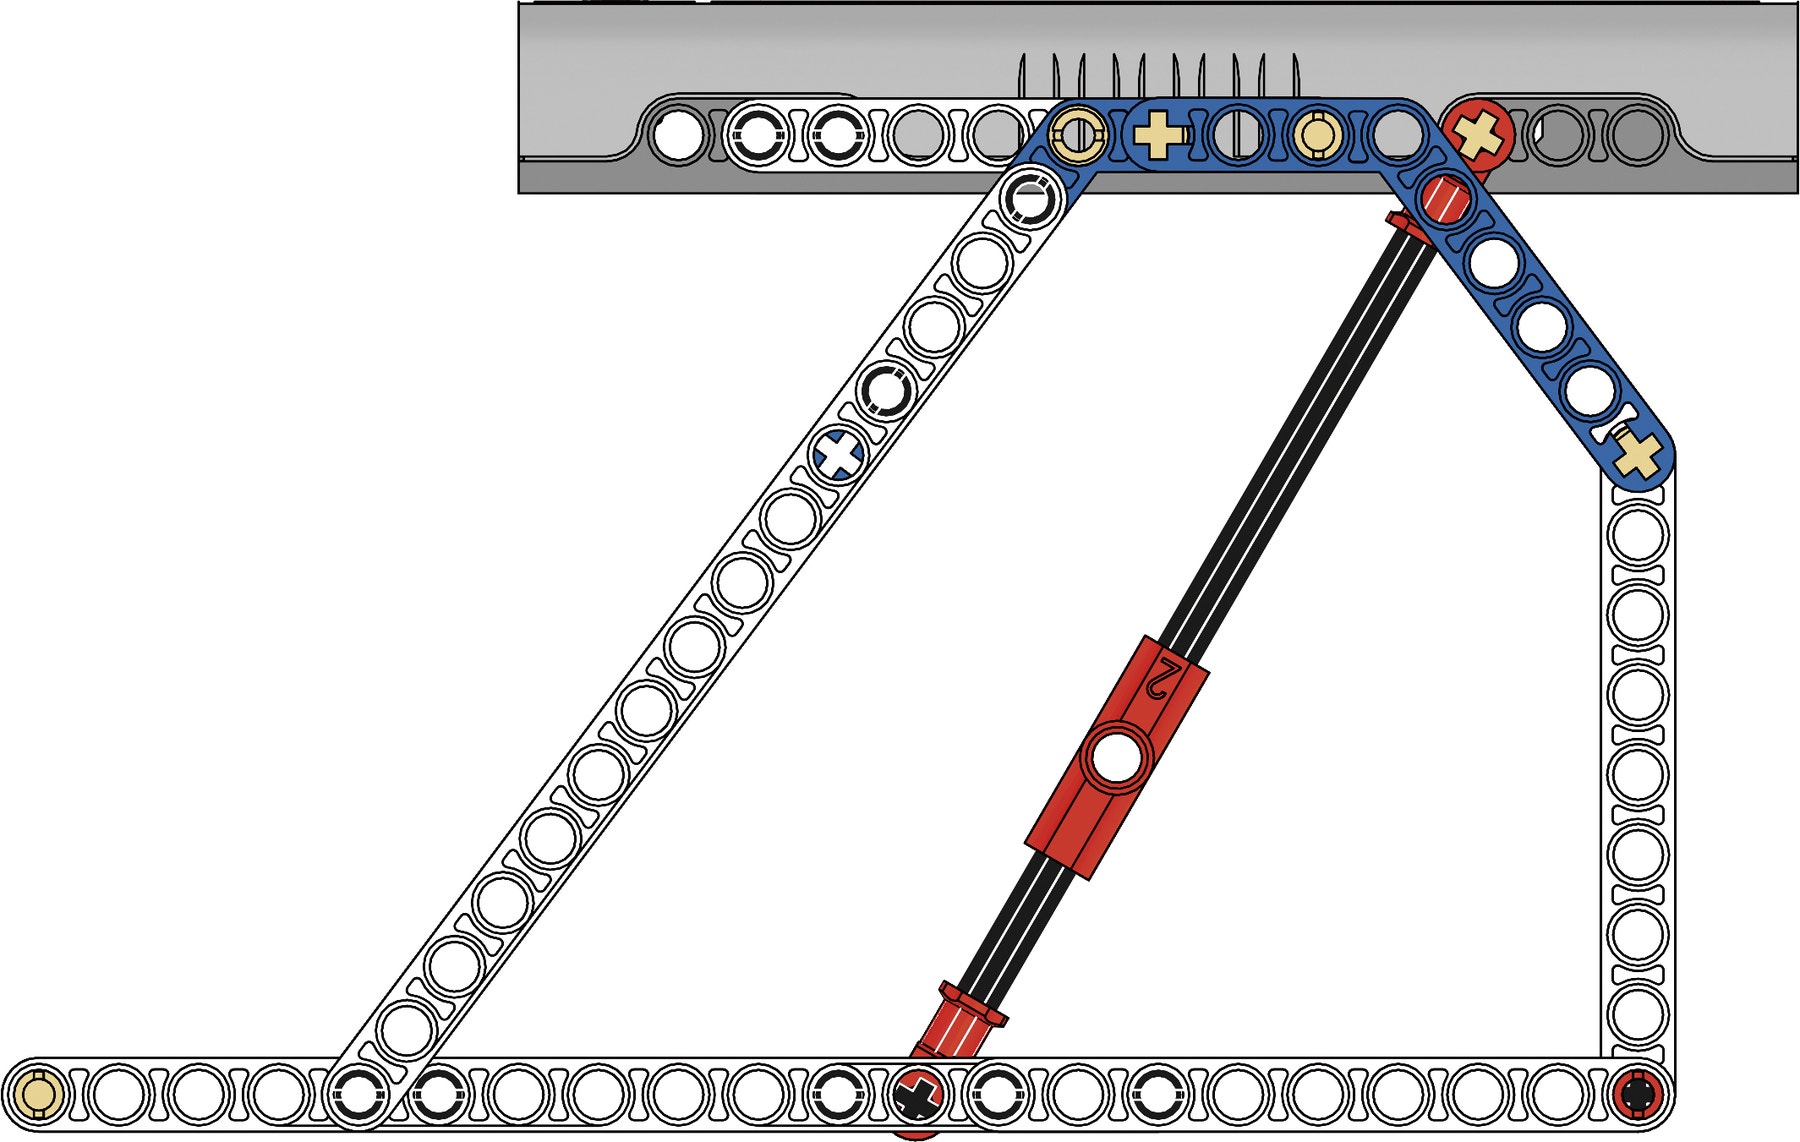
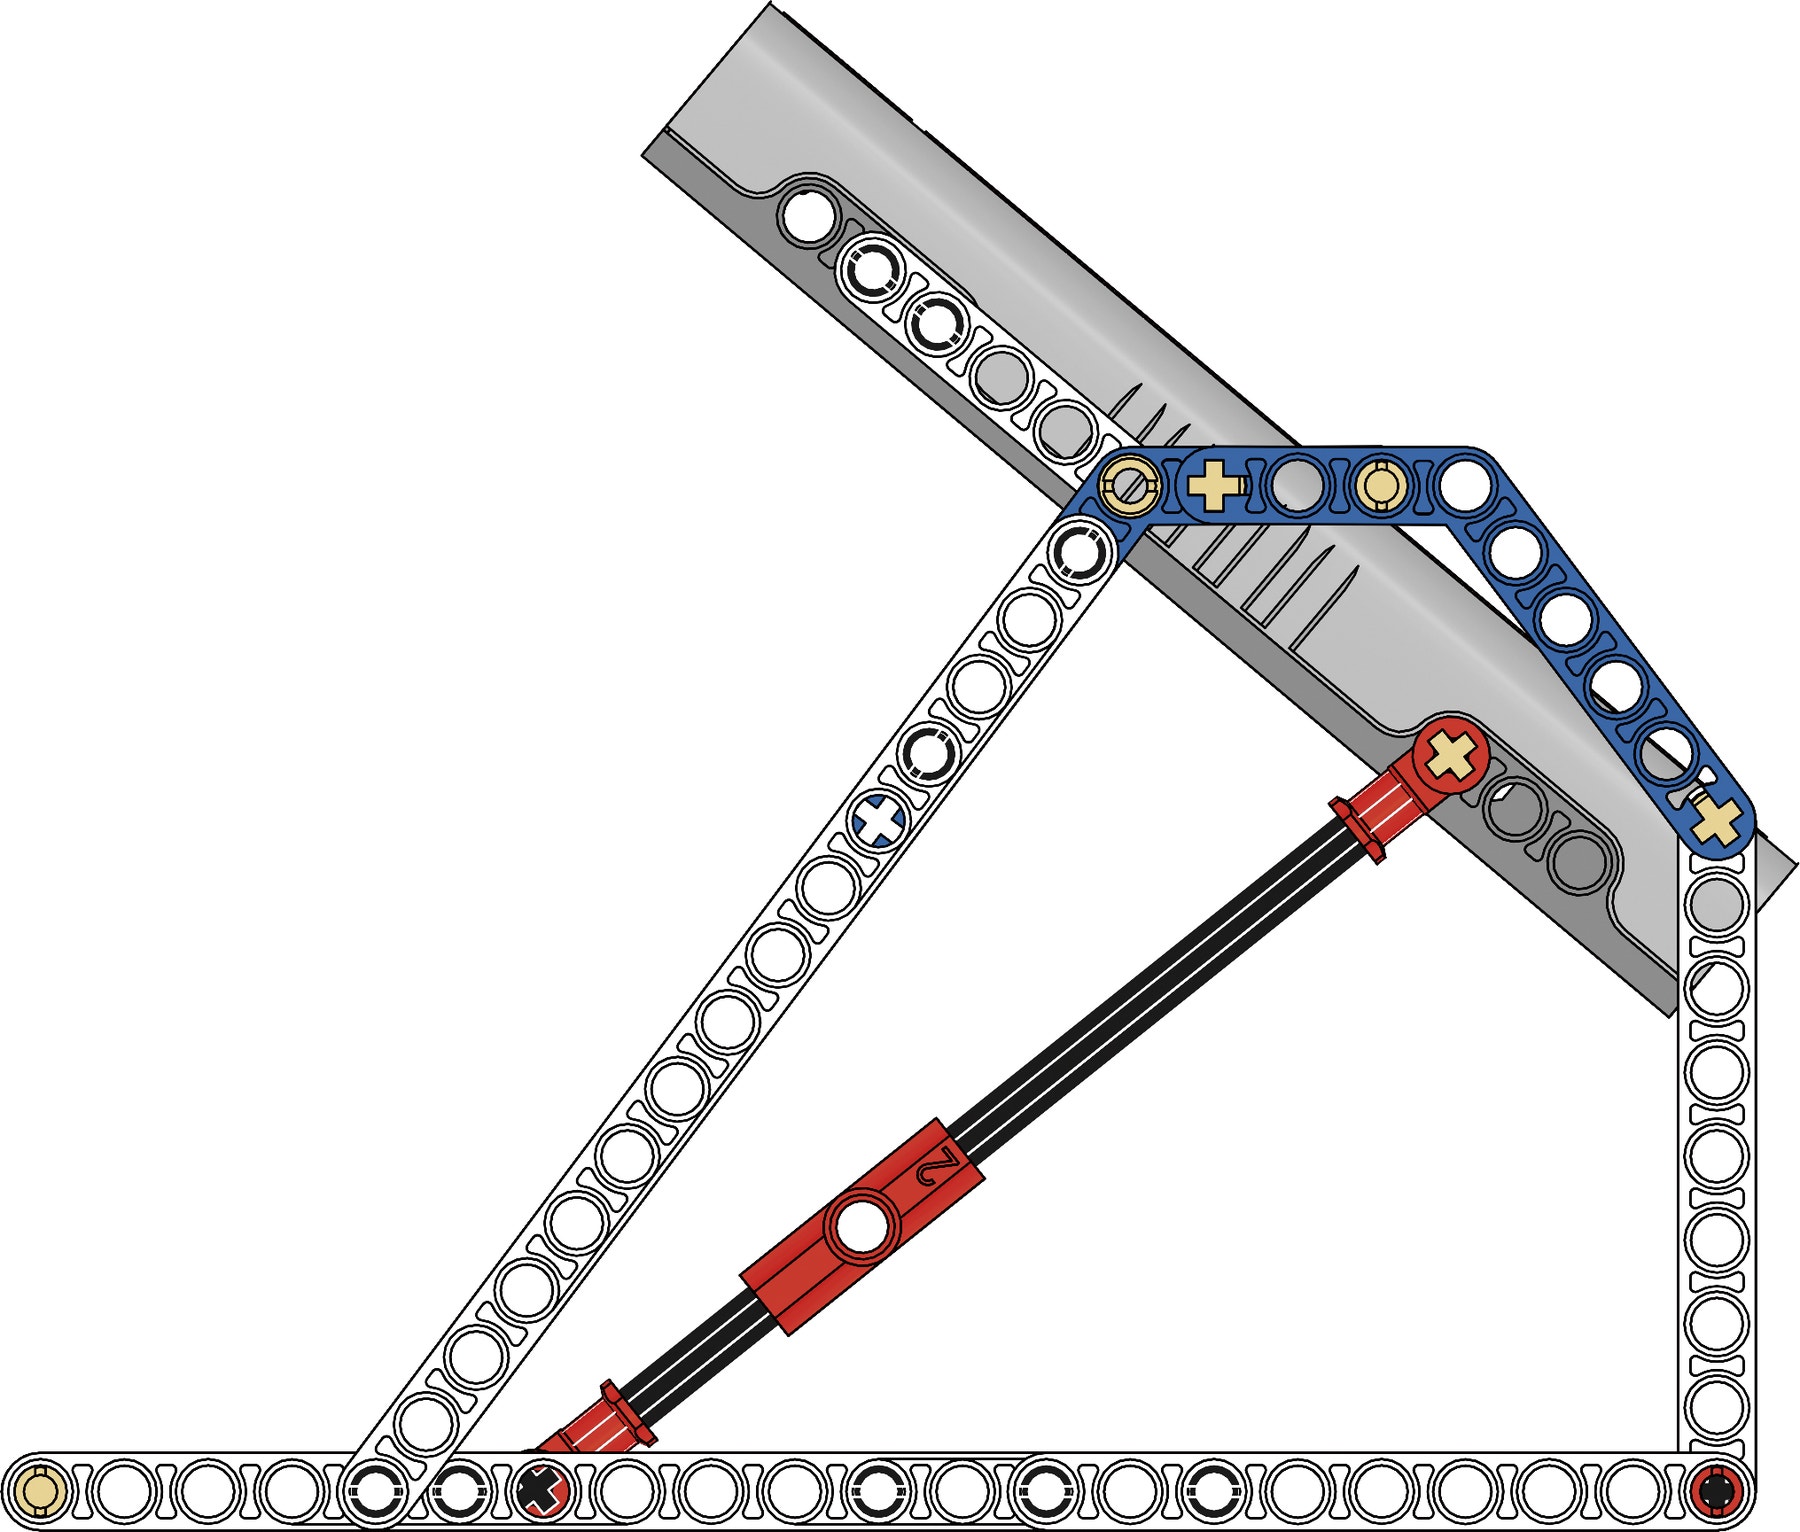
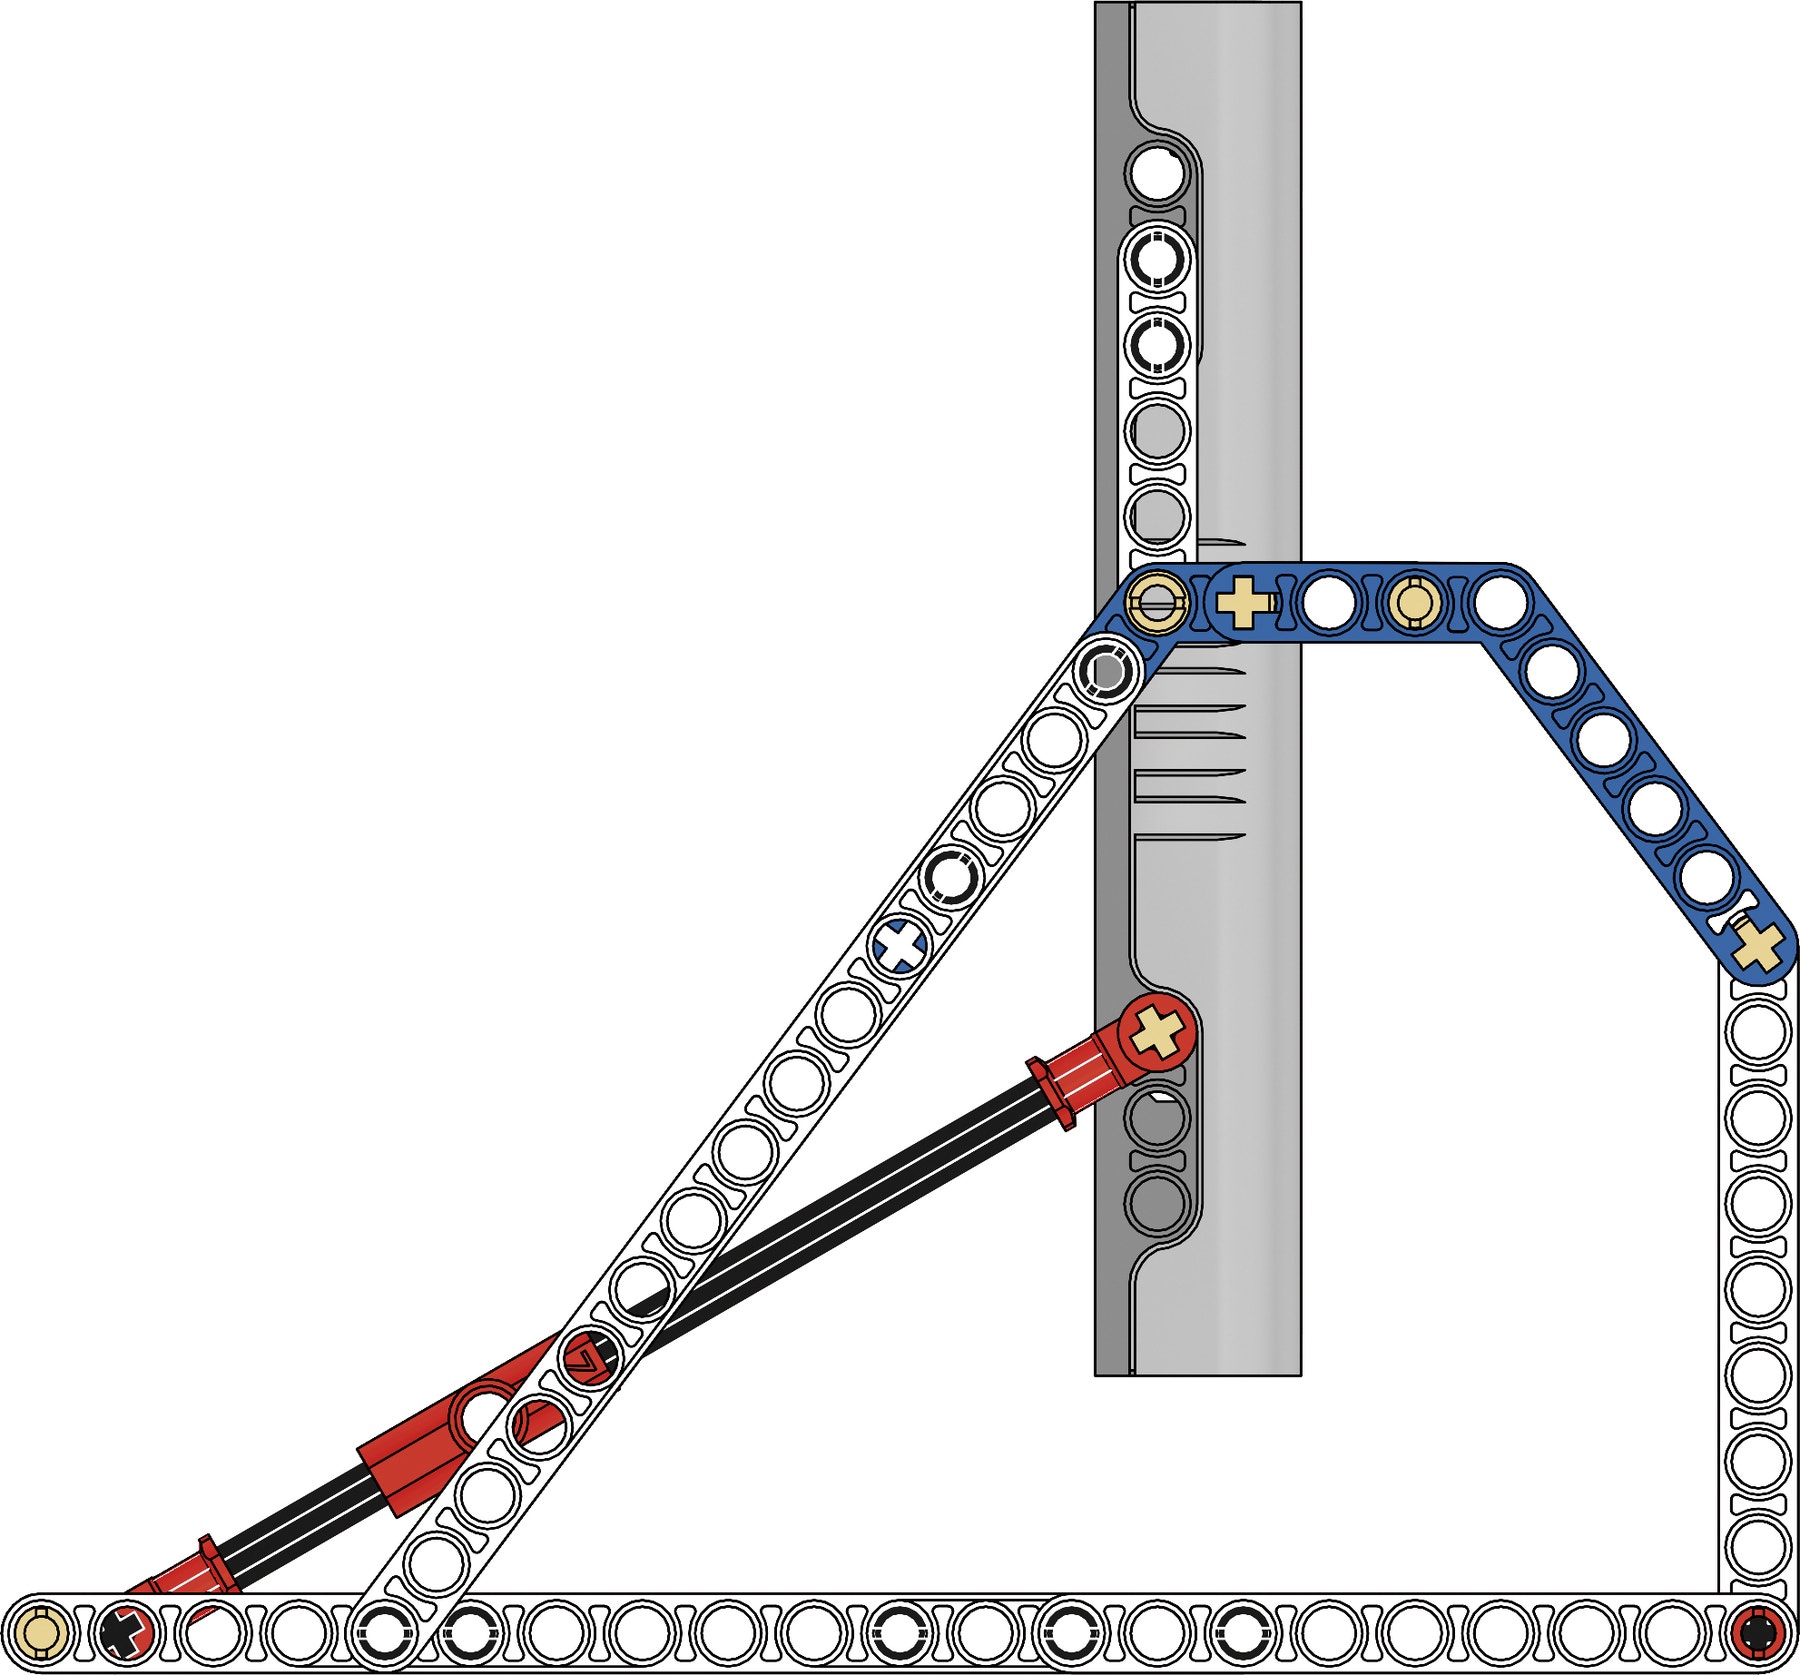
First, have students predict the average voltage and current of the Solar Station when positioned perpendicular to the light source at a distance of 15 cm (= 6 in.).
Then, have students investigate the average voltage and current of the Solar Station when positioned horizontally. Have them read and record their findings.
Make sure students let the Energy Meter units settle before carrying out the readings.
Next, have students follow the same procedure for the Solar Station in a diagonal position and a vertical position to the light source.
Findings will vary depending on the light source used, the amount of surrounding light
in the room and the color of the surface where the Solar Station is placed. Students will see that maximum power is produced when the incident light beam is perpendicular to the Solar Panels surface.
Hint
Reset the Energy Meter before each investigation.
Have students reflect on their investigations by asking questions such as:
• Which factors did you base your predictions on?
• Can you explain your findings?
• Can you identify a pattern or trend in the findings?
The intensity of the light is at a maximum when the light source is perpendicular to the Solar Panel. As the intensity of light on the surface of the Solar Panel decreases, the voltage, and in particular the current, also decreases.
• How did you make sure that your findings were scientifically valid?
Students need to investigate several times to make sure findings are consistent, that the Solar Station always stays in the same position and at the same distance from the light source.
Hint
The Energy Meter display must show an input reading of more than 2.0 V to show readings on the display.
Continue
(25-30 Minutes)
Identifying variables
Have students identify and write down at least three variables, explaining clearly how these affect the Solar Station’s efficiency.
Some factors could include the size of the area exposed (e.g. partially covering some of the Solar Station), the light source conditions and the distance to the light source.
Hint
Reset the Energy Meter before each investigation.
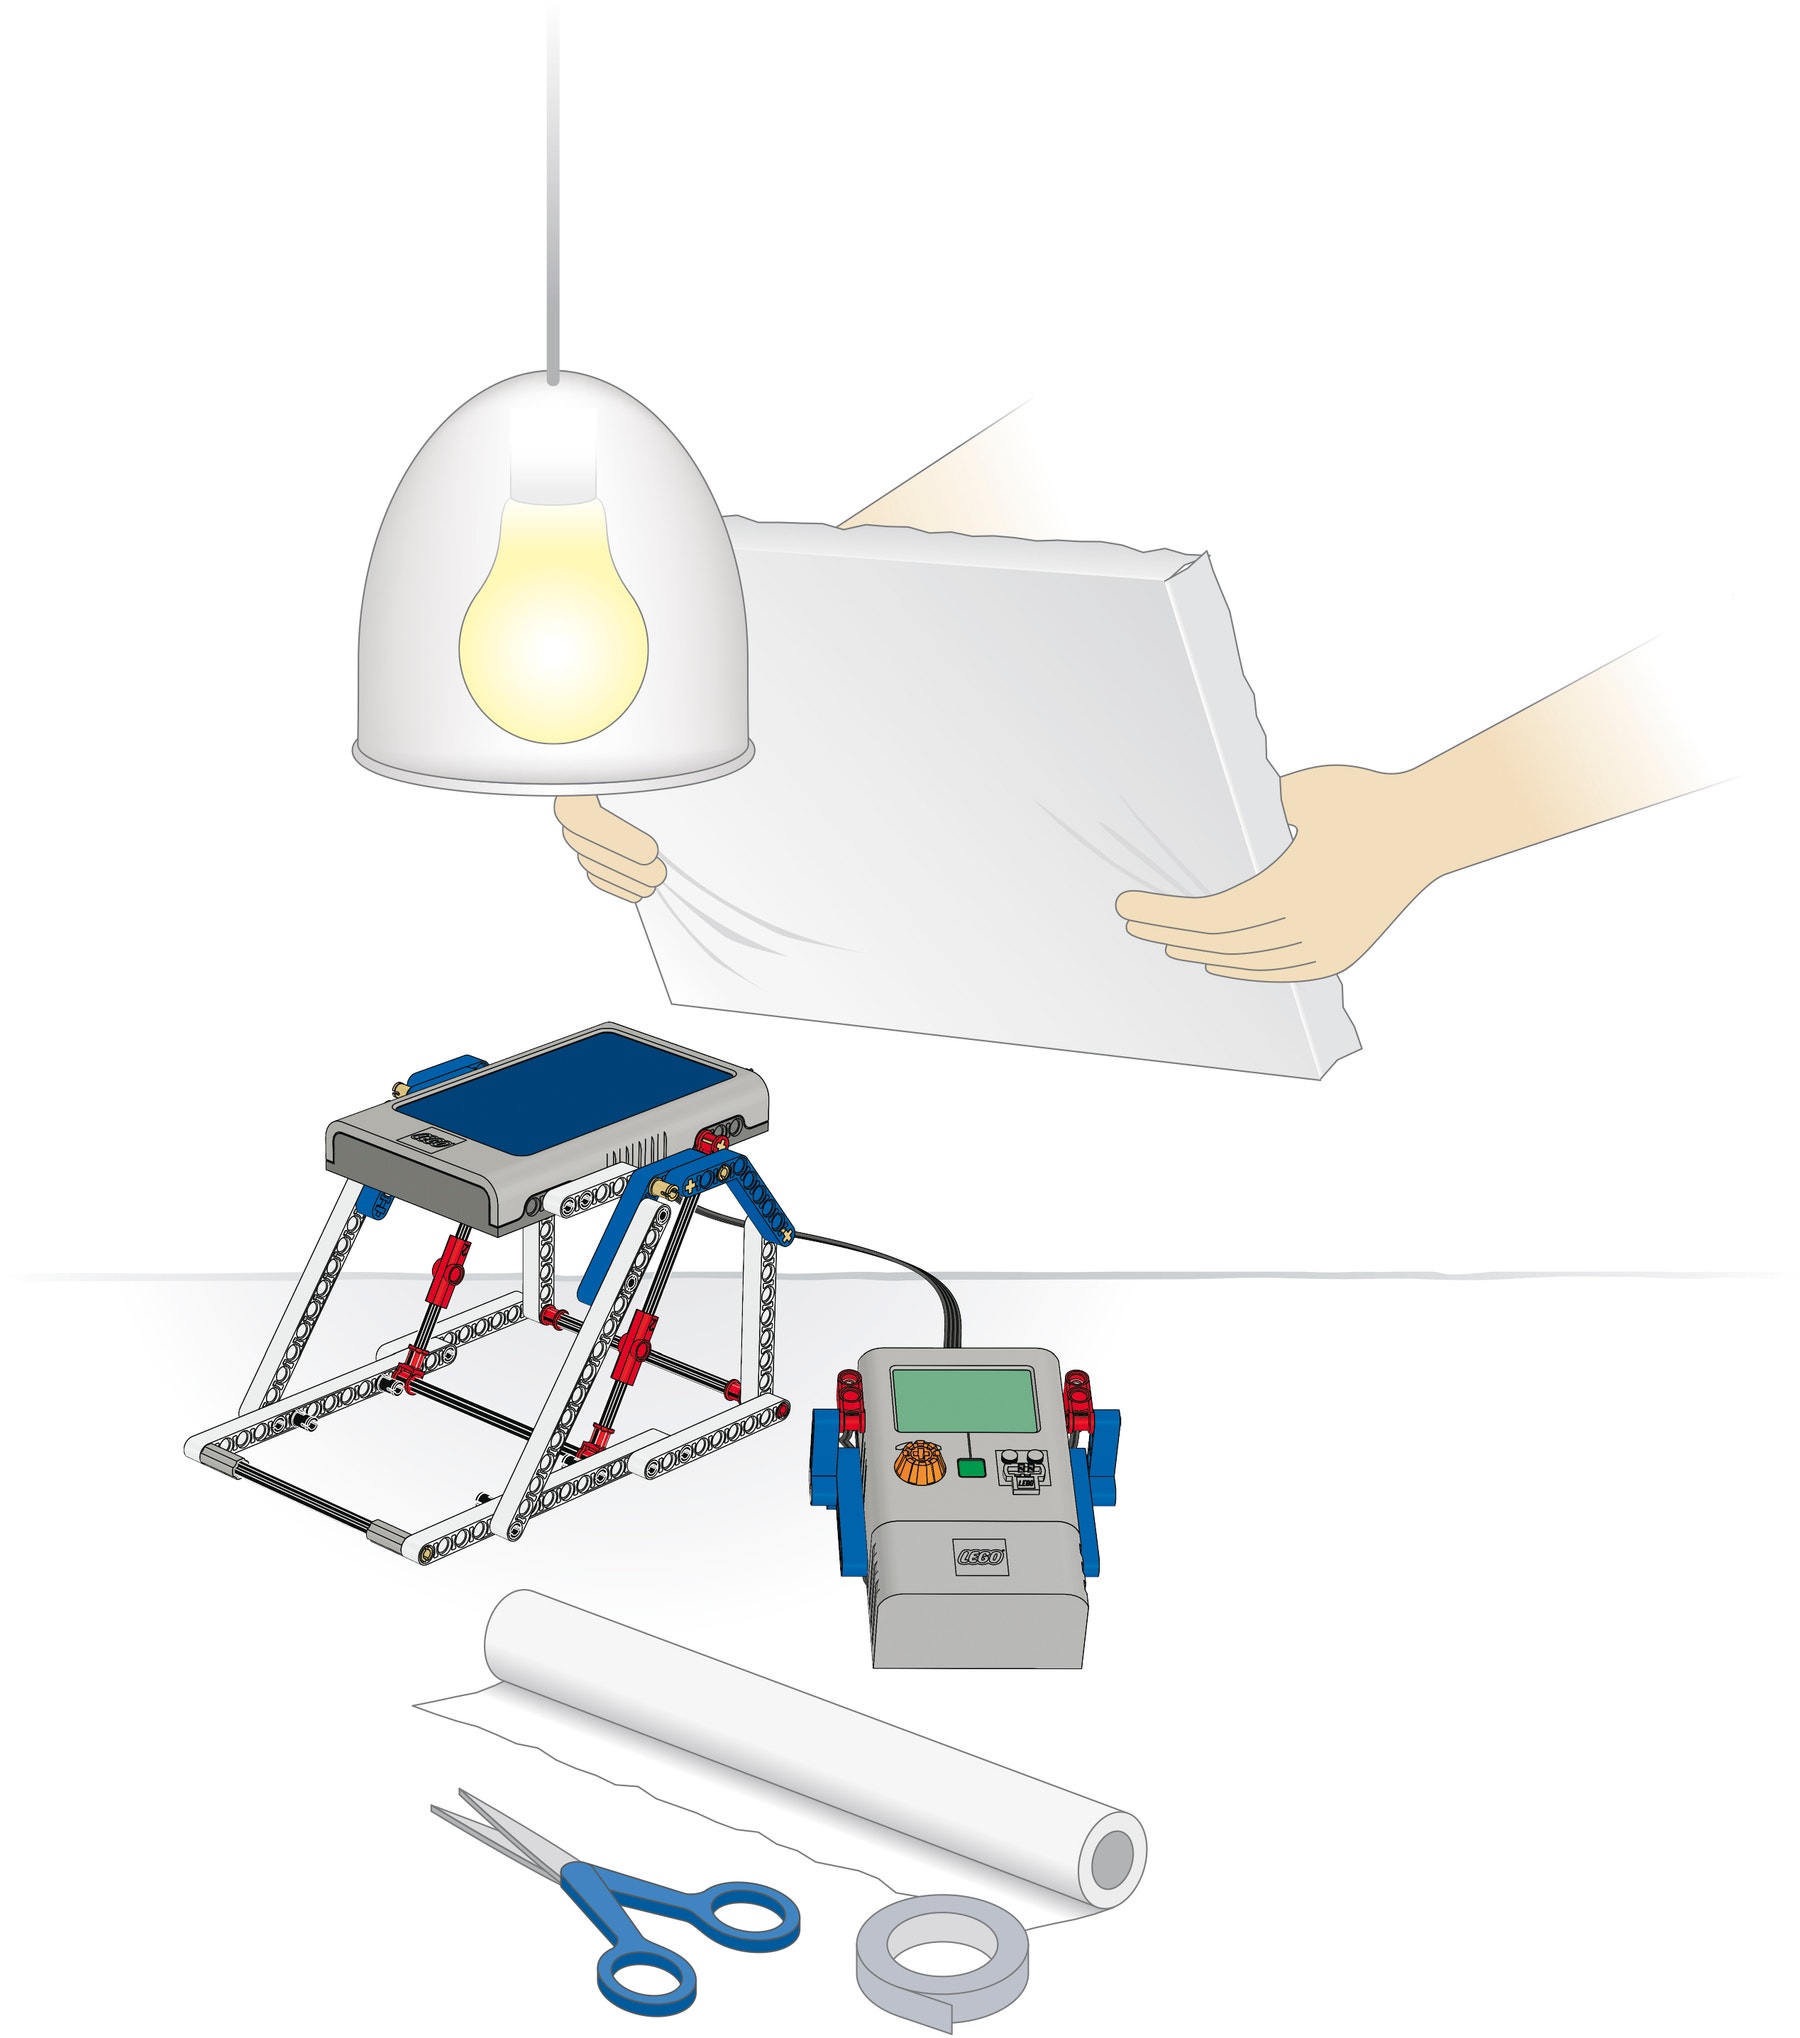
Optimizing variables
Based on the variables students have identified, have them optimize the Solar Station to maximize the amount of power (W) produced. Have students record findings and describe which variables have been altered.
We suggest increasing the wattage of the lamp; one could also use a mirror to reflect the light onto the Solar Station and another underneath the Solar Station to reflect the light back. Instead of a mirror, wrap tin foil around the lid of the basis set as a reflector.
Hint
You can simulate clouds by covering the Solar Station with tissue paper or other light-absorbent materials.
Optional
Have students simulate different weather and landscape situations to investigate the increase or decrease in the Solar Station’s ability to generate power. Have students describe their simulations, the setup and key measurements.
Teacher Support
Students will explore the concepts of:
Scientific investigation
Conversion and storage of energy
Investigating and evaluating variables
Informal and formal measuring of distance/time/speed/work
Reading, predicting, and interpreting data
9686 Simple & Powered Machines Set (two students per set recommended)
9688 Renewable Energy Add-on Set
A 60W incandescent light bulb, high performance halogen emitters or any other light source that emits a high amount of IR spectra > 800 nm
Lamp with parabolic reflectors
Ruler or measuring tape
Tin foil
NGSS
Disciplinary Core Ideas: Physical Science
MS-PS3 Energy
Crosscutting Concepts
Cause and effect: Mechanism and explanation
Systems and system models
Energy and matter: Flows, cycles, and conservation
Structure and Function
Stability and change
Science and Engineering Practices
Asking questions and Defining Problems
Developing and using models
Planning and carrying out investigations
Analyzing and interpreting data
Constructing explanations and designing solutions
Obtaining, evaluating, and communicating information
Common Core State Standards English Language Arts
SL 6-8.1 / SL 6-8.4 / RST 6-8.3 / RST 6-8.4 / RST 6-8.7 / WHST 6-8.1 / WHST 6-8.2 / WHST 6-8.4
Student Material
Share with:
 Google Classroom

