Simple Machines – Principle Models: Gears
The gear is a simple machine that can be used to efficiently transfer force and motion.
Connect
(5-10 Minutes)
Things to talk about:
- What do you know about this simple machine?
- Where do we use this simple machine?
- Why do we use this simple machine?
Relate students’ answers to some of the images from “Images for Classroom Use” or find ideas from the “Overview: Gears” section to stimulate students’ interest.
Find the LEGO® gears shown and count the number of teeth they each have. Start counting from the dot.
Construct
(5-10 Minutes)
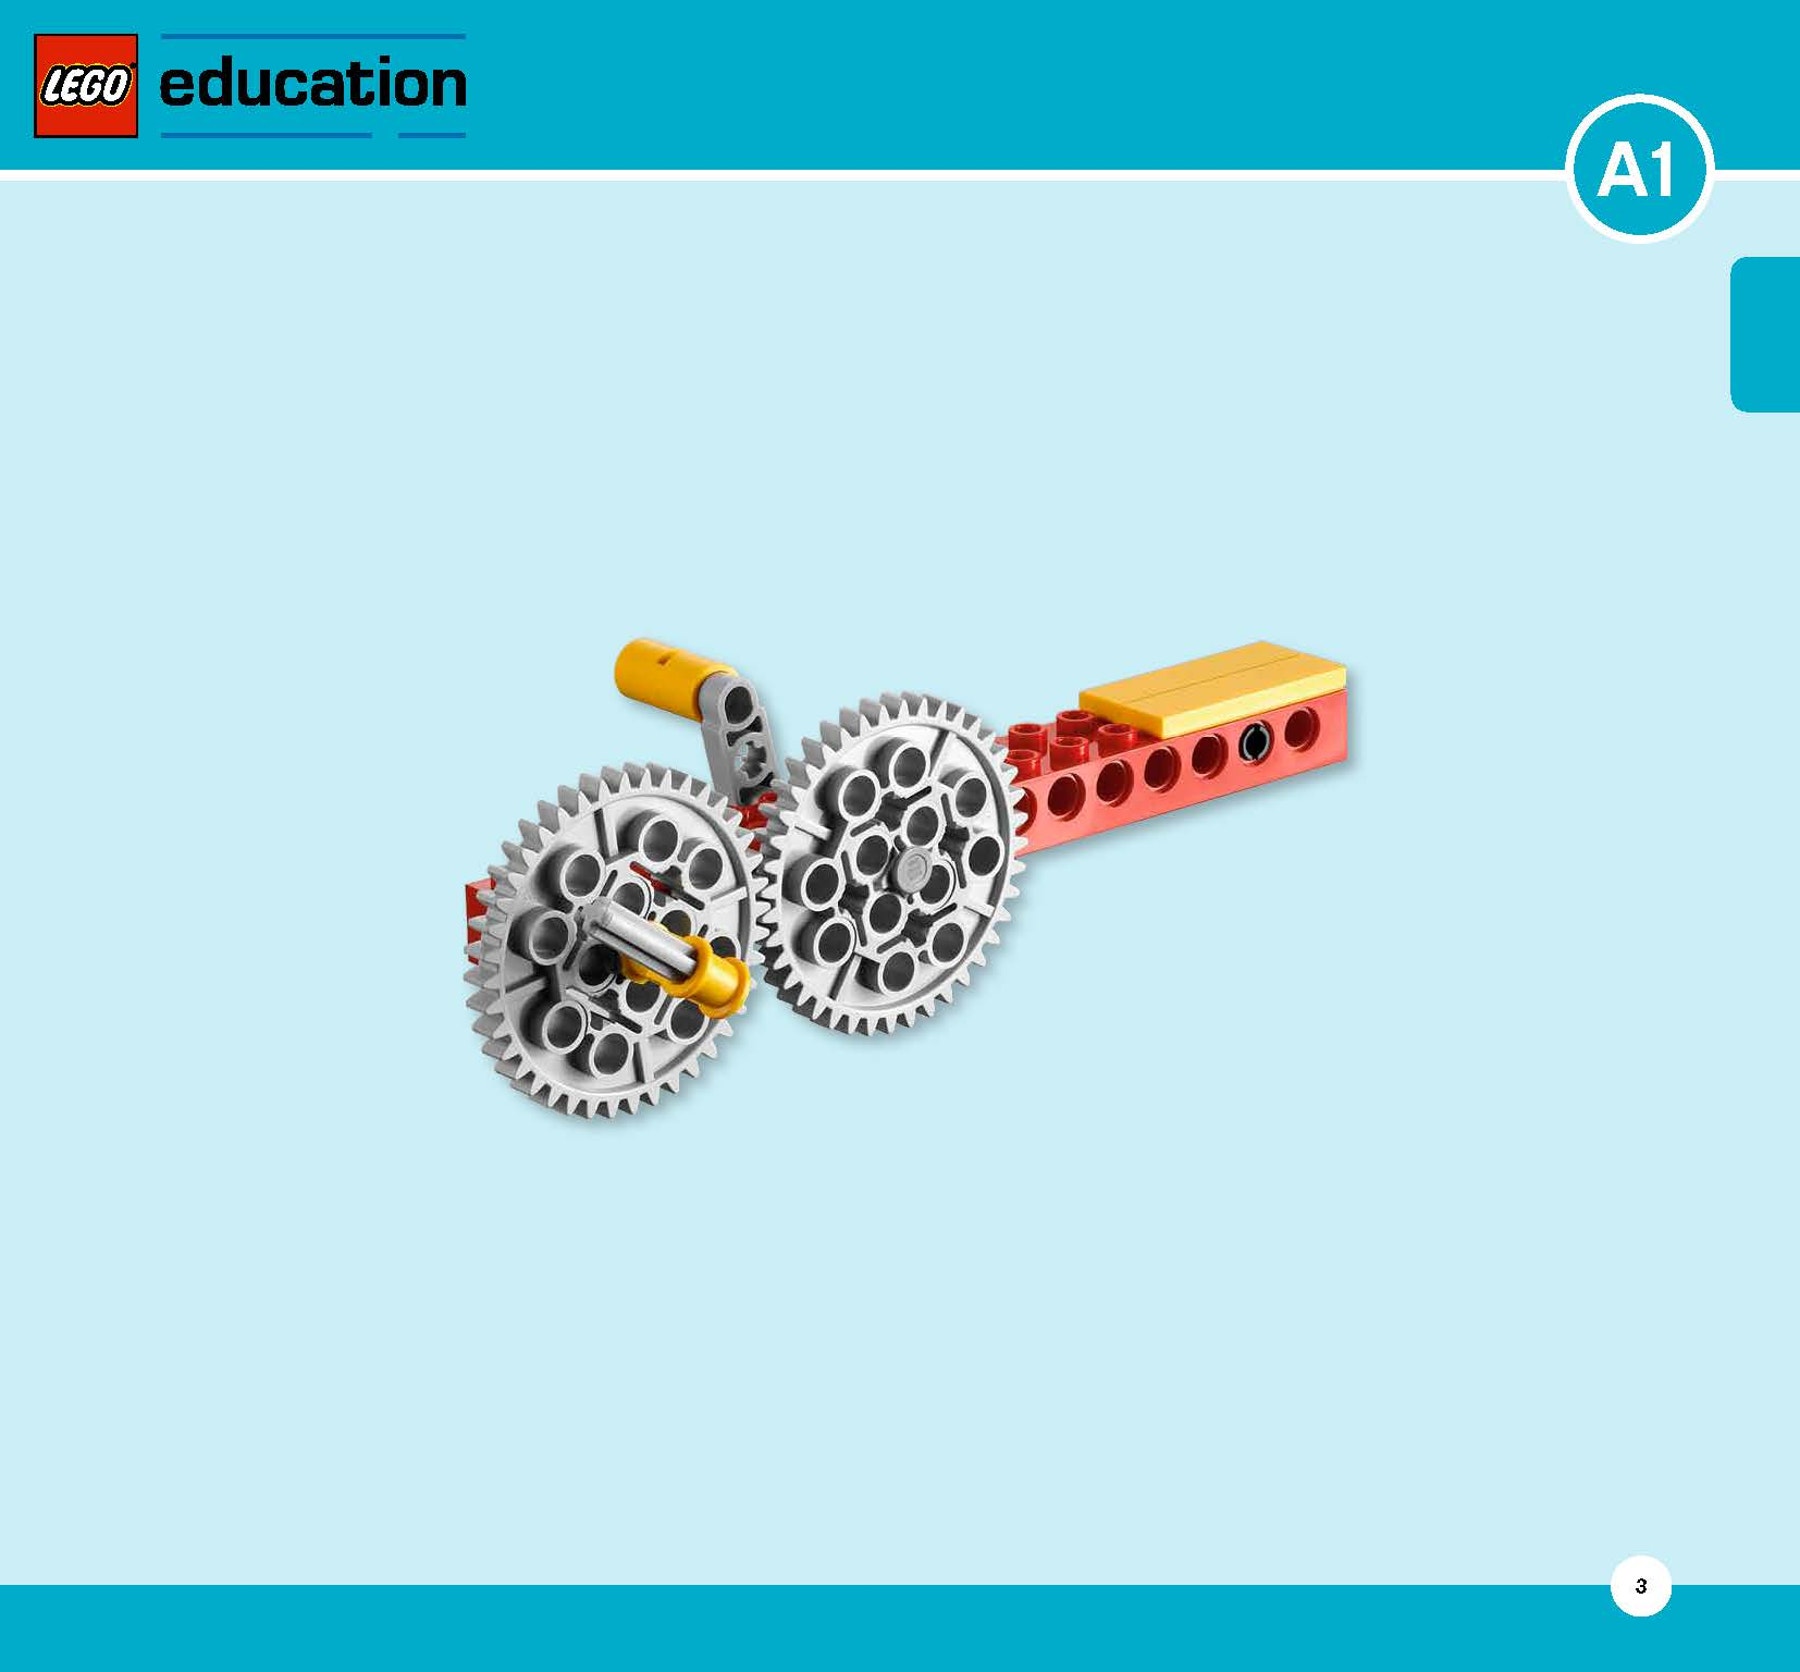
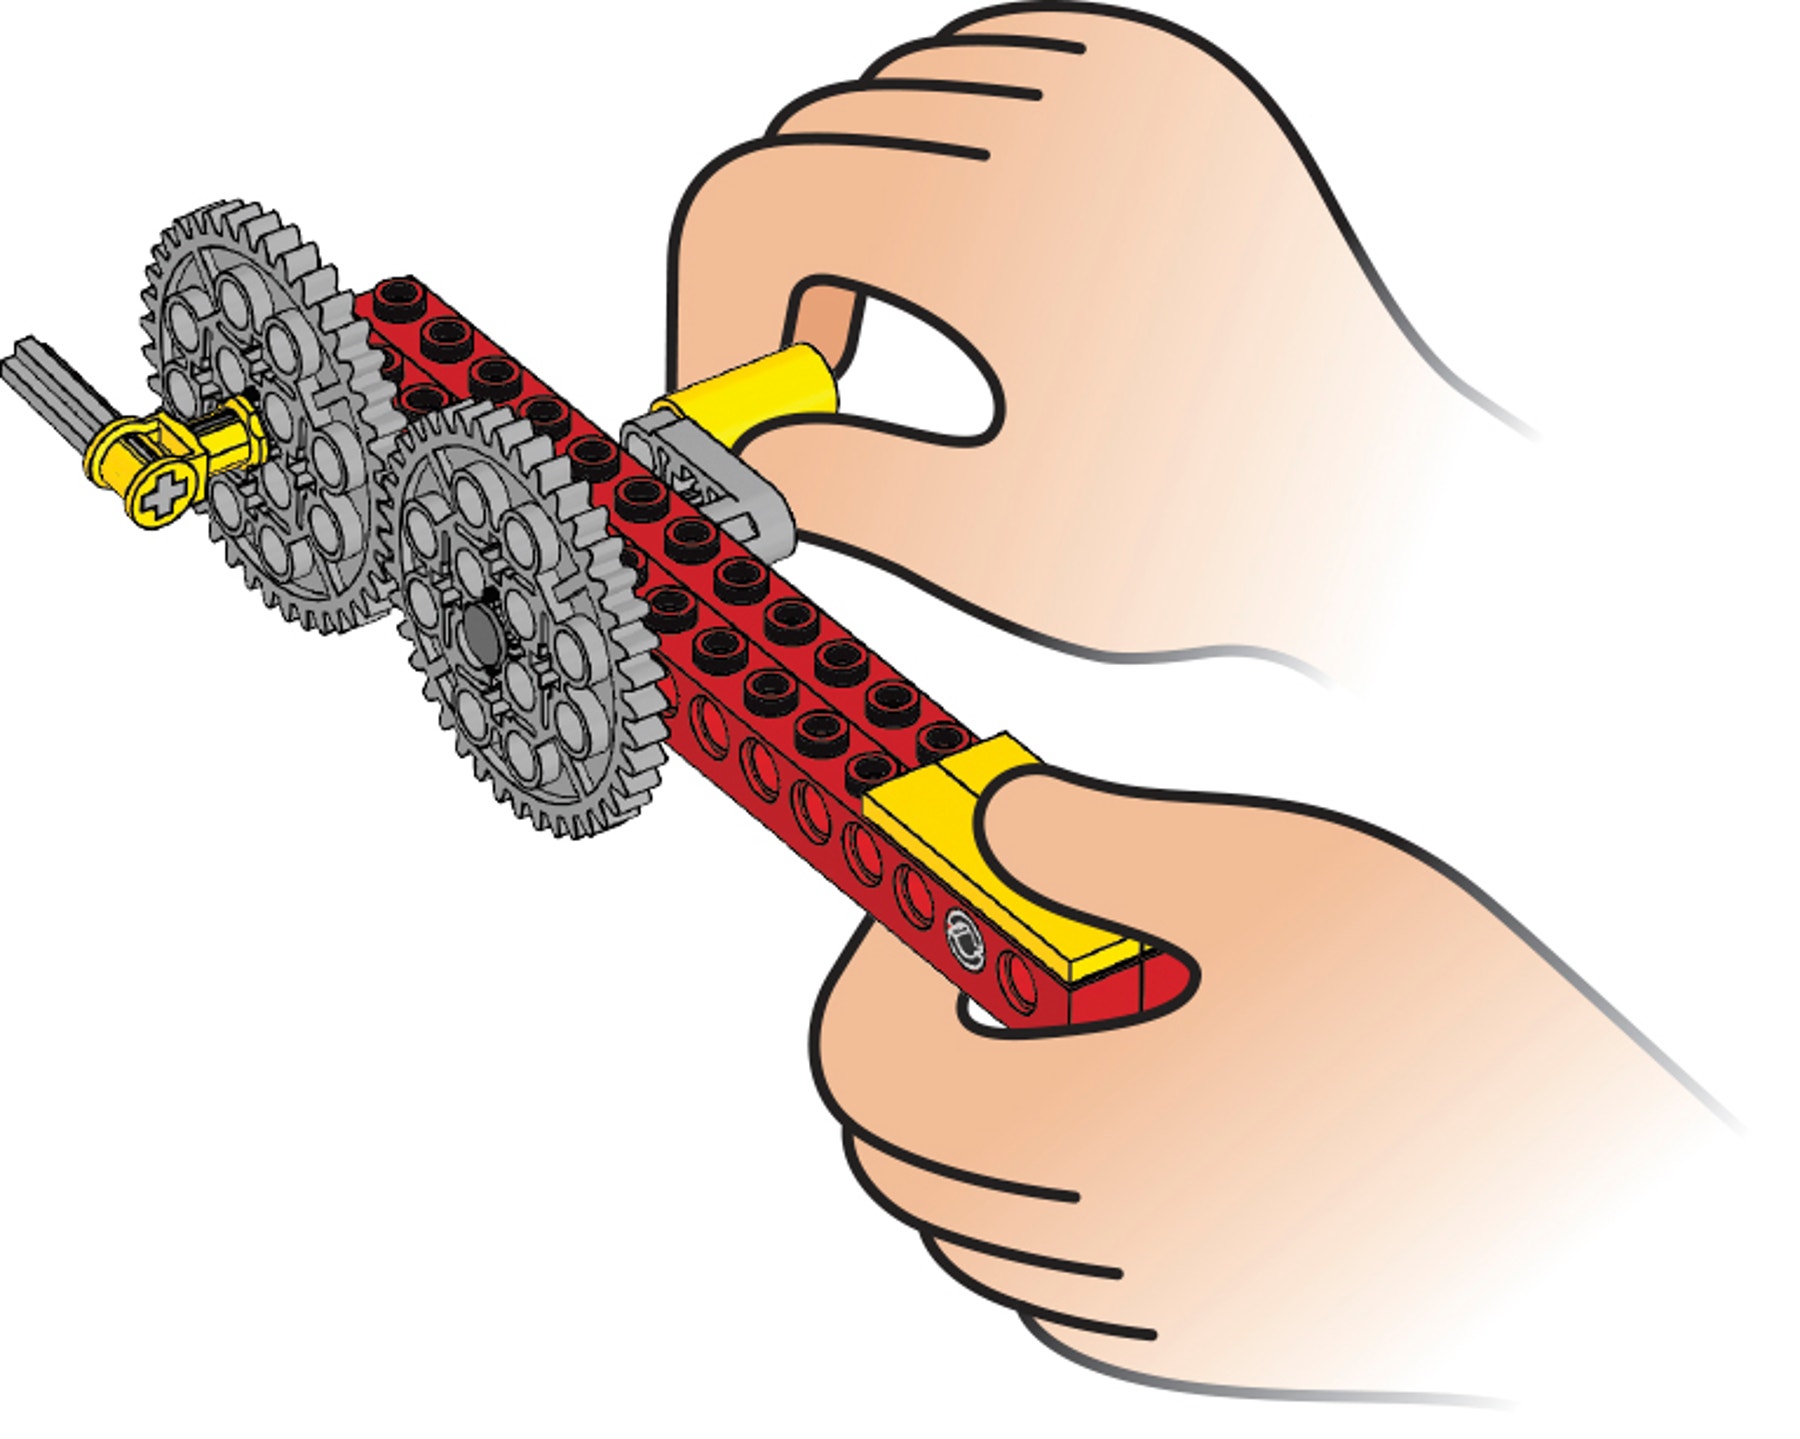
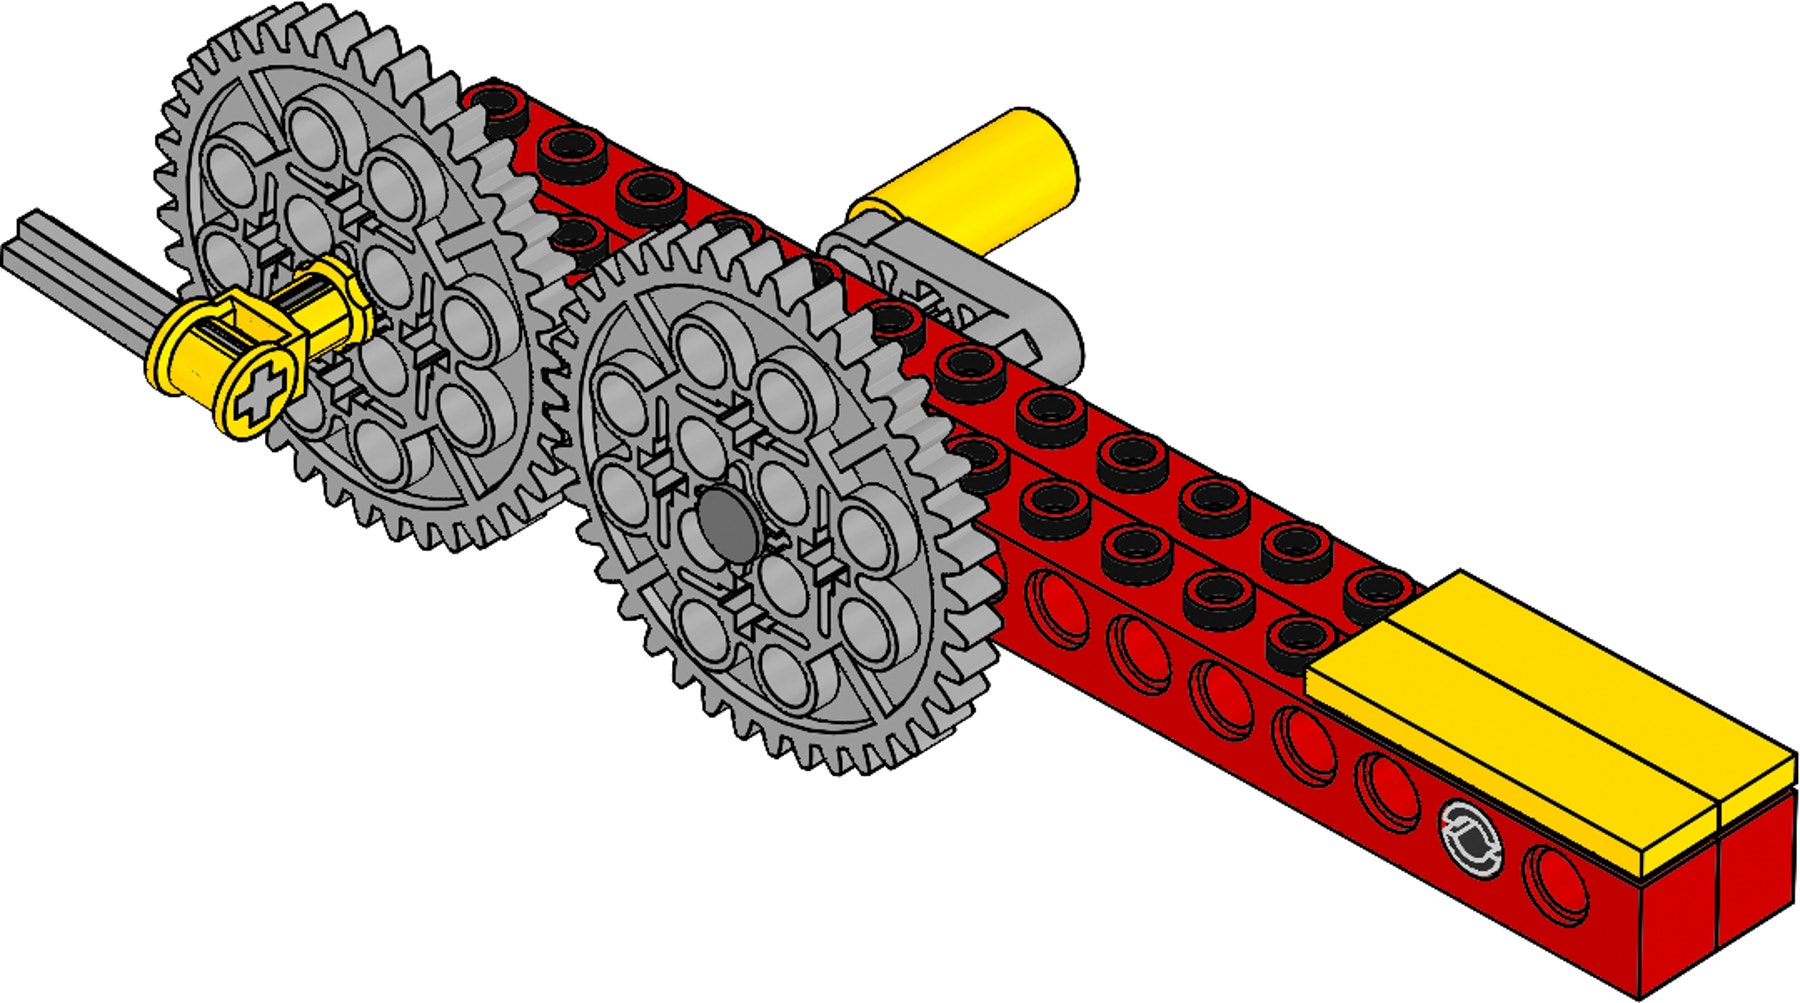
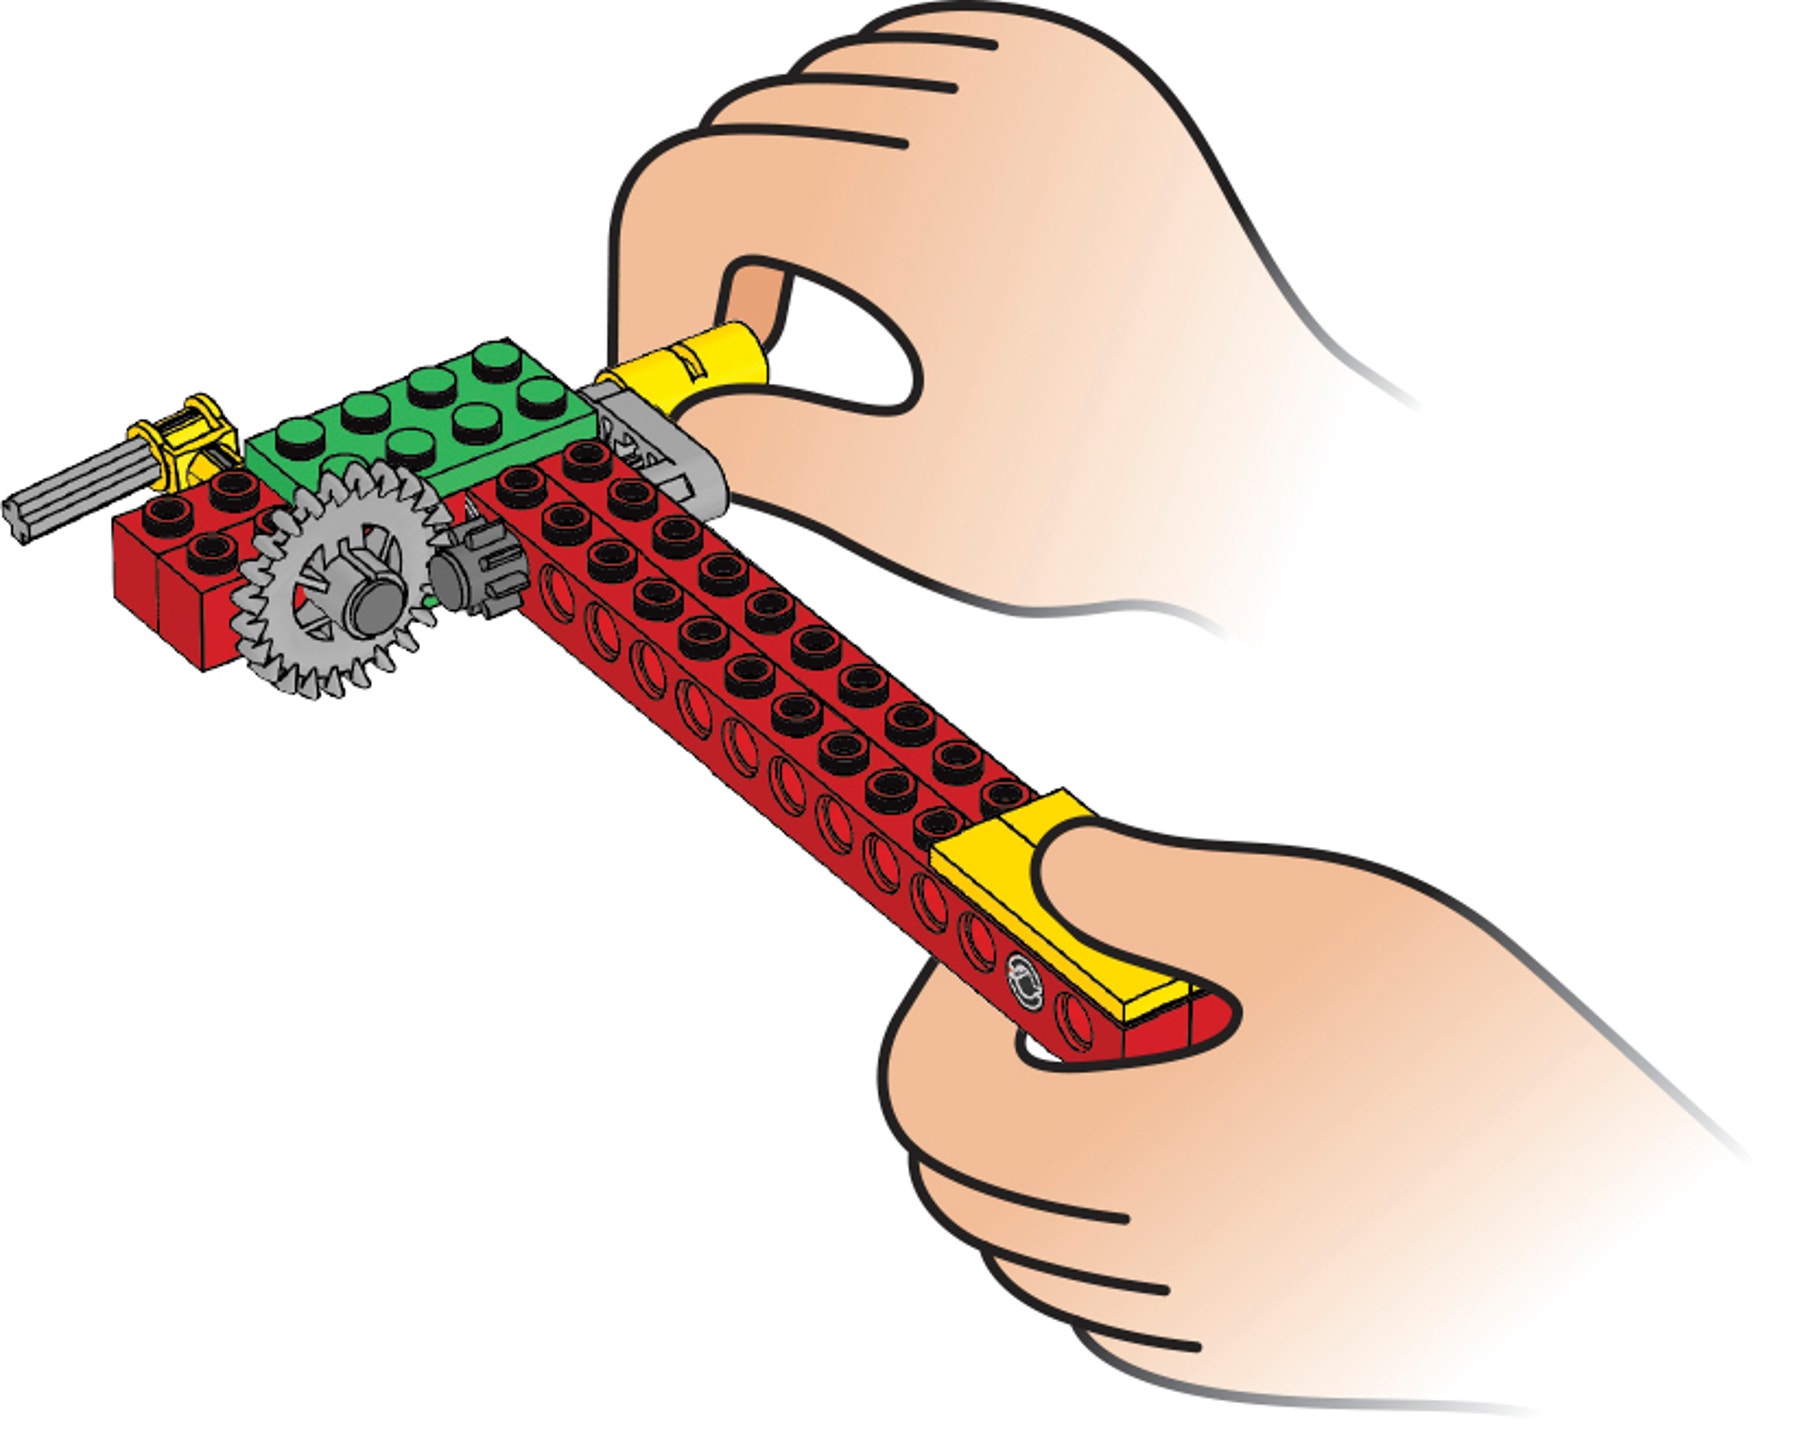
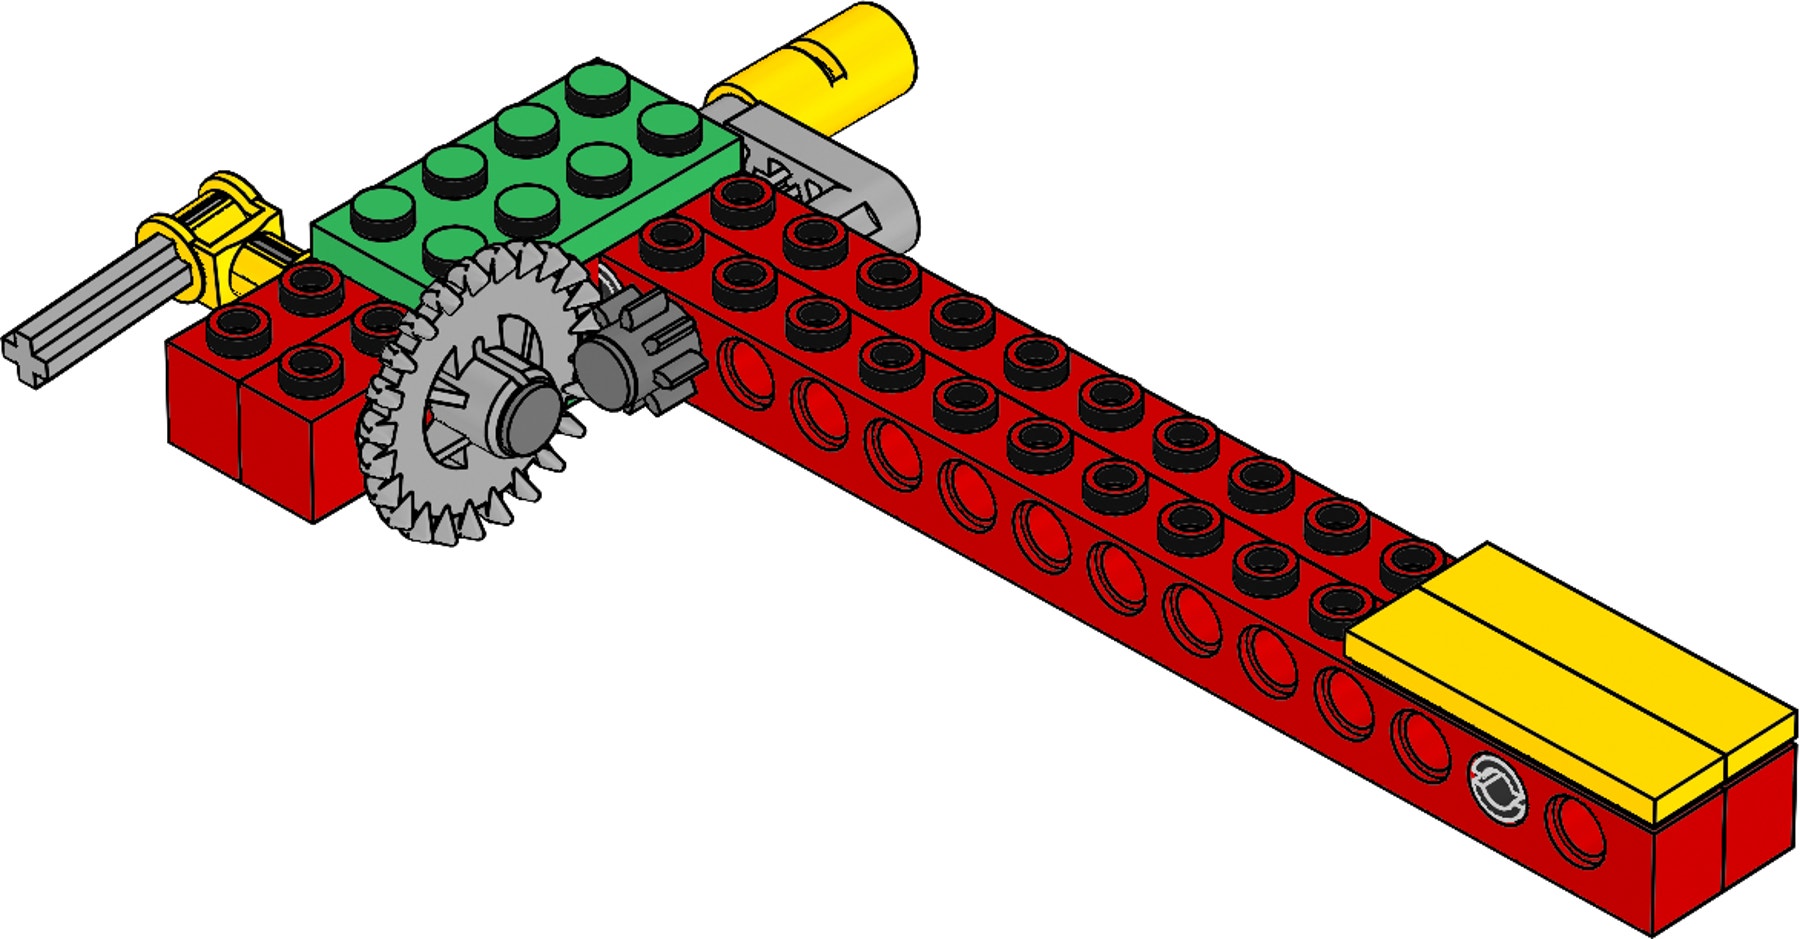
Build A1 (Direction of rotation).
Follow Building Instructions A, pages 4 to 8, steps 1 to 7.
.
Label the gears.
Draw lines from the words to the picture of the model.
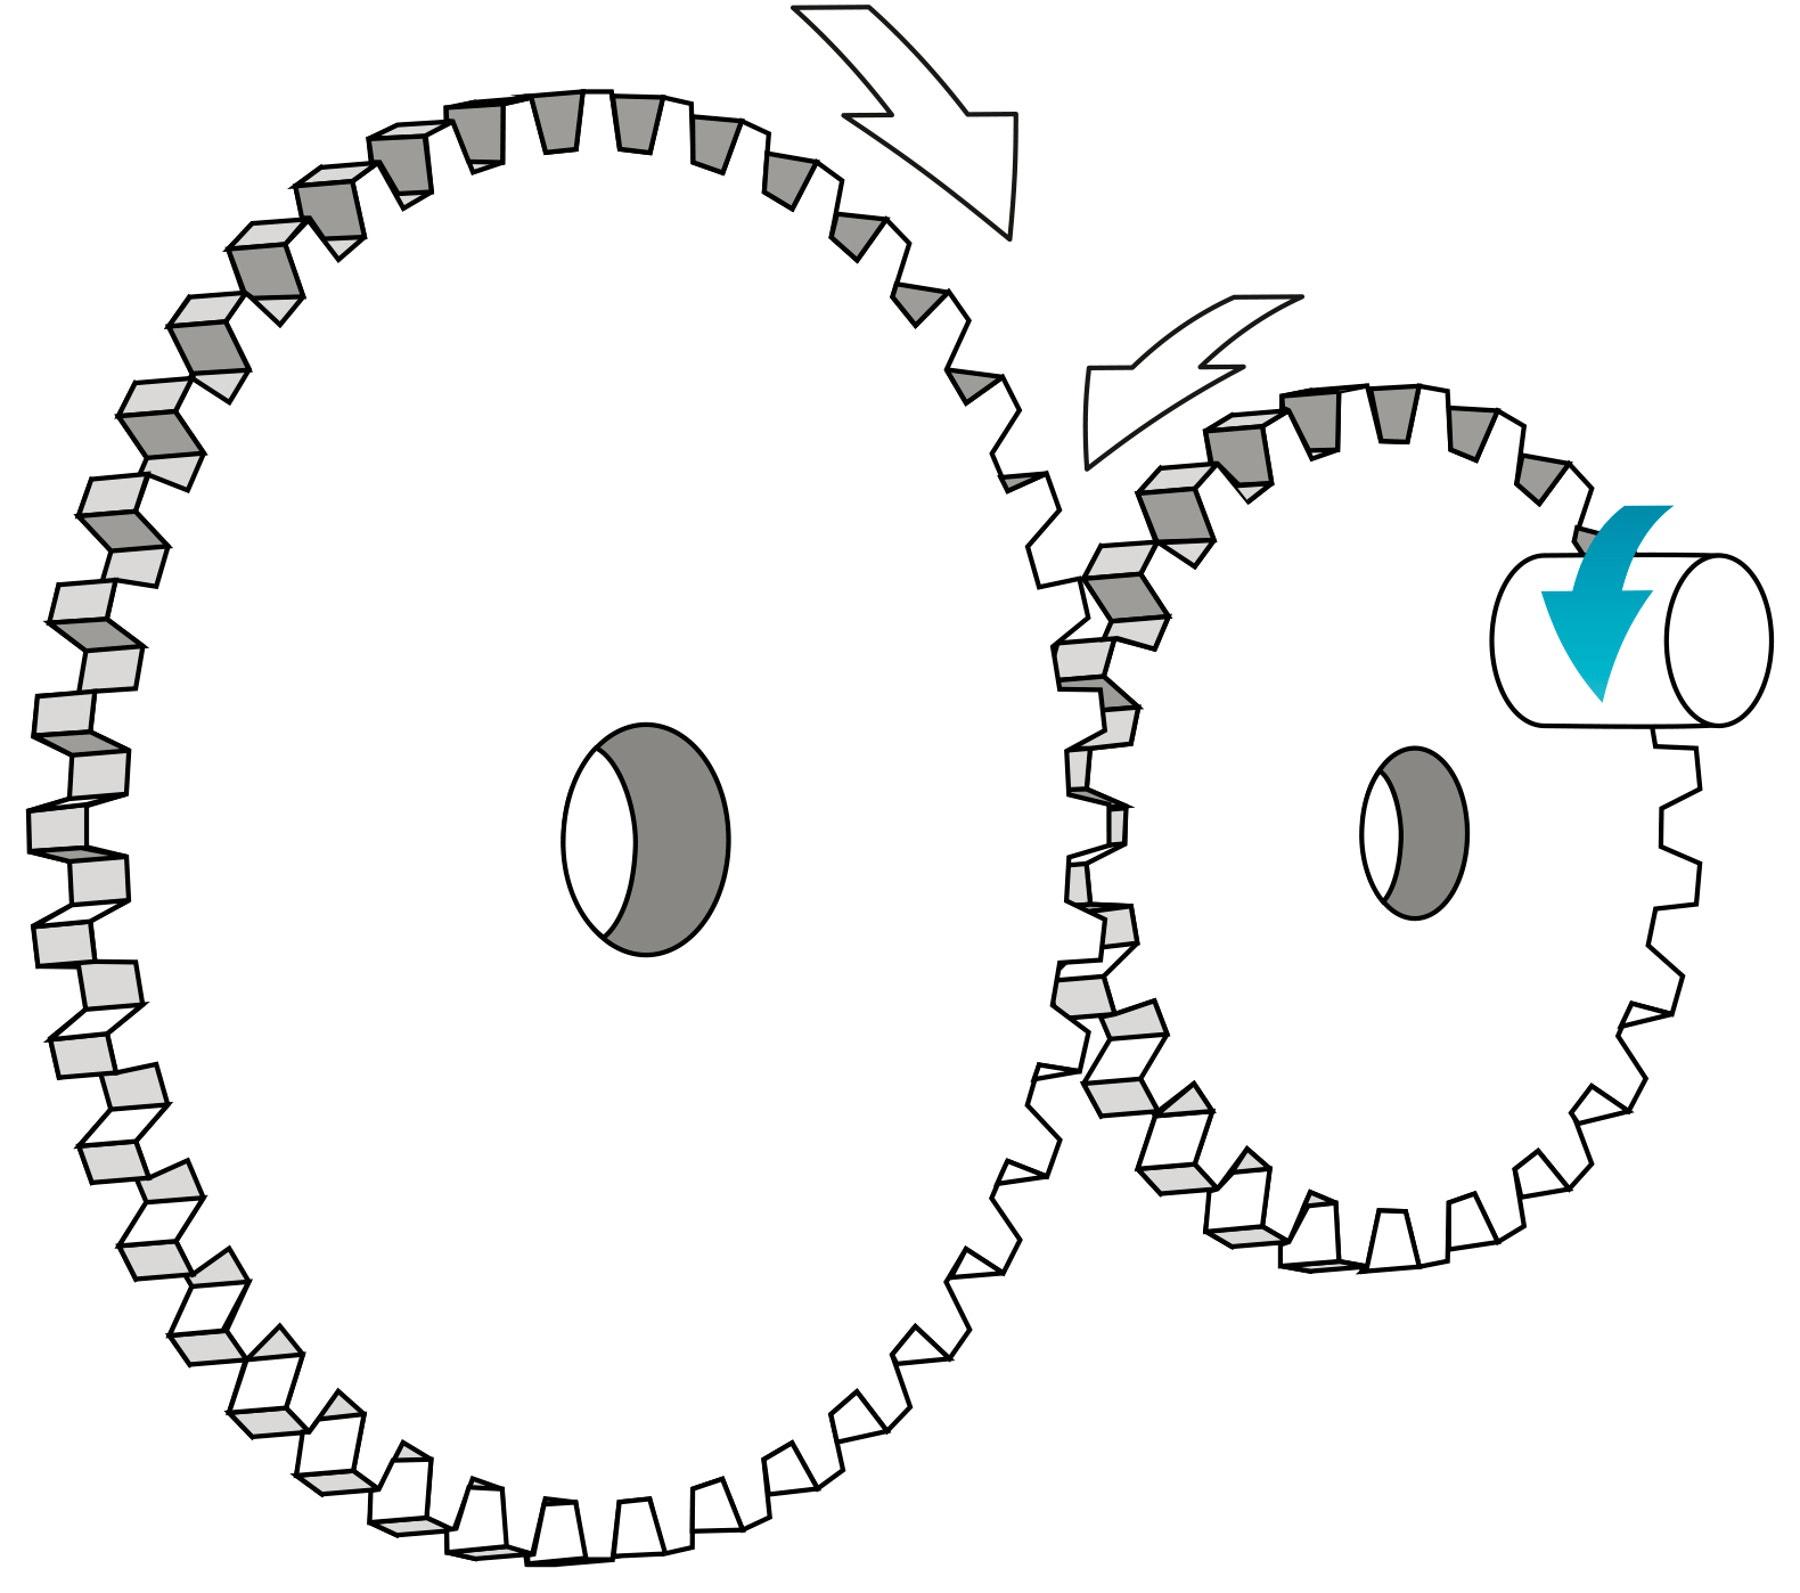
The drive gear is the gear that is turned by an outside effort, in this case your hand.
Any gear that is turned by another gear is called the driven gear or follower.
Contemplate
(5-10 minutes)
Try out the model and make observations.
Note: It is recommended that students work in pairs; one student can observe the position marker while the other cranks the handle a full turn.
Crank the handle one full turn, and count how many times the position marker turns.
One turn of the handle results in one turn of the position marker (the gray axle). The speeds of rotation of the drive and the driven gears are the same, because they have the same number of teeth (40); this ratio is 1:1.
Observe which way the gears turn when you crank the handle, and draw arrows to show the directions they turn in.
Adjacent gears turn in opposite directions.
Construct
(3-5 Minutes)
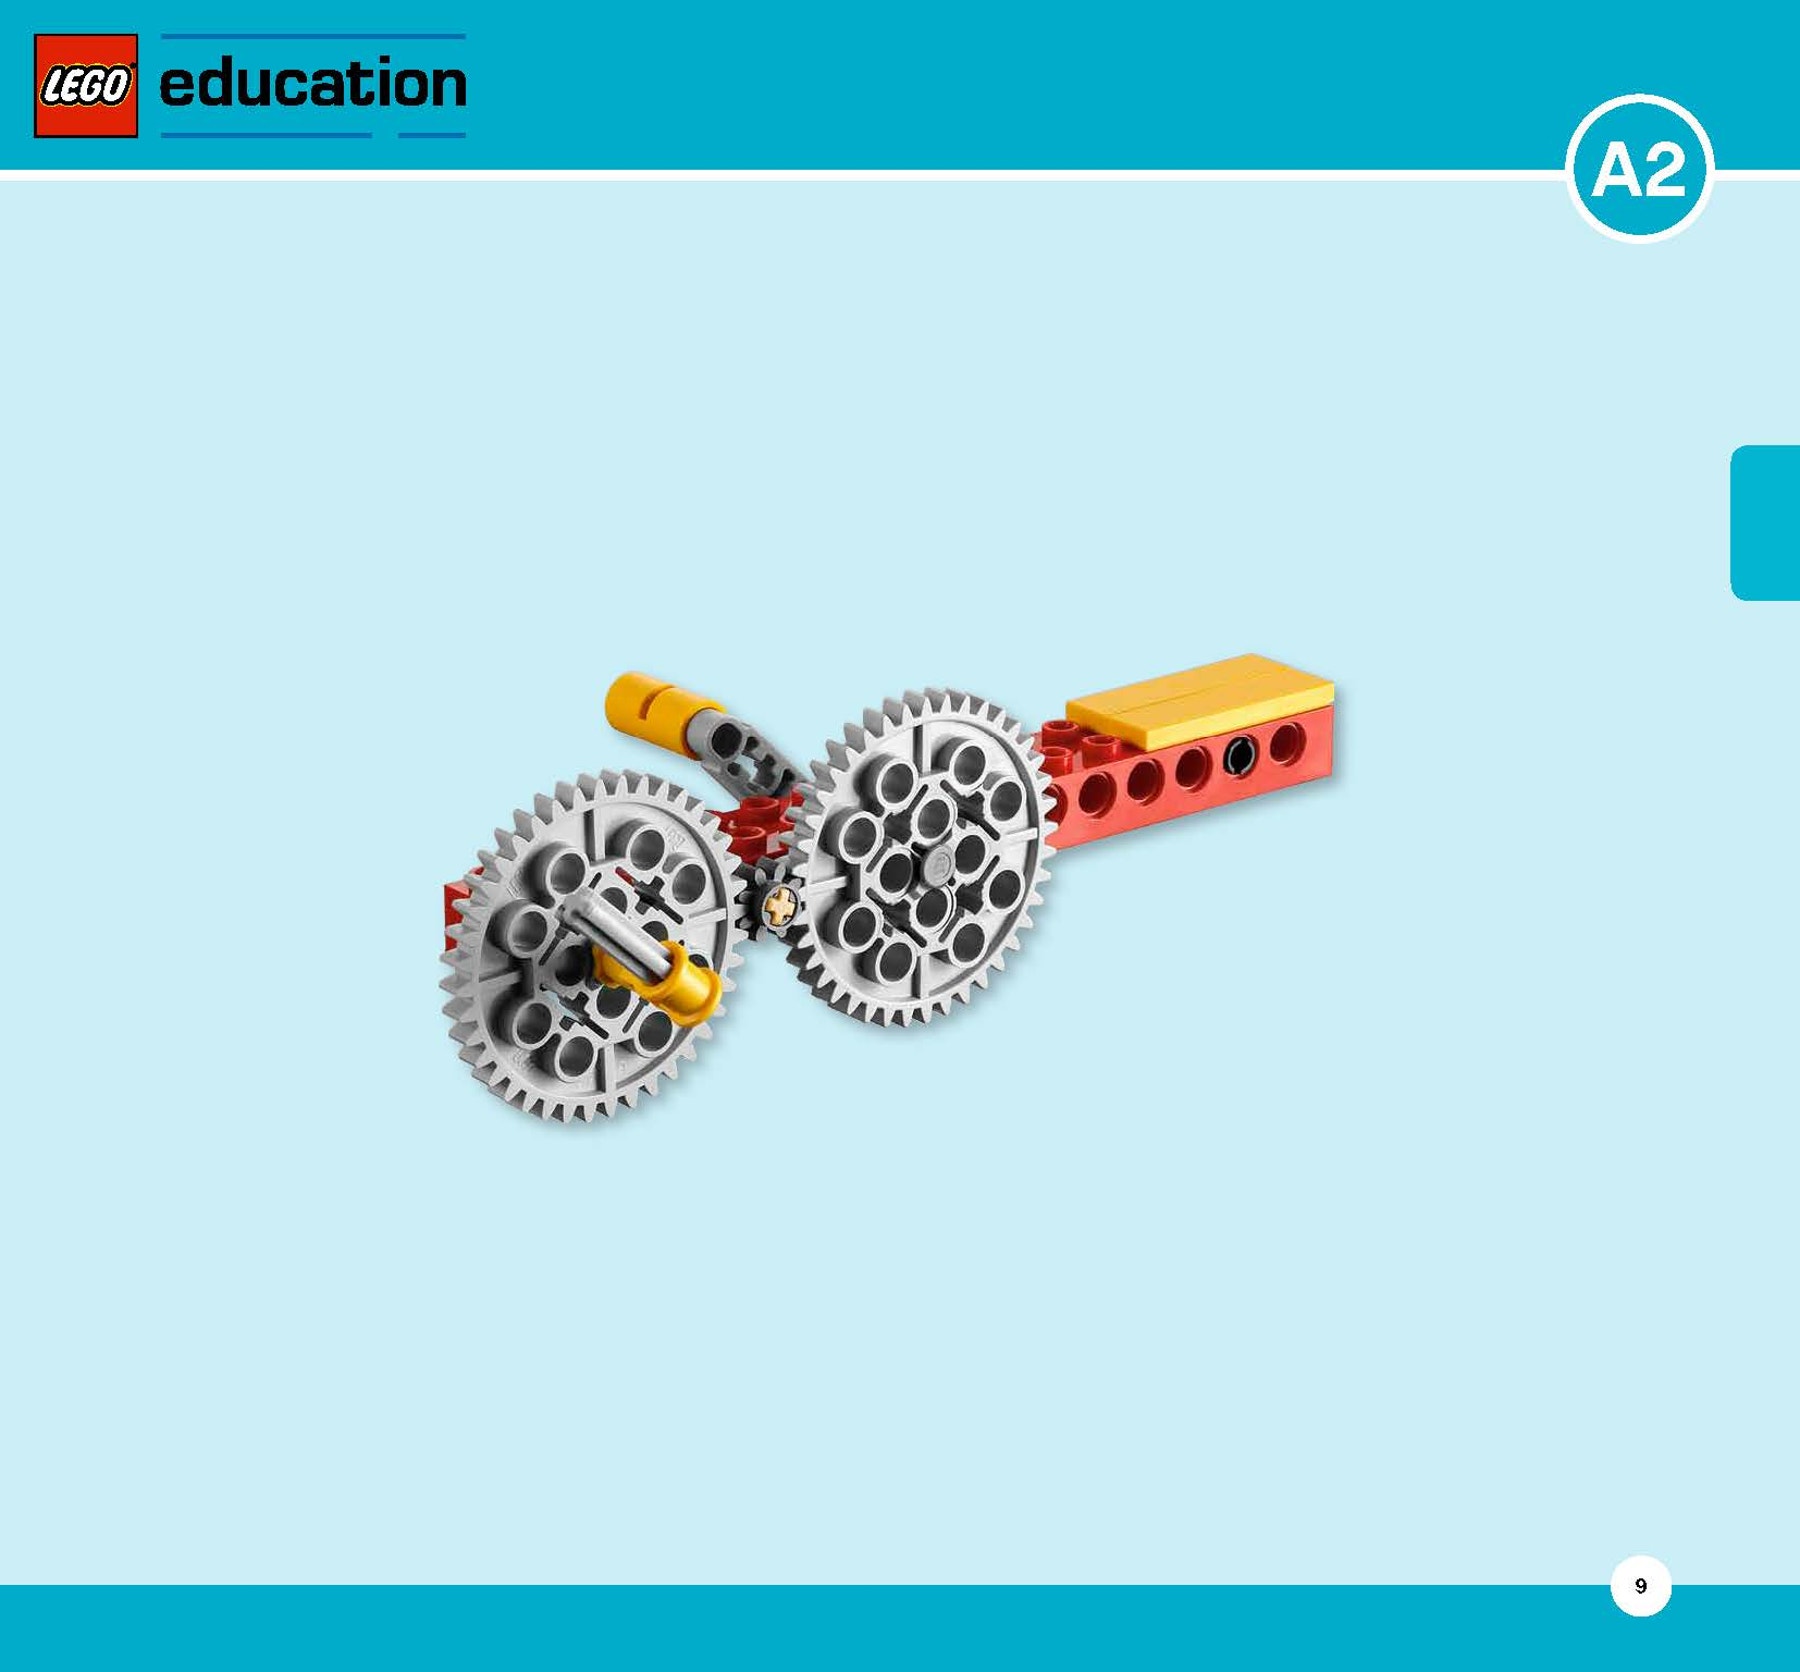
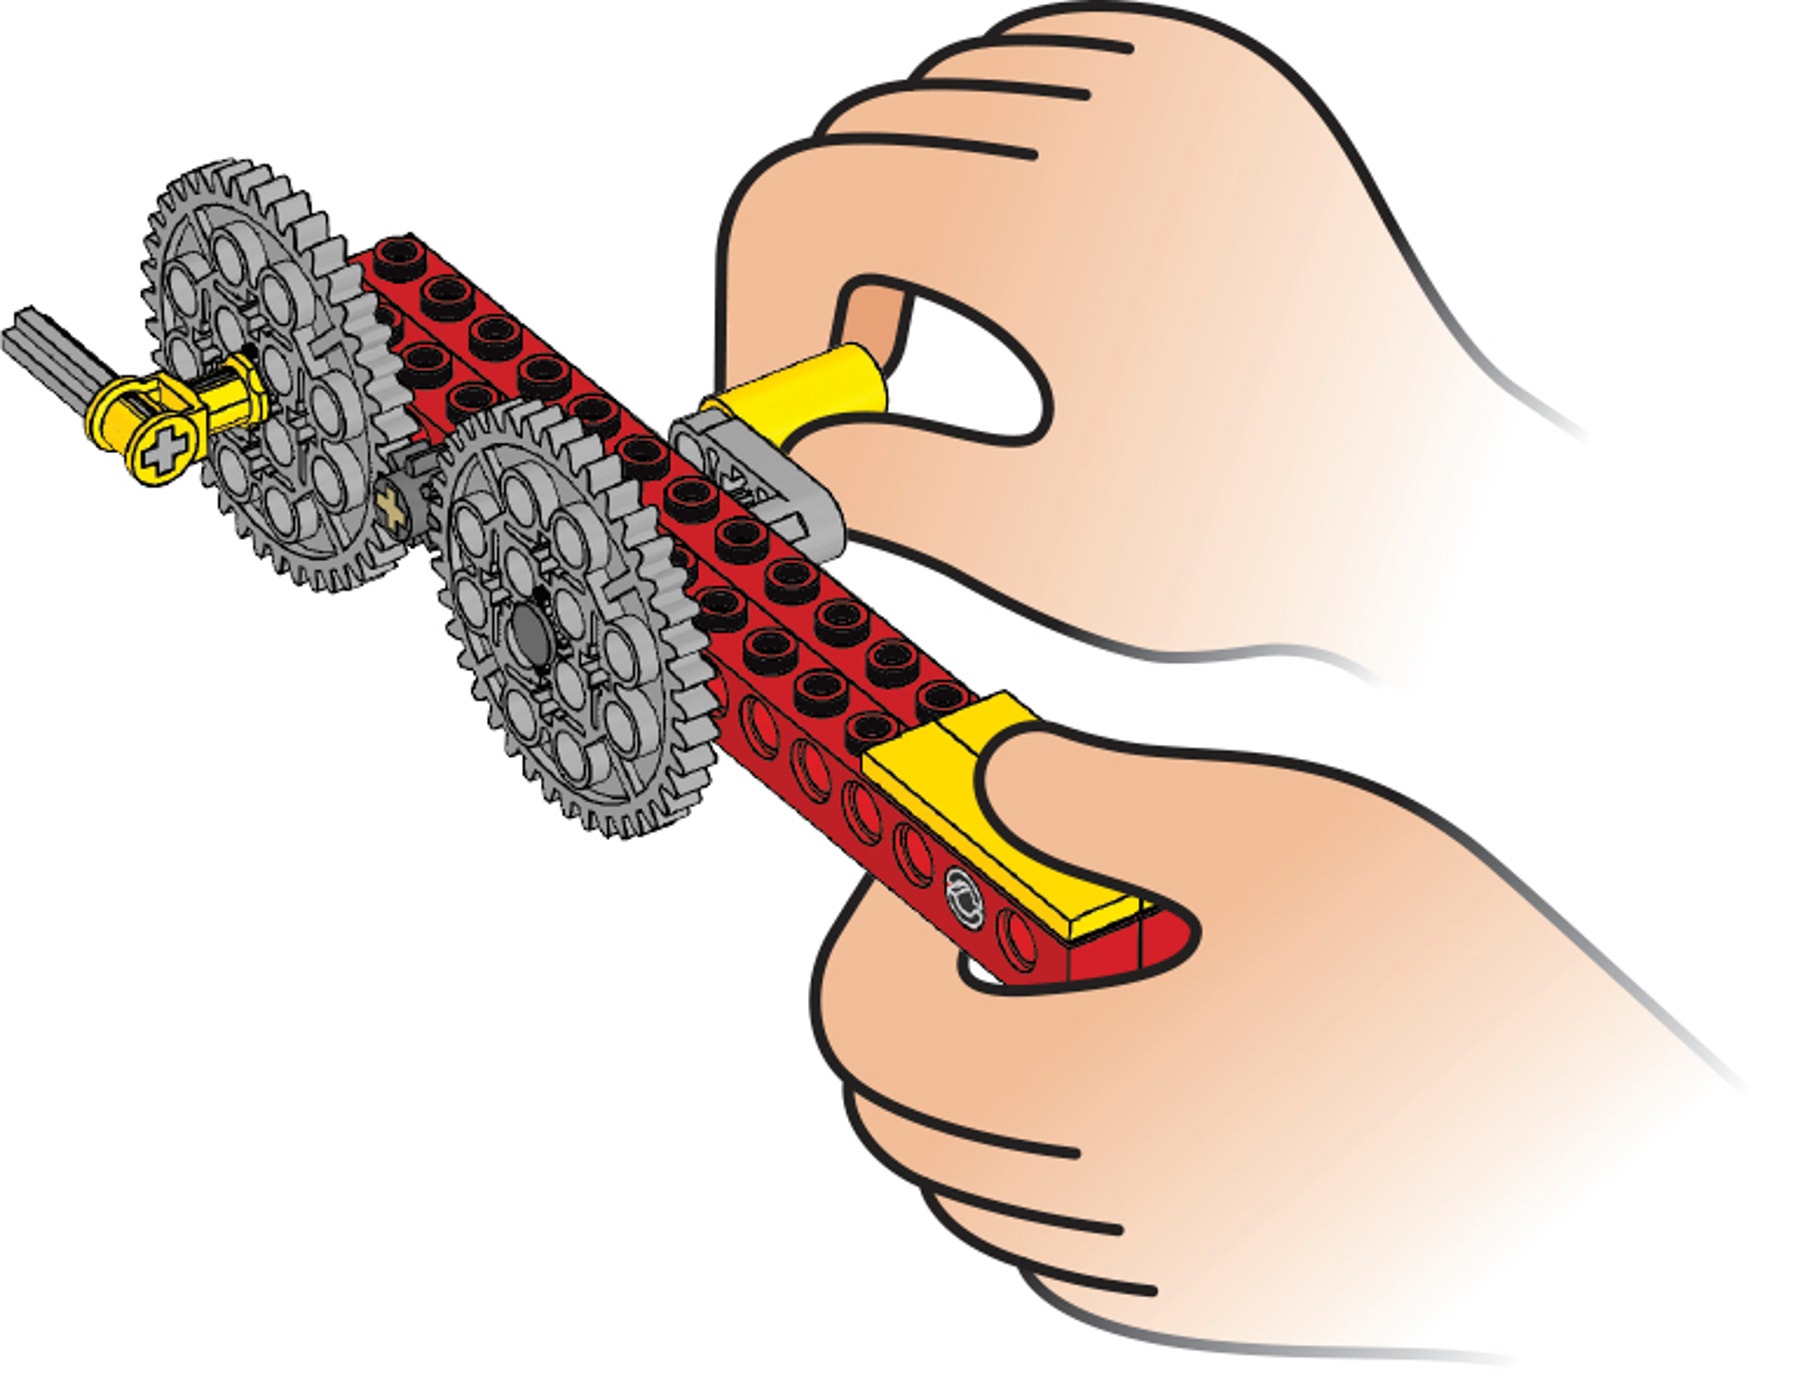
Build A2 (Idler gearing).
Follow Building Instructions A, pages 10 to 14, steps 1 to 8.
Label the gears.
Draw lines from the words to the picture of the model.
The small gear is an idler gear. The idler gear does not affect the relative speeds of rotation of either of the larger gears, only the direction in which the driven gear turns.
Contemplate
(3-5 minutes)
Try out the model and make observations.
Crank the handle one full turn, and count how many times the position marker turns.
One turn of the handle results in one turn of the gray axle. The speeds of rotation of the drive and the driven gears are the same, because they have the same number of teeth. The gearing ratio is 1:1.
Observe which way the gears turn when you crank the handle, and draw arrows to show the directions they turn in.
The 40-tooth drive gear and the 40-tooth driven gear both turn in the same direction. The idler gear rotates in the opposite direction.
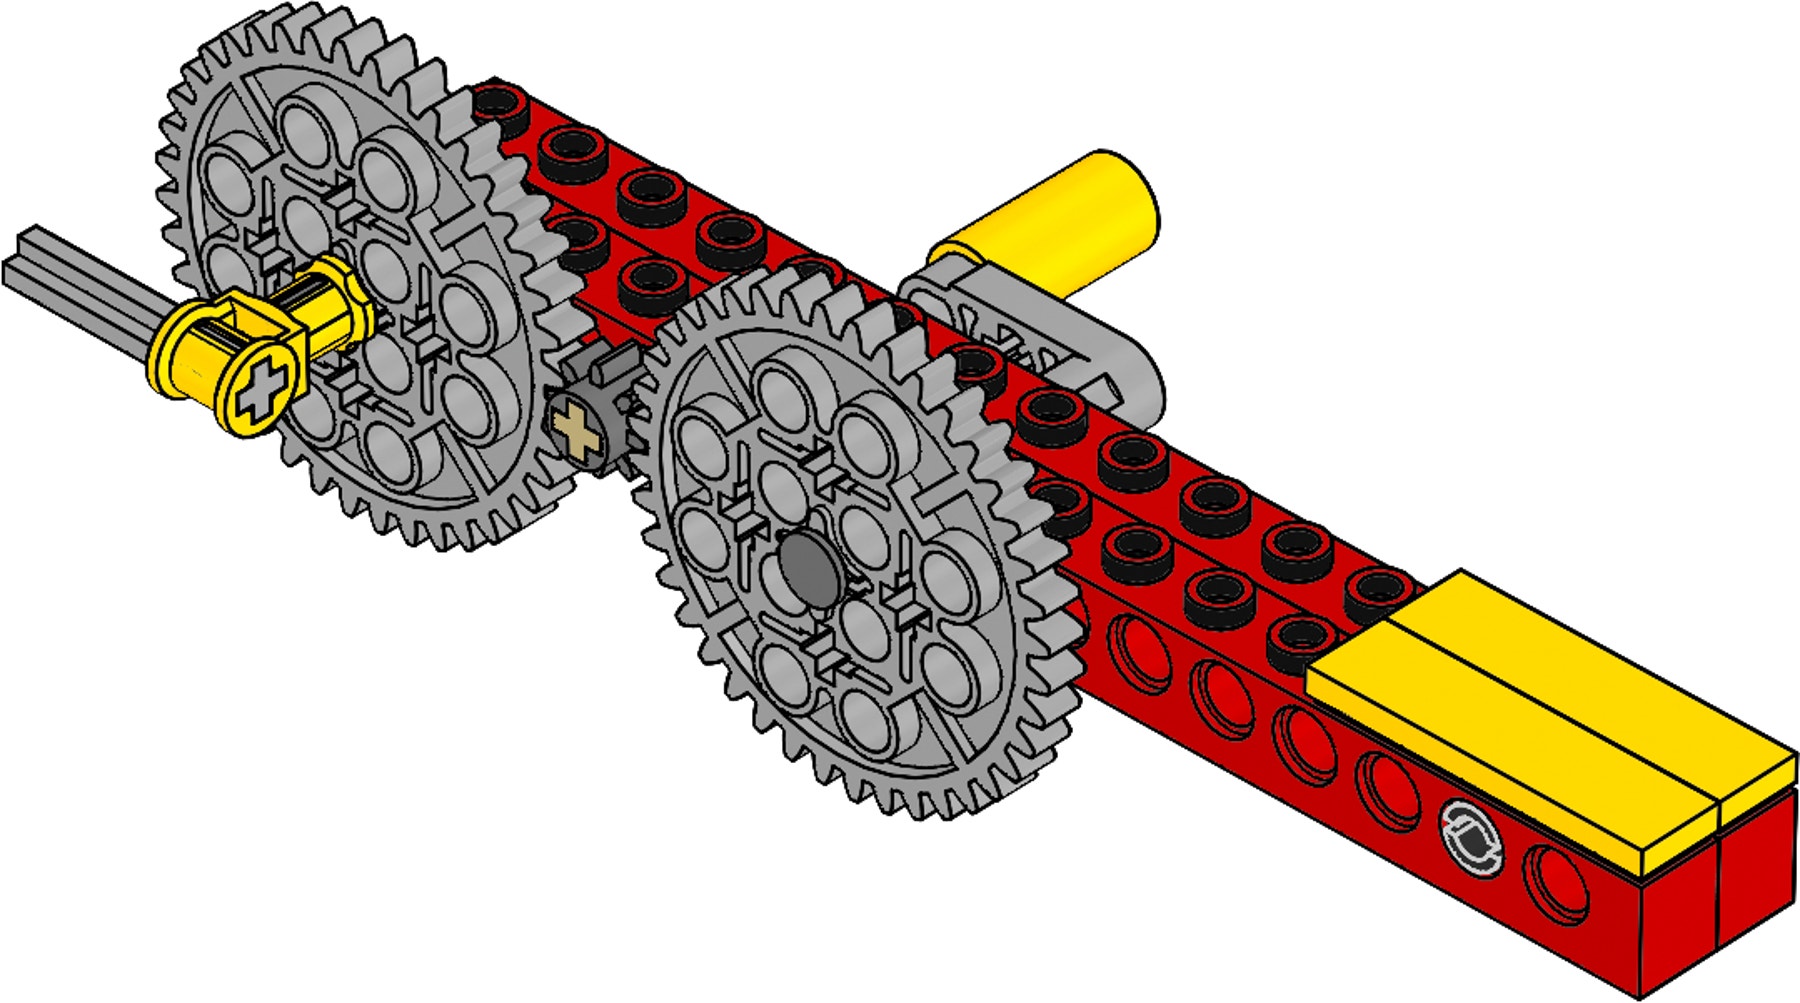
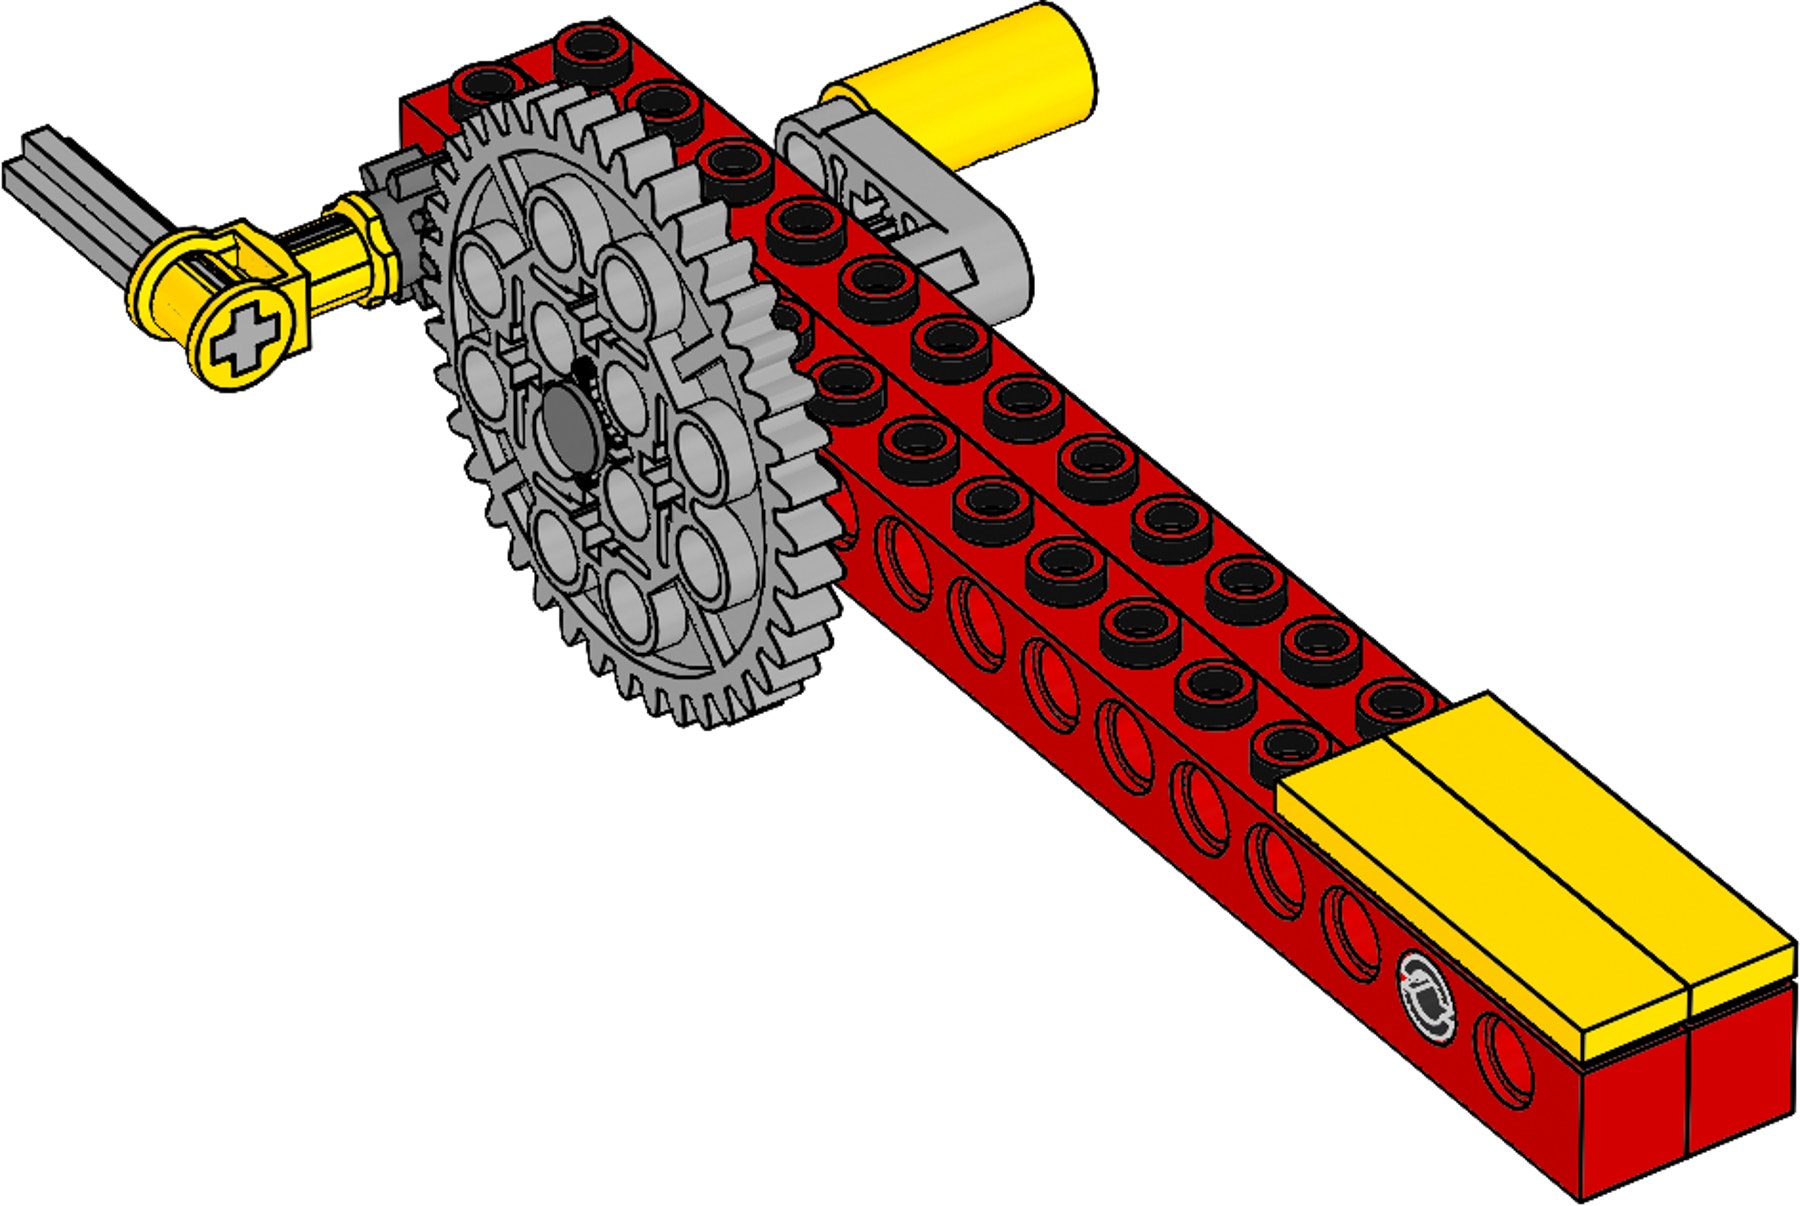
Construct
(3-5 Minutes)
Build A3 (Increasing speed of rotation).
Follow Building Instructions A, pages 16 to 20, steps 1 to 7.
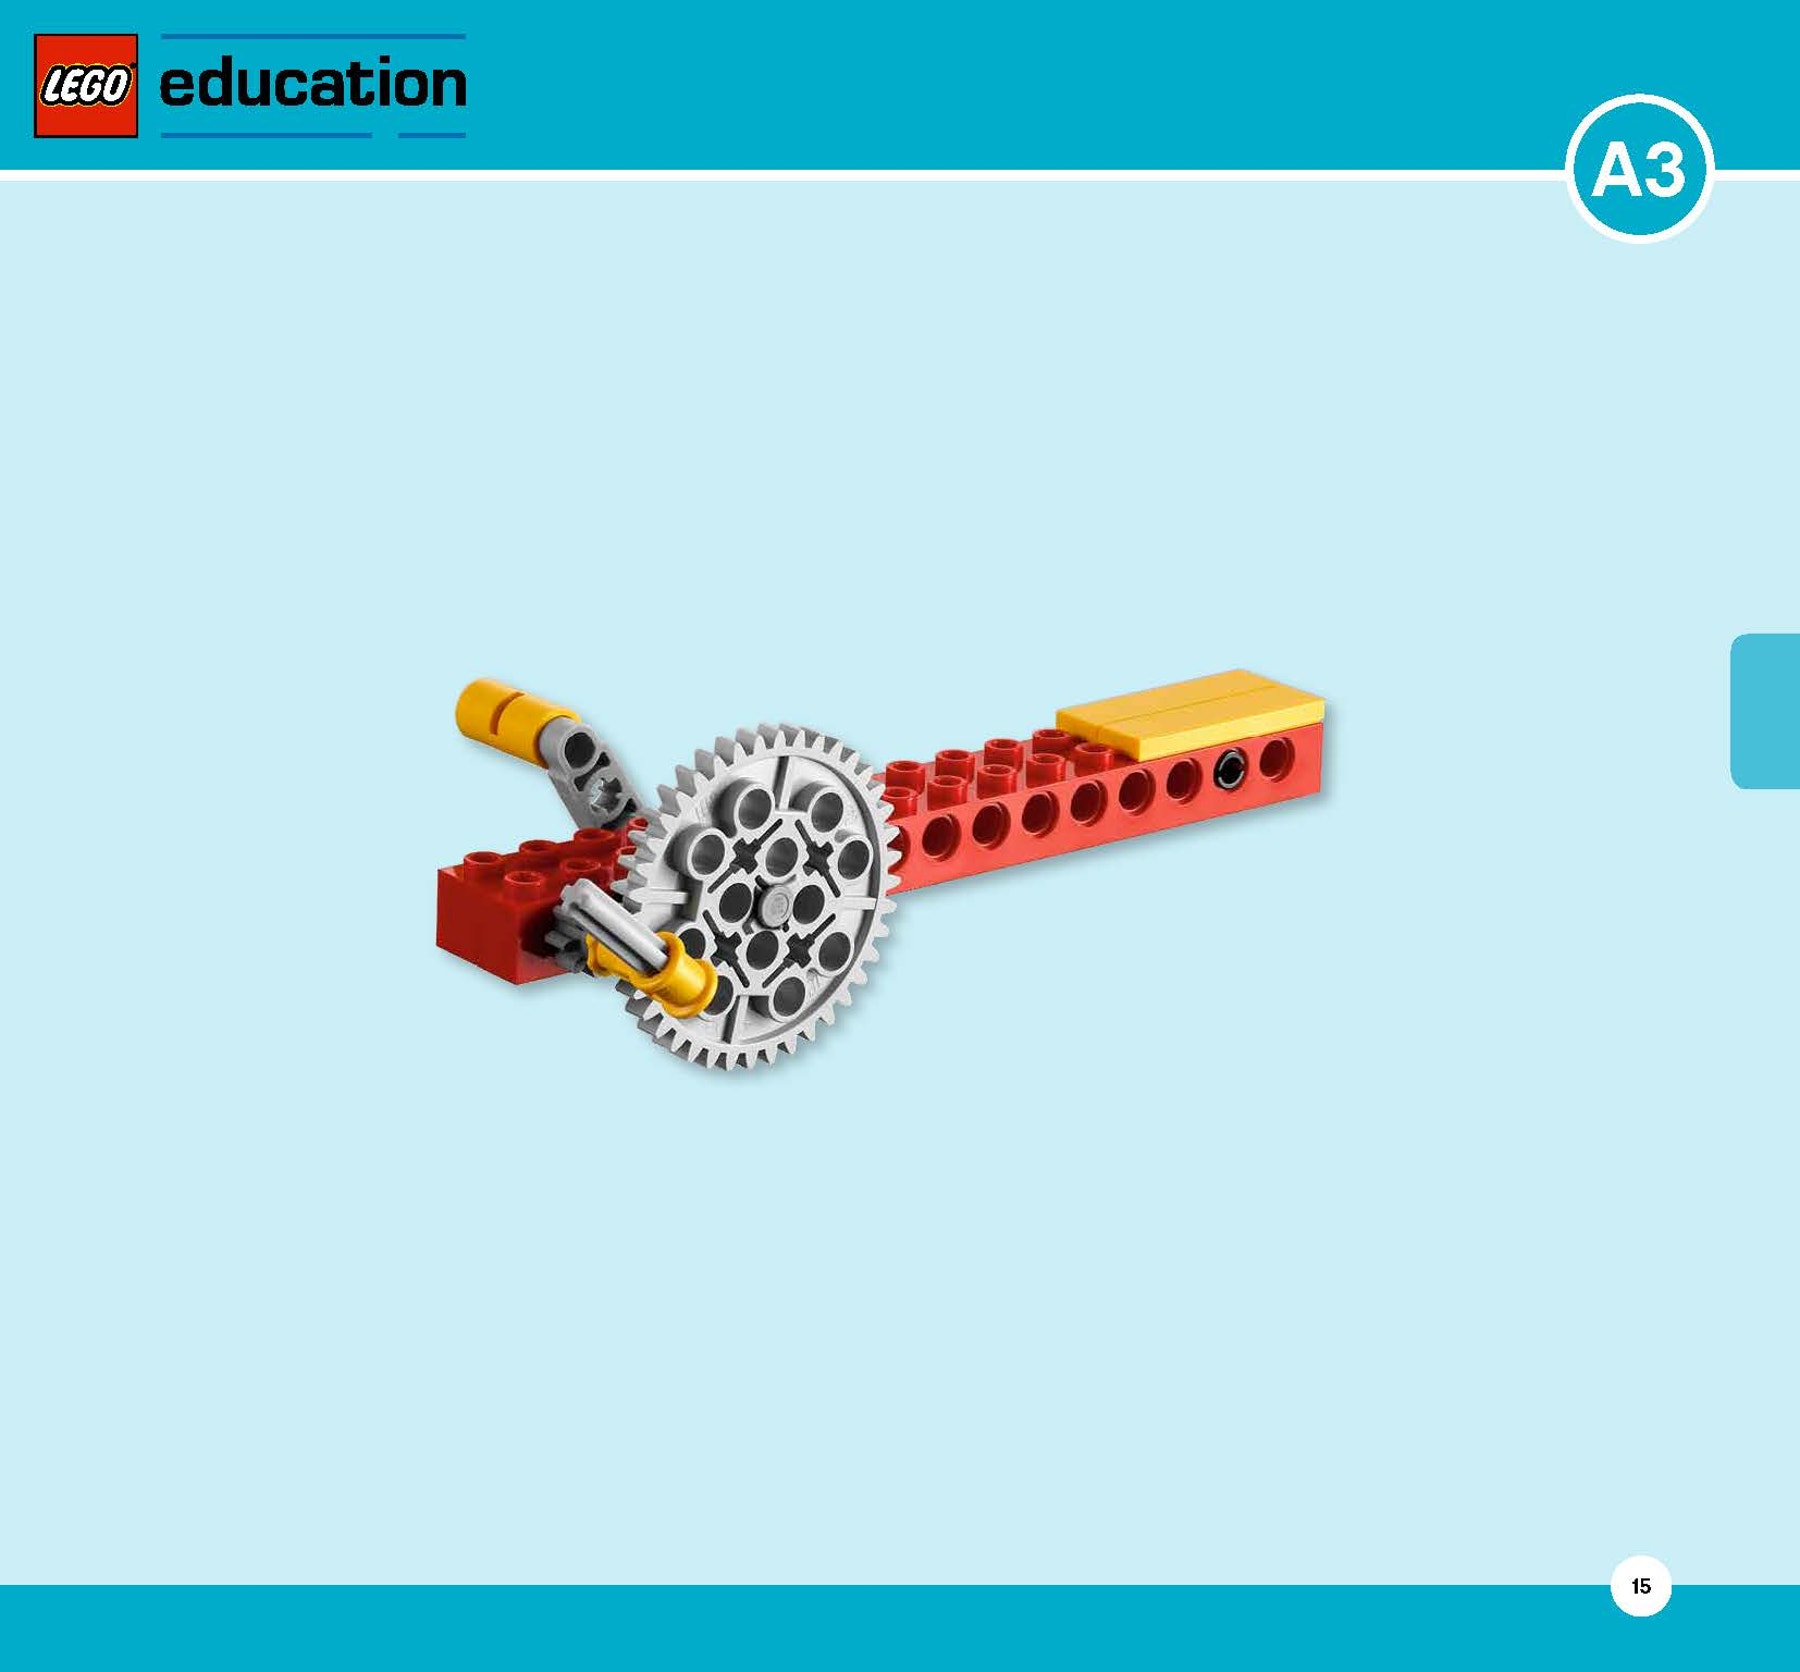
Label the gears.
Draw lines from the words to the picture of the model.
The drive gear is the gear that is turned by an outside effort, in this case your hand. Any gear that is turned by another gear is called a driven gear or follower.
Contemplate
(3-5 minutes)
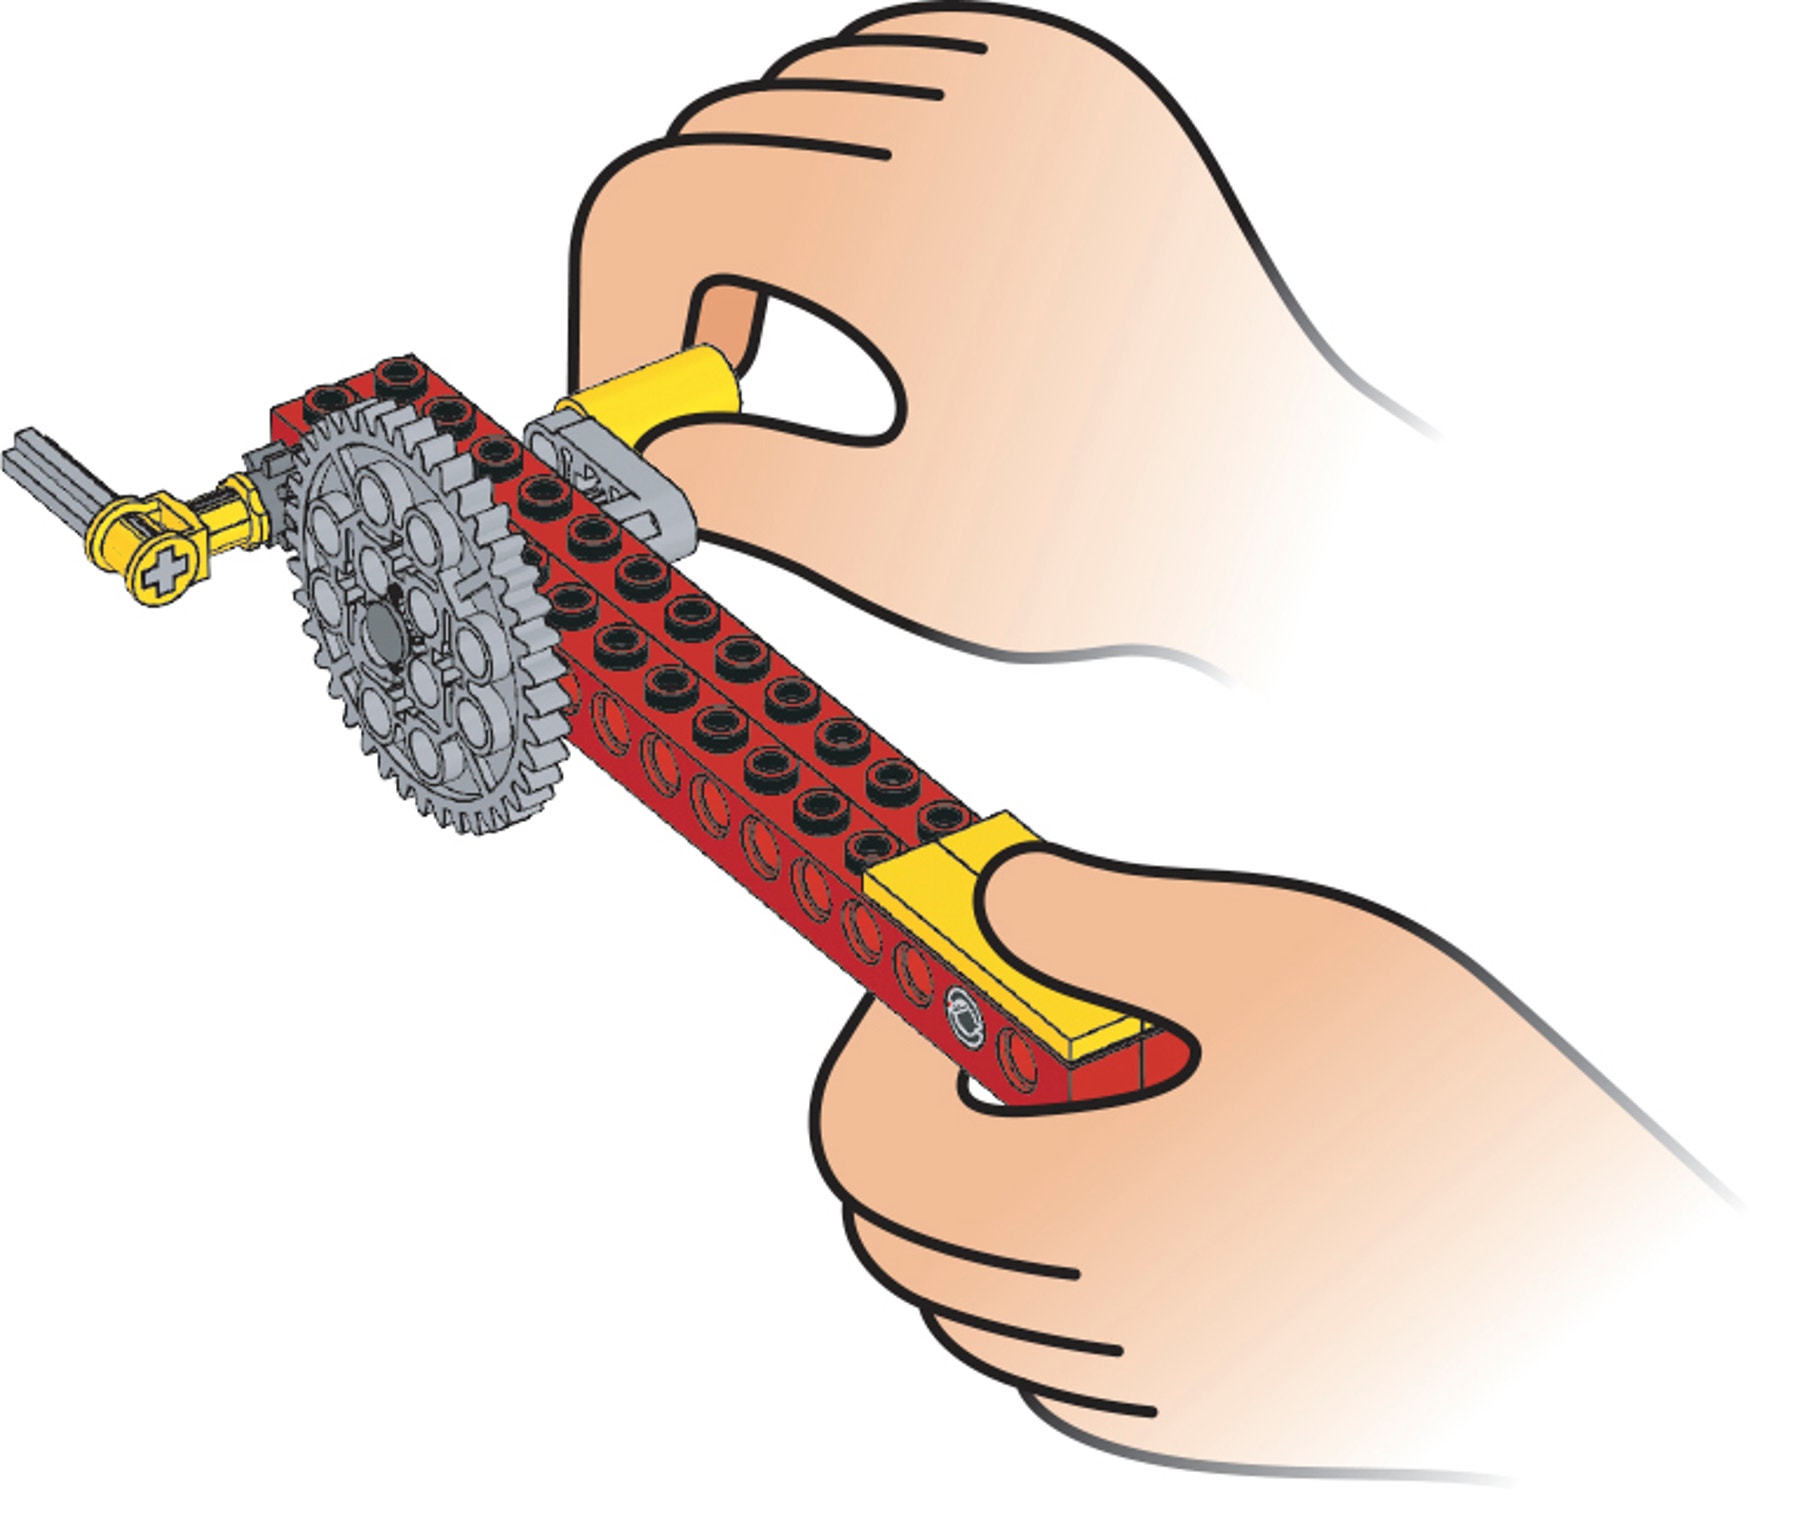
Try out the model and make observations.
Crank the handle one full turn, and count how many times the position marker turns.
One turn of the handle (the large drive gear) results in five turns of the smaller driven gear. This ratio of 1:5 (or 1/5) is called the gearing up ratio (8/40 = 1/5).
Increasing the gearing up ratio increases the speed of rotation of the driven gear, but decreases the force in the driven gear—the power of the gear to turn something.
Observe which way the gears turn when you crank the handle, and draw arrows to show the directions they turn in.
Adjacent gears turn in opposite directions.
Construct
(3-5 Minutes)
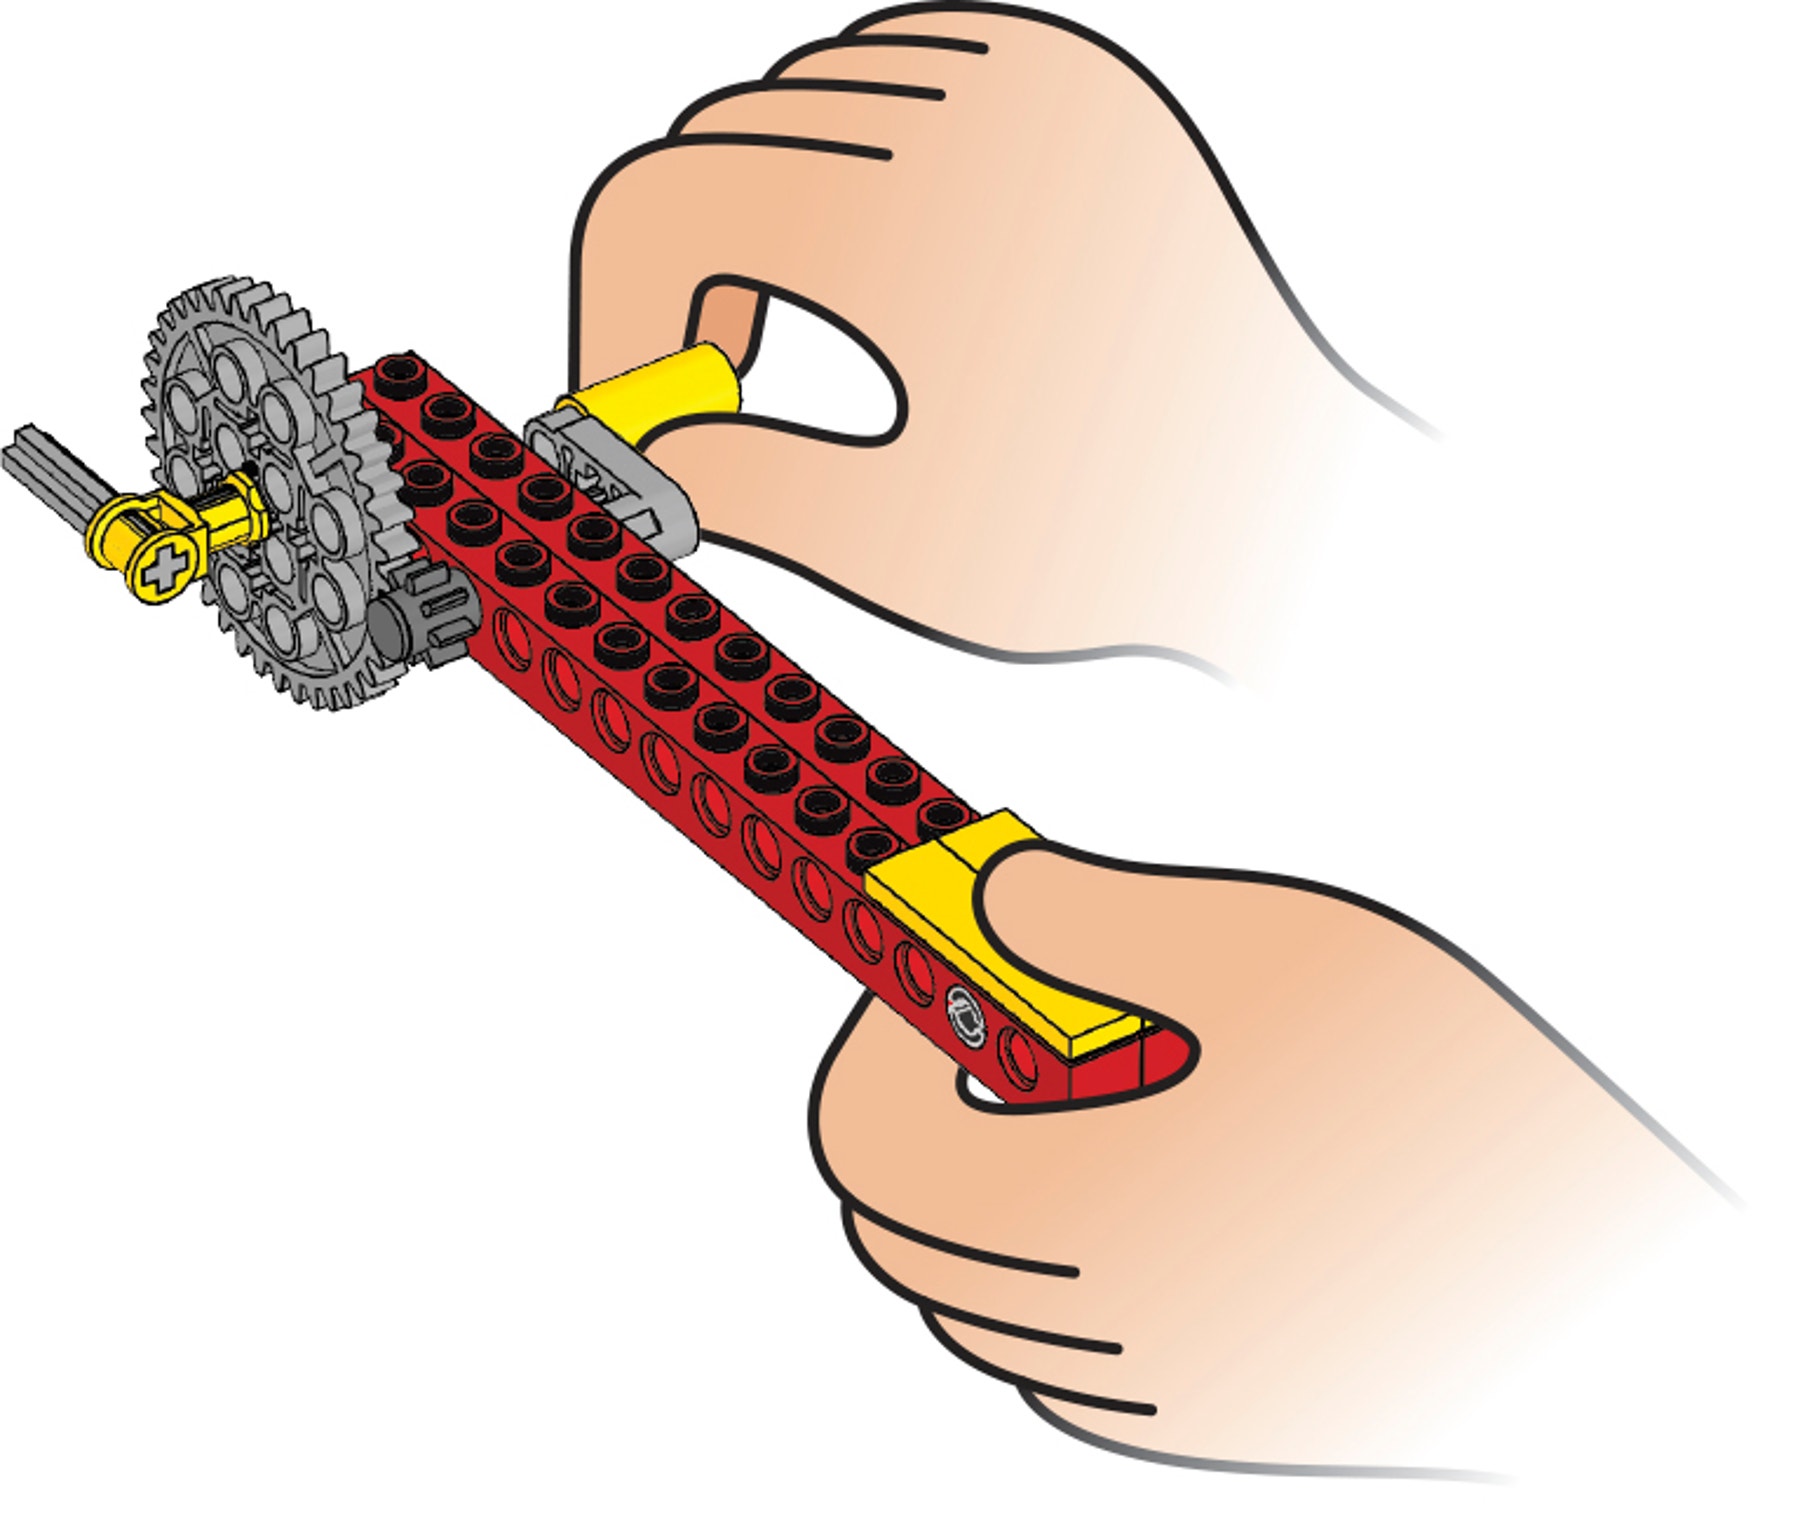
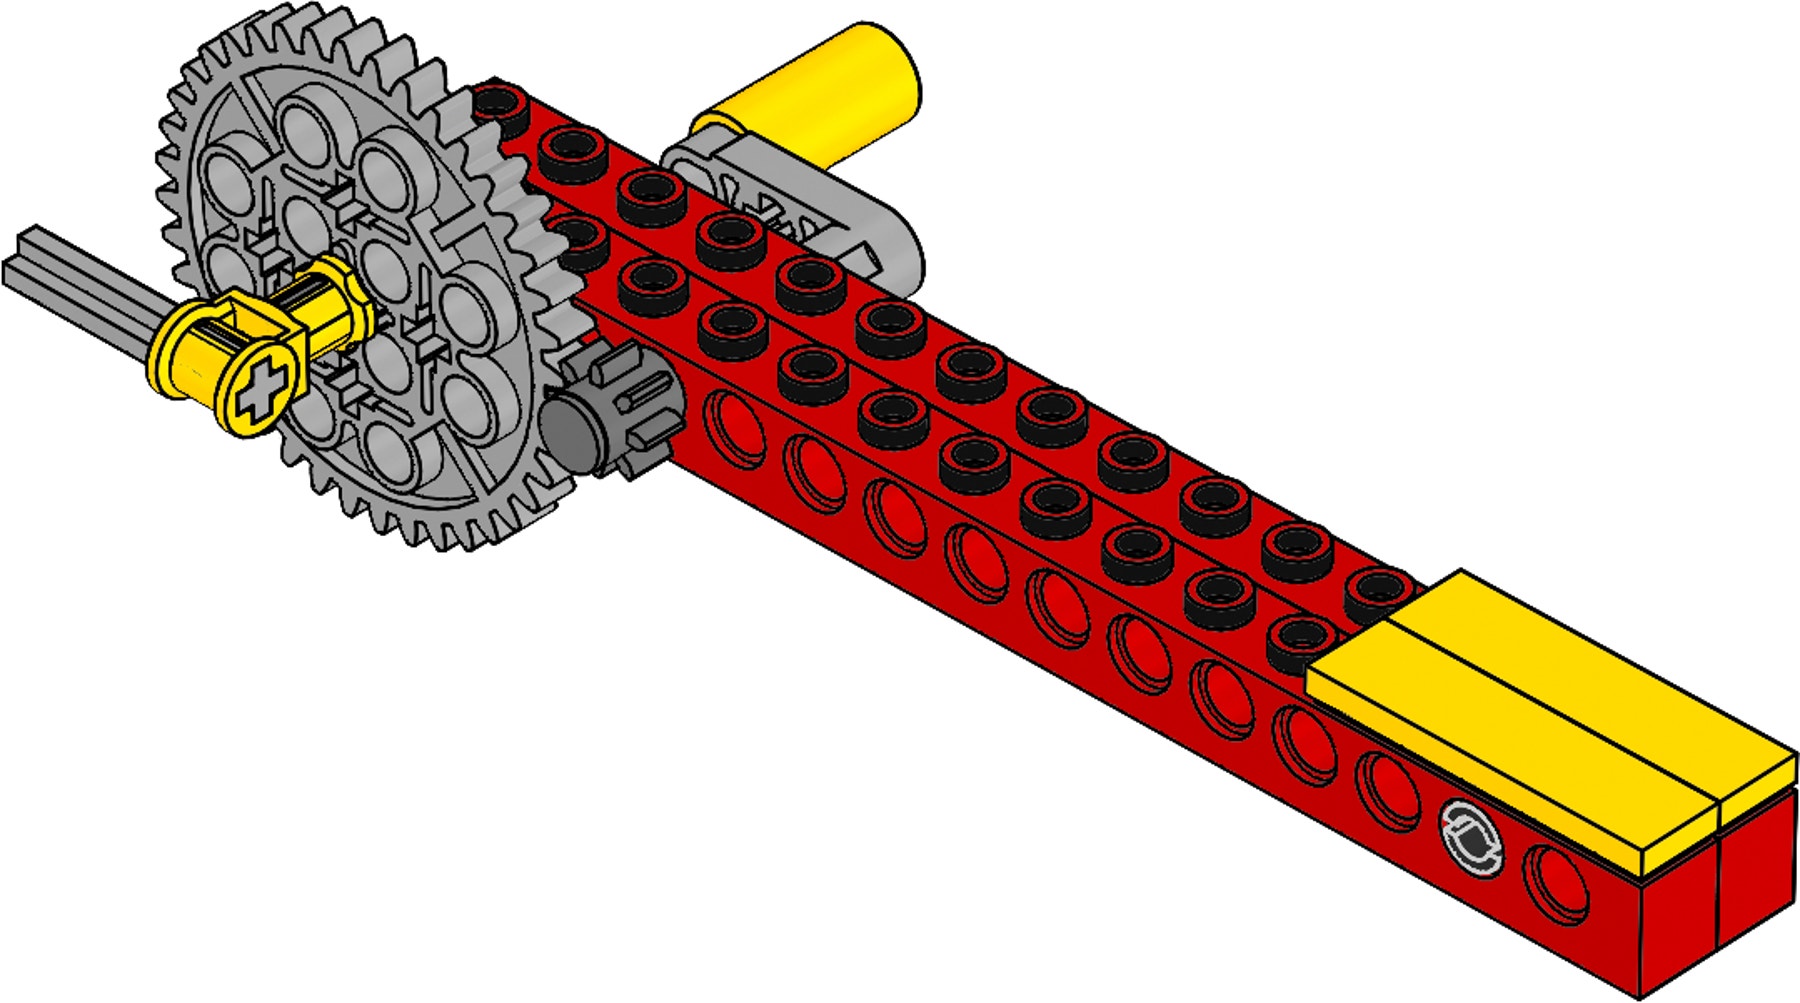
Build A4 (Decreasing speed of rotation).
Follow Building Instructions A, pages 22 to 26, steps 1 to 7.
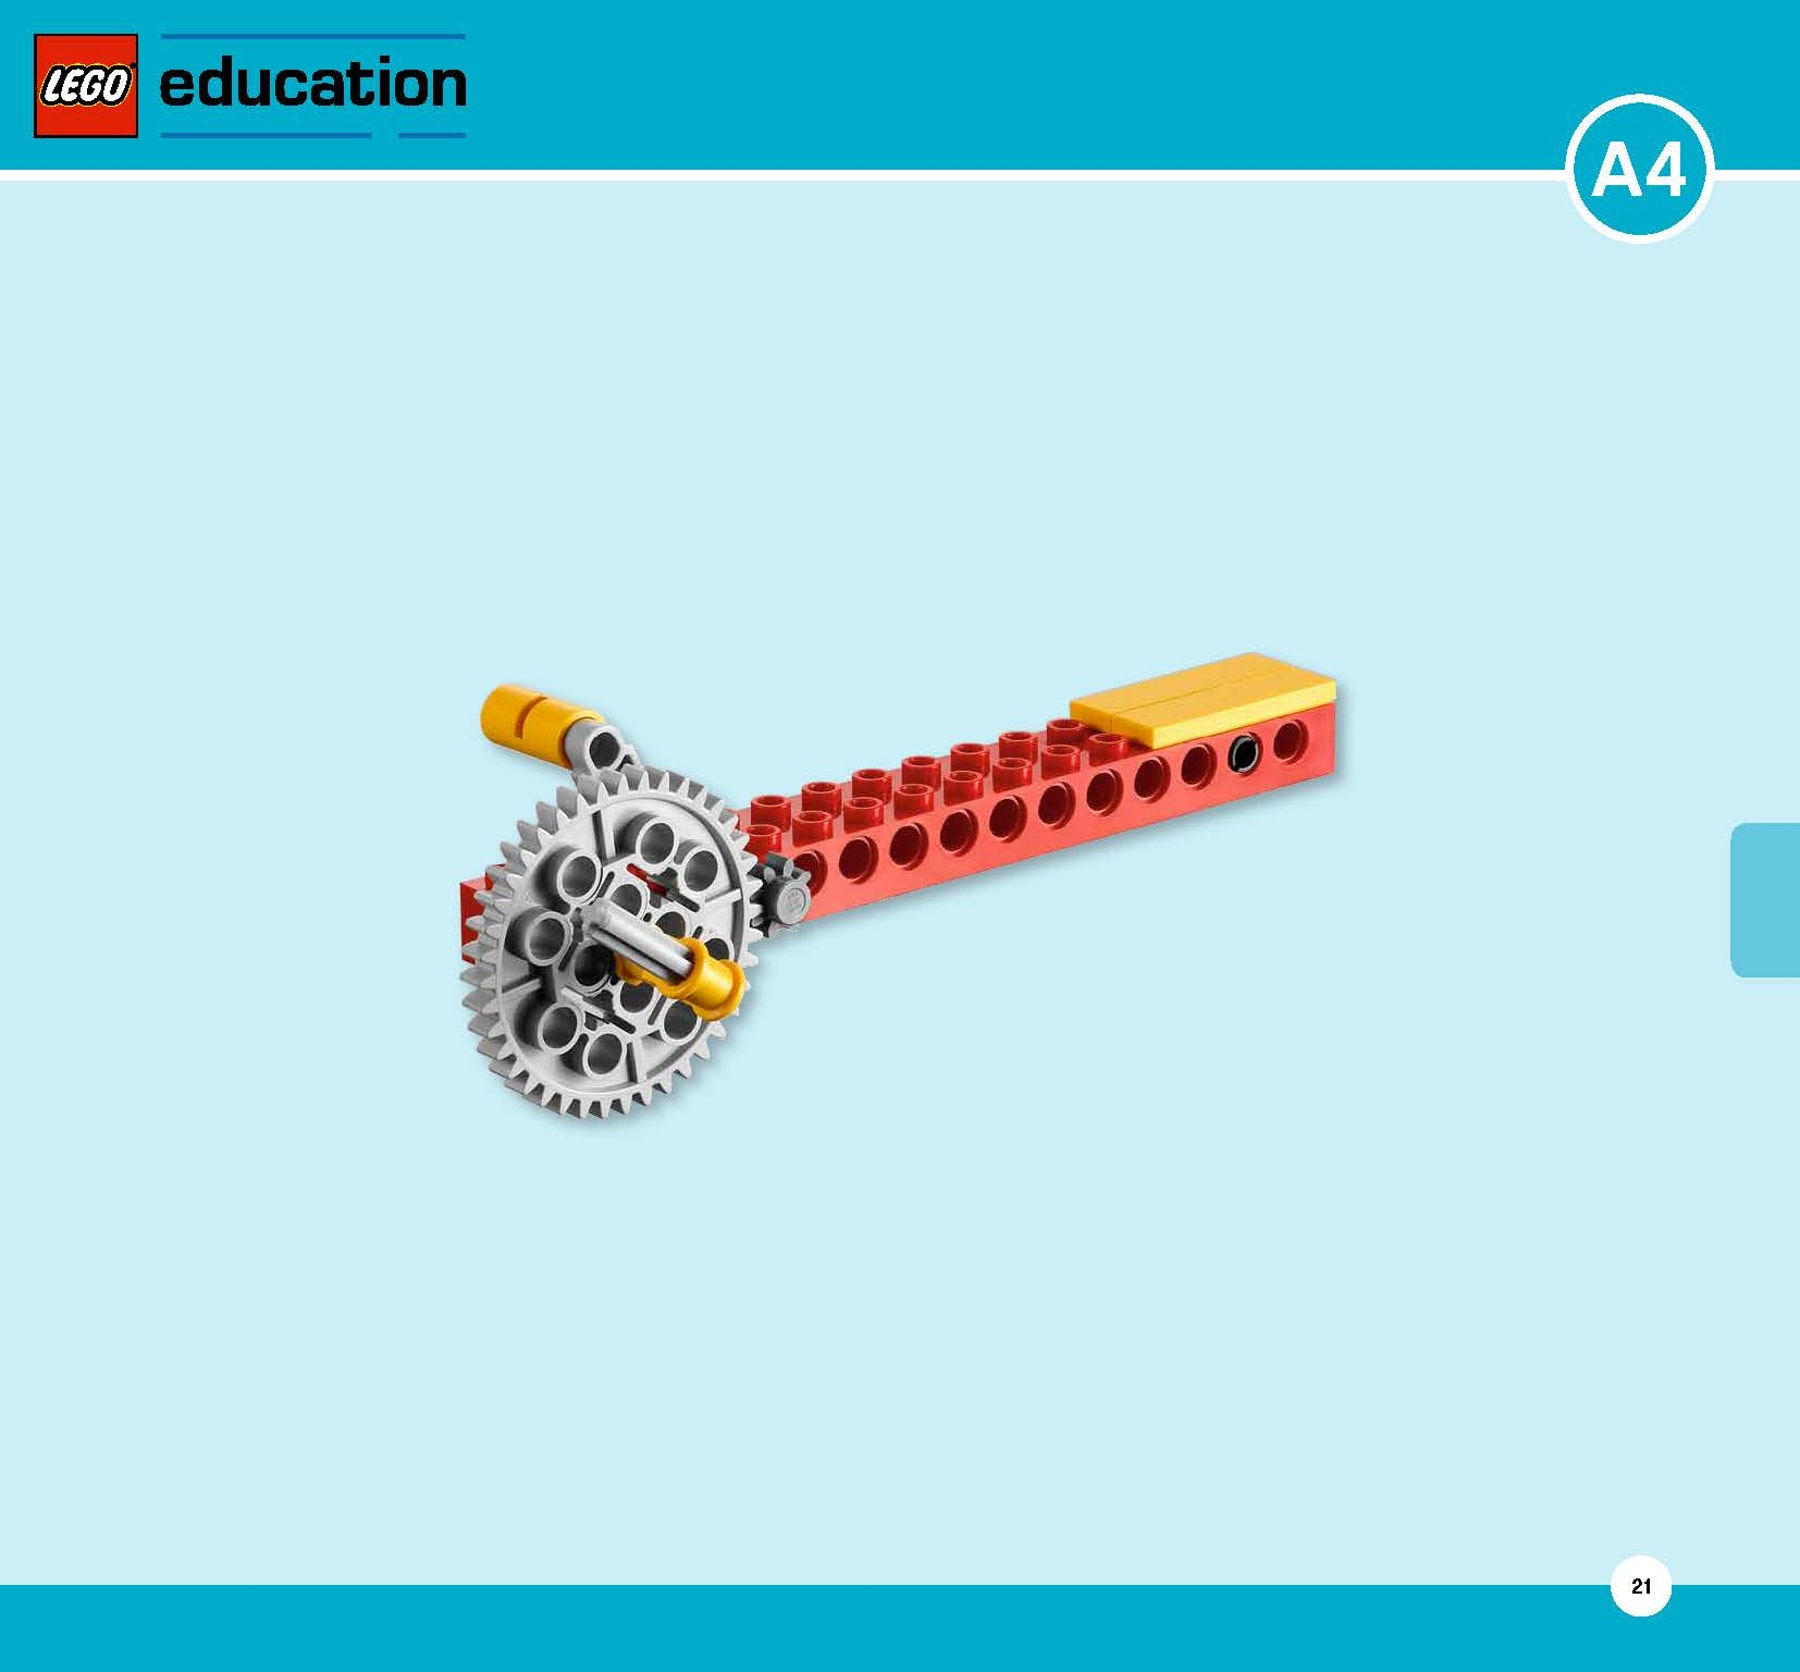
Label the gears.
Draw lines from the words to the picture of the model.
The drive gear is the gear that is turned by an outside effort, in this case your hand. Any gear that is turned by another gear is called a driven gear or follower.
Contemplate
(3-5 minutes)
Try out the model and make observations.
Count how many times the handle has to turn for the position marker to turn once.
*Five turns of the handle (the small drive gear) results in one turn of the large driven gear. This ratio of 5:1 (or 5/1) is called the gearing down ratio (40/8 = 5/1). Decreasing the gearing ratio decreases the speed of rotation of the driven gear, but increases the force in the driven gear—the power of the gear to turn something.
*
Observe which way the gears turn when you crank the handle, and draw arrows to show the directions they turn in.
Adjacent gears turn in opposite directions.
Construct
(3-5 Minutes)
Build A5 (At an angle).
Follow Building Instructions A, pages 28 to 32, steps 1 to 8.
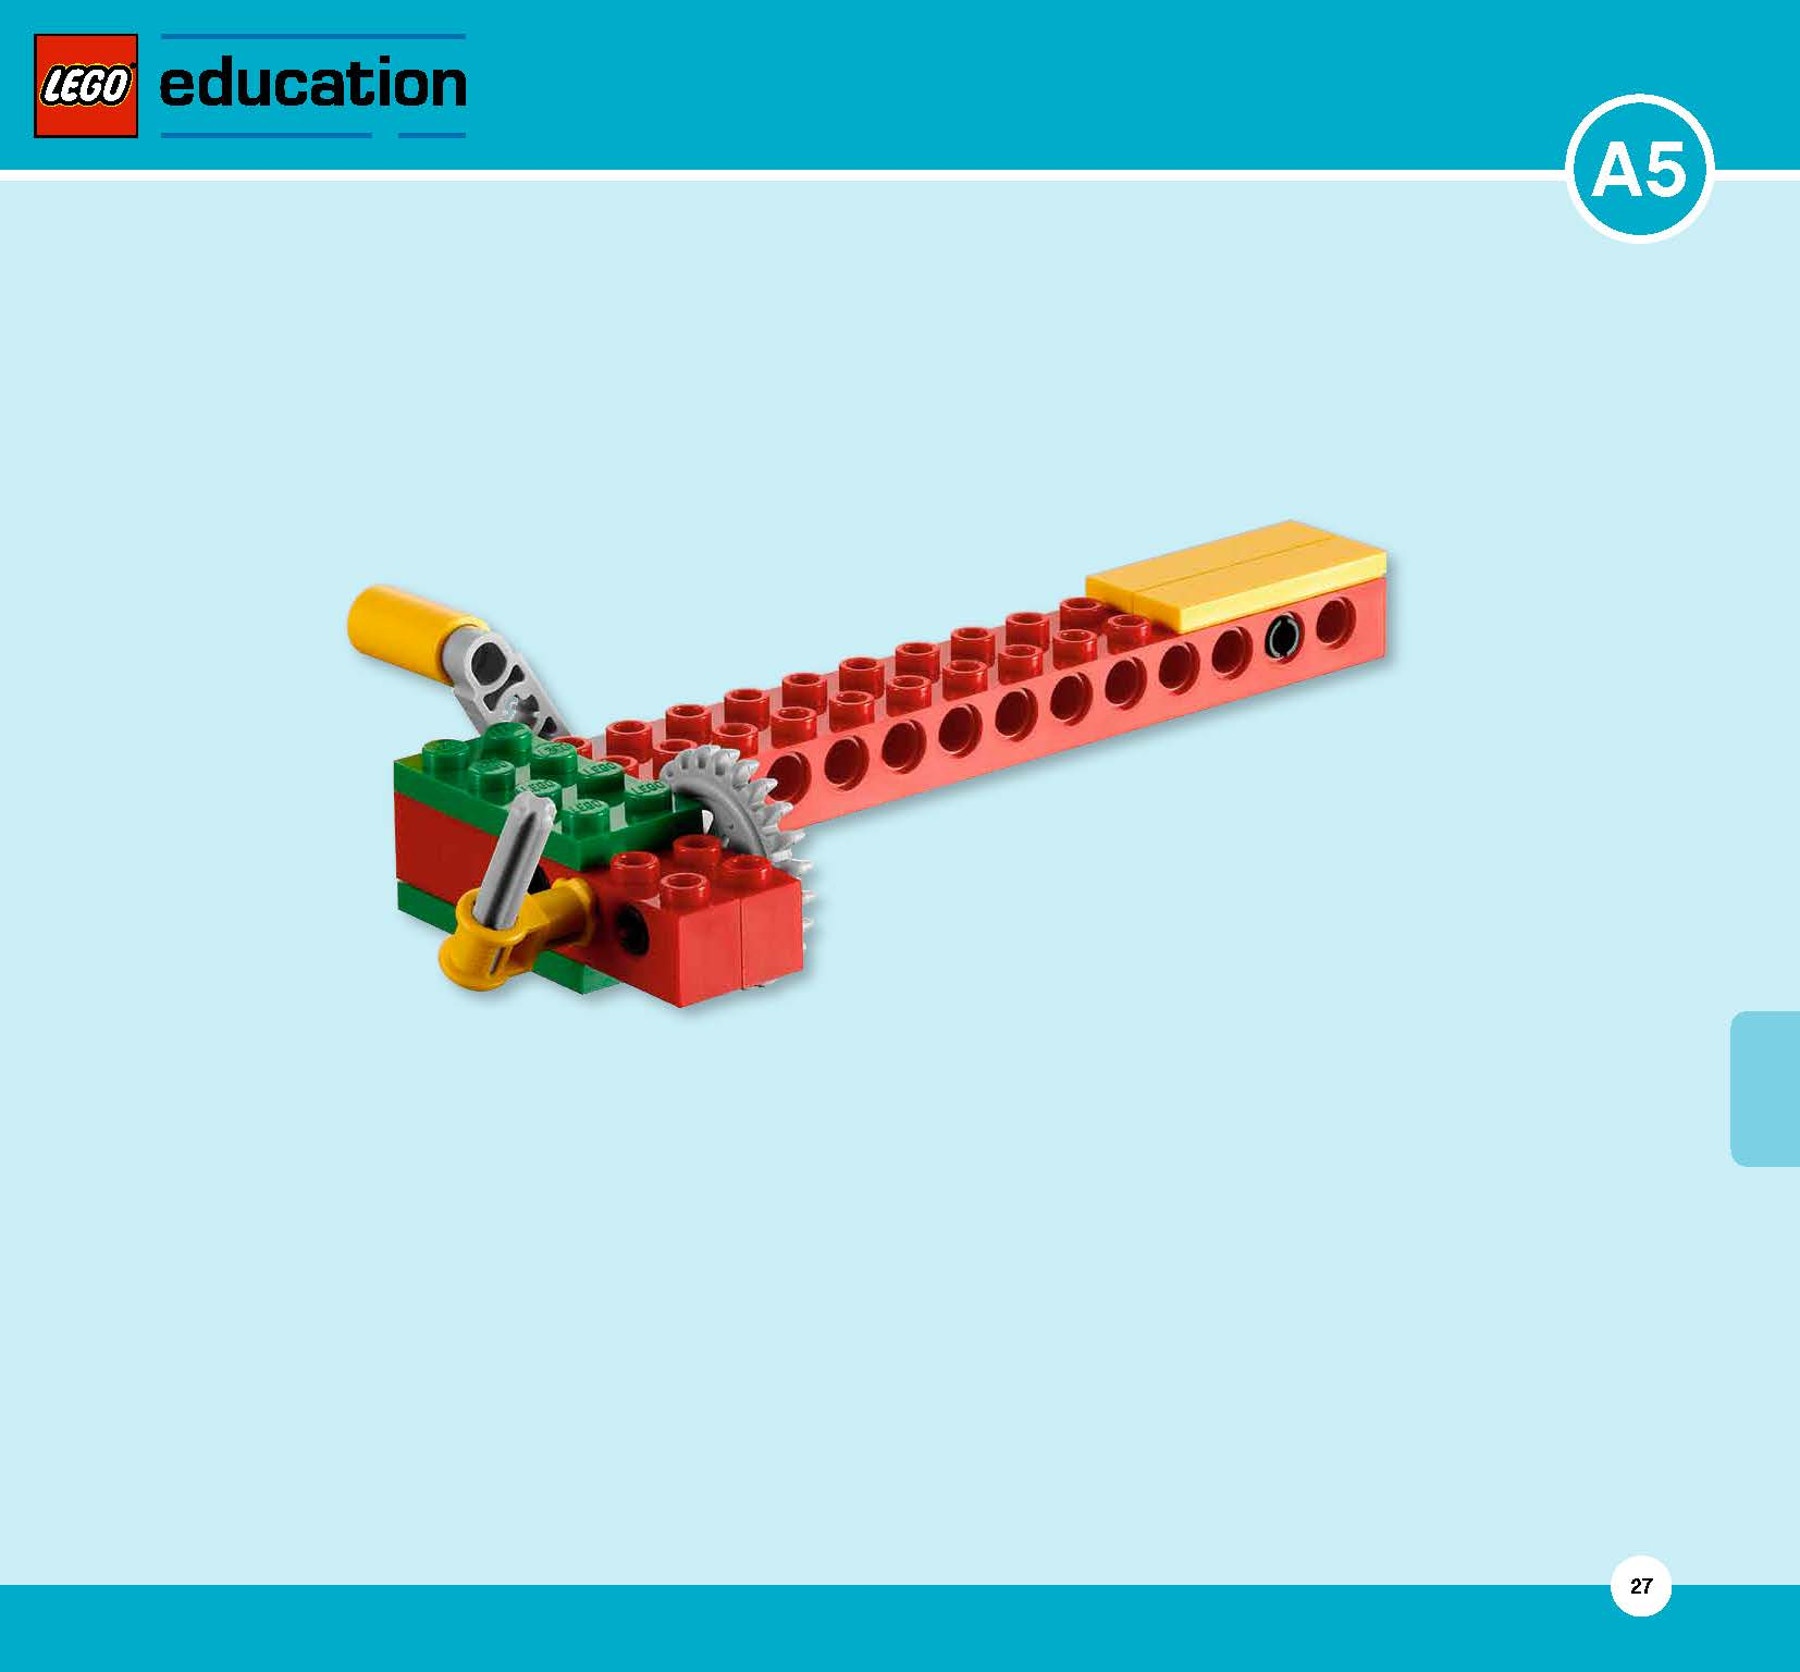
Label the gears.
Draw lines from the words to the picture of the model.
The 8-tooth drive spur gear moves the 24-tooth driven crown gear.
Contemplate
(3-5 minutes)
Try out the model and make observations.
Count how many times the handle has to turn for the position marker to turn once.
Three turns of the handle (the small drive gear) results in one turn of the crown gear. This is a ratio of 3:1 (or 24/8 or 3/1).
Observe which way the gears turn when you crank the handle, and draw arrows to show the directions they turn in.
The rotary motion is changed through a 90-degree angle/turns through an angle/turns a corner (the answer your students give will depend on their familiarity with describing angles). The crown gear can change the rotary motion easily because it has special curved teeth that enable it to mesh at an angle/at right angles in a different direction with a spur gear.
Continue
Try other lessons!
Now that you have mastered the principles of gears try the Merry-Go-Round lesson.
Teacher Support
Student will learn to:
Change the direction of rotation
Change the orientation of a rotating movement
Increase or decrease the speed of rotation
Increase turning force, also called torque
NGSS
Crosscutting Concepts
Cause and effect: Mechanism and explanation
Scale, proportion and quantity
Science and Engineering Practices
Developing and using models
Planning and carrying out investigations
Planning and carrying out investigations
Analyzing and interpreting data
Constructing explanations and designing solutions
Obtaining, evaluating, and communicating information
Mathematical practices
MP4 / MP5 / MP6
Common Core English Language Arts
W.3.2 / W.4.2 / W.5.2 / SL.3.1 / SL.4.1 / SL. 4.3 / SL.5.1
Student Material
Share with:
 Google Classroom


