Letter Balance
Explore the scientific concepts of levers and gears, measuring weight and calibrating scales.
Connect
(5-10 Minutes)
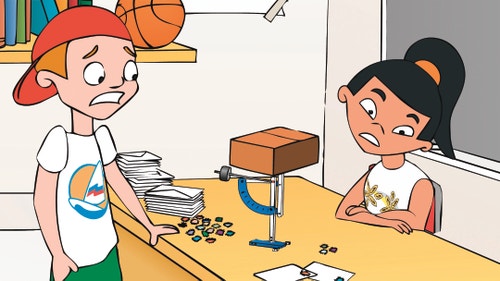
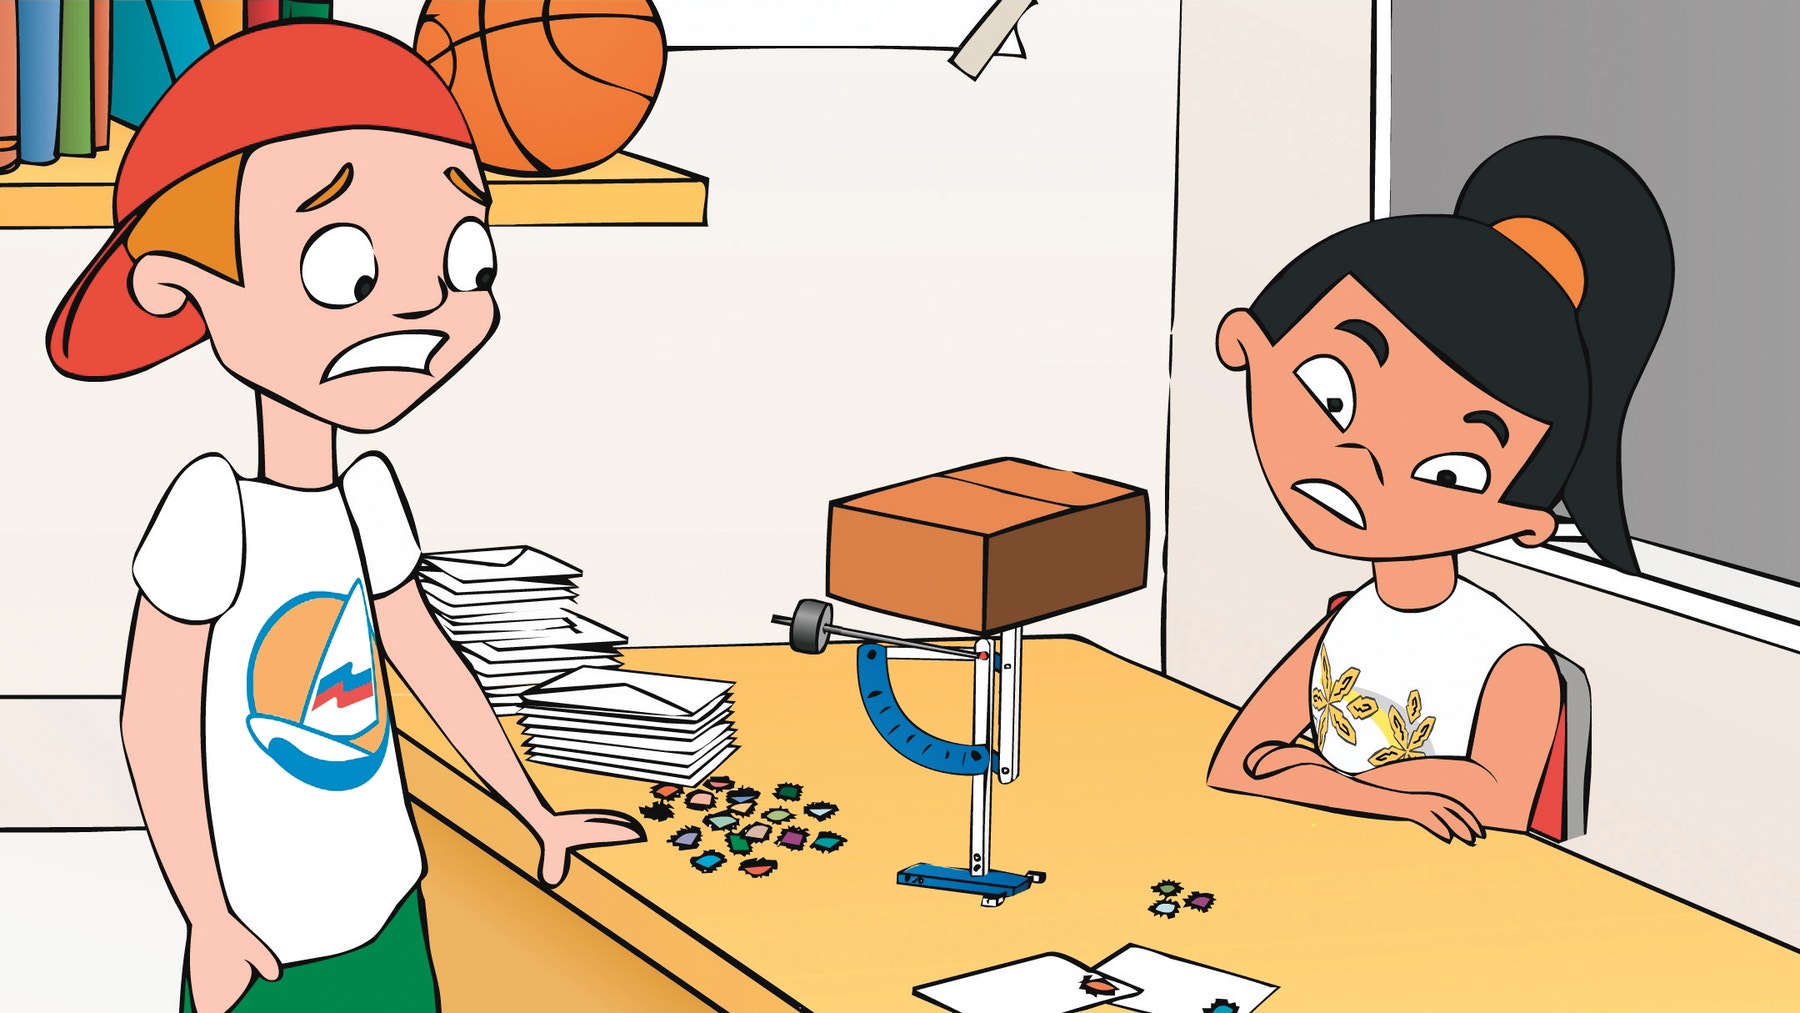
Jack and Jill have set up a post office and delivery service at their school. They have a plan to write letters and send them to all their friends at school.
To make everything as real as possible, Jill has designed some very spectacular stamps and she is having fun weighing all the letters and finding out what stamps to put on.
Jack is also thinking of using the new post office to send a big parcel to Granny – it is her birthday soon. He wraps it up and wants to find out about stamps for the parcel but ... it looks like the letter weight can’t deal with such a heavy object.
How will Jack and Jill solve this problem so they can be sure what stamps to put on for Granny’s birthday present to be sent off?
How can Jill work out a fair system that differentiates between the weight of the different letters and parcels her classmates are bringing to her?
Let’s find out!
Construct
(20-25 Minutes)
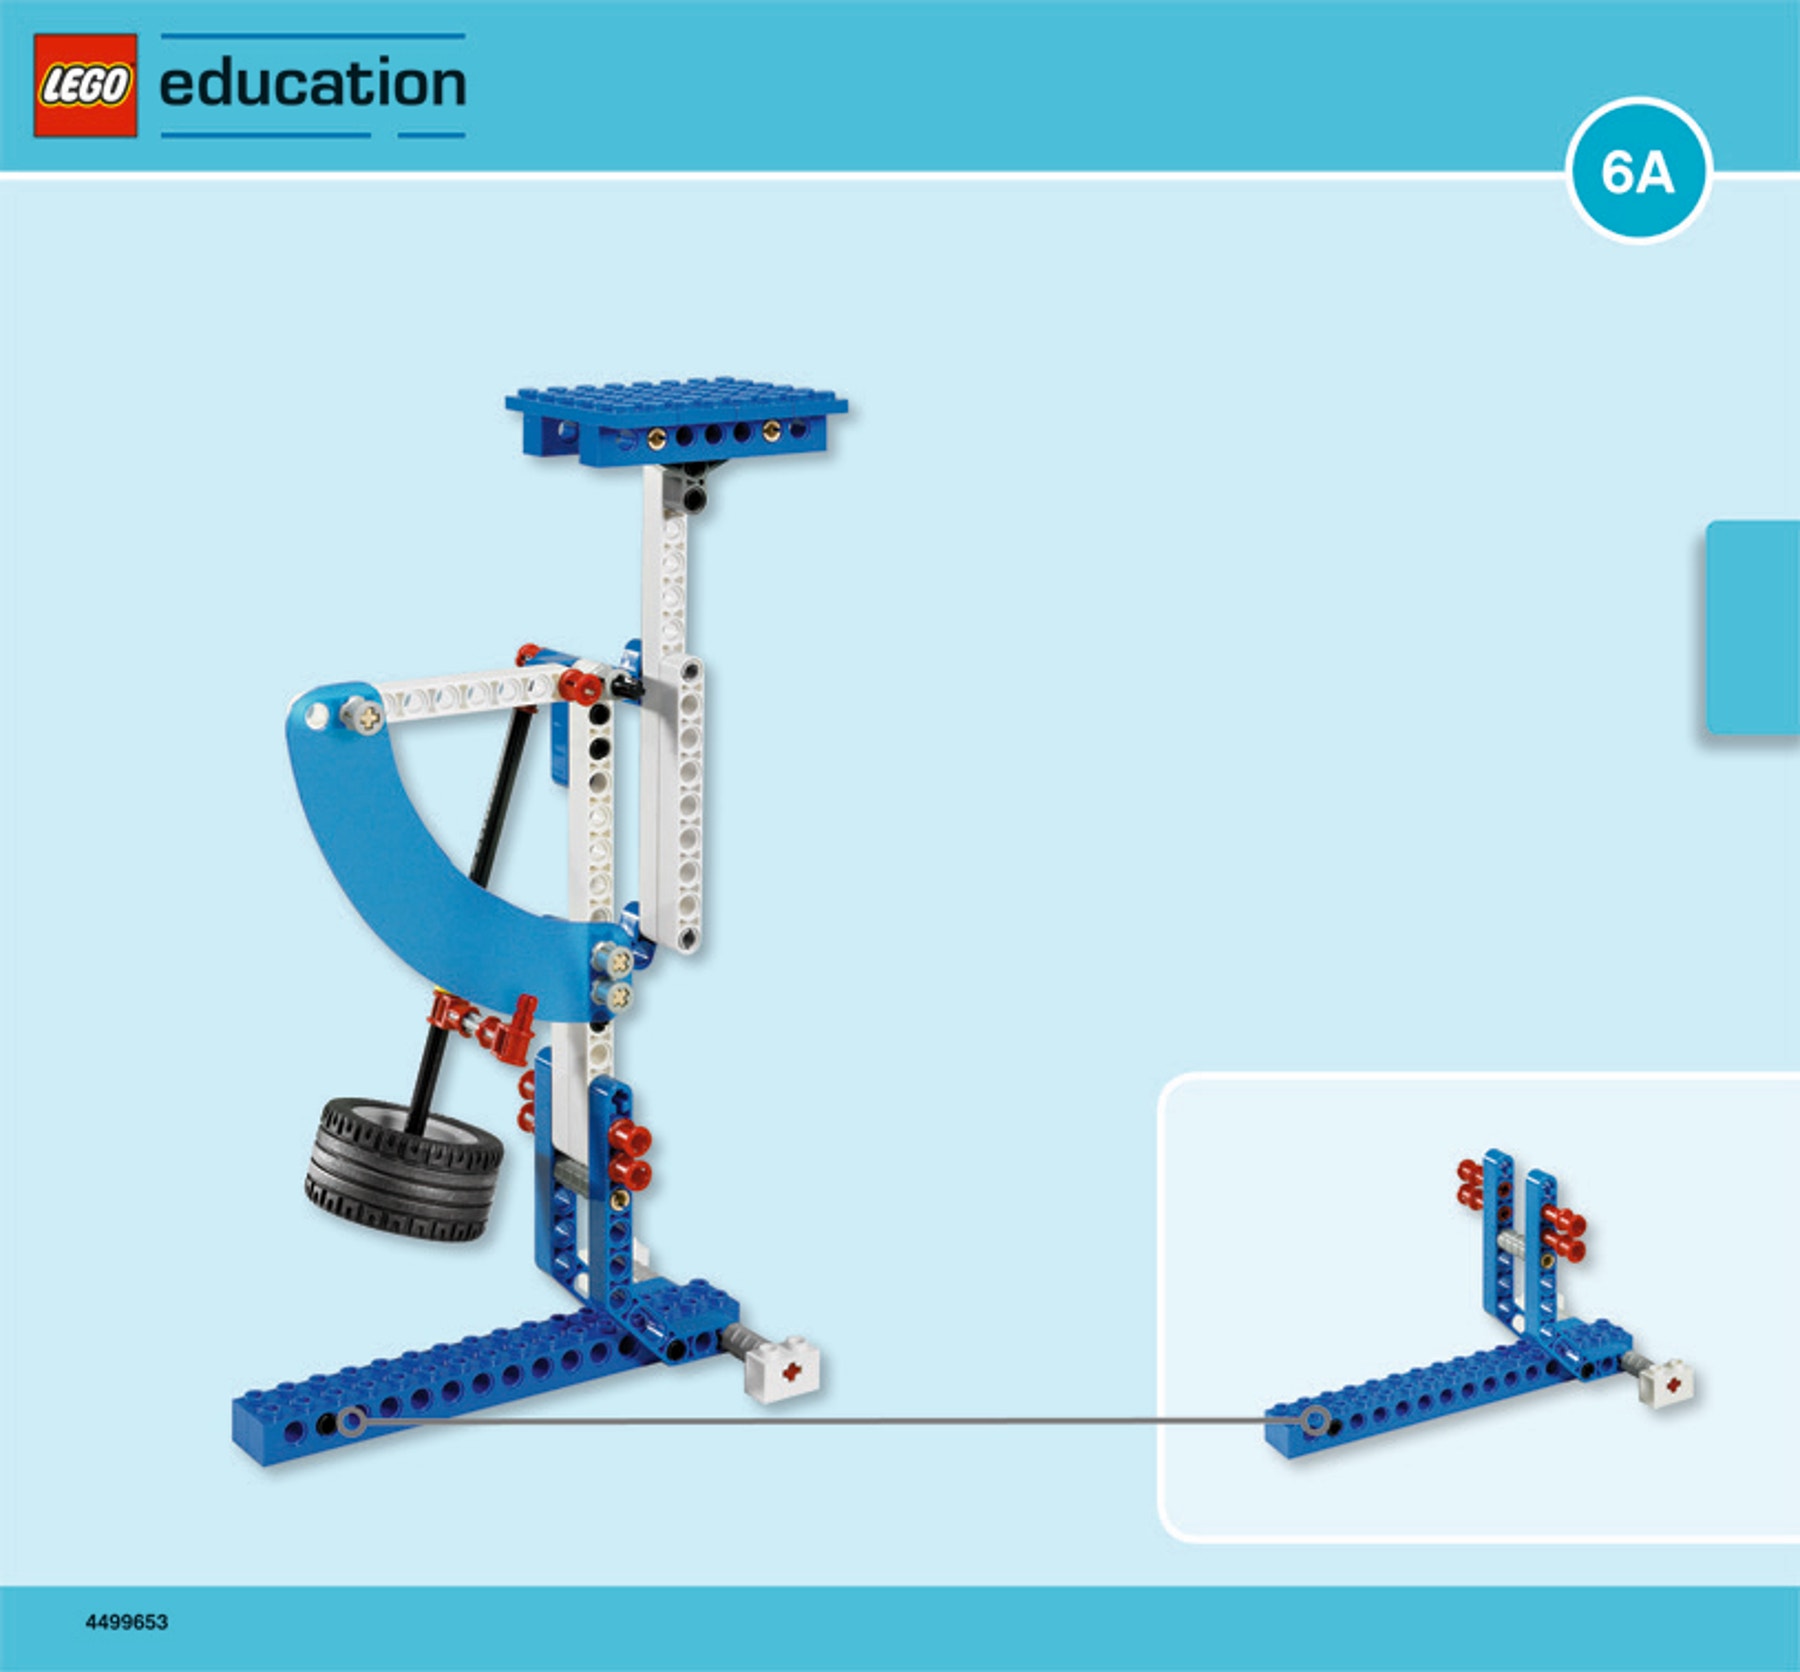
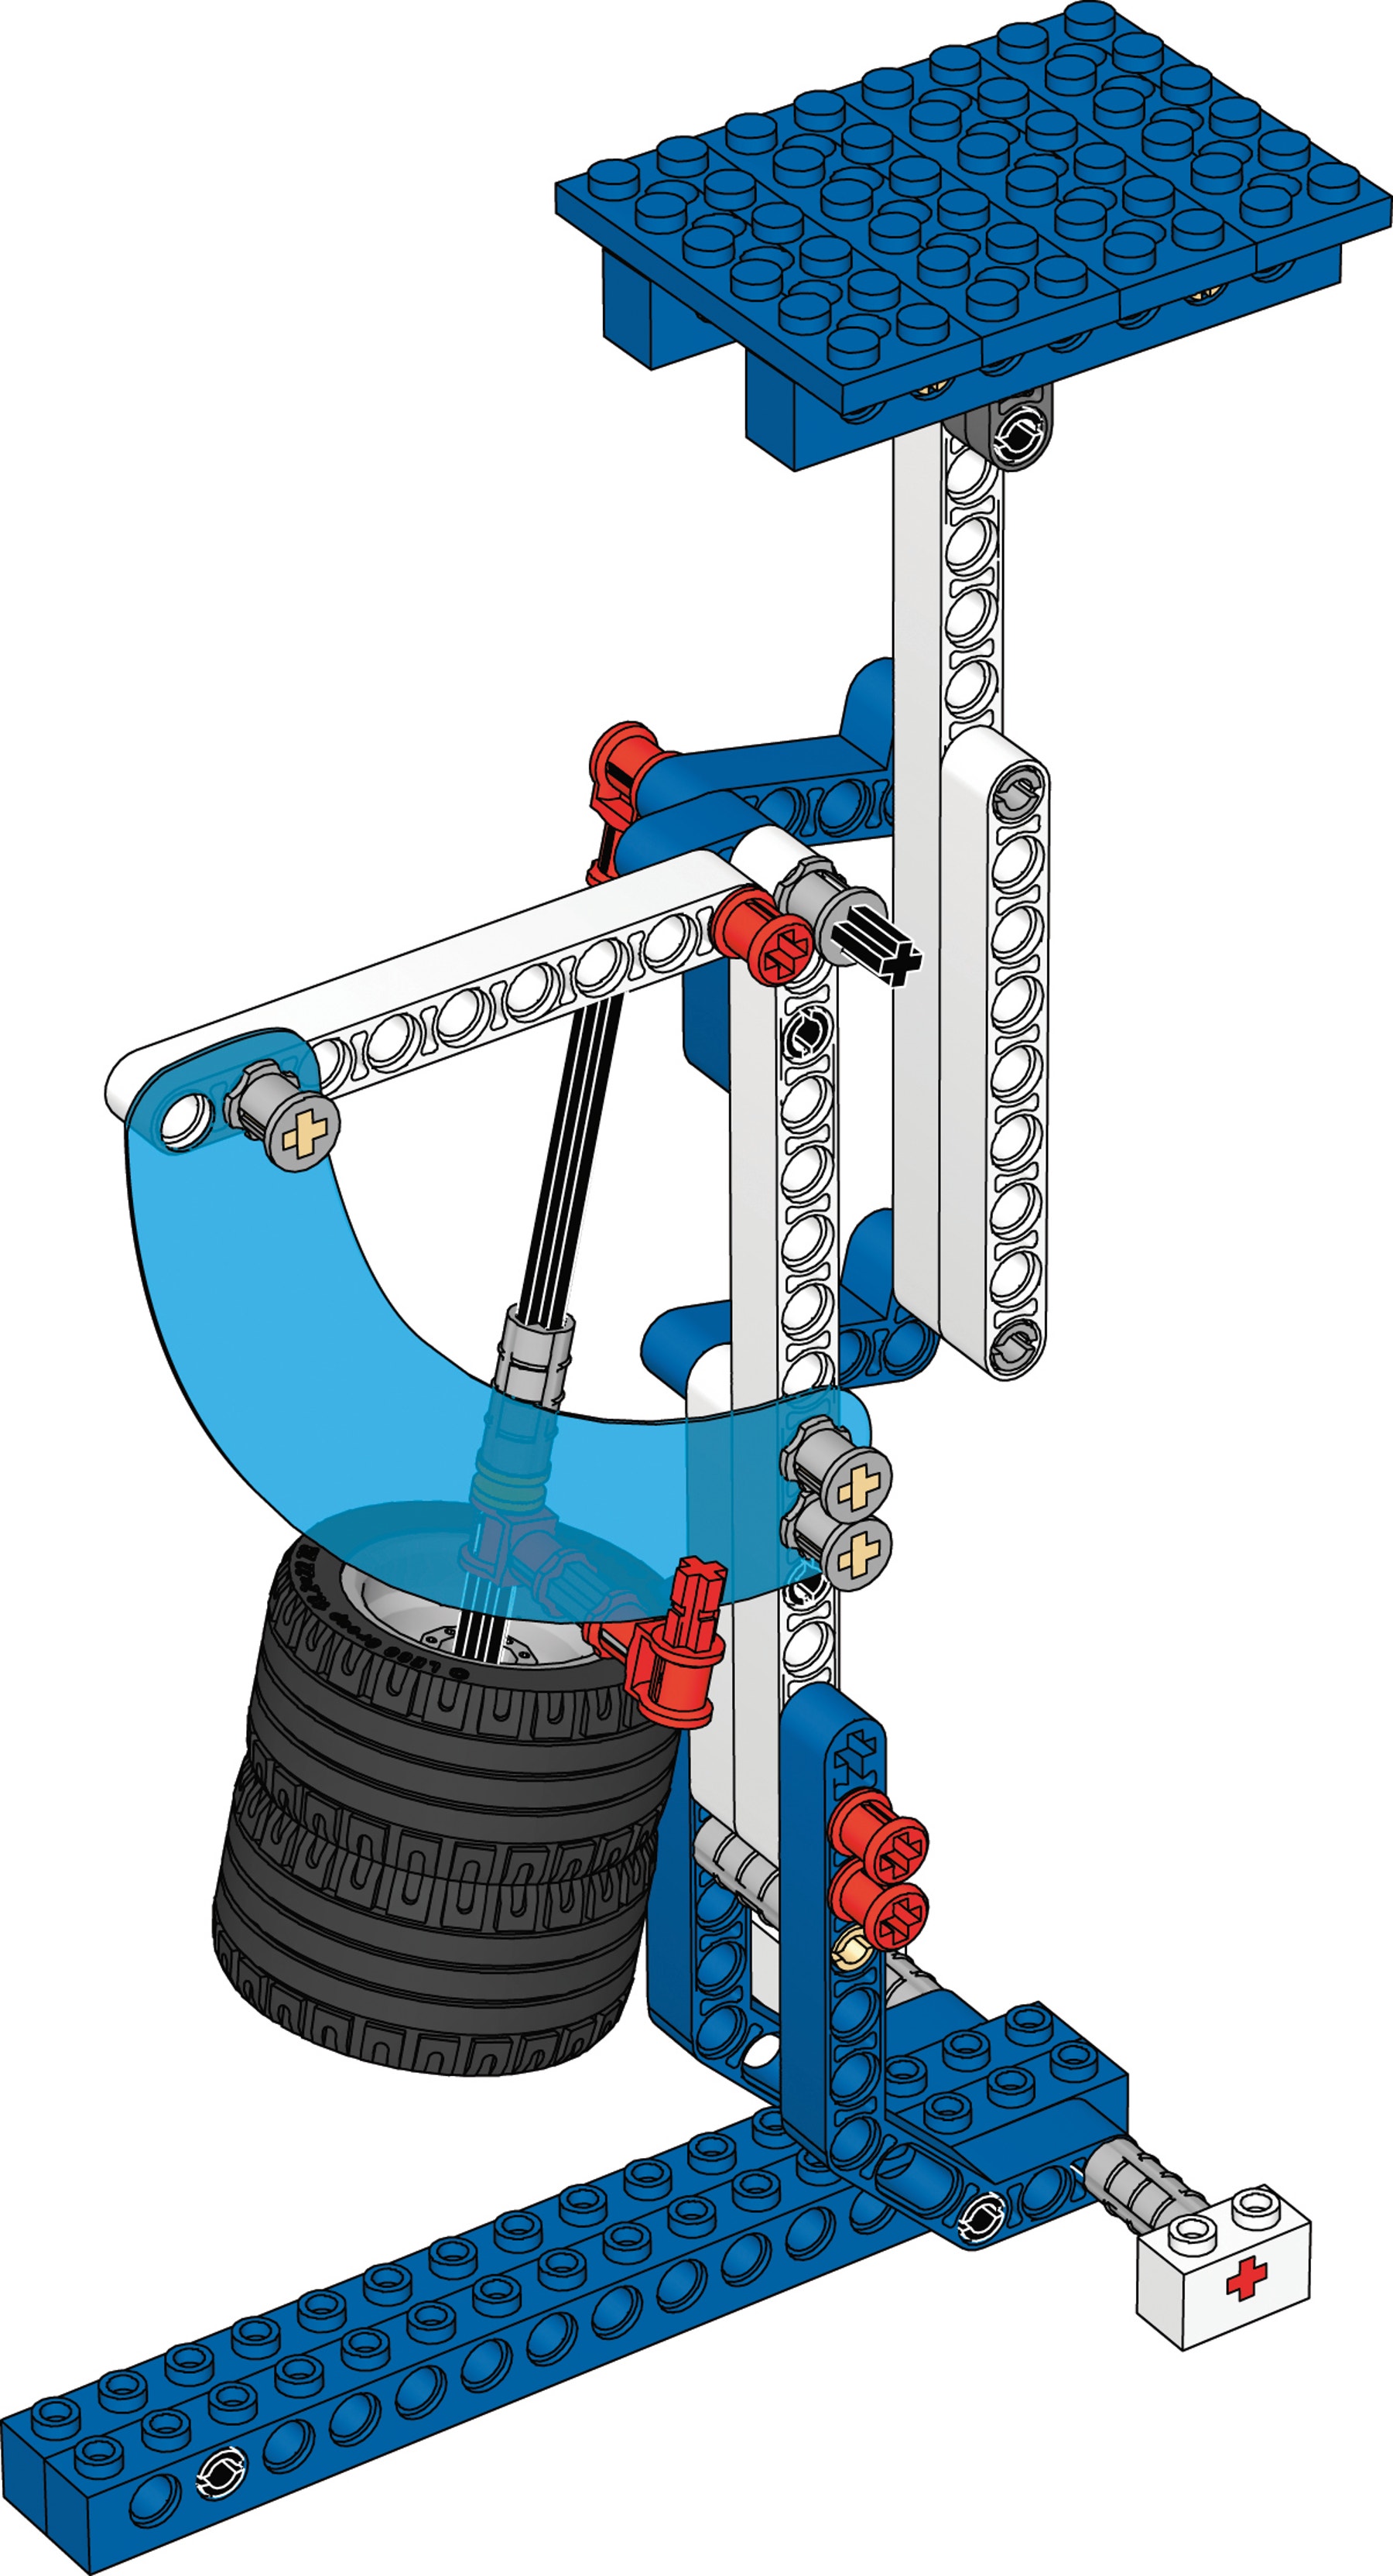
Build the Letter Balance
(all of book 6A and book 6B to page 11, step 20)
Fine-Tuning the Balance
The arm should swing freely and should return to the same spot each time. If it ‘sticks’ make sure the axle bushings are not too tight. Slide the counterweight up or down the axle so the pointer stops at zero on the scale.
Tip:
To be accurate, letter balances require careful adjustment.
Make sure your LEGO® letter balance is always correctly adjusted.
Did you know?
Although it is a rather complicated one, the letter balance is in fact a first-class lever.
The letter becomes the effort trying to lift the load of the counterweight.
Can you locate the main fulcrum or pivot point?
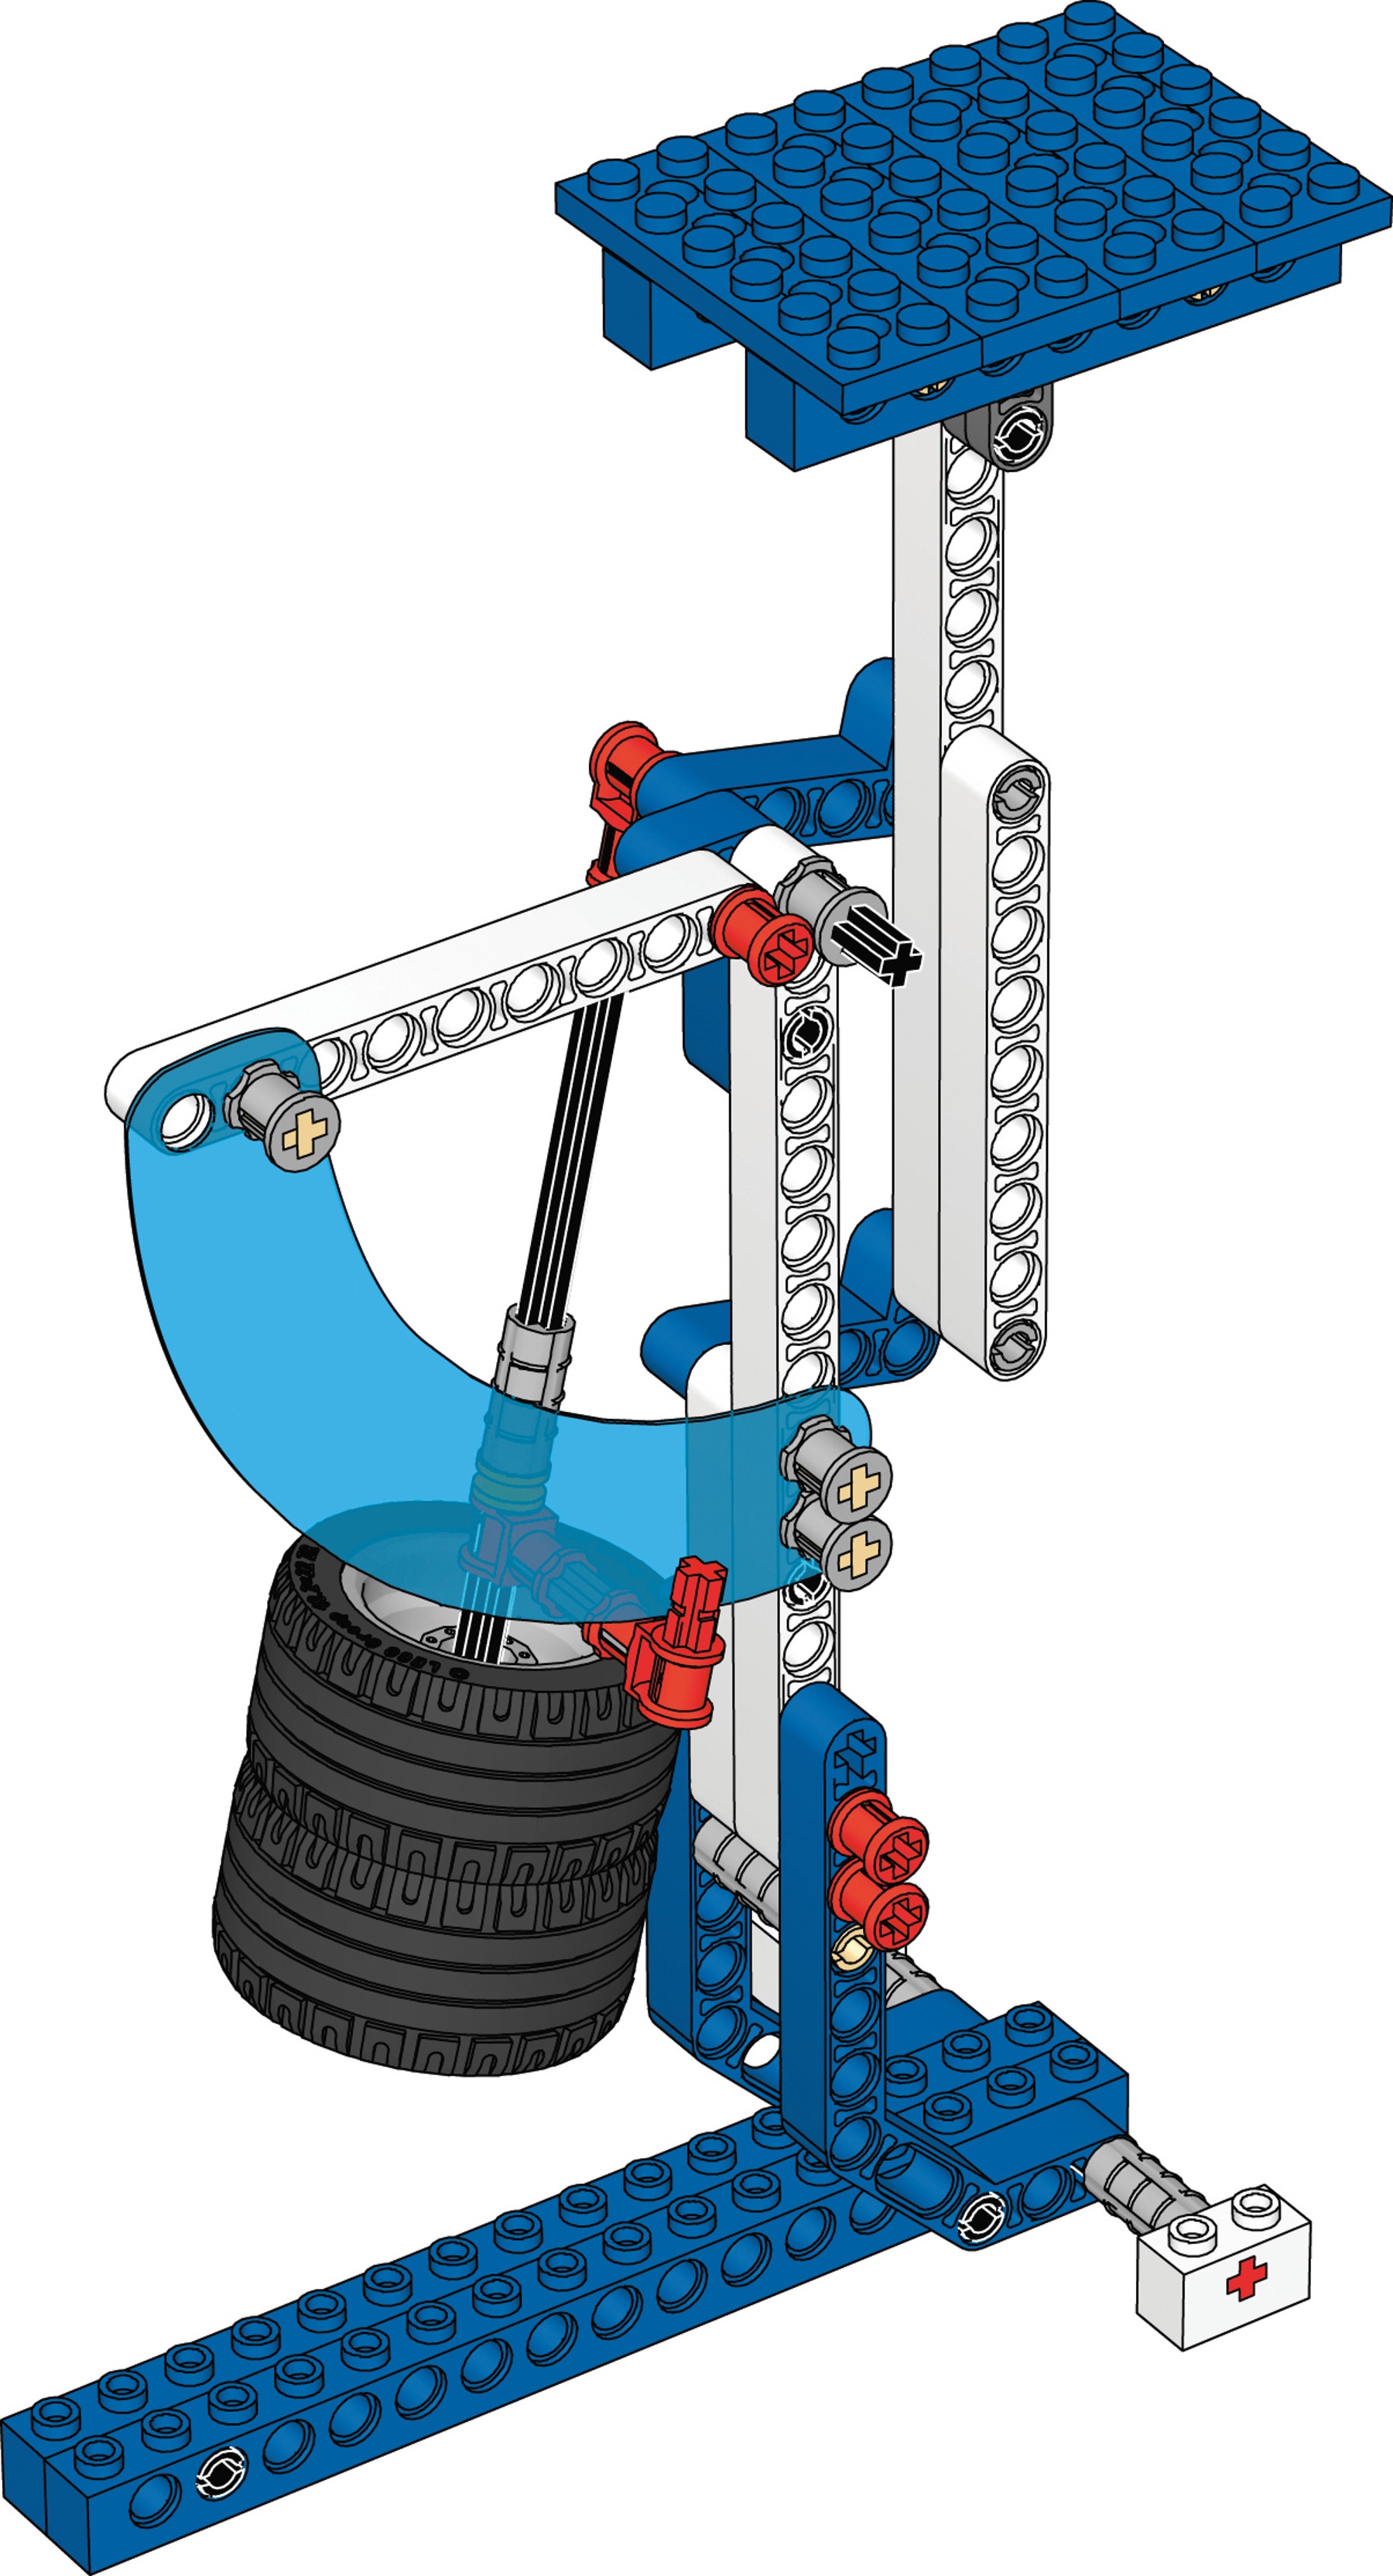
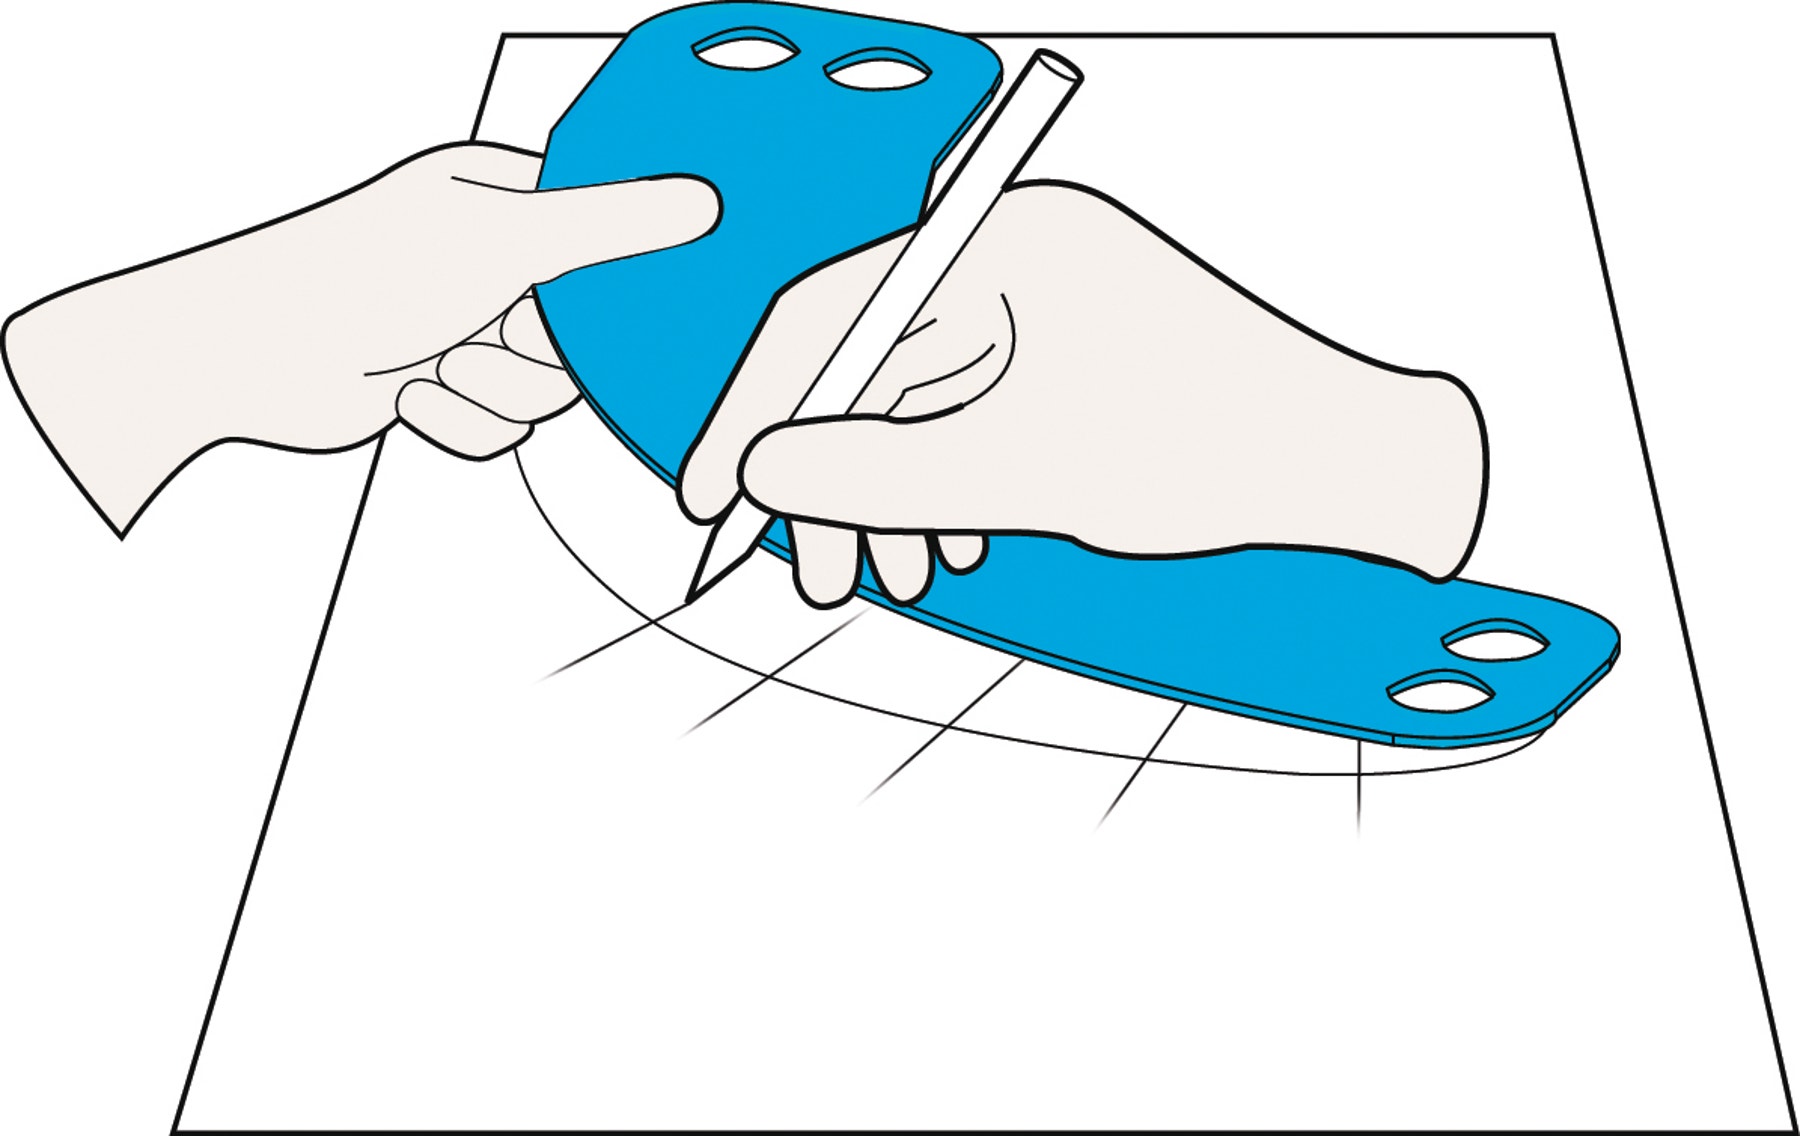
Mark on the blue plastic disc with a white board marker or trace around it and cut out a paper copy. Put on scale markings and attach it on top of the blue plastic disc.
Contemplate
(20-25 minutes)
Hand versus Machine
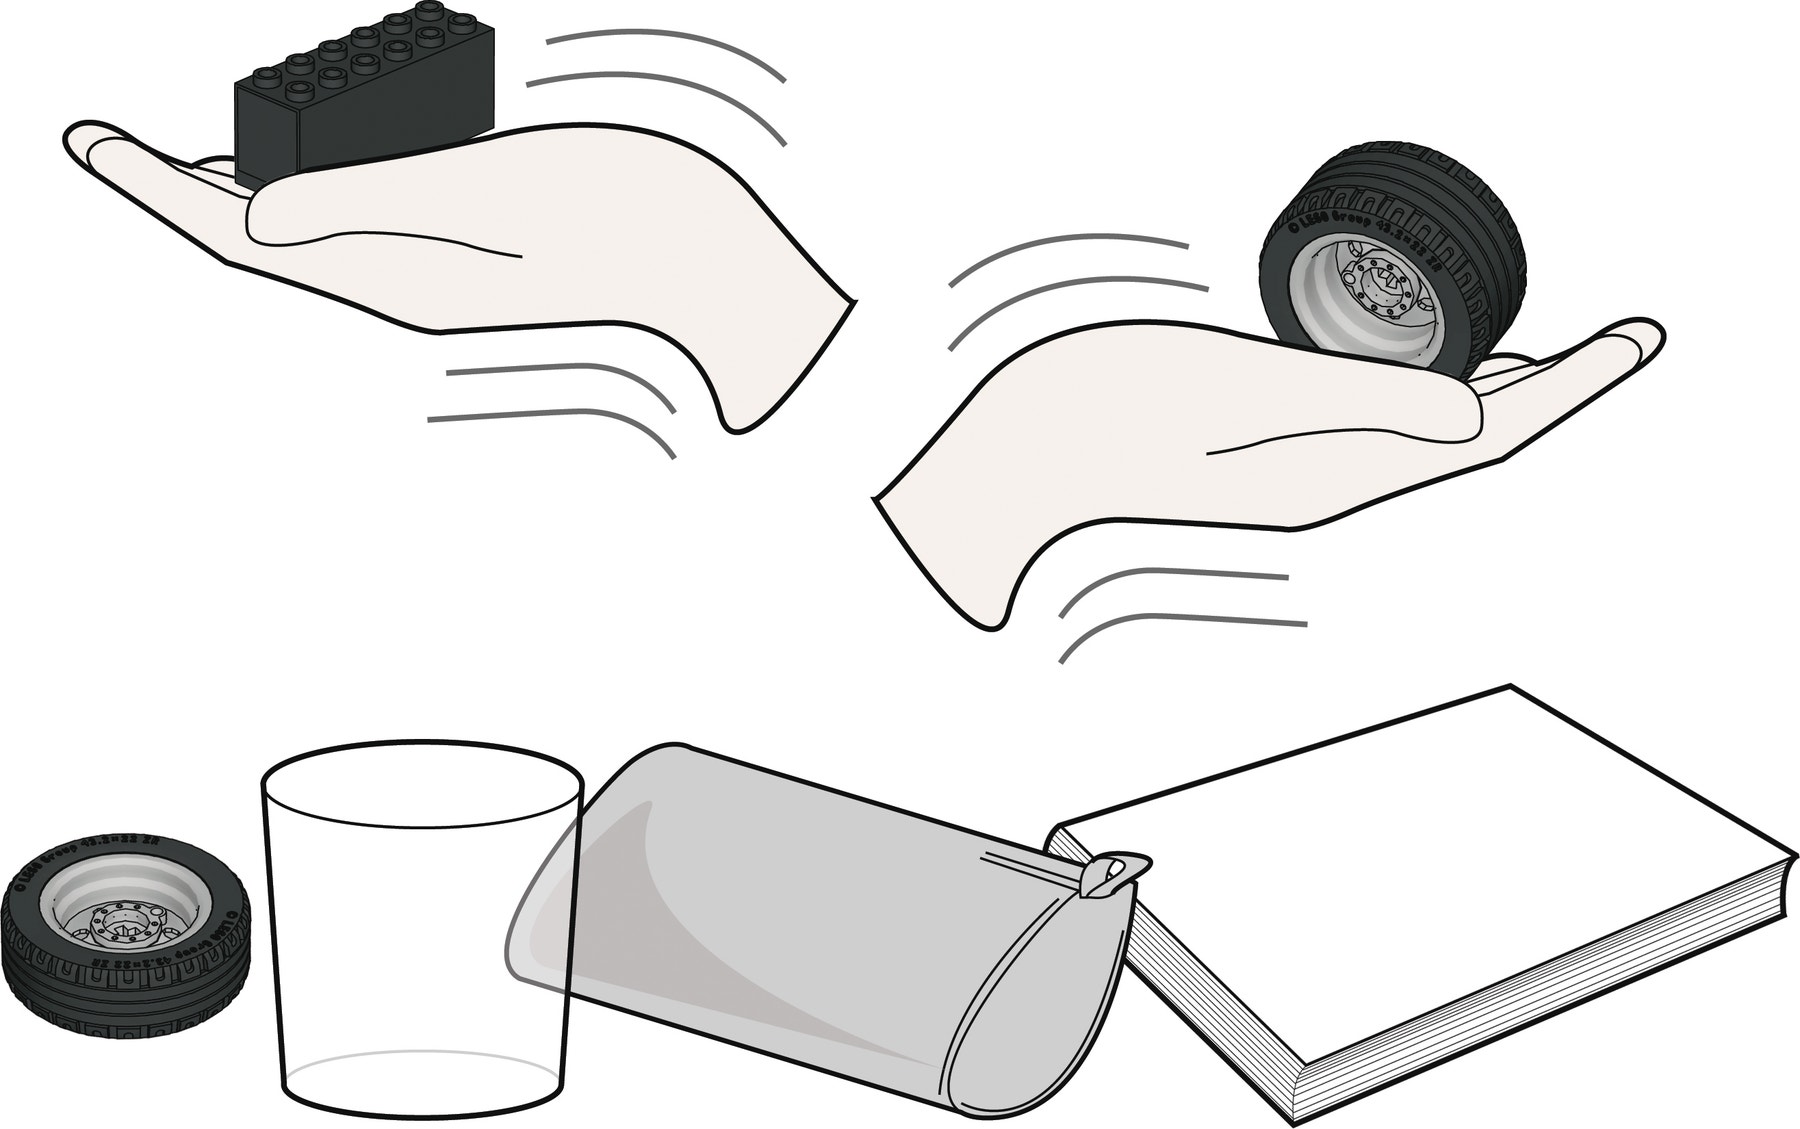
Line up a collection of 5 objects in the order you think is from lightest to heaviest. Include the big wheel with tyre (16 g) and the weight brick (53 g). Record your estimated weights. Then weigh them. How close were your estimates? Did you get them in the right order?
Tip:
Usually we are better at estimating heavier weights.
The machine is nearly always more accurate than us.
School Post Office
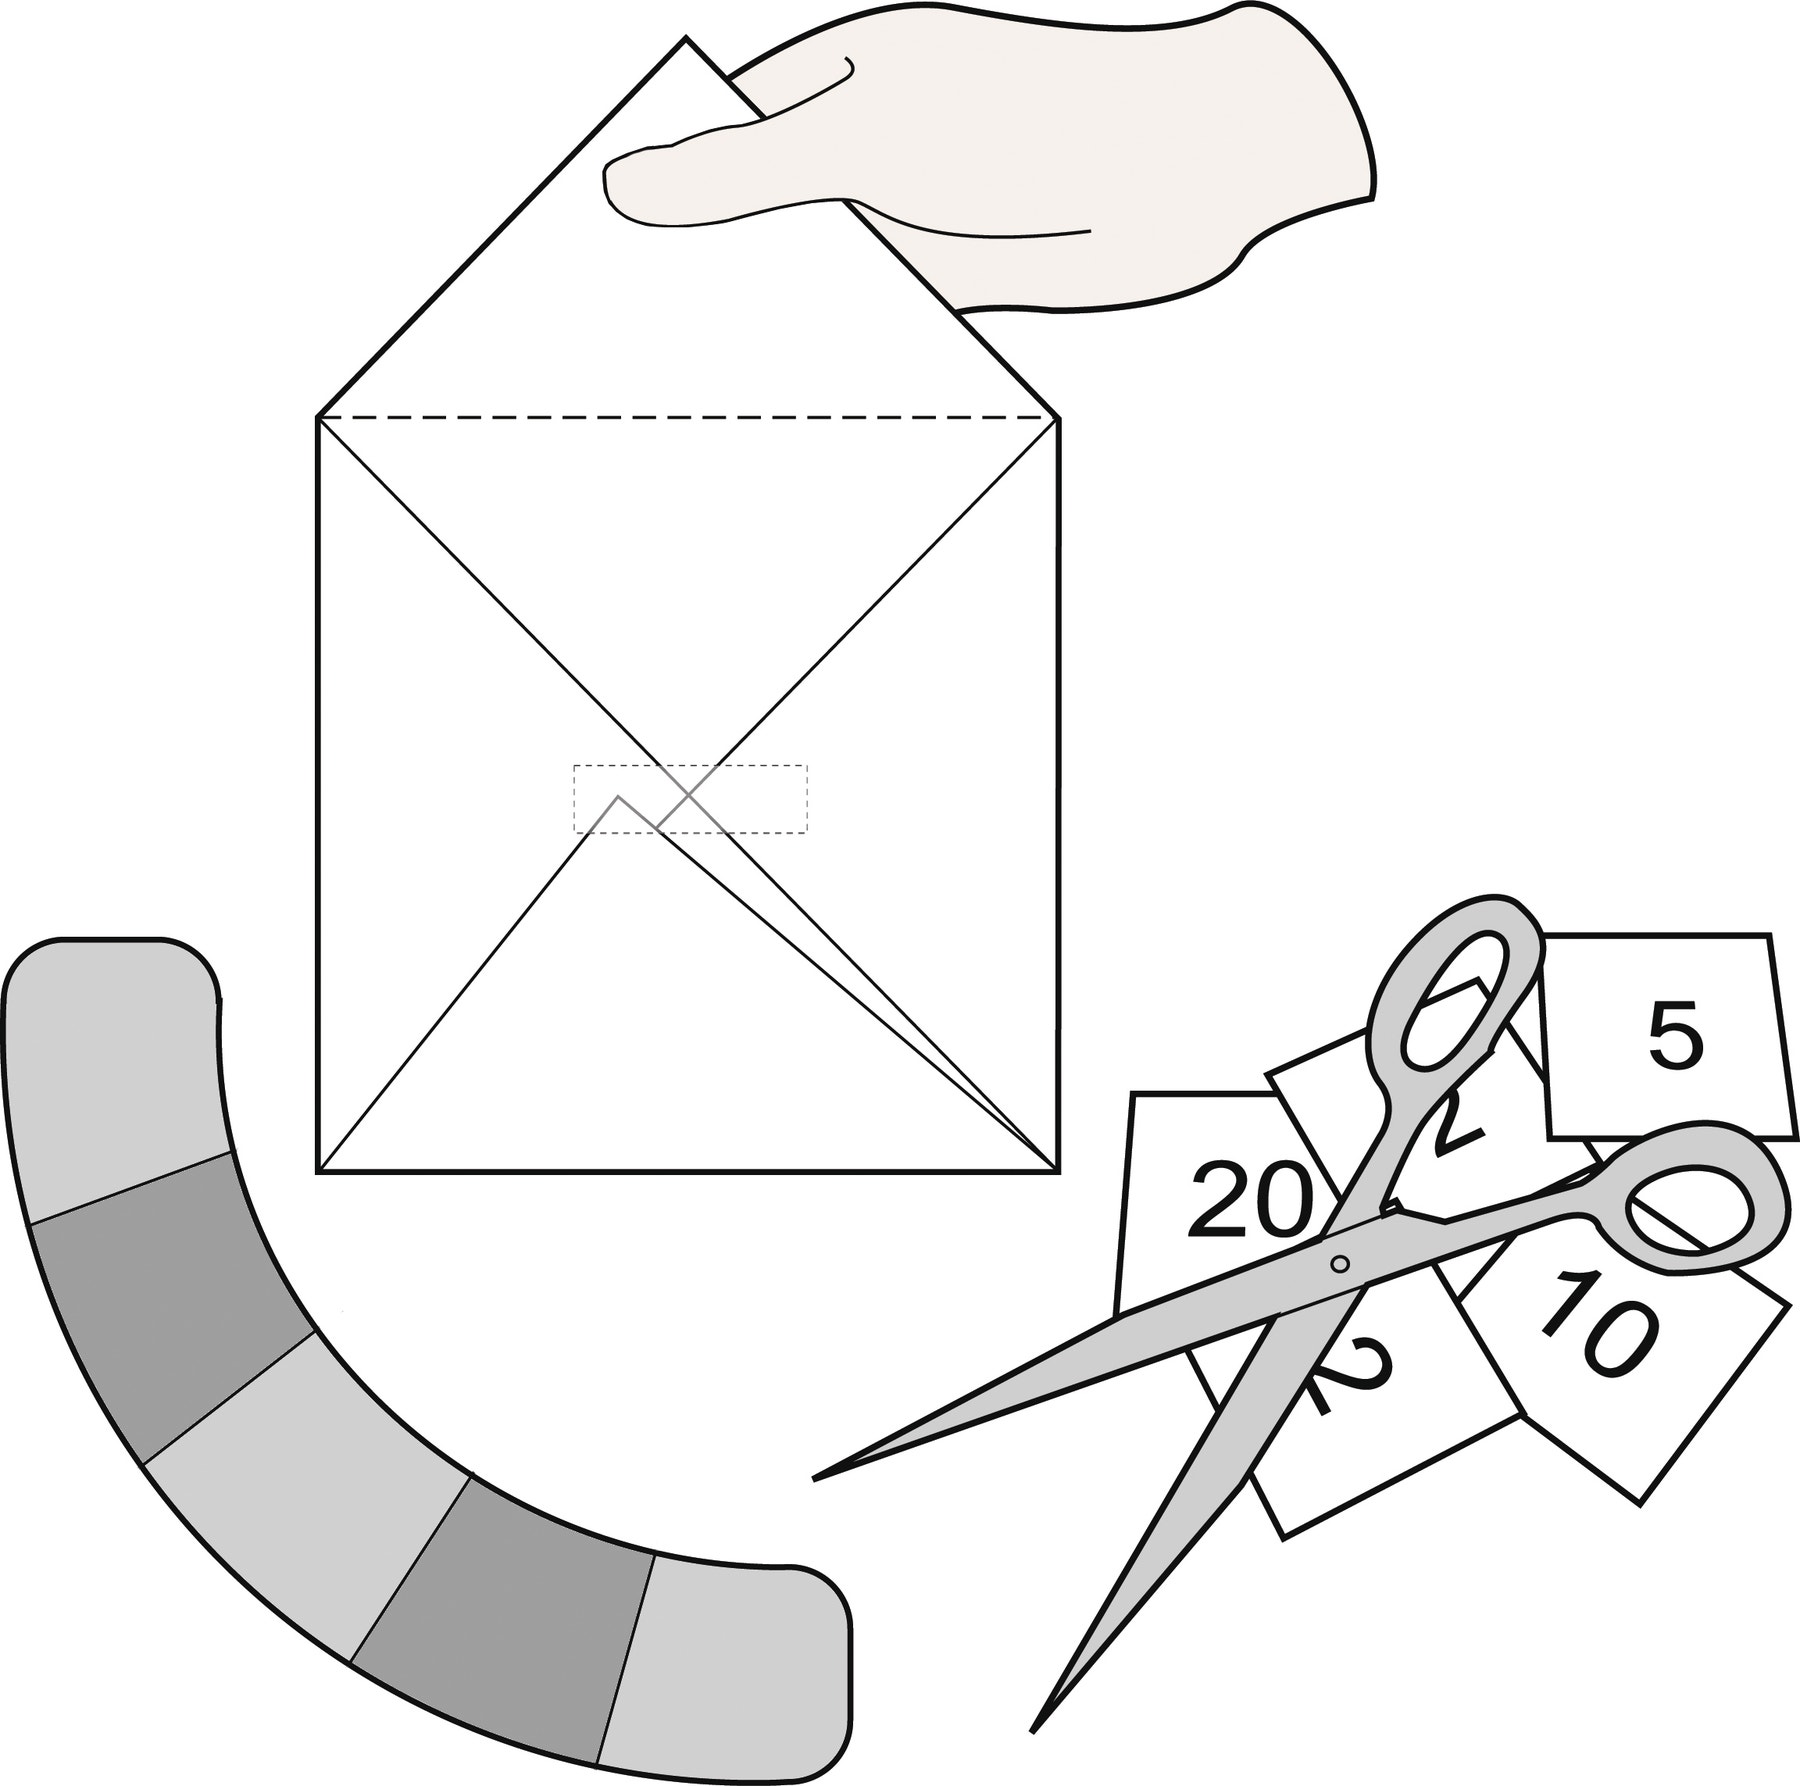
A daily or weekly postal service in school run by children is a wonderful activity, so give it a try! Make your own envelopes, letters and packages. Design your own stamps and start weighing.
Tip:
Slide the counterweight high up the axle.
You may need to move the pointer too. This will make lighter objects such as letters move the arm to a greater extent across the scale. BUT you will need to calibrate a new blank scale in euro cents ... pence ... or ‘stamps’.
Heavyweights
How can we weigh packages over 150 g? Ask the class for ideas, and make a list.
Build model to page 11, step 21 by adding a second wheel to the counterweight axle. Now you will need to calibrate another new blank scale or redo the blue plastic scale.
Find heavier things to weigh.
Can you find 2 different things/items that weigh approximately the same?
Continue
(25-30 Minutes)
Money Bags
Let’s find out: Is there a quick way to count lots of the same coins?
Build the final model with the rotating pointer page 16, step 12.
Start with a blank scale. Weigh 5, 10, and then 20 of the coins marking their positions on the scale. Work out the rest of the scale in dollars, etc.
Now test it with a ‘bag of money’ or just a small pile!

Smart Balance
Let’s find out: What if we want to weigh how much fluid there is in a cup or the weight of chocolates in a box ... or coins in a piggy bank – but not their containers?
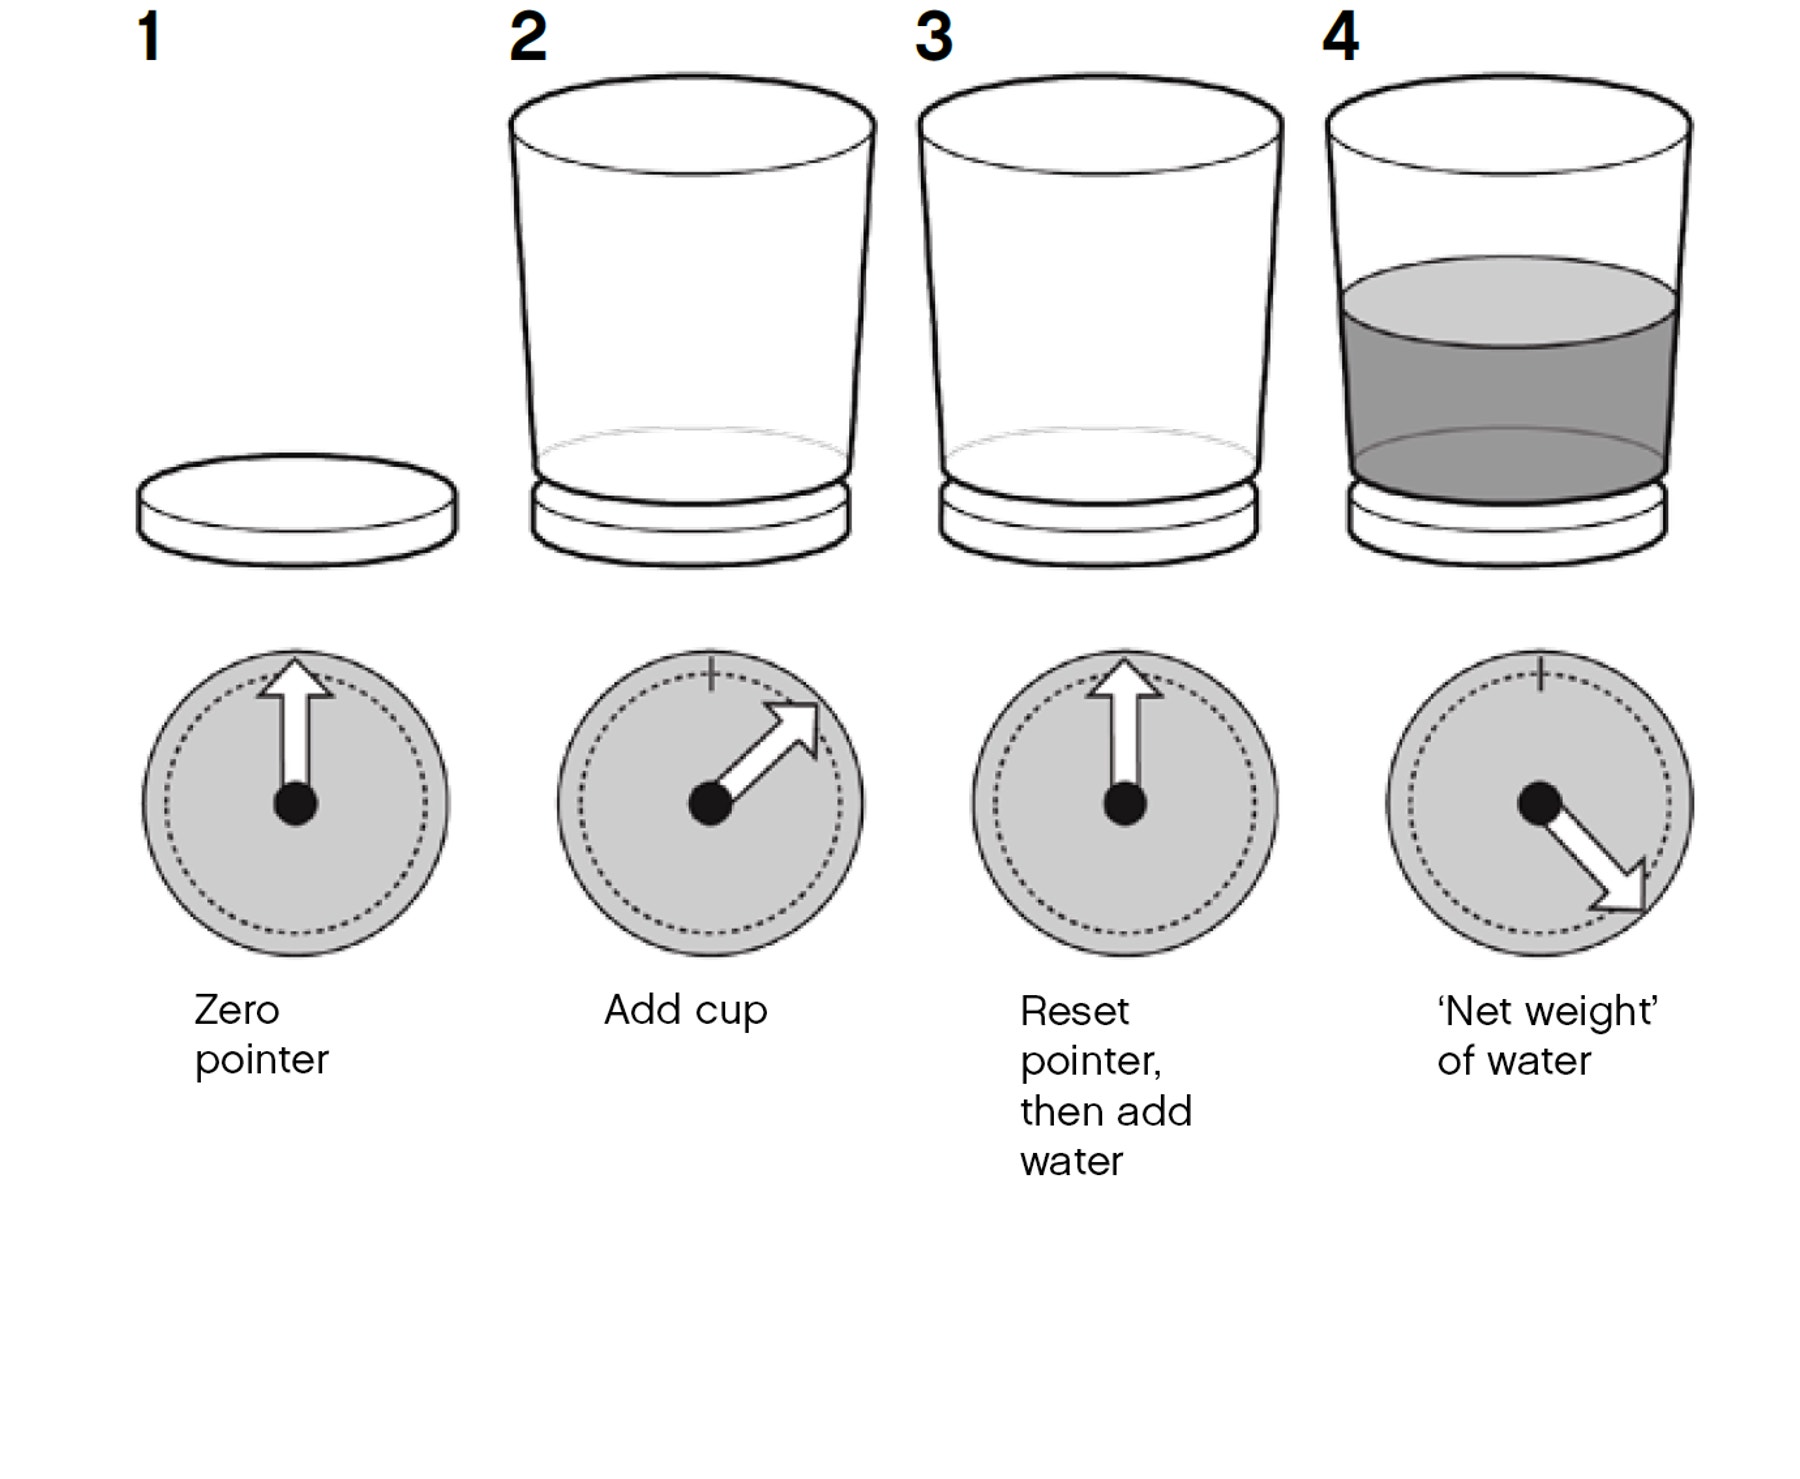
Ask for suggestions to see if the children can develop the idea of moving the pointer back to zero.
We have to subtract the weight of the container first.
- Trace or cut out a copy of the calibrated circular scale and attach it to the model scale and reset the pointer.
- Place a plastic cup on the balance tray.
- Move the pointer back to zero. Measure 100 ml of water in a measuring jug.
- Add it to the cup ... it should weigh 100 g! Resetting the pointer means that the weight of the container is subtracted. This way we measure the net weight (the weight of the contents only).
Teacher Support
Students will explore the concepts of:
Using mechanisms – levers and gears
Combining materials and components
Testing before making improvements
Measuring weight
Calibrating scales
Scientific investigation
9686 Simple & Powered Machines Set (two students per set recommended)
Whiteboard markers for tracing the scale
Scissors, markers or pencils, old envelopes, paper and sticky tape to make some letters and stamps
A collection of small objects less than 150 g to weigh
A small bag of identical coins
Light plastic cup
Measuring jug
Water
NGSS
Crosscutting Concepts
Cause and effect
Science and Engineering Practices
Developing and using models
Planning and carrying out investigations
Obtaining, evaluating, and communicating information
Common Core Mathematics Standards
7.RP.A / 6.NS.B / 6.EE.C / 7.EE.B / 8.EE.B / 8.F.B / 6.SP.A
Common Core English Language Arts
SL 6.1 / 6.2 / 7.1 / 7.4 / 8.1
RST 6-8.3 / 6-8.4 / 6-8.7
WHST 6-8.1 / 6-8.7 / 6-8.8 / 6-8.9
Student Material
Share with:
 Google Classroom