ピックアップロボットを作る
ある場所から物を持ち上げ、別の場所に置く事ができるロボットを設計、組み立て、プログラミングしましょう。
レッスンプラン
準備
- こちらの先生向け資料をお読みください。
- 必要に応じて、EV3 ラボソフトウェアまたは EV3 プログラミングアプリに入っている導入用資料を使いながらレッスンを計画します。これにより、生徒が教育版レゴ® マインドストーム® EV3に慣れることができます。
興味付け (30分) -
- 「ディスカッションを活性化させる」
- セクションのアイデアを参考に、生徒の学習への関心を喚起します。
- プロジェクトの説明 -生徒にペアを組ませます。
- 生徒にブレインストーミングの時間を与えます。
探求 (30分) -
- プロトタイプを複数製作するよう指示します。
- 本体とプログラミングの両方で複数のアイデアを試すよう促します。
- 各ペアに2つのアイデアを制作させ、動作をテストさせます。
- 大きなグラフ用紙と色鉛筆またはマーカーを配布します。
説明 (60分) -
- 生徒に2つのモデルの動作をテストし、優れた方を選ぶよう指示します。
- 各ペアに自分たちでチェック表を作成できていることを確認させます。
- 各ペアがプロジェクトの仕上げをし、作業プロセスを記録するのに必要な資料をまとめる時間を設けます。
仕上げ (60分) -
- 生徒が最終レポートを作成する時間を設けます。
- 各ペアがクラスの前で成果を発表する発表タイムを設けます。
評価 -
- それぞれの生徒に取り組みを評価して伝えます。
- 評価の際は、以下に提示するルーブリックを参考にすると良いでしょう。
ディスカッションを活性化させる
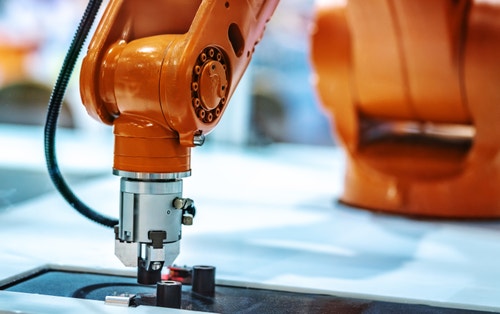
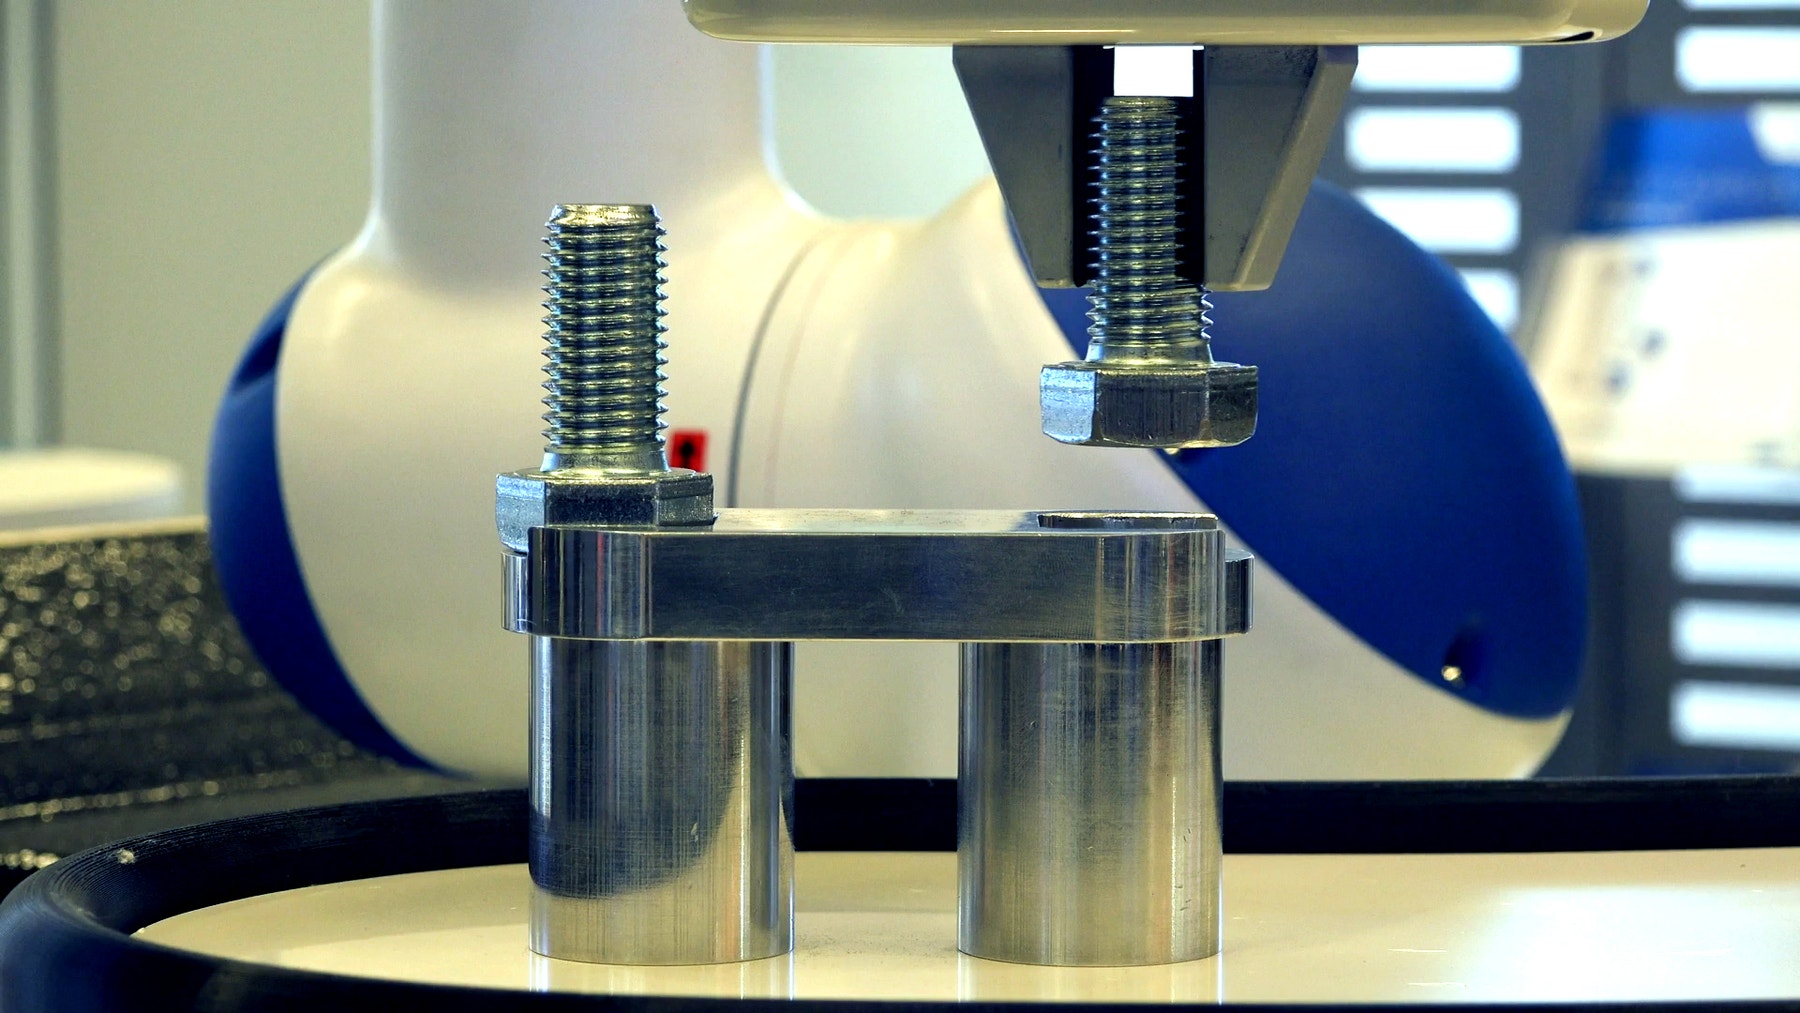
ピックアップロボットとは、決められた場所から場所へ物を動かすことができる工業用ロボットです。物を安全かつ正確に持ち上げ、目的地に降ろすために、運ぶ物の形、重さ、壊れやすさに応じて異なる種類の掴み取り装置を使い分けることができます。
活発なブレインストーミングになるよう促します。
生徒に以下の質問について考えてもらいましょう:
- ピックアップロボットとは何ですかまた、?どこで使われますか?
- 物を持ち上げるにはどのような駆動メカニズムを使えばよいでしょう?
- どうすればロボットが物を動かすことができるでしょうか?
- どうすればロボットが安全かつ正確に物を目標地点に置くことができるでしょうか?
ブレインストーミングで思いついた全てのアイデアと、最初のプロトタイプに選んだアイデア、選んだ理由を記録するよう促します。このプロジェクトでアイデアの有効性をどのように評価するのかを考え、記録してもらいます。こうすることで、見直しや修正を行う際にアイデアを評価し、効果的に問題を解決できるかどうかを判断する評価基準として使うことができます。
発展課�題
国語の発展課題
言語能力を発達させるために、生徒に以下のタスクに取り組んでもらいます:
オプション 1
- 文章やスケッチ、写真などを使って設計プロセスの概要をまとめ、最終レポートを作成する。
- 最初のアイデアから完成モデルまで、設計プロセスを解説するビデオを作成する。
- 自分たちのプログラムについてのプレゼンテーションを作成する。
- 自分たちのプロジェクトを、同じようなシステムを使った実社会での実用例と比較しながら、制作したモデルをもとに開発できる新しい発明品を発表するプレゼンテーションを作成する。
オプション 2
言語能力を発達させるために、生徒に以下のタスクに取り組んでもらいます:
医薬品やワクチンを調合する様々な機械について調べ、医薬品調合の自動化におけるメリットとデメリットに触れながら、完全に自動化された医薬品調合工場での業務についてのストリーを作る。
データ保護の観点から、数十億ドルの価値がある場合もある医薬品の「レシピ」をオンラインシステムに保存することに伴う著作権上の問題について、以下の点を考慮しながら議論する:
医薬品データを紛失した場合の影響
機密情報をオンラインシステムに保存するメリット
数学の発展課題
このレッスンではピックアップロボットを制作しました。多くの自動化システムと同じように、性能の評価と向上は極めて重要です。機械学習とは、ピックアップロボットが自分の性能を測定し、これを維持または向上するために変更を行うためのプロセスです。
数学スキルの向上を取り入れ、機械学習のトピックを詳しく取り上げたい場合は、以下の課題に取り組ませてください:
- 正確度と精度の意味を定義し、その定義をロボティクスのプロジェクトに応用する。
- 自分たちが制作システムにおいて、正確度と精度に関連する変数を特定する(ロボットの速度が正確度または精度のいずれか、または両方に影響しているなど)。
- 生徒が選択した変数が正確度と精度のどちらに影響を与えるかを試験するミニ実験を行う。
組み立てのヒント
組み立てのアイデア
生徒が下のリンクからいくつか例を選び、組み立てる時間を設けてください。
選んだシステムの仕組みについて考えるよう促し、課題設定に対する解決策にどのように生かせるかブレインストーミングをしてもらいます。
テストのヒント
生徒にテストツールとテスト手順を自分たちで設計し、最適なものを選ぶよう促します。
生徒がテストを準備する際に以下のヒントをあげるとよいでしょう:
- すべてのテストで装置が同じ位置になるよう、グラフ用紙に装置の位置に印をつけます。
- マス目の目盛りを使って1 cm x 1 cmの正方形を測り、各テストの結果を記録します。
- 色鉛筆またはマーカーを使って、ロボットが物を置くべき目標地点 と実際に置かれた地点に印をつけます。
- 結果や考察を記録するチェック表を作成します。
- 予測と実際の結果を比較し、制作したロボットの精度を評価します。
- テストを3回以上繰り返してください。
製作例
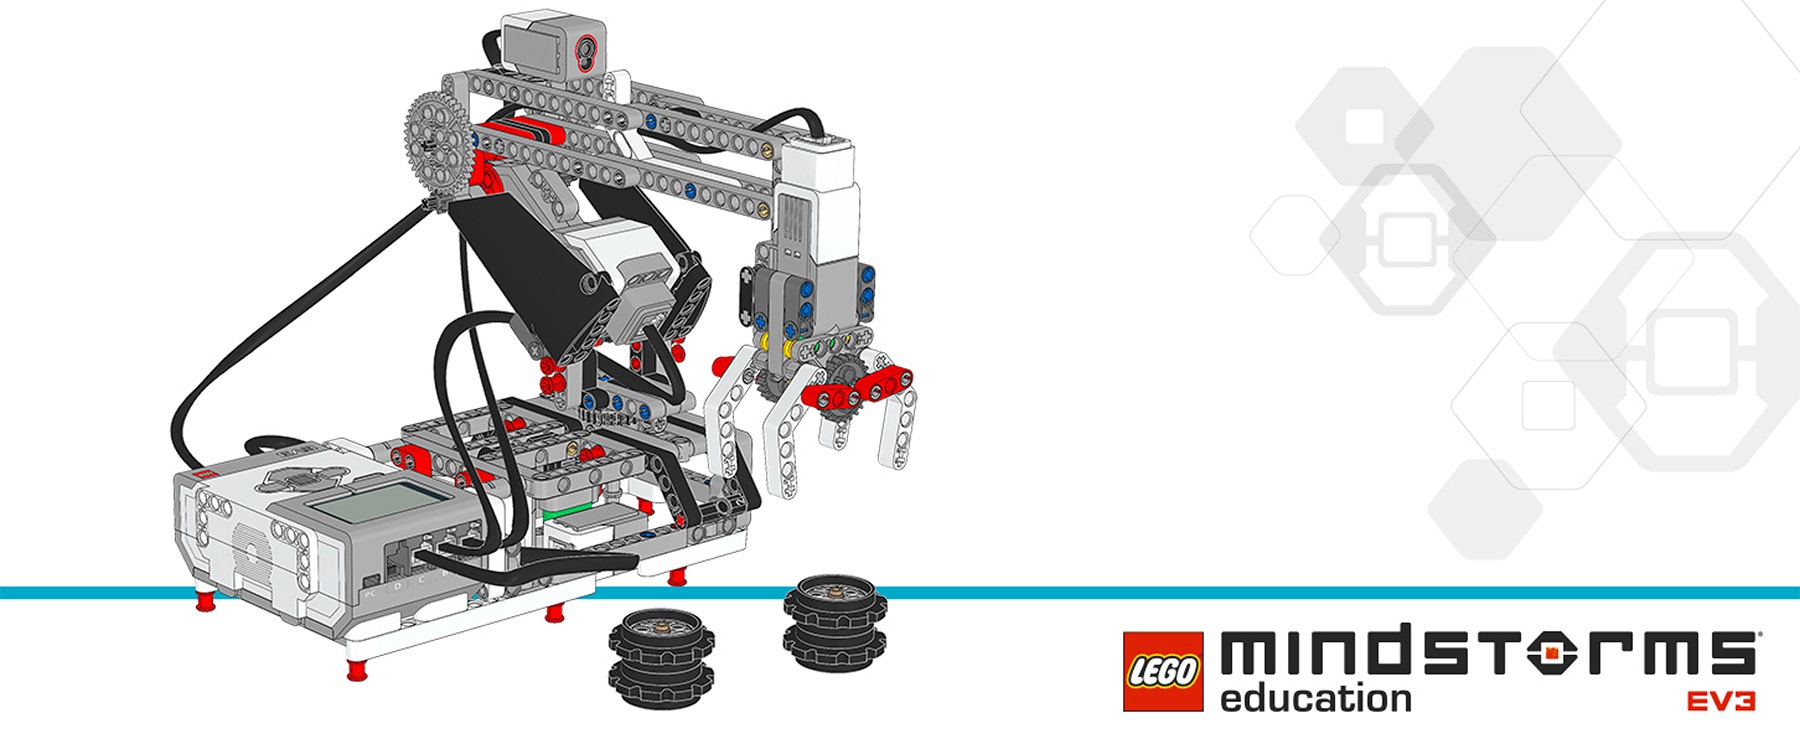
課題設定の条件を満たす製作例です:
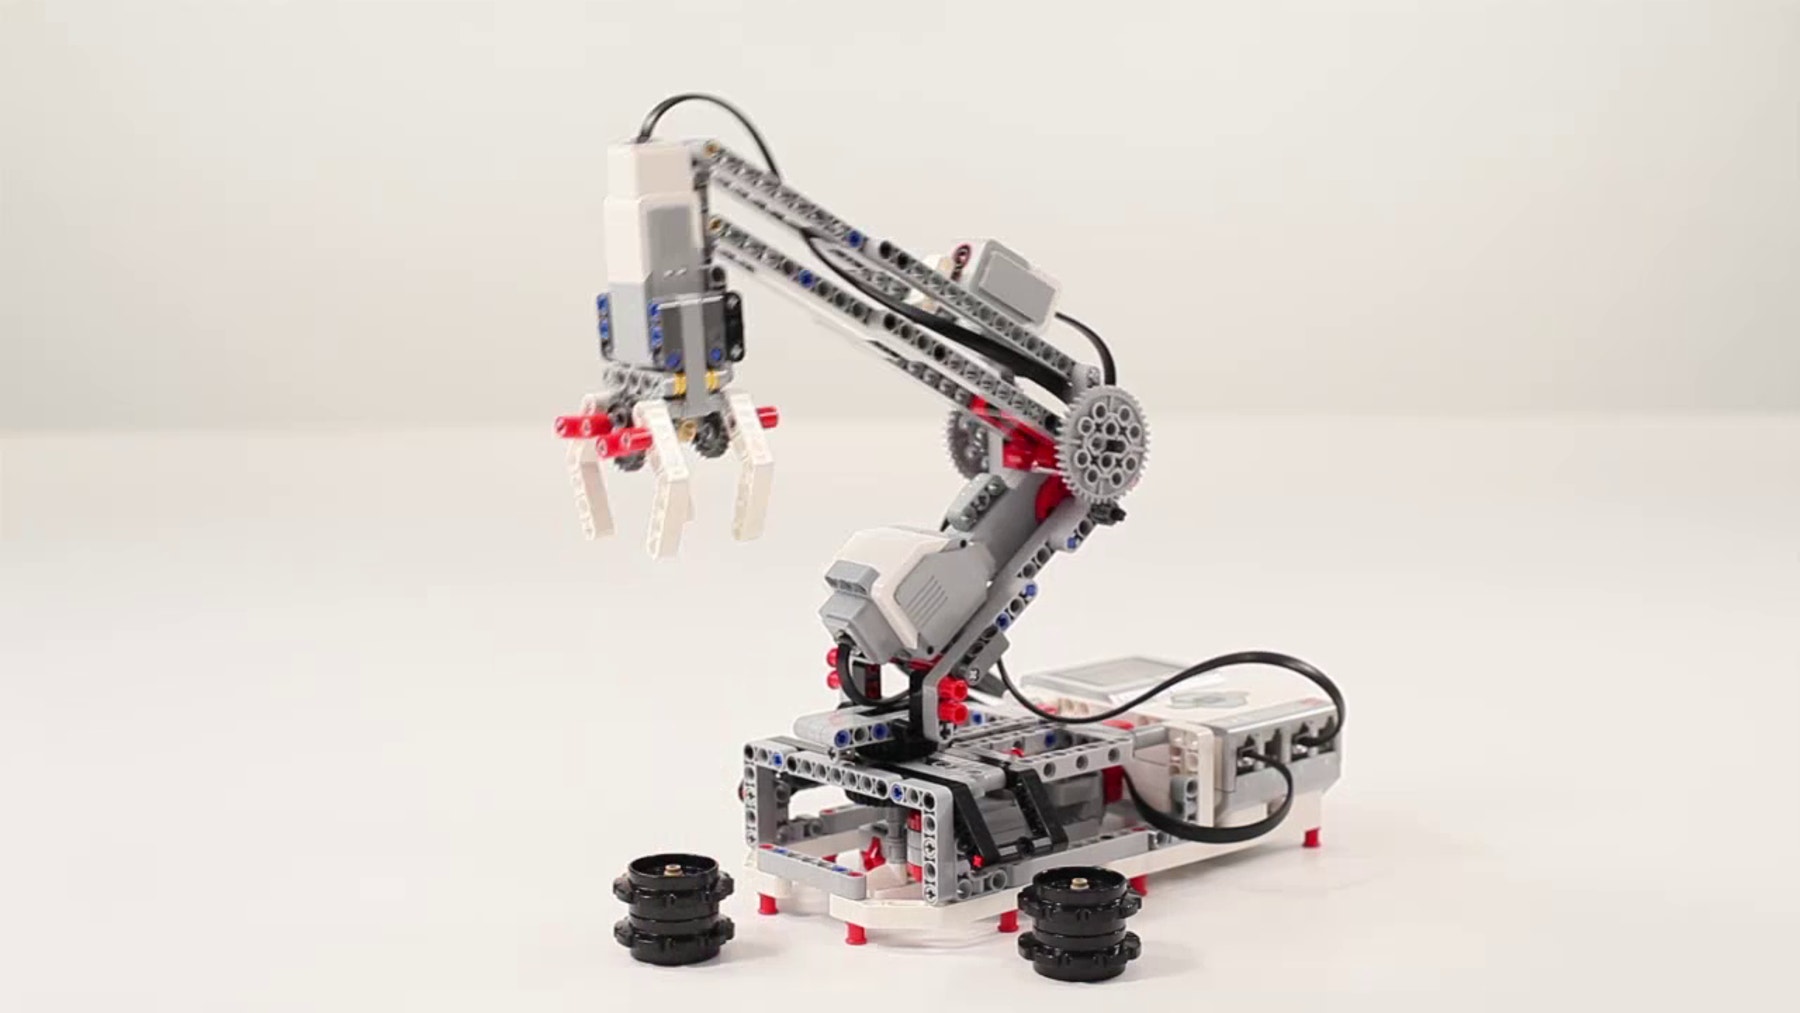
プログラミングのヒント
EV3 MicroPython プログラム例
#!/usr/bin/env pybricks-micropython

from pybricks import ev3brick as brick
from pybricks.ev3devices import Motor, TouchSensor, ColorSensor
from pybricks.parameters import (Port, Stop, Direction, Button,
                                 ImageFile, SoundFile)
from pybricks.tools import wait

# Configure the gripper motor with default settings.
gripper_motor = Motor(Port.A)

# Configure the elbow motor.  It has an 8-tooth and a 40-tooth gear
# connected to it.  Set the motor direction to counterclockwise, so
# that positive speed values make the arm move upward.
elbow_motor = Motor(Port.B, Direction.COUNTERCLOCKWISE, [8, 40])

# Configure the motor that rotates the base.  It has a 12-tooth and a
# 36-tooth gear connected to it.  Set the motor direction to
# counterclockwise, so that positive speed values make the arm move
# away from the Touch Sensor.
base_motor = Motor(Port.C, Direction.COUNTERCLOCKWISE, [12, 36])

# Limit the elbow and base accelerations.  This results in very smooth
# motion, like that of an industrial robot.
elbow_motor.set_run_settings(60, 120)
base_motor.set_run_settings(60, 120)

# Set up the Touch Sensor.  It is used to detect when the base has
# moved to its starting position.
touch_sensor = TouchSensor(Port.S1)

# Set up the Color Sensor.  It is used in Reflected Light Intensity
# Mode to detect the white beam when the elbow is in its starting
# position.
color_sensor = ColorSensor(Port.S3)

# Initialize the elbow.  This is done by first moving down for 1 second
# and then slowly moving up until the Color Sensor detects the white
# beam.  Then the motor stops, holds its position, and resets the angle
# to "0."  This means that when it rotates backward to "0" later on, it
# returns to this starting position.
elbow_motor.run_time(-30, 1000)
elbow_motor.run(15)
while color_sensor.reflection() < 30:
    wait(10)
elbow_motor.stop(Stop.HOLD)
elbow_motor.reset_angle(0)

# Initialize the base.  This is done by first running the base motor
# counterclockwise until the Touch Sensor is pressed.  Then the motor
# stops, holds its position, and resets the angle to "0."  This means
# that when it rotates backward to "0" later on, it returns to this
# starting position.
base_motor.run(-60)
while not touch_sensor.pressed():
    wait(10)
base_motor.stop(Stop.HOLD)
base_motor.reset_angle(0)

# Initialize the gripper.  This is done by running the motor forward
# until it stalls.  This means that it cannot move any further.  From
# this closed gripper position, the motor rotates backward by 90
# degrees, so the gripper opens up.  This is the starting position.
gripper_motor.run_until_stalled(200, Stop.COAST, 50)
gripper_motor.reset_angle(0)
gripper_motor.run_target(200, -90)

def robot_pick(position):
    # This function rotates the base to the pick up position.  There,
    # it lowers the arm, closes the gripper, and raises the arm to pick
    # up the wheel stack.
    base_motor.run_target(60, position, Stop.HOLD)
    elbow_motor.run_target(60, -45)
    gripper_motor.run_until_stalled(200, Stop.HOLD, 50)
    elbow_motor.run_target(60, 0, Stop.HOLD)

def robot_release(position):
    # This function rotates the base to the drop-off position.  There,
    # it lowers the arm, opens the gripper to release the wheel stack,
    # and raises the arm again.
    base_motor.run_target(60, position, Stop.HOLD)
    elbow_motor.run_target(60, -45)
    gripper_motor.run_target(200, -90)
    elbow_motor.run_target(60, 0, Stop.HOLD)

# Define the 3 destinations for picking up and dropping off the wheel
# stacks.
LEFT = 200
CENTER = 100
RIGHT = 0

# Rotate the base to the center.
base_motor.run_target(60, CENTER, Stop.HOLD)

# This is the main part of the program.  It is a loop that repeats
# endlessly.
#
# First, the robot waits until the Up or Down Button is pressed.
# Second, the robot waits until the Center Button is pressed.
# Finally, the robot picks up the wheel stack and drops it off in the
# center.
#
# Then the process starts over, so the robot can pick up another wheel
# stack.
while True:

    # Display a question mark to indicate that the robot should await
    # instructions.
    brick.display.image(ImageFile.QUESTION_MARK)

    # Wait until the Up or Down Button is pressed.
    while True:
        # First, wait until any button is pressed.
        while not any(brick.buttons()):
            wait(10)
        # Then store which button was pressed.
        button = brick.buttons()[0]
        # If the Up or Down Button was pressed, break out of the loop.
        if button in (Button.UP, Button.DOWN):
            break

    # Play a sound and display an arrow to show where the arm will move.
    brick.sound.file(SoundFile.AIR_RELEASE)
    if button == Button.UP:
        brick.display.image(ImageFile.FORWARD)
    elif button == Button.DOWN:
        brick.display.image(ImageFile.BACKWARD)

    # Wait until the Center Button is pressed, then display a check
    # mark to indicate that the instruction has been accepted.
    while not Button.CENTER in brick.buttons():
        wait(10)
    brick.display.image(ImageFile.ACCEPT)

    # Pick up the wheel stack. Depending on which button was pressed,
    # move left or right.
    if button == Button.UP:
        robot_pick(RIGHT)
    elif button == Button.DOWN:
        robot_pick(LEFT)

    # Drop off the wheel stack in the center.
    robot_release(CENTER)
職業適性
この授業を楽しむことができた生徒は、以下の進路について興味がある可能性があります。
- IT(コンピュータープログラミング)
- システム建築エンジニア
学習評価
この学習におけるルーブリックの例
次のルーブリックを参考に、評価規準や判定基準を作成しましょう。
- 課題を部分的にこなした。
- 課題を十分にこなした。
- 期待を上回る達成度であった。
以下の成功基準を使用して、生徒の進度を評価します。
- 生徒は優先される条件と妥協できる点を考え、複数の設計案を評価することができる。
- 自主的に、実用的で独創的な解決方法を開発している。
- 生徒は、自分のアイデアをはっきりとわかりやすく伝えることができる。
自己評価
生徒たちが十分な性能データを収集できたら、それぞれの解決方法について考察するよう促します。
次のような質問をするとよいでしょう:
- あなたの解決方法は��課題設定の条件を満たしていますか?
- ロボットの動作をさらに正確にすることはできますか?
- クラスメートはどのような方法で問題を解決しましたか?
解決方法を改善する方法を2つ考えて記録するよう促してください。
生徒同士のフィードバック
フィードバックの時間を設け、各グループに、自分たちのプロジェクトとほかのグループのプロジェクトを評価させます。相互評価は建設的なフィードバックをするスキルだけでなく、物事を分析するスキルや、自分の意見の根拠として客観的なデータを使う力を育てるのに役立ちます。
教師用サポート
学習内容:
- 設計プロセスを用いて実生活に基づいた問題を解決する
大きなグラフ用紙またはマス目が印刷された紙
色鉛筆またはマーカー
情報(共通教科):
情報Ⅰ 2-(3)コンピュータとプログラミング
情報Ⅱ 2-(3)情報とデータサイエンス
2-(4)情報システムとプログラミング
2-(5)情報と情報技術を活用した問題発見・解決の探求
数学:数学A 2-(3)数学と人間の活動
数学B 2-(3)数学と社会生活
数学C 2-(1)ベクトル
2-(3)数学的な表現の工夫
理科:科学と人間生活 2-(1)科学技術の発展
物理基礎 2-(1)物体の運動とエネルギー
2-(2)-(オ)物理学が拓く世界
物理 2-(1)様々な運動
2-(3)電気と磁気
理数:理数探求基礎 2-ア〜イ、
理数探求 2-ア〜イ
工業:第1 工業技術基礎〜第28コンピュータシステム技術
情報(専門教科):情報産業と社会、課題研究、情報の表現と管理、情報テクノロジー、情報システムのプログラミング、情報デザイン、コンテンツの制作と発信、情報実習
国語:現代の国語 [知識及び技能] 2-(2)話や文章に含まれている情報の扱い方
[思考力、判断力、表現力等] A話すこと・聞くこと、B書くこと
論理国語
国語表現 [知識及び技能] 2-(1)-エ、
[思考力、判断力、表現力等] A話すこと・聞くこと-(2)-オ、
B書くこと-(2)-イ、ウ
美術:美術Ⅰ〜Ⅲ 2-A-(2)デザイン、(3)映像メディア表現
総合的な探求の時間
文部科学省高等学校学習指導要領(平成30年告知)
http://www.mext.go.jp/a_menu/shotou/new-cs/1407074.htm
