Redesigning to Make New Objects
Leo wants to make something for his dog to eat. Help him build the tools he needs in the kitchen.
Prepare
(NOTE: This lesson contains a Part A and a Part B. Both are important to access the full learning of the standard. If time is limited, review both parts to choose elements that meet your students’ needs.)
In this lesson, the key learning is in discovering that the materials from one object can be used in a different way to create a second object. Each student group will assemble a kitchen tool from a prescribed set of elements and then disassemble it to rebuild another tool from the same elements. The examples provided are for inspiration. Students should build their choice of two tools.
- Science Background - Properties of Objects:
- The science focus of this lesson is on basic, non-specialized materials like LEGO® bricks, so use of some specialty LEGO elements (such as tires) should be minimized.
- Each student group will assemble a kitchen tool from a prescribed set of elements and then disassemble it to rebuild another tool from the same elements.
- The same set of LEGO elements must be used to construct at least two objects. Consider storing away the set boxes to remind students not to add any other pieces.
- Build Prior Knowledge - Properties of Objects: Using your core science materials, share information, images, and definitions.
- Different materials in objects are suited for different purposes according to their properties (what they are like), such as their strength, flexibility, hardness, texture, and absorbency.
- Objects have characteristics, including color, size, shape, arrangement of parts, etc.
- Key vocabulary: disassemble, reassemble, characteristics
- Building and Programming Experience: Consider the suggestions in the Unit Plan. For this lesson, you may also want to
- Reinforce with the Motor tutorial in the SPIKE App Start menu.
- Use the Event and Motor Blocks sections of the Help>Icon Blocks menu in the SPIKE app to provide more support.
- Materials Locate pictures of different kitchen tools to prompt student thinking and varied solution ideas.
PART A (45 Minutes)
Engage
(Whole Class, 5 minutes)
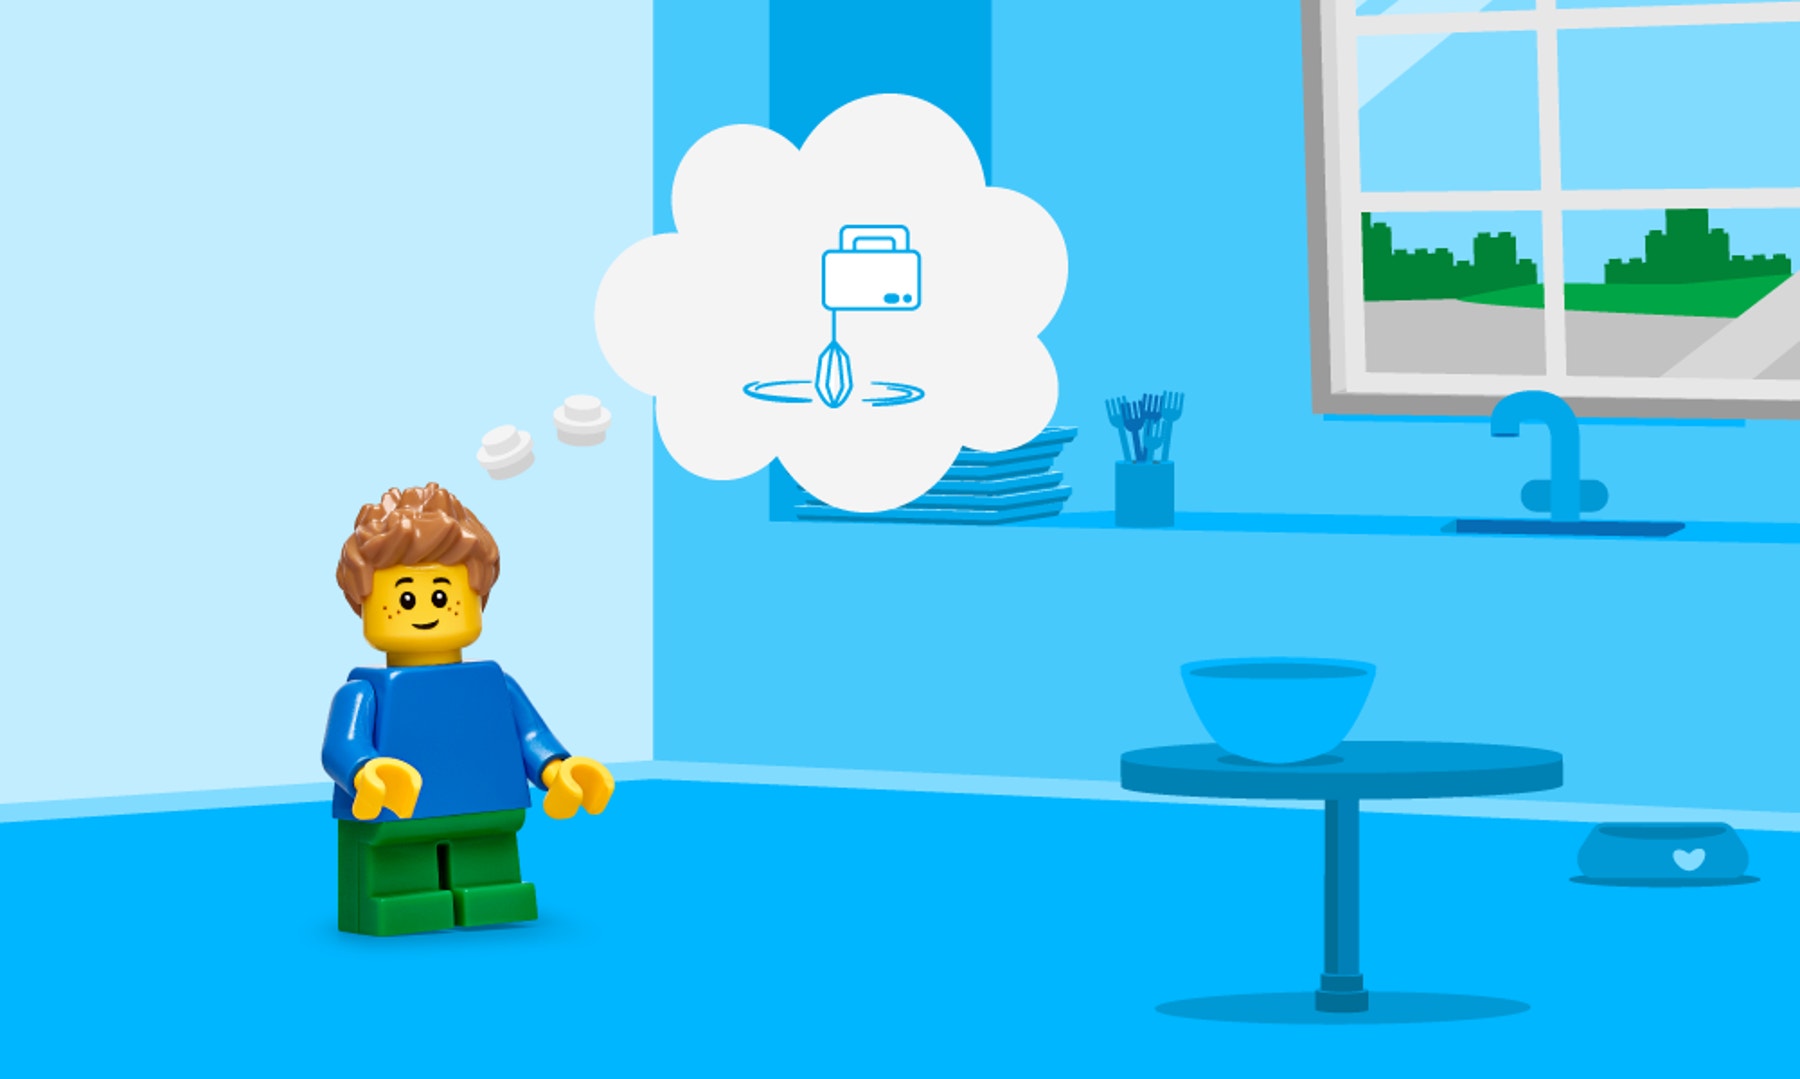
Introduce the story’s main character(s) and the first challenge: Leo wants to make his dog something to eat. Help him build the tools he needs in the kitchen.
THINK—Share pictures of kitchen tools (see Prepare). Facilitate a brief discussion about the lesson topic(s), using the story picture if you wish.
- What are some common kitchen tools needed to make food? Let’s list them. (stand mixer, hand mixer, bowls, measuring cups, measuring spoons, sheet pan, stirring spoon, spatula, etc.)
- Think about two tools from our list. What parts are the same? What parts are different? (Answers will vary. Examples include that stirring spoons and spatulas both have handles but have different shapes at the end; measuring cups and spoons both come in different sizes and both may be metal or plastic, but the size and shape of the container is smaller on spoons than cups; and both mixers have very similar beaters, but one has a handle and the other sits on a stand.)
- Choose 10 different elements from the SPIKE™ Essential box, including at least one motor. Describe their color, size, shape, or other characteristics. (Possible answers: colors—red, orange, yellow, green, blue, purple, black, white, and gray; shape—short, long, narrow, wide rectangles, and small and large circles; unique pieces—balls, cones, etc.)
- Think about ways to use these elements to build different kitchen tools.
Distribute a device to each group.
Explore
(Small Groups, 30 minutes)
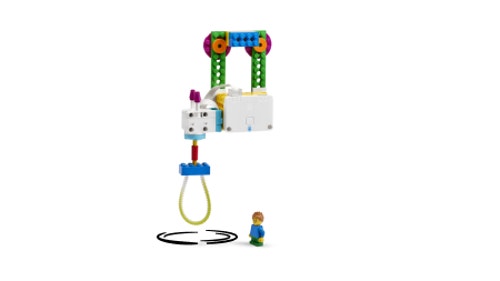
As students build and program, consider sharing the examples below as support for building or programming. Clarify that the base model suggests a mixing tool, but students may build any kitchen tool they imagine, such as measuring spoons or cups, stirring tools, and spatulas of different materials, shapes, or sizes. Consider revisiting the kitchen tool pictures from Engage.
Have students:
- Use the base model and provided elements to BUILD a kitchen tool for making food.
- PROGRAM their model to show how a kitchen tool works to make food.
- Disassemble their kitchen tool model and start building a new tool with the same elements.
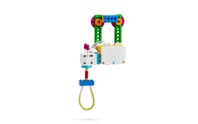
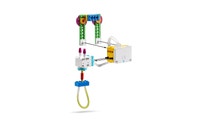
Facilitate brainstorming about ways to use the same set of LEGO® elements to build different kitchen tools, including using the unique elements in different ways. Clarify that the base model suggests a mixing tool, but students may build any kitchen tool they imagine, such as measuring spoons or cups, stirring tools, and spatulas of different materials, shapes, or sizes. Consider revisiting the kitchen tool pictures from Engage.
Halfway through work time, have students exchange ideas using a familiar classroom routine and then update their models with inspiration from sharing.
Example Ideas

Explain
(Whole Class, 10 minutes)
Gather students for sharing.
Have each group use their model to demonstrate and explain:
- How they used the provided set of elements to make a kitchen tool, and how it will help Leo make food.
- How their kitchen tool is different from other groups’ kitchen tools built from the same set of elements.
- How they disassembled their kitchen tool and made another kitchen tool with the same elements.
Elicit sharing about students’ progress work and encourage students to use inspiration from shared ideas.
If you wish to continue to Part B—Explain, have students keep their models intact.
PART B (45 minutes)
Explain
(Whole Class, 10 minutes)
- Repeat the steps from Part A - Explain to have additional groups demonstrate and explain their learning.
Elaborate
(Whole Class, 25 minutes)
Have students:
- (10 min) Continue using their provided set of elements to assemble a new kitchen tool.
- (10 min) Program the new tool. How will it help Leo? (HINT: Add lights, sounds, or a motor to make Leo’s work easier.)
(5 min) Invite students to share knowledge, ideas, or skills that:
- Helped them complete the challenge.
- They learned while building.
Have students clean up the sets and work areas.
Evaluate
(Whole Class, 10 minutes)
- Ask guiding questions to elicit students’ thinking and their decisions while ideating, building, and programming.
Observation Checklist
Review the learning objectives (Teacher Support box).
Share specific student responses and behaviors at different levels of mastery.
Use the checklist to observe students’ progress:
- They describe the characteristics of different common objects (e.g., size, shape, arrangement of parts).
- They disassemble an object and reassemble its elements into a new object or objects.
- They accurately identify similarities and differences (evidence) from multiple objects—their own or those of classmates—created from the same elements.
Self-Assessment
Have each student choose the brick that they feel best represents their performance。
- Blue brick: I think I can follow instructions to create a program.
- Yellow brick: I can follow instructions to create a program.
- Green brick: I can follow instructions to create a program, and I can help a friend do it too.
Peer-Feedback
In their small groups, have your students discuss their experiences working together.
Encourage them to use statements like these:
- I liked it when you…
- I’d like to hear more about how you…
Differentiation
Simplify this lesson by:
- Adjusting the number of elements you provide to each group, for example, by offering more elements to support variety, or by offering fewer elements to reduce the number of choices.
Increase the difficulty by:
- Setting a time challenge for building the kitchen tools or adding a requirement, such as that Daniel is joining Leo and needs tools he can reach and use easily.
Extension
- Ask students to create numbered directions for how to use one of the objects they created, including at least one illustration labeled with the measurements of the tool. Provide a selection of classroom measurement tools (e.g. rulers, yardsticks, meter sticks, and measuring tapes) for students to choose from. Invite students to share their directions in written form or by video. Invite students to try following each other’s directions.
If facilitated, this will extend beyond the 45-minute lesson.
Language Arts: CCSS.ELA-LITERACY.W.2.2
Math: CCSS.MATH.CONTENT.2.MD.A.1
Teacher Support
Students will:
- Describe the characteristics of different common kitchen tools (e.g., size, shape, arrangement of parts).
- Build a model of a kitchen tool and reassemble its pieces as a second tool.
- Use model observations to explain how a set of pieces can be assembled and disassembled to form different objects.
(one for every two students)
- LEGO® Education SPIKE™ Essential Set
- Device with the LEGO Education SPIKE App installed
- See Prepare - -Materials.
Meet the team: Minifigure Bios
- NGSS 2-PS1-3: Make observations to construct an evidence-based account of how an object made of a small set of pieces can be disassembled and made into a new object.
- NGSS K-2-ETS1-1
- CSTA 1A-AP-10
- ISTE 1.4.c
- CCSS.ELA.LITERACY.SL.2.1
- CCSS.MATH. CONTENT.2.OA.B.2
Language Arts and Math Extension
- CCSS.ELA-LITERACY.W.2.2
- CCSS.MATH.CONTENT.2.MD.A.1


