Drop and Rescue
Love using WeDo 2.0? Learn more about our next generation product, LEGO® Education SPIKE™ Essential.
Design a device to reduce the impact on humans, animals, and the environment after an area has been damaged by a weather-related hazard.
1. Preparation
(15-30 minutes)
• Read the general preparation in the “Classroom Management” chapter.
• Read about the project so you have a good idea of what to do.
• Define how you want to introduce this project: Use the video provided in the project in the WeDo 2.0 Software, or use material of your own choice.
• Determine the end result of this project: the parameters to present and produce the document.
• Make sure timing allows for expectations to be met.
Important
This project is a design brief. Please refer to the “WeDo 2.0 in Curriculum” chapter for further explanations of design practices.
2. Explore phase
(30-60 minutes)
The introductory video may set the stage for the following ideas to be reviewed and discussed with students for this project.
Introductory video
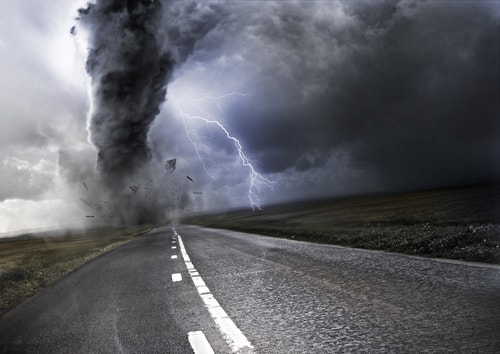
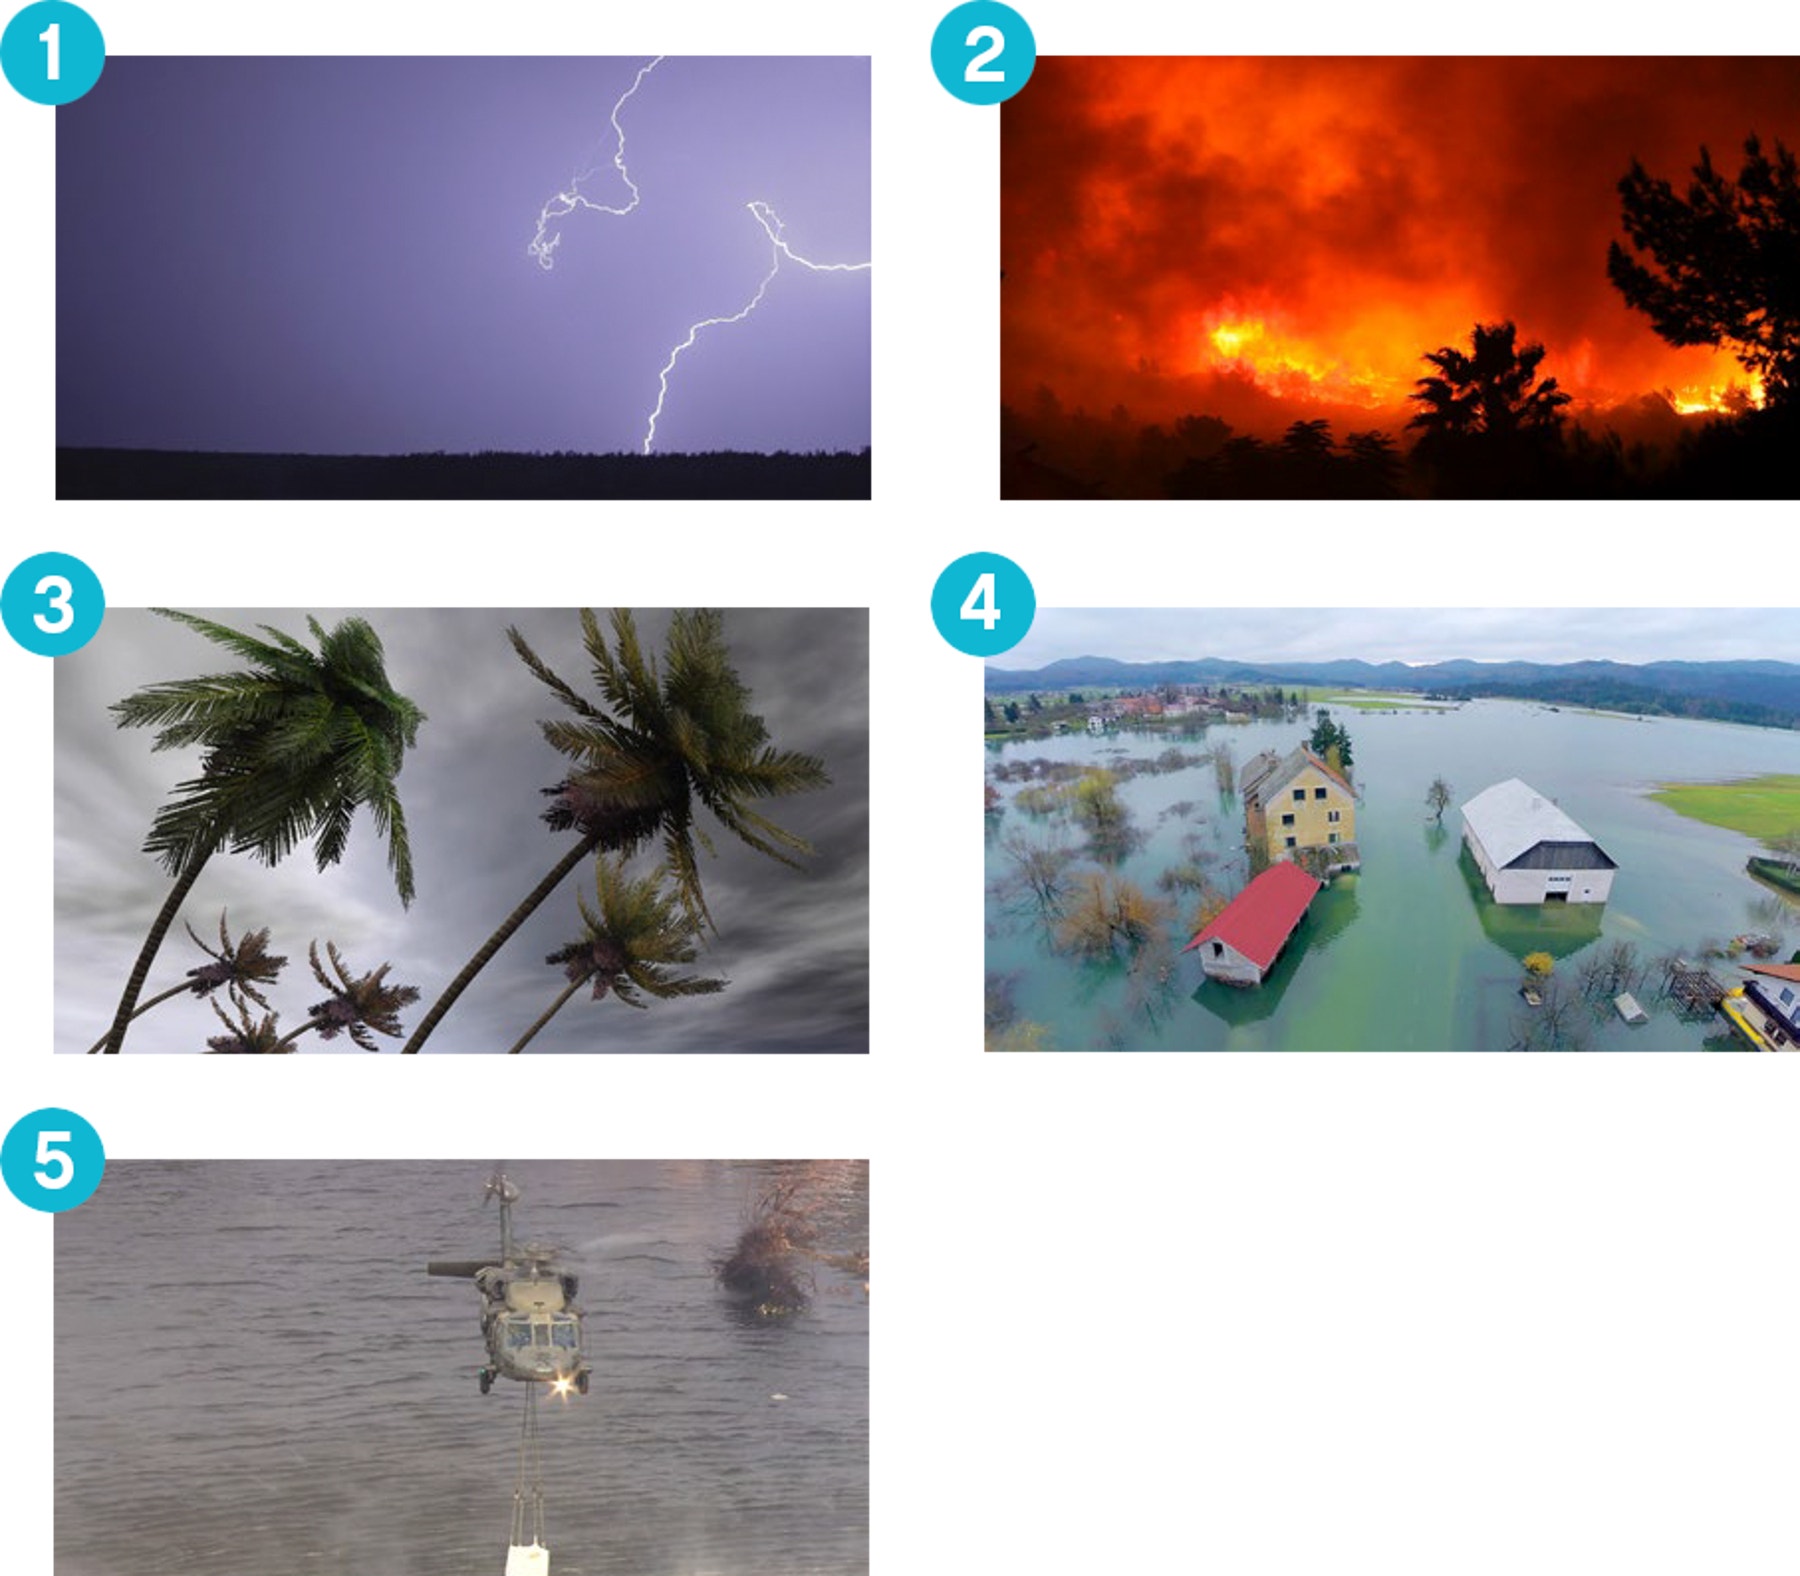
Serious weather-related hazards can destroy areas very quickly and violently.
When that happens, animals and people can be in danger:
- Lightning storms are responsible for a lot of natural fires.
- When fire starts, it can destroy habitats very quickly.
- Strong winds and floods can also be hazards.
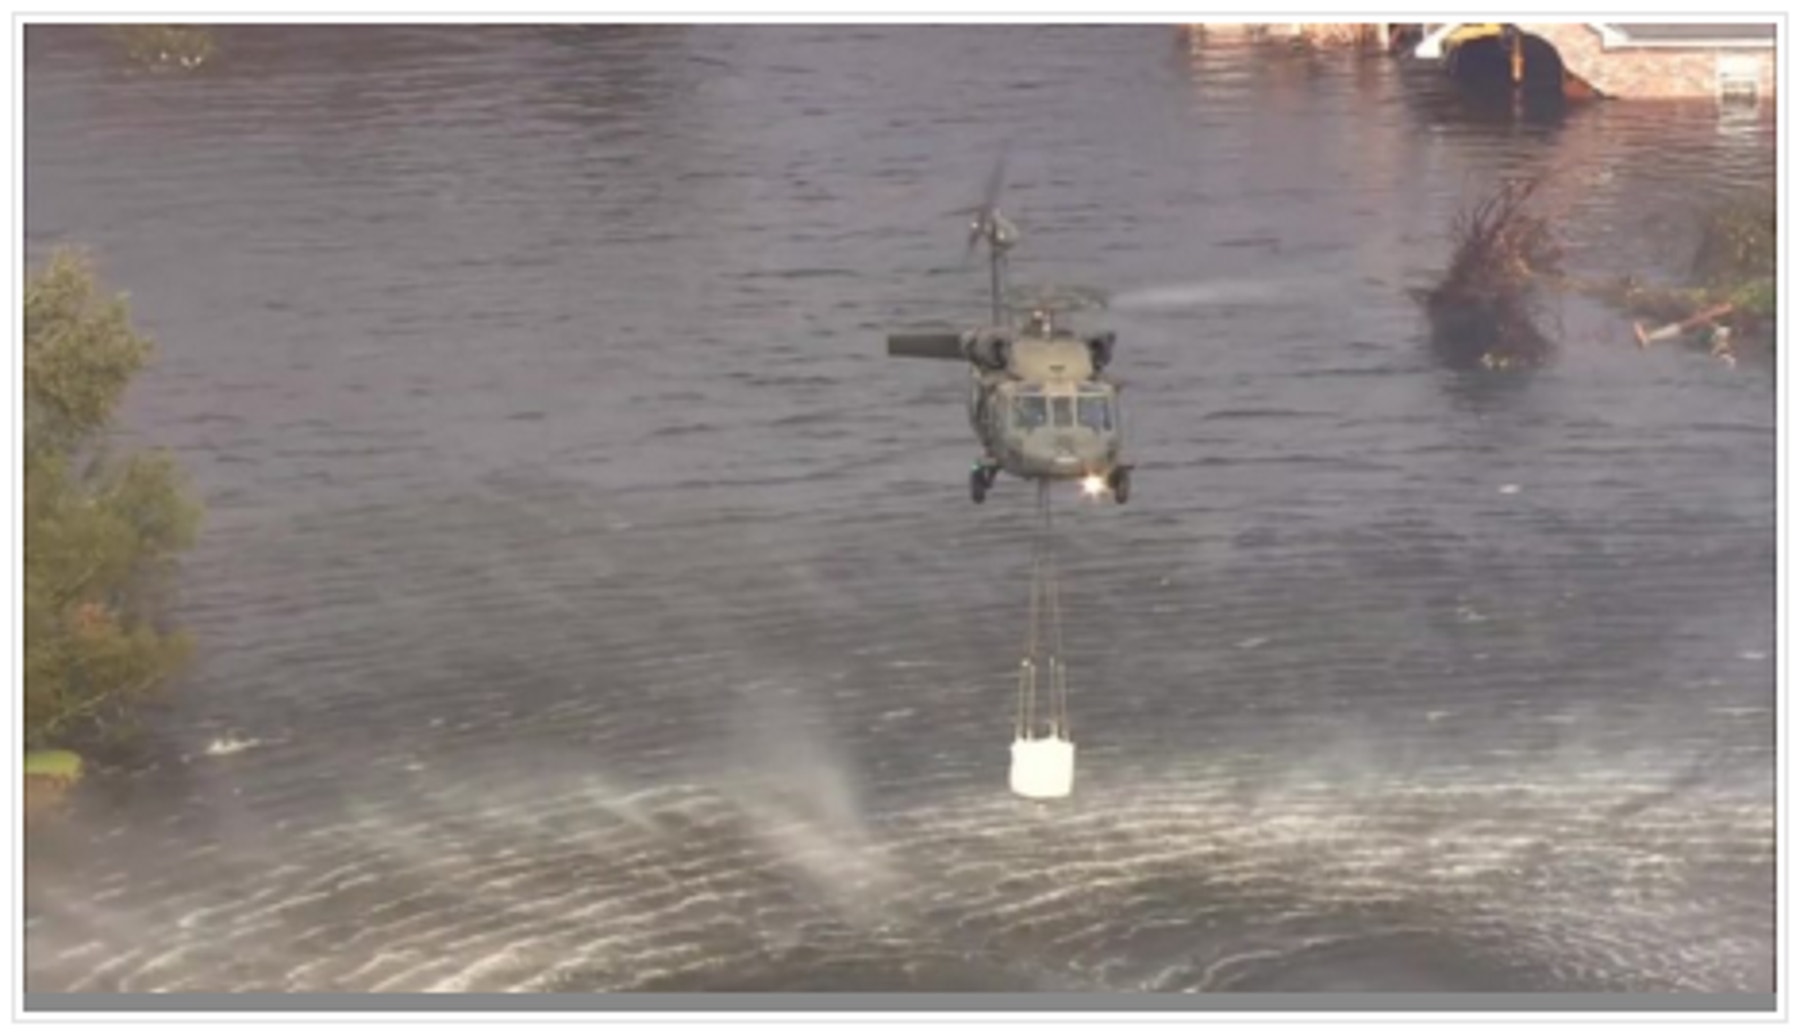
- In extreme cases, authorities send rescue missions.
- Helicopters can be used to lift up and fly animals and people out of danger or bring in supplies to those in need.
Questions for discussion
- What kinds of weather-related hazards happen in your area or other areas?
The answer to this question will depend on your location, but some possible answers might be forest fires, floods, hurricanes, or tornados. - How do weather-related hazards affect animals or people?
The answer to this question will depend on your location, but the use of tools, machines, and robots would probably be part of the answer. - Describe different ways a helicopter can be used during a weather-related hazard.
A helicopter is useful because it can go to multiple locations. It can pick up or deliver people and materials.
Have your students collect their answers with text or pictures in the Documentation tool.
3. Create phase
(45-60 Minutes)
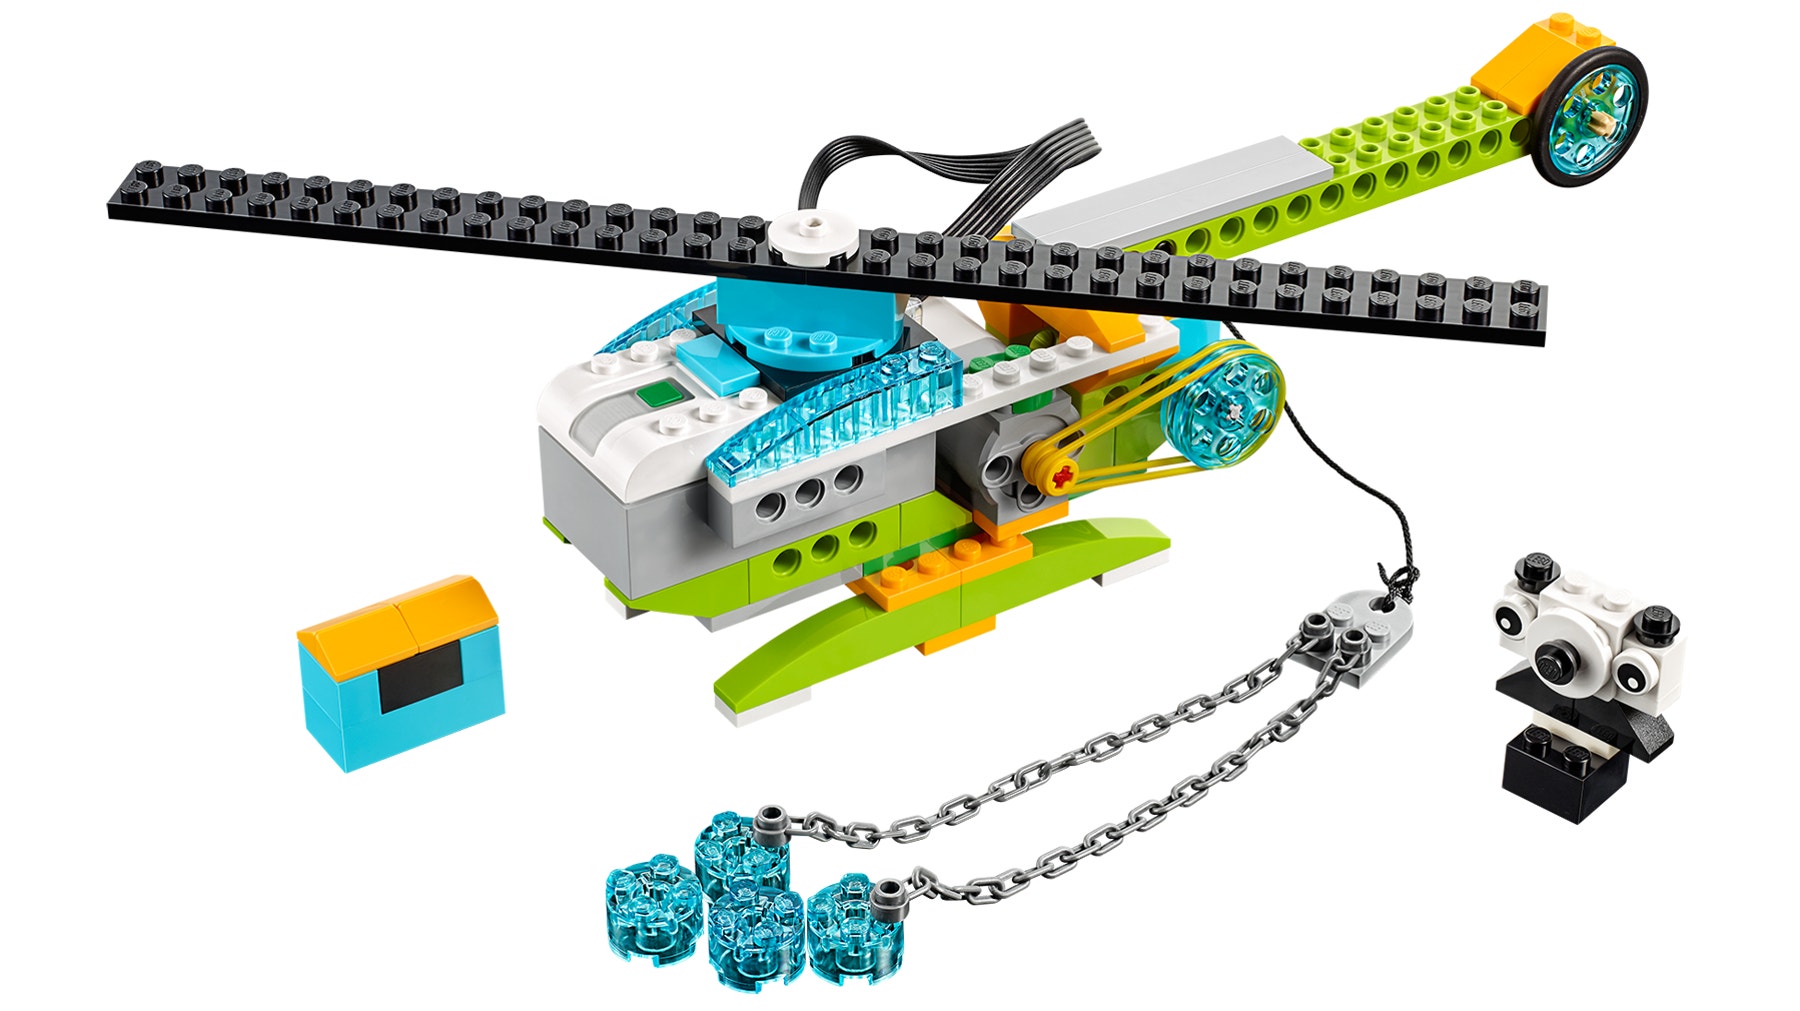
Build and program a rescue helicopter
Students will follow the building instructions to create an exciting rescue
helicopter.
1. Build a helicopter.
The model used in the project uses a pulley to transmit the movement from the motor axle to the string axle.

2. Program the helicopter to move up and down the string.
When the first Start Block is pressed, the motor turns on in one direction for 2 sec. The motor will start going in the other direction when the second Start Block is pressed.

Suggestion
Before your students start designing solutions, have them change the parameters of the program so they fully understand it.
Design another solution
From this model, students should be to able design their own drop or rescue device.
Students have to modify the helicopter so it can be used in a weather-damaged area, making sure their designs are safe, easy to use, and adapted to the situation. There is definitely more than one good answer to this challenge, but a good answer is something that can be linked to the criteria.
Have students build at least two solutions for one of the cases so they can
compare them.
1. Build a device to relocate an endangered animal.
Students can build a platform, a box, or a stretcher to lift the animal. Make sure the animal does not fall out during transportation.
2. Build a device to drop materials to help people.
Students can build a basket, a net, or a stretcher to lower materials. Make sure nothing falls out during transportation.
3. Build a device to drop water to put out a fire.
This modification could lead to a new design for the helicopter body, using the motor to drop water instead of moving the string.
Important
It is important to note that because a student model will vary according to student choice, there are no building instructions or sample programs provided to students for this part of the project.
Important
Have the students build two solutions for one of the cases listed above. Make sure they compare their solutions according to the criteria also listed above.
Design further solutions (optional, 45-60 minutes)
Use the “Design further solutions” section of the student project as an optional extension. Keep in mind that these tasks extend upon those of the previous section and are designed for older or more advanced students.
In some cases, helicopters may not be used in rescue missions.
Describe in what case this situation might happen, and ask the students to think of a new solution to this problem. This new situation could be:
• A rescue during a tornado.
• A rescue after an avalanche.
• Providing vital resources during a drought period.
Have them reflect on what they learned in the previous part of the project. Have them explain how they got better at finding a solution.
Collaboration suggestion
To have more than one team working on the same problem, ask your students to design solutions to a situation that has multiple rescuing aspects. For example, one team could focus on removing debris and the second team could pick up an animal or a person.
4. Share phase
(45+ minutes)
Complete the document
Have students document their projects in a variety of ways. Some suggestions include:
• Ask students to take a photo of every version they have created and get them to explain the one they feel is the best solution and why.
• Ask your students to compare these images with real-life images.
• Ask your students to record a video of themselves describing their projects.
Present results
In this specific project, have students present two of their designs, and ask them to explain why these solutions meet the criteria or not.
To enhance students’ presentations:
• Ask them to describe how their solution is used in the rescue mission they have chosen.
• Ask them to add some context to their explanation.
• Ask them to describe where this is happening, in what conditions, and some safety issues they needed to address.
Project assessment
NGSS project assessment rubrics
You can use these assessment rubrics with the observation rubrics grid, which you will find in the “Assess with WeDo 2.0” chapter.
Explore phase
During the Explore phase, make sure the student is actively involved in the discussion, asking and answering questions, and can describe in their words the problem they have to solve in each mission.
- The student is unable to provide answers to questions or participate in discussions adequately or adequately describe the problem to be solved in each mission.
- The student is able, with prompting, to provide answers to questions or participate in discussions adequately or, with help, describe without detail the problem to be solved in each mission.
- The student is able to provide adequate answers to questions and participate in class discussions and describe the problem to be solved in each mission.
- The student is able to extend the explanations in discussion or describe the problem to be solved in each mission.
Create phase
During the Create phase, make sure the student is able to work on a team, talk about what they think is the best solution for each mission, and use the information collected in the Explore phase to suggest prototype solutions for each mission.
- The student is unable to work well on a team to solve problems, discuss the best solution for each mission, or demonstrate the ability to use the engineering design process to solve problems.
- The student is able to work on a team to solve problems, discuss the best solution for each mission, and, with help, demonstrate the use of the engineering design process to collect and use information to solve problems.
- The student is able to work on a team to contribute to the discussion and demonstrate the use of the engineering design process to collect and use information to solve problems.
- The student is able to work as a team leader and extend the use of engineering-based design to collect and use information to solve problems in many ways.
Share phase
During the Share phase, make sure the student can describe different solutions he/ she developed for each mission, explain how one solution can solve the problem they have identified for each mission, and use important information from their project to create their final report.
- The student is unable to engage in discussions about the mission and design, explain the solutions to the problems posed, or use the information to create a final project.
- The student is able, with prompting, to engage in discussions about design processes as well as demonstrate with limited ability the use of information to solve real-world problems and create a project.
- The student is able to engage in discussions about design processes or use the information gathered to produce a final project that present solutions for the posed problems.
- The student is able to engage extensively in class discussions about the topic or use information gathered to create a final project that includes additional required elements.
ELA project assessment rubrics
You can use these assessment rubrics with the observation rubrics grid, which you will find in the “Assess with WeDo 2.0” chapter.
Explore phase
During the Explore phase, make sure the student can effectively explain his/her own ideas and comprehension related to the questions posed.
- The student is unable to share his/her ideas related to the questions posed during the Explore phase.
- The student is able, with prompting, to share his/her ideas related to the questions posed during the Explore phase.
- The student adequately expresses his/her ideas related to the questions posed during the Explore phase.
- The student uses details to extend explanations of his/her ideas related to the questions posed during the Explore phase.
Create phase
During the Create phase, make sure the student makes appropriate choices (i.e., screen capture, image, video, text) and follows the established expectations for documenting findings.
- The student fails to document findings throughout the investigation.
- The student gathers documentation of his/her findings, but documentation is incomplete or does not follow all of the expectations established.
- The student adequately documents findings for each component of the investigation and makes appropriate choices in selections.
- The student uses a variety of appropriate methods for documentation and exceeds the established expectations.
Share phase
During the Share phase, make sure the student uses evidence from his/her own findings during the investigation to justify his/her reasoning. The student adheres to established guidelines for presenting findings to the audience.
- The student does not use evidence from his/her findings in connection with ideas shared during the presentation. The student does not follow established guidelines.
- The student uses some evidence from his/her findings, but the justification is limited. Established guidelines are generally followed but may be lacking in one or more areas.
- The student adequately provides evidence to justify his/her findings and follows established guidelines for presenting.
- The student fully discusses his/her findings and thoroughly utilizes appropriate evidence to justify his/her reasoning while following all established guidelines.
5. Differentiation
To ensure success, consider giving more guidance on building and programming, such as:
• Make sure they understand the problem they have to solve.
• Have them write down or record a video describing the problem.
• Explain engineering-based design.
• Explain how to use sensors.
Also, be specific on the way you would like them to present and document their findings, by having a sharing session among teams, for example.
Suggestion
For more experienced students, you may want to ask them to use the Tilt Sensor to control the up-and-down movement of the string.
Design further solutions
To design further solutions, ask students to design a completely new solution to the problem, moving away from the helicopter into something different.
Students’ misconceptions
It is possible that students will only articulate experiences about what they can imagine within their own world. For example, coastal communities may only consider sea rescue. Have your students project themselves into another context to explore solutions.
Teacher Support
Students will:
Explore different weather-related hazards that can influence the survival of a population in your region.
Create and program a device to relocate people and animals in a safe, easy-to-use, and respectful way or efficiently drop materials into an area.
Present and document your solution and explain why your solution meets the criteria.
NGSS
3-ESS3-1
3-5-ETS1-2
CCSS
CCSS.ELA-Literacy.W.3.7
CCSS.ELA-Literacy.W.3.8
CCSS.ELA-Literacy.SL.3.1.a
CCSS.ELA-Literacy.SL.3.1.d


