Plants and Pollinators
Love using WeDo 2.0? Learn more about our next generation product, LEGO® Education SPIKE™ Essential.
Model the relationship between a pollinator and flower during the reproduction phase using a LEGO representation.
1. Preparation
(15-30 minutes)
• Read the general preparation in the “Classroom Management” chapter.
• Read about the project so you have a good idea of what to do.
• Define how you want to introduce this project: Use the video provided in the project in the WeDo 2.0 Software, or use material of your own choice.
• Determine the end result of this project: the parameters to present and produce the document.
• Make sure timing allows for expectations to be met.
Important
This project uses models to represent a real-world concept. This project is intended to be an application of students’ prior knowledge regarding the relationship between plants and pollinators.
2. Explore phase
(30-60 minutes)
The introductory video may set the stage for the following ideas to be reviewed and discussed with students for this project.
Introductory video
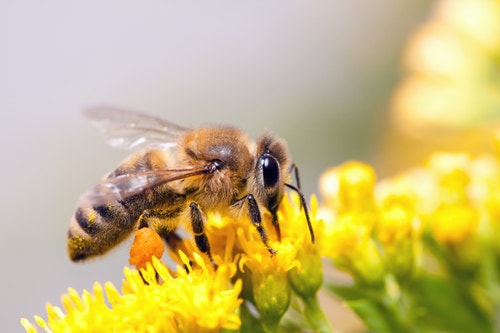
Pollination is a vital process by which a flower is affected by an external factor in order to have the pollen transported to the stigma:
- Flowers rely on external factors, such as wind or animals, to help them reproduce.
- The flower of a plant is designed to attract animals. The color, the size, the smell, and the nectar are all tricks to attract them.
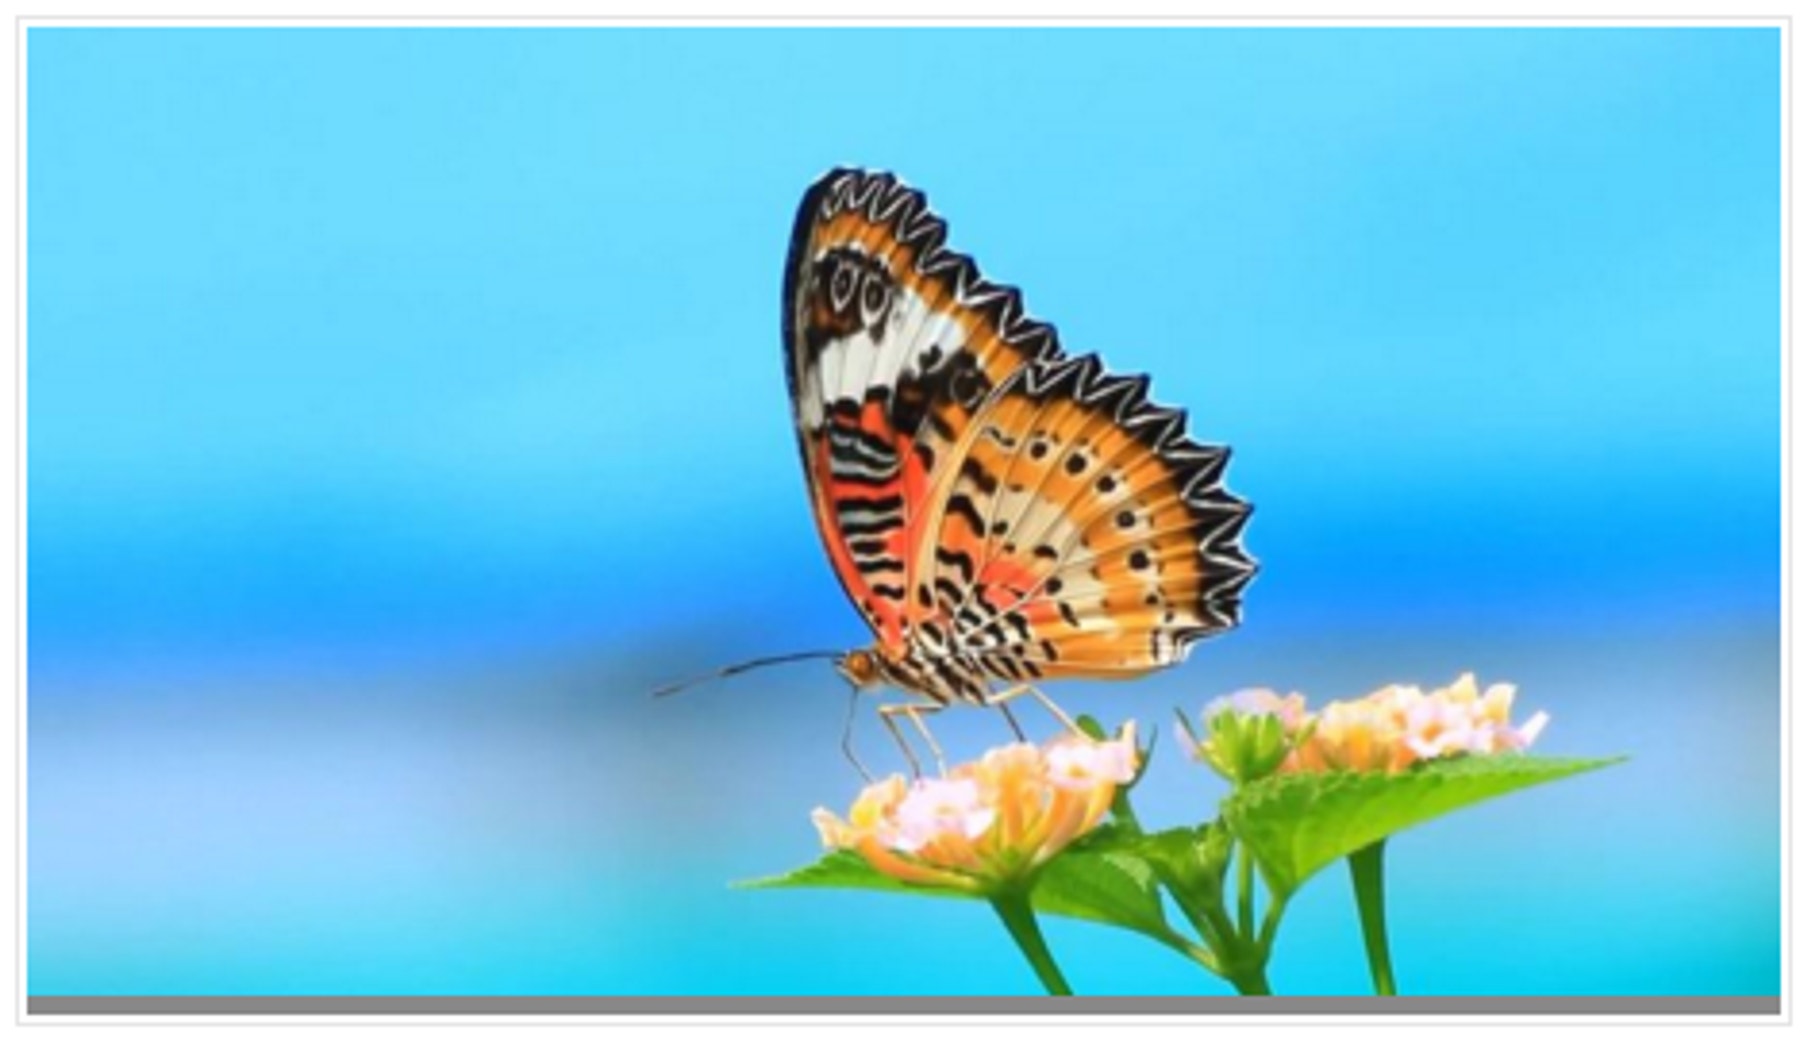
- Butterflies and moths have long tongues so they like tubular flowers and are attracted by bright red flowers.
- Hummingbirds have long beaks, perfect for reaching nectar deep inside of tubular flowers.
- Bats also play a role in pollination, using their very long tongues to get the nectar from flowers, mainly at night.
Pollination is only one step in a flowering plant’s life cycle. After the flower has been pollinated, the fruit or the seed will develop on the plant. The plant then gets further assistance from animals or an external force, such as the wind or rain, to disperse the seeds.

Questions for discussion
- What are the parts of a flower?
Anther, stamen, stigma, style, pollen, nectar - Explain some ways that animals help plants to reproduce.
Pollinating animals go to the flower for nectar and often will get dusted with nearby pollen to be transferred from (usually) one flower to the next. Most flowering plants rely on animals to pollinate them, and animals also help to disperse seeds of many plants. - What are these processes called?
Pollination is the process by which flowers reproduce. Around 90 percent of all pollination on the planet involves organisms. This is biotic pollination. - Name three stages in the life of a flowering plant.
Seed, seedling (tiny plant), and mature plant with flower - What is the role of a flower?
The flower is the organ developed by a plant to attract animals in order to get help in the reproductive process and create seeds. - Do all flowers get pollinated by a pollinator?
Some pollination takes place using the wind or rain.
Have your students collect their answers with text or pictures in the Documentation tool.
3. Create phase
(45-60 Minutes)
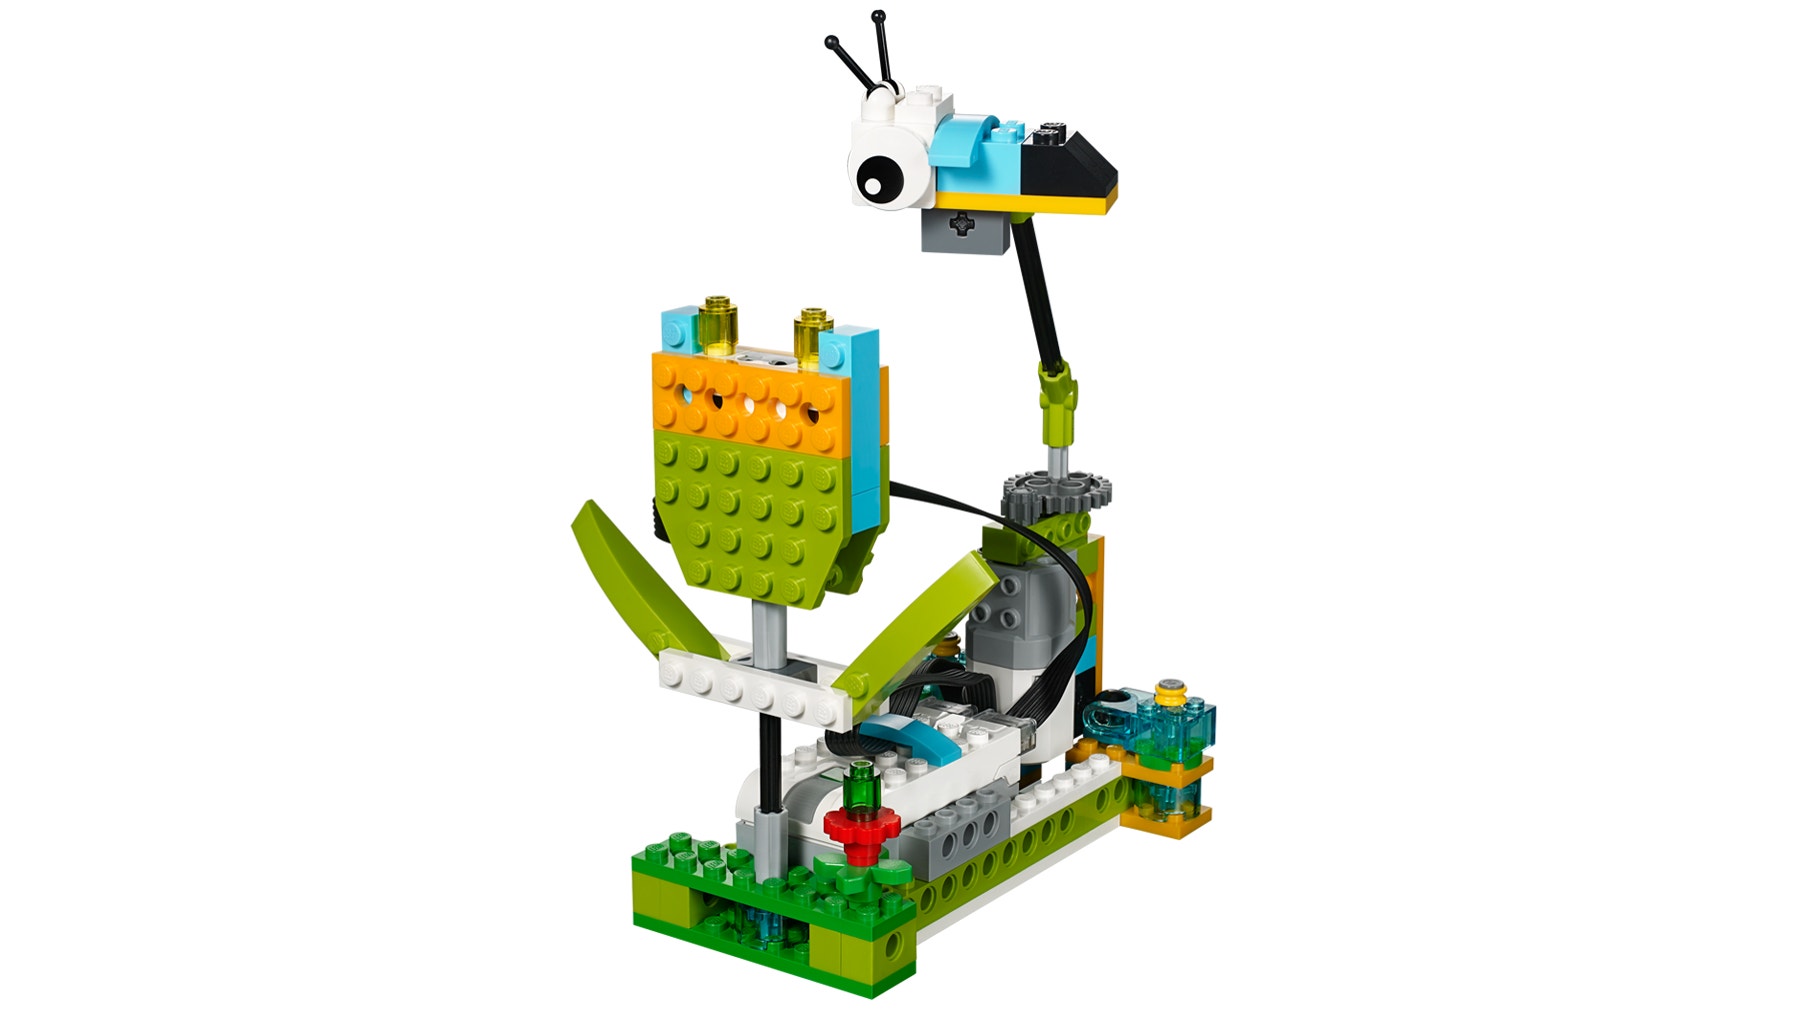
Build and program a pollination model
Students will use the building instructions to create a model of a bee and generic flower.
1. Build a pollination scenario.
This project model uses gears. These gears move on an axle to which the bee is attached. The flower uses a Motion Sensor to detect when the bee is on top of it.
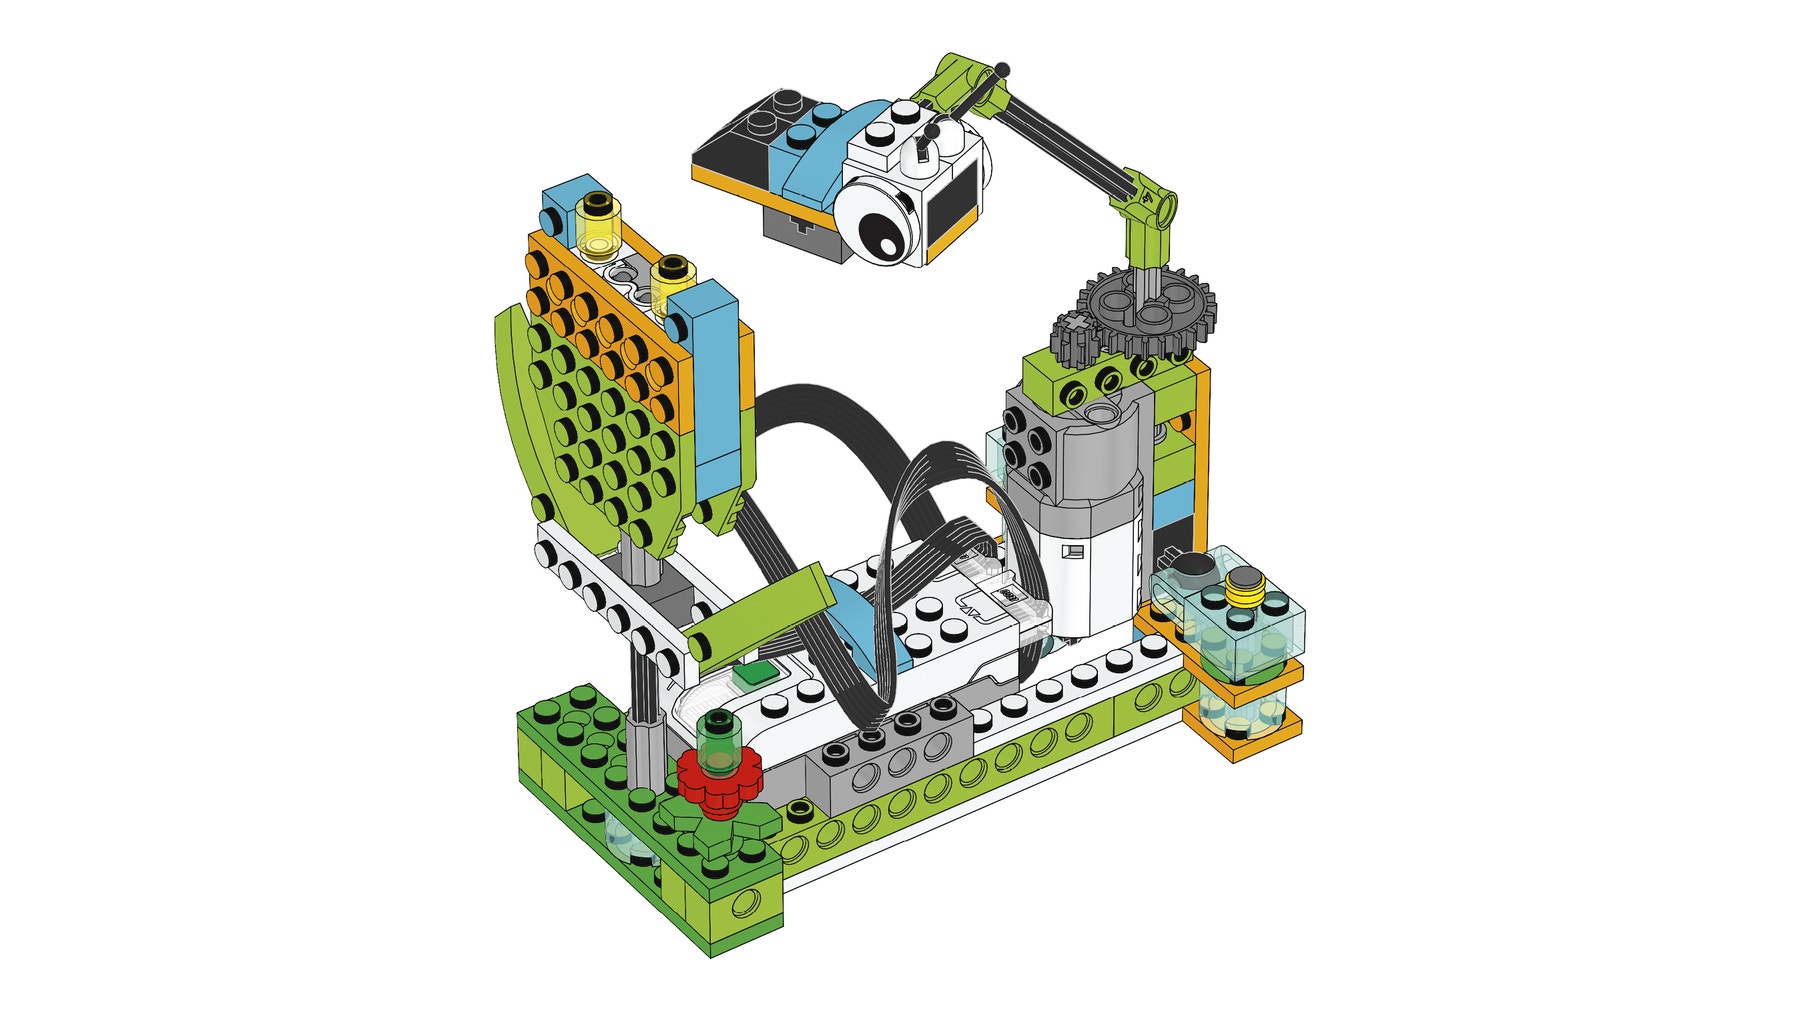
2. Program the bee and the flower.
This program will turn the motor on in one direction until the bee is detected on top of the flower. When this happens, the motor will stop and the bee sound will be played.
Have students use the transparent brick to represent pollen.

Suggestion
Before your students start to modify their model, have them change the parameters of the program so they fully understand it.
Describe a pollination scenario
Using ideas from the first model, the student should be able to change both the pollinator and flower.
Once students have built the bee, ask them to think about how they might build a new flower and a pollinator that would be attracted to it. Encourage students to plan and test their designs.
1. Build a new flower.
As some examples, students may build a tubular, colored, or big flower.
When they design this flower, make sure they:
• Keep the Motion Sensor in the new flower.
• Use the transparent brick to represent pollen.
• Also design the correct pollinator for it.
2. Build a new pollinator.
As an example, students can build a hummingbird, butterfly, bug, bat, or any other organism they know is a pollinator. When they design this pollinator, make sure they can:
• Attach their new pollinators to the axle.
• Design the correct flower for it.
3. Program a new scenario.
As an example, students can use a second flower to illustrate cross-pollination. To do that, make sure they:
• Program the new pollinator model to act differently from the previous one.
Important
It is important to note that because a student model will vary according to student choice, there are no building instructions or sample programs provided to students for this part of the project.
Collaboration suggestion
If teams work together, students can ask each other if the pollinator of one can pollinate the flower of the other and vice versa.
Use the model further (optional, 45-60 minutes)
The “Use the model further” section of the student project as an optional extension. Keep in mind that these tasks extend upon those of the “Use the model” section and are designed for older or more advanced students.
After the flower is pollinated, seeds or fruit appear on the plant.
1. Build and program a seed dispersion scenario.
Ask students to modify the plant after the flower has been pollinated. Have students explore the different types of seed dispersal. Have them pick one and create a model to represent it.
For example:
• Seeds hidden inside of an attractive fruit to be eaten by an animal
• Seeds carried by other animals and birds
• Seeds transported by wind or water
• Seeds that have self-propulsion mechanisms
4. Share phase
(45+ minutes)
Complete the document
Have students include in their final products a picture of every stage of the pollination process:
• Ask your students to compare these images with real-life images.
• Ask your students to record a video of themselves describing how animals help
plants to reproduce.
Present results
At the end of this project, students should present what they learned.
To enhance your students’ presentations:
• Have students use the model to explain the relationship between the pollinator and the flower in the context of a plant life cycle.
• Make sure they can explain why and how the pollinator plays an active role in the pollination process.
• Ask them to put some context into their explanation, such as describing where the flower is, in what season it is happening, etc.
Project assessment
NGSS project assessment rubrics
You can use these assessment rubrics with the observation rubrics grid, which you will find in the “Assess with WeDo 2.0” chapter.
Explore phase
During the Explore phase, make sure the student is actively involved in the discussion, asking and answering questions, and can answer in his/her own words questions such as: What makes a pollinator choose the right flower?
- The student is unable to provide answers to questions or participate in discussions adequately or neglects to answer the questions posed during the Explore phase.
- The student is able, with prompting, to provide answers to questions or participate in discussions adequately or, with prompting, answers some or all of the questions posed during the Explore phase.
- The student is able to provide adequate answers to questions and participate in class discussions and answer the questions posed during the Explore phase in his/her own words.
- The student is able to extend the explanations in discussions and answer the questions posed during the Explore phase in his/her own words.
Create phase
During the Create phase, make sure the student has developed a model that successfully demonstrates the function in an animal to disperse seeds or pollinate plants.
- The student provides little or no evidence of an attempt to develop a model that demonstrates the function of an animal to disperse seeds or pollinate plants.
- The student has attempted to develop a model that demonstrates the function of an animal to disperse seeds or pollinate plants, but some components of the model are incomplete or incorrect.
- The student has developed a model that successfully demonstrates the function of an animal to disperse seeds or pollinate plants.
- The student has developed an exceptional model that successfully demonstrates the function of an animal to disperse seeds or pollinate plants.
Share phase
During the Share phase, make sure the student can explain what is happening in the pollination phase of a flower and identify the limitations of the model—what is close to reality and what might be unrealistic.
- The student provides little to no accurate explanation of what is happening in the pollination phase and is unable to identify the limitations of the model.
- With prompting, the student can explain with accuracy what is happening in the pollination phase and may or may not identify the limitations of the model.
- The student can explain with accuracy what is happening in the pollination phase and identify specific limitations of the model.
- With ease and accuracy, the student can explain what is happening in the pollination phase and is able to clearly identify specific limitations of the model.
ELA project assessment rubrics
You can use these assessment rubrics with the observation rubrics grid, which you will find in the “Assess with WeDo 2.0” chapter.
Explore phase
During the Explore phase, make sure the student can effectively explain his/her own ideas and comprehension related to the questions posed.
- The student is unable to share his/her ideas related to the questions posed during the Explore phase.
- The student is able, with prompting, to share his/her ideas related to the questions posed during the Explore phase.
- The student adequately expresses his/her ideas related to the questions posed during the Explore phase.
- The student uses details to extend explanations of his/her ideas related to the questions posed during the Explore phase.
Create phase
During the Create phase, make sure the student uses precise language and appropriate vocabulary and makes appropriate choices in communicating concepts using the Documentation tool.
- The student does not use precise language or vocabulary appropriately and demonstrate thoughtful choices in communicating concepts with the Documentation tool.
- With prompting, the student can incorporate some appropriate vocabulary and generally makes appropriate choices in communicating concepts using the Documentation tool.
- The student uses precise language and appropriate vocabulary and makes appropriate choices in communicating concepts using the Documentation tool.
- The student uses precise language and advanced vocabulary and makes appropriate choices in communicating concepts using the Documentation tool.
Share phase
During the Share phase, make sure the student provides reasons that are supported by scientific facts about pollination to discuss how his/her model demonstrates how animals contribute to the life cycle of plants.
- The student provides no reasons with supporting facts about pollination to discuss how his/her model demonstrates how animals contribute to the life cycle of plants.
- The student provides one reason that is supported by scientific facts about pollination to discuss how his/her model demonstrates how animals contribute to the life cycle of plants.
- The student provides more than one reason supported by scientific facts about pollination to discuss how his/her model demonstrates how animals contribute to the life cycle of plants.
- The student provides several reasons that are well supported by scientific facts about pollination to discuss how his/her model demonstrates how animals contribute to the life cycle of plants.
5. Differentiation
To ensure success, consider giving more guidance on building and programming, such as:
• Provide a list and images of potential pollinators.
• Provide a list of flower characteristics.
Be flexible on how flowers are built and focus on what is most important:
the general shape of the flower and its color.
Also, be specific about how you would like them to present and document their findings, such as with a sharing session among teams, for example.
Suggestion
For more experienced students, you may want to allow them extra time for building and programming so they can model flowers that best replicate reality, using stamen, stigma, petals and other parts.
Use the model further
To use the model further, ask your students to explore the phases of the life cycle after the plant has been pollinated, such as seed dispersion.
Students’ misconceptions
Students may believe that the main purpose of a pollinator is actually to be deliberately responsible for the reproduction of a plant. It is more by chance that this phenomenon happens. The pollinator visits the flower with the intention of obtaining nutrients, and it is only indirectly that it transfers the pollen.
Teacher Support
Students will:
Explore how different organisms take an active role in plant reproduction.
Create and program a model of a bee and flower to mimic the relationship between the pollinator and the plant.
Present and document the different models you have created of plants and their pollinators.
NGSS
2-LS2-2
4-LS1-1
CCSS
CCSS.ELA-Literacy.W.2.6
CCSS.ELA-Literacy.W.4.1.b
CCSS.ELA-Literacy.W.4.2.d


