Robust Structures
Love using WeDo 2.0? Learn more about our next generation product, LEGO® Education SPIKE™ Essential.
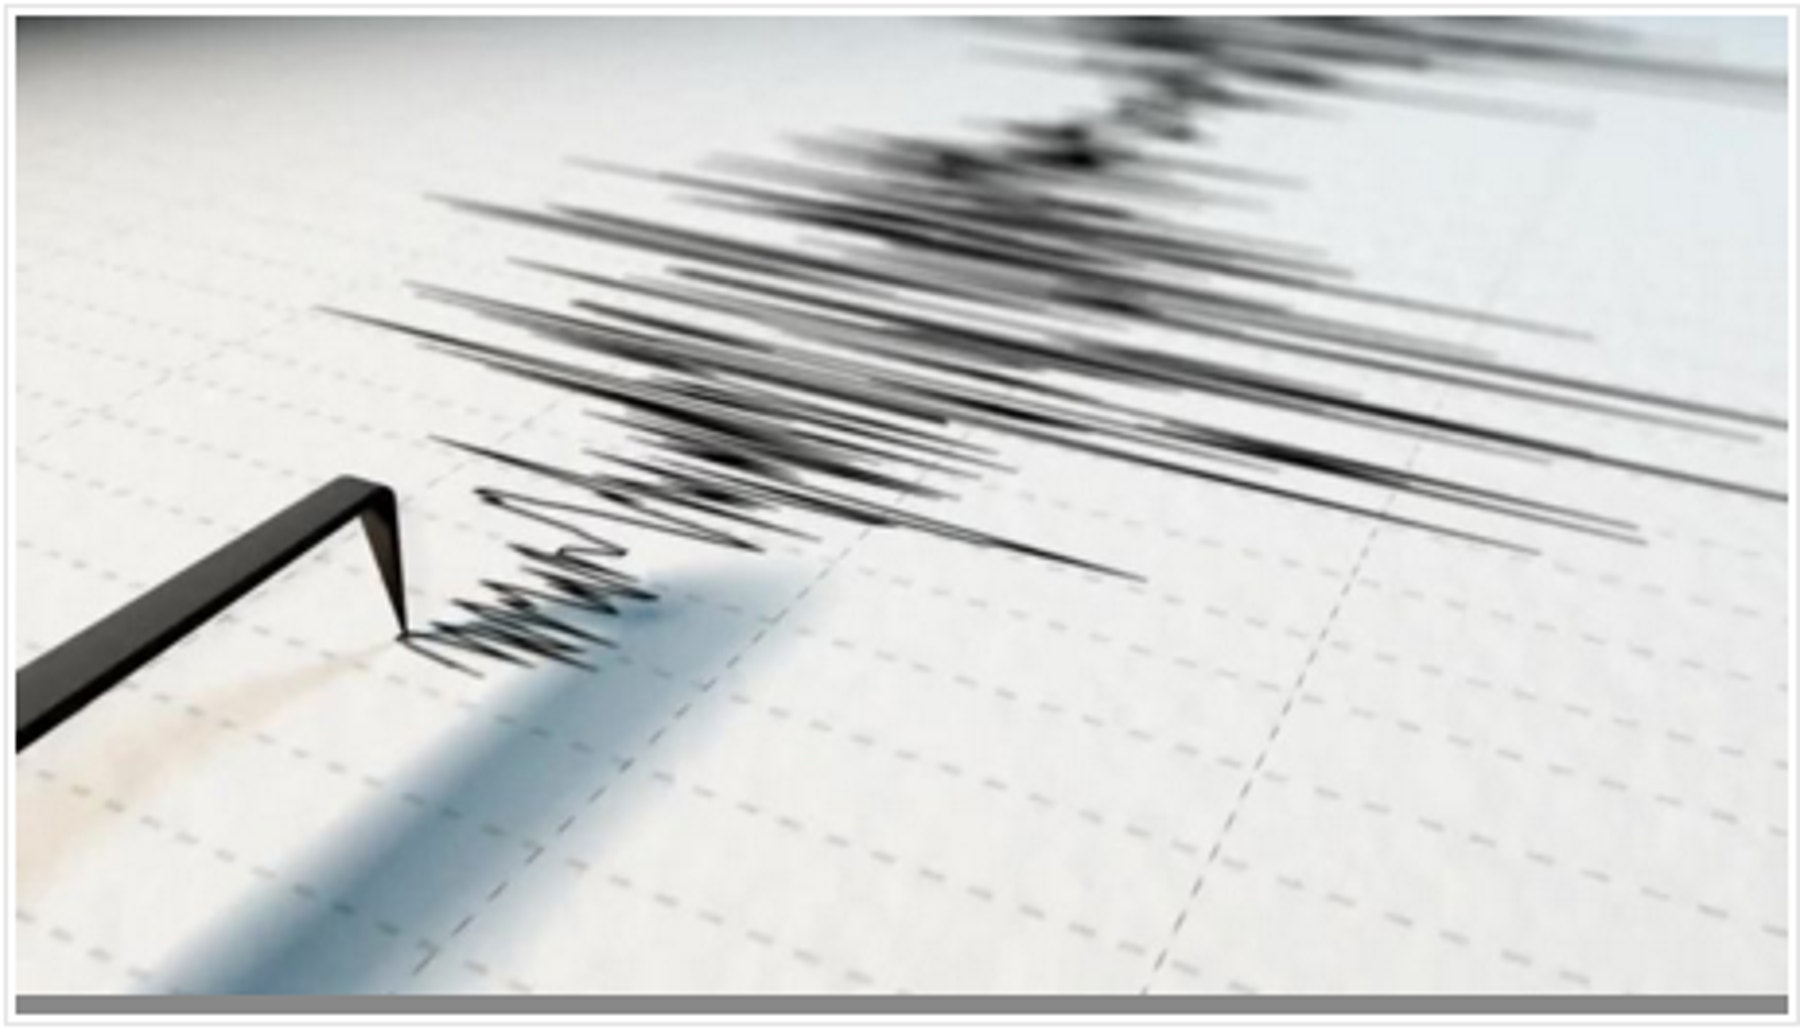
Investigating what characteristics of a building would help make it resistant to an earthquake, using an earthquake simulator constructed from LEGO bricks.

1. Preparation
(15-30 minutes)
• Read the general preparation in the “Classroom Management” chapter.
• Read about the project so you have a good idea of what to do.
• Define how you want to introduce this project: Use the video provided in the project in the WeDo 2.0 Software, or use material of your own choice.
• Determine the end result of this project: the parameters to present and produce the document.
• Make sure timing allows for expectations to be met.
2. Explore phase
(30-60 minutes)
The introductory video may set the stage for the following ideas to be reviewed and discussed with students for this project.
Introductory video
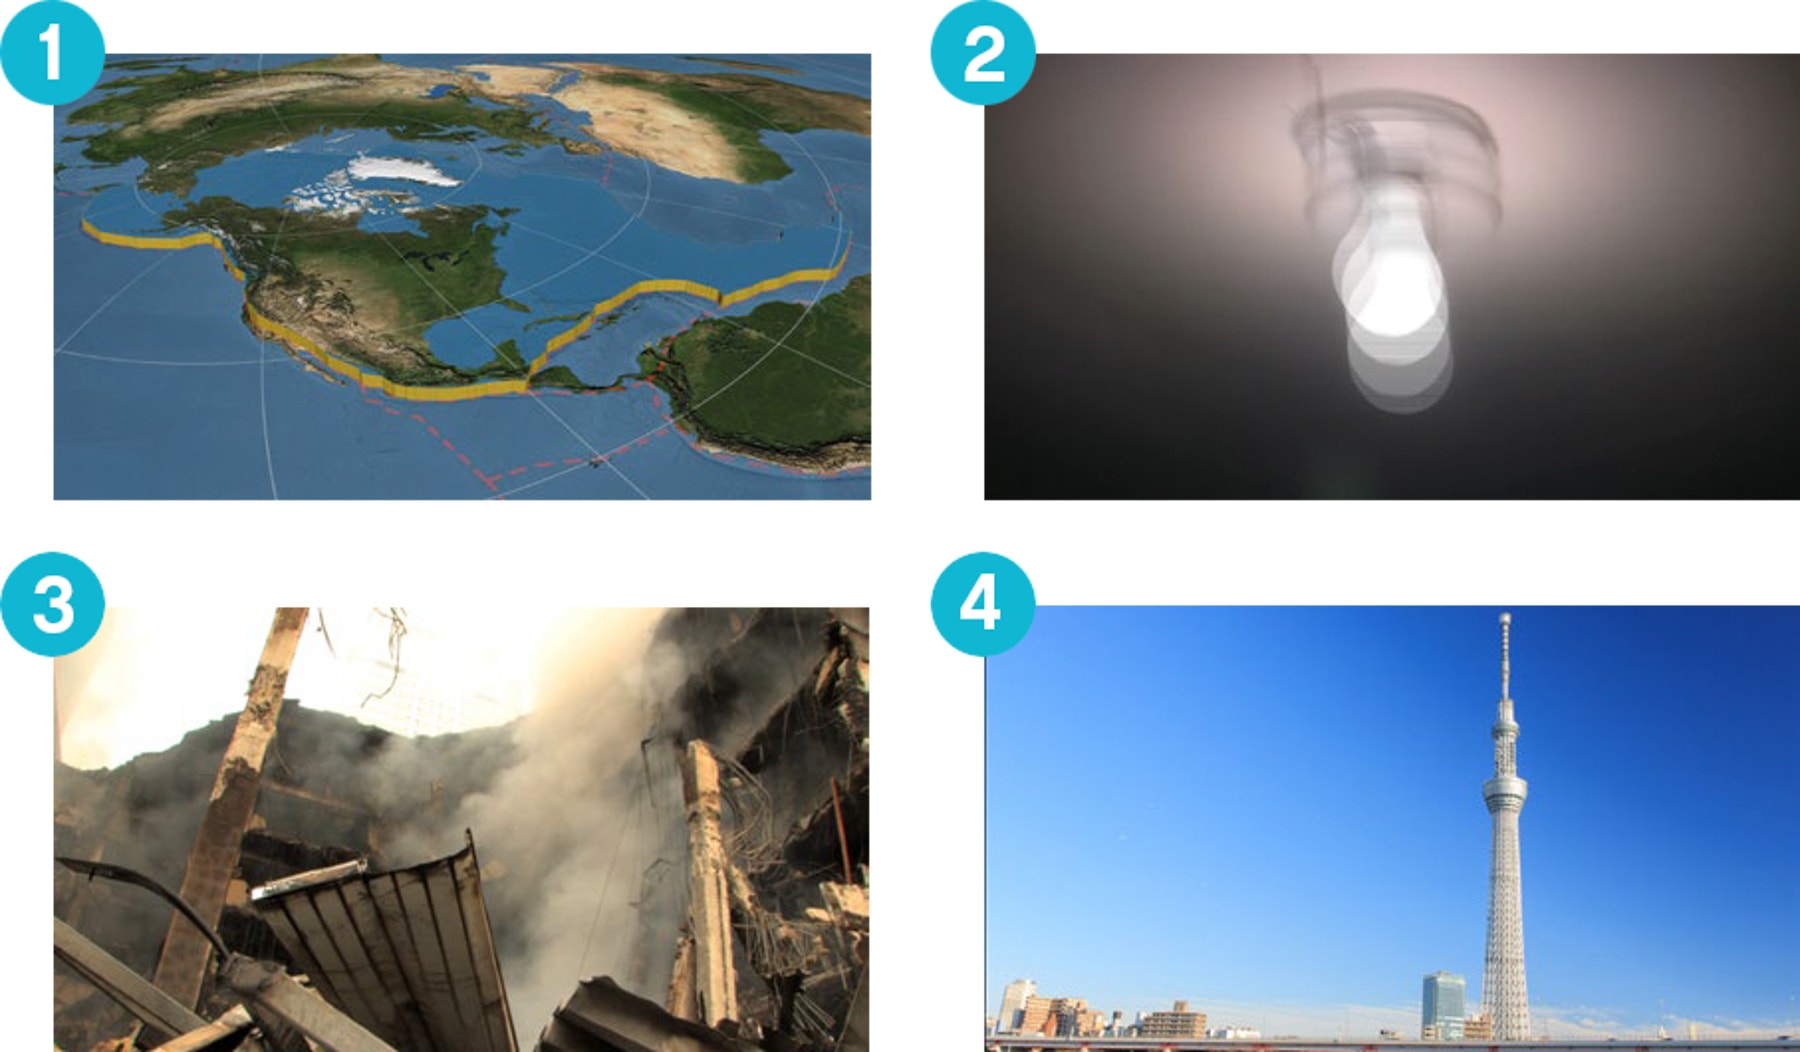
Here are some suggested talking points for the video:
- Since it was formed, the earth has been changing its shape. Like big chunks of cookies getting pushed around on top of a layer of honey, the tectonic plates composing the earth slide, rub past each other, and collide.
- When doing so, this friction creates vibrations on the surface of the earth where you live.
- During an earthquake, depending on the strength of the vibrations and a variety of other factors, buildings and other structures may be damaged or destroyed.
- These days, you are able to build more resistant buildings than even decades ago, thanks to scientific discoveries that have led to improvements in design.
Questions for discussion
During the Explore phase, these questions are intended to elicit students’ initial ideas and/or summarize prior learning to evaluate the performance expectation for this project.
Have students document their comprehension, and refer back to these questions again during and after the Create phase.
- What causes earthquakes and what are the hazards they create?
Earthquakes are vibrations of the earth’s crust caused by the movement of the tectonic plate. - How do scientists rate the strength of an earthquake?
Scientist rate earthquakes on a scale they call the Richter scale. The higher the number is from no. 1–10, the stronger the vibrations of the earth are. - What elements can influence the resistance of buildings during earthquakes?
This answer should serve as the students’ hypothesis. This means that at this point, your students’ answer may be incorrect. - What did you notice about the relationship among the size of a building’s footprint, height, and ability to withstand the impact of an earthquake?
Structures that are tall or skinny are generally less stable and are more likely to fall when submitted to lateral forces. - How did you ensure that the tests were kept fair each time?
They were changed only one parameter at a time. - What other factors would be important to investigate?
Structural designs and various materials are other important factors to consider when testing building resistance. - How are modern buildings designed to withstand earthquakes?
Architects and engineers use structures, principles, and simulations to test
prototypes for weaknesses. - Does “resistant” mean the same thing as “strong”?
It depends on a variety of factors. Sometimes flexible structures or materials are more resistant than stiff and strong ones.
Have your students collect their answers with text or pictures in the Documentation tool.
3. Create phase
(45-60 Minutes)
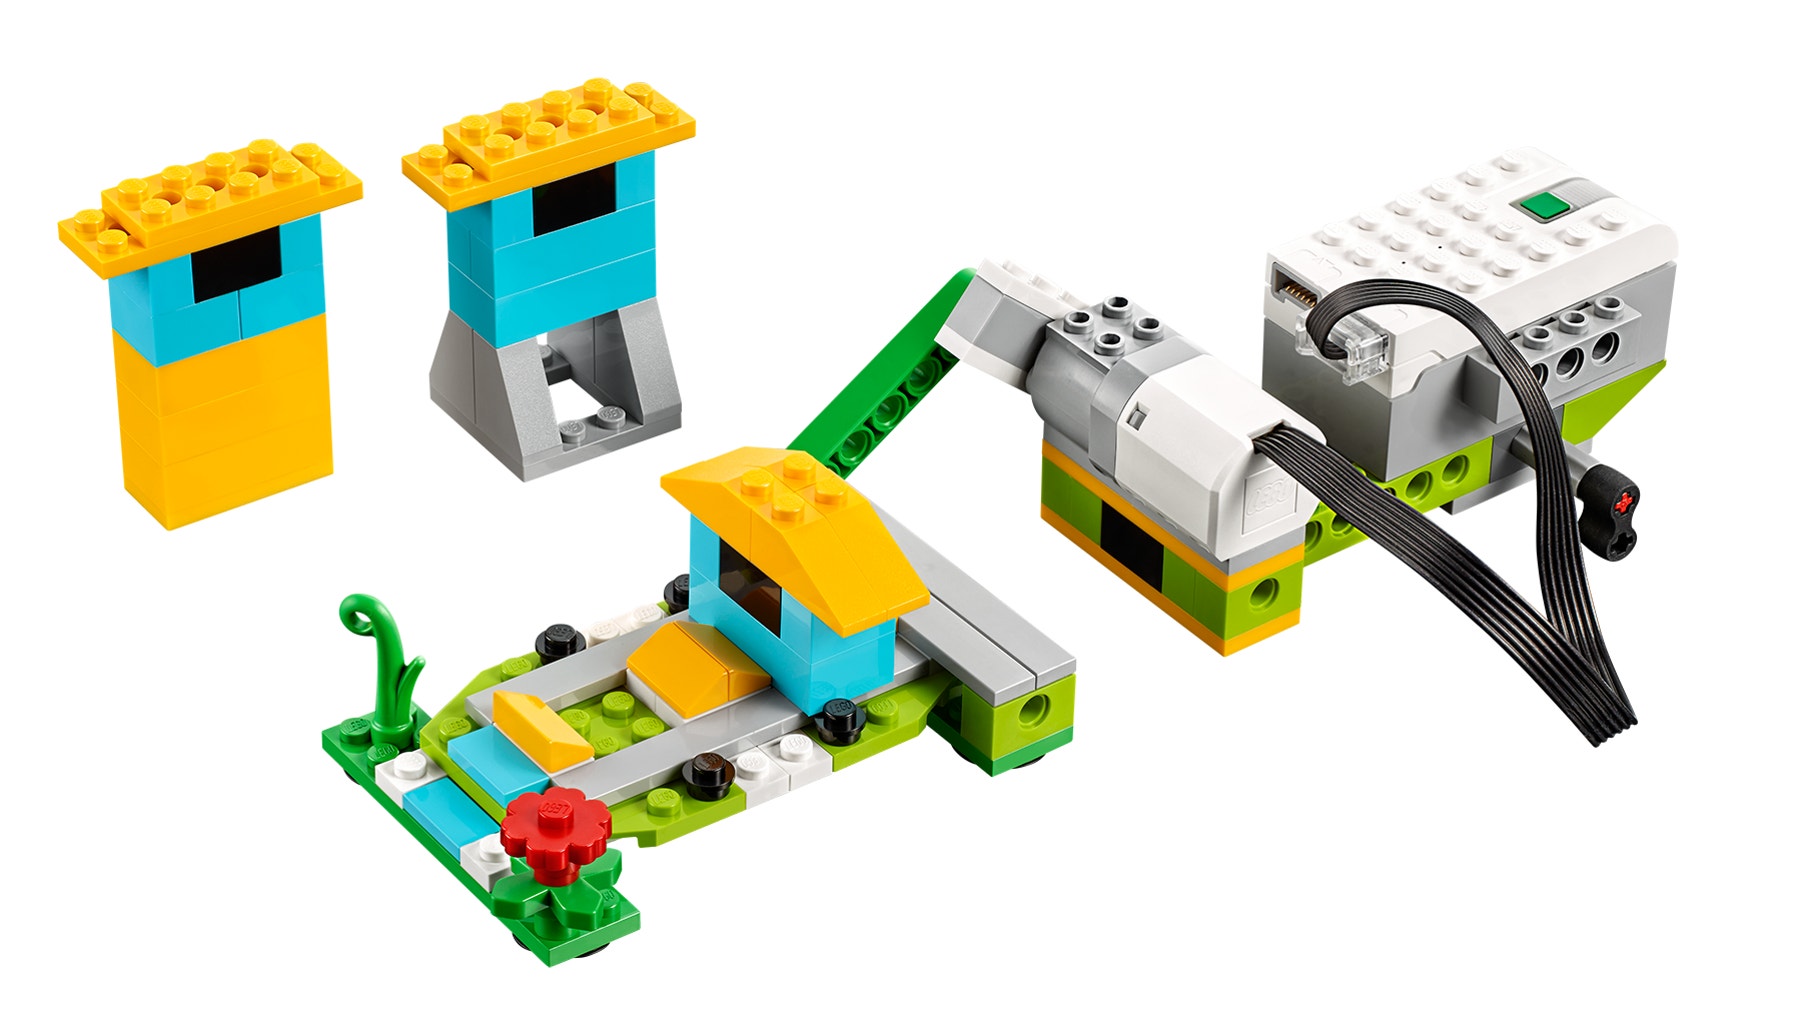
Build and program an earthquake simulator and model buildings
Students will follow the building instructions to create an earthquake simulator. With this device, they will gather evidence to decide which building would pass the earthquake test.
1. Build an earthquake simulator.
The shake model used in the project uses a piston to push and pull the test plate. The motor power level of the program determines the amplitude of the earthquake generated.

2. Program the simulator.
This program will start by displaying no. 0 on the screen. It will then repeat a series of actions five times. It will add no. 1 to the display, which will become the shaking magnitude, turn the motor on to that magnitude for 2 sec., and then wait for 1 sec.

Important
With this program, if students want to try a stronger or weaker earthquake, they need to change the number of loops. They should feel free to use a program of their own.
Investigate your building design
Now that students understand the way the earthquake simulator works, let them investigate different factors by isolating one variable at a time.
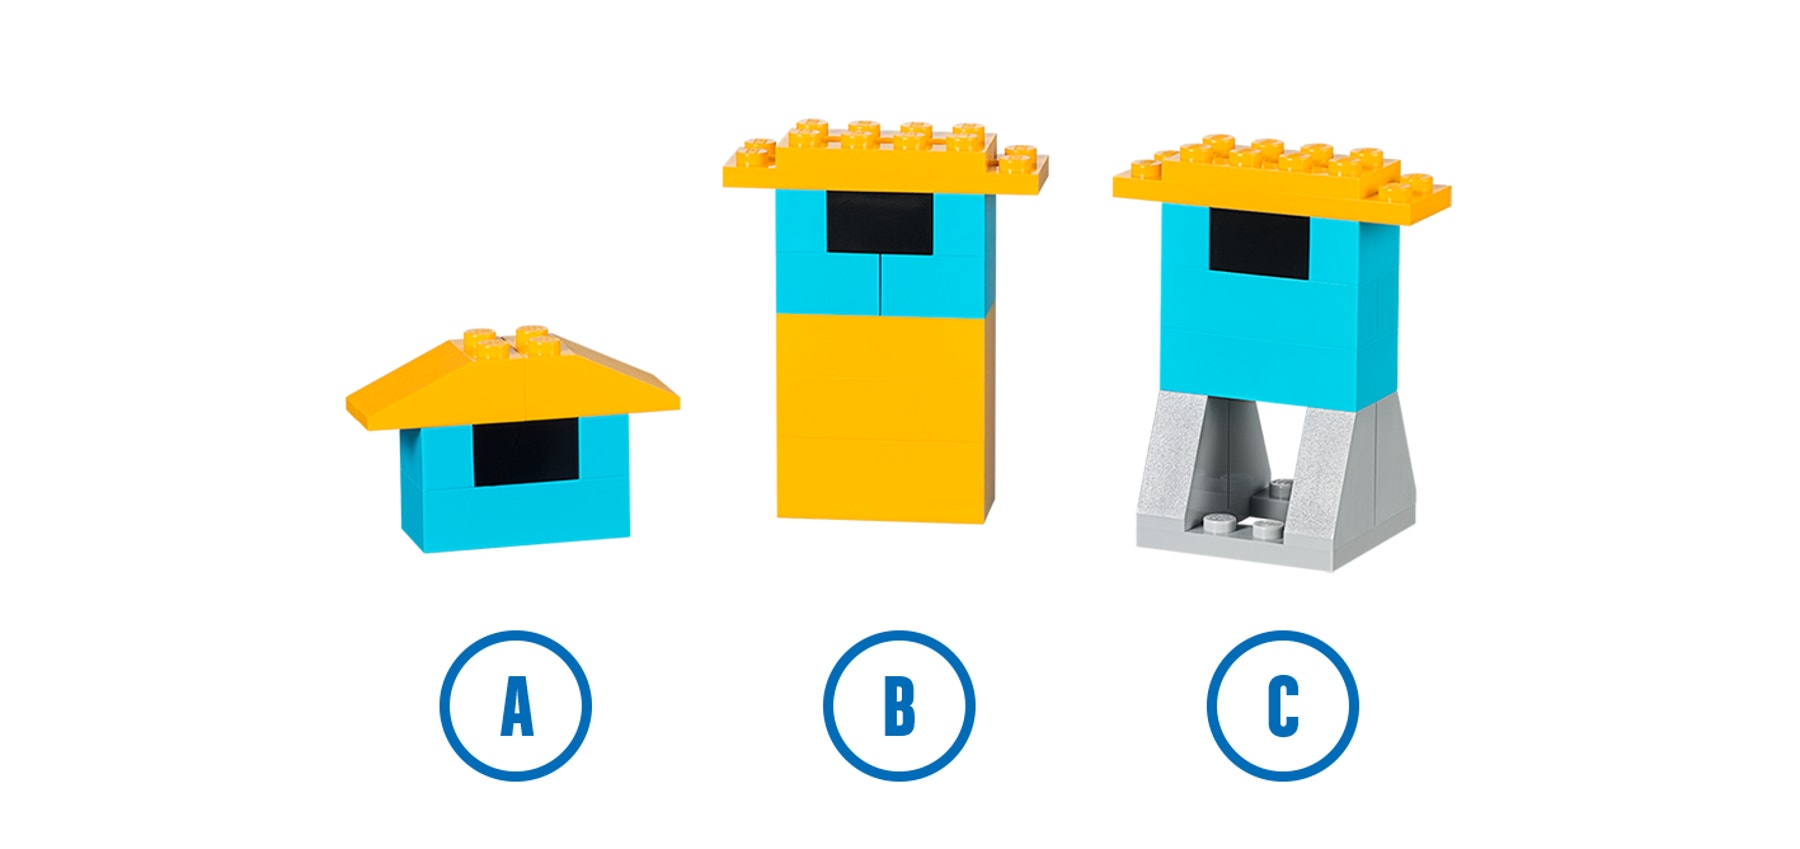
1. Change the height.
Students should use the short and the tall buildings, both with narrow bases (buildings A and B).
With the tall building on the shaking base, students should find the smallest magnitude to which it falls. Then, with that same program, they should test if the narrow or short building can resist better.
Students should be able to discover that with the same base area, the short building can resist better than the tall building.
Important
Because not all the motors react exactly the same, it is possible that teams
have different magnitudes in the investigation.
2. Change the width of the base.
With the same program, have them test if the tall building with the narrow base (building B) can resist better than the narrow, tall building with the wide base (building C).
Students should be able to discover that with a larger base area, a tall building can resist much better.
Investigate more (optional, 45-60 minutes)
Use the “Investigate more” section of the student project as an optional extension. Keep in mind that these tasks extend upon those in the “Investigate” section and are designed for older or more advanced students.
Have your students explore more elements that affect the buildings’ resistance to vibrations.
1. Change the magnitude.
Have your students predict what would happen to building A, B, and C if
the magnitude of the earthquake was increased, for example, up to level 8. Have them record their predictions and test each case.
2. Change buildings.
Applying the fact that a larger base will help a building resist a stronger vibration, challenge your classroom to build the tallest building that could resist a level 8 earthquake.
Have students explore different building compositions:
• Explore different structural shapes.
• Introduce new materials.
Collaboration suggestion
Allow teams to compare their building designs. Have one team describe and test the work of another team:
• What are the strengths of the structure?
• What are the weaknesses of the structure?
• Will the building resist the earthquake test?
4. Share phase
(45+ minutes)
Complete the document
Have students document their projects in a range of ways:
• Ask students to take a video of each test they conduct in order to prove their claims.
• Ask your students to compare these conclusions with real-life cases.
Suggestions
Students may collect data in a chart format or on a spreadsheet.
Students may also graph the results of their tests.
Present results
At the end of this project, students should present the result of their investigation.
To enhance your students’ presentation:
• Ask them to describe which factor influences a building’s stability.
• Ask them to compare these thoughts with their findings.
• Ask them to put their explanation in context.
• Ask them to reflect on their conclusions.
• Discuss if their results reflect reality.
Project assessment
NGSS project assessment rubrics
You can use these assessment rubrics with the observation rubrics grid, which you will find in the “Assess with WeDo 2.0” chapter.
Explore phase
During the Explore phase, make sure the student is actively involved in the discussions, asks and answers questions, and can answer in their own words questions about earthquakes.
- The student is unable to provide answers to questions or participate in discussions adequately.
- The student is able, with prompting, to provide answers to questions or participate in discussions adequately or, describe elements that may influence a structure’s resistance to earthquakes.
- The student is able to provide adequate answers to questions, participate in class discussions, and describe elements that may influence a structure’s resistance to an earthquake.
- The student is able to extend the explanations in discussion and describe in detail the factors that may influence a structure’s resistance to an earthquake.
Create phase
During the Create phase, make sure the students uses documentation to record predictions and findings and changes only one variable at a time as he/she conducts the investigations.
- The student does not complete all necessary documentation throughout the investigations and rarely exhibits accuracy in changing only one variable at a time during the investigations.
- The student uses documentation but some critical elements are missing and inconsistently exhibits accuracy in changing only one variable at a time during the investigations.
- The student uses adequate documentation to record predictions and findings or generally exhibits accuracy in changing only one variable at a time during the investigations.
- The student uses excellent documentation to record predictions and findings or consistently exhibits accuracy in changing only one variable at a time during the investigations.
Share phase
During the Share phase, make sure the student can effectively utilize documents and verbal communication to explain what is happening with the earthquake simulator and what can be concluded from the results of the tests.
- The student offers no explanation, neither in his/her document nor through verbal communication.
- The student ineffectively utilizes documents and verbal communication to explain what is happening and what can be concluded. The explanation may be incomplete or inaccurate.
- The student effectively utilizes documents and verbal communication to explain what is happening and what can be concluded.
- The student effectively utilizes documents and verbal communication to offer a sophisticated and accurate explanation of what is happening and what can be concluded.
ELA project assessment rubrics
You can use these assessment rubrics with the observation rubrics grid, which you will find in the “Assess with WeDo 2.0” chapter.
Explore phase
During the Explore phase, make sure the student can effectively explain his/her own ideas and comprehension related to the questions posed.
- The student is unable to share his/her ideas related to the questions posed during the Explore phase.
- The student is able, with prompting, to share his/her ideas related to the questions posed during the Explore phase.
- The student adequately expresses his/her ideas related to the questions posed during the Explore phase.
- The student uses details to extend explanations of his/her ideas related to the questions posed during the Explore phase.
Create phase
During the Create phase, make sure the student makes appropriate choices (i.e., screen capture, image, video, text) and follows the established expectations for documenting findings.
- The student fails to document findings throughout the investigation.
- The student gathers documentation of his/her findings, but the documentation is incomplete or does not follow all of the expectations established.
- The student adequately documents findings for each component of the investigation and makes appropriate choices in selections.
- The student uses a variety of appropriate methods for documentation and exceeds the established expectations.
Share phase
During the Share phase, make sure the student uses evidence from his/her own document text and video to explain ideas, including what happened and why.
- The student does not use evidence from his/her own document text and video and cannot explain ideas, including what happened and why.
- The student uses some evidence from his/her own document text and video but cannot completely explain ideas, including what happened and why.
- The student uses evidence from his/her own document text and video to explain ideas, including what happened and why.
- The student uses a variety of evidence from his/her own document text and video to thoroughly explain ideas, including what happened and why.
5. Differentiation
To ensure success, consider giving more guidance on building and programming, such as:
• Explain how to conduct an investigation.
• Utilize evidence to construct explanations.
• Offer them additional experiences with isolated variables to test hypotheses.
Also, be specific in establishing expectations for students to present and document their findings.
Suggestion
For more experienced students, allow extra time for building and programming so they can use their own inquiries to design their own investigations. Students could change parameters, such as the level of the earthquake simulator, the materials used to construct the buildings, or the surface on which they test their buildings.
Investigate more
Students will design the tallest building resisting a grade 8 earthquake. They will apply learnings from the previous investigation.
Possible student misconceptions
Students may believe that earthquakes happen in random locations across the earth. Most of the world’s seismic activity is associated with tectonic plate boundaries. While shallow crevasses may form during an earthquake, due to landslides or ground failures, the ground does not “open up” along a fault line.
Teacher Support
Students will:
Explore the origin and nature of earthquakes.
Create and program a device that will allow you to test building designs.
Document evidence and present your findings about which structure design(s) are best for withstanding earthquakes.
NGSS
3-5-ETS1-3
4-ESS3-2
CCSS
CCSS.ELA-Literacy.RI.2.3
CCSS.ELA-Literacy.RI.4.3


