BricQ Motion Prime
Strike the Ball
One way to get better at sports is to understand the science behind them. It's time to apply your understanding of forces and interactions to build a tabletop ball-striking game.
45-90 min.
Advanced
Grades 6-8
Prepare
- Review the online student material. Use a projector to share this material with your students during the lesson. This lesson is designed to be facilitated over at least two 45-minute class sessions. Part A comprises session 1, and Part B comprises session 2.
- Make sure that you've covered Newton’s three laws of motion in an earlier lesson.
- Consider the abilities and backgrounds of all of your students. Differentiate the lesson to make it accessible to everyone. See the Differentiation section below for suggestions.
Part A (45 Minutes)
Engage
(Whole Class, 5 Minutes)
- Watch the student video here, or access it via the online student material.
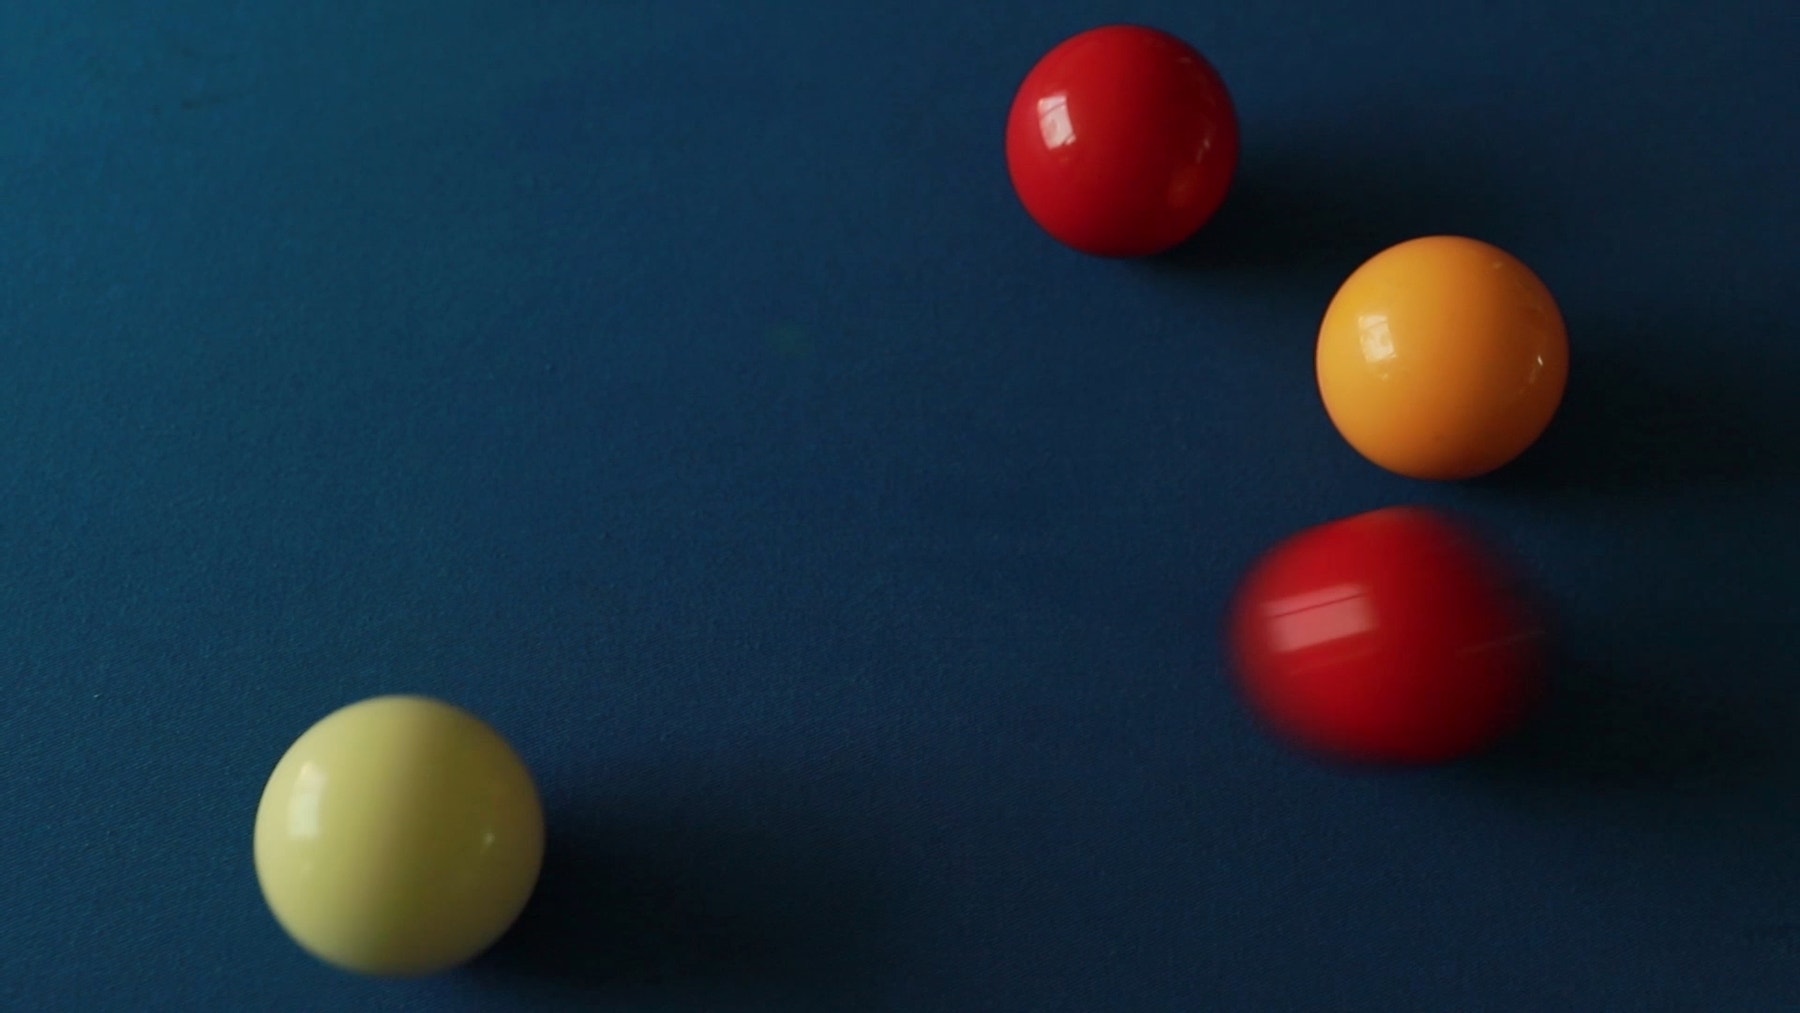
- Facilitate a quick discussion about which forces help one ball to collide with another in tabletop ball games, how the resulting force vectors can impact movement, and how players can use their understanding of forces, interactions, and angles to score.
- Ask questions, like:
- How are the ball games that you saw in the video different from others you've seen? (One ball collides with another to hit it into a pocket to score.)
- What happens when two balls collide at different angles, and why does this happen? (Newton’s third law: equal and opposite forces.)
- What did you notice about the collisions you saw in the video? (When the balls bump each other, it's called an "elastic collision." The rigid balls bounce off each other with no [significant] loss of kinetic energy/motion.)
- Tell the students that they're going to design a mechanism that can strike one ball against another to score into a pocket from different angles.
Explore
(Small Groups, 30 Minutes)
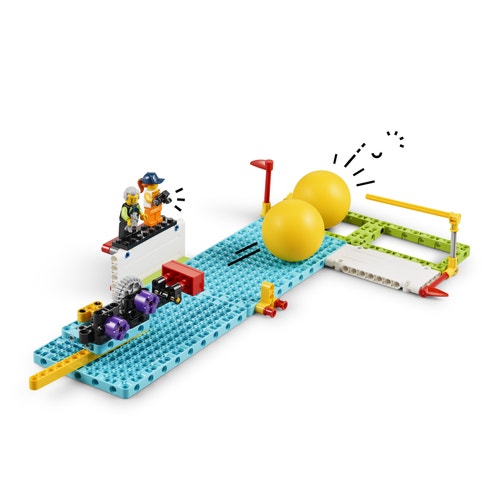
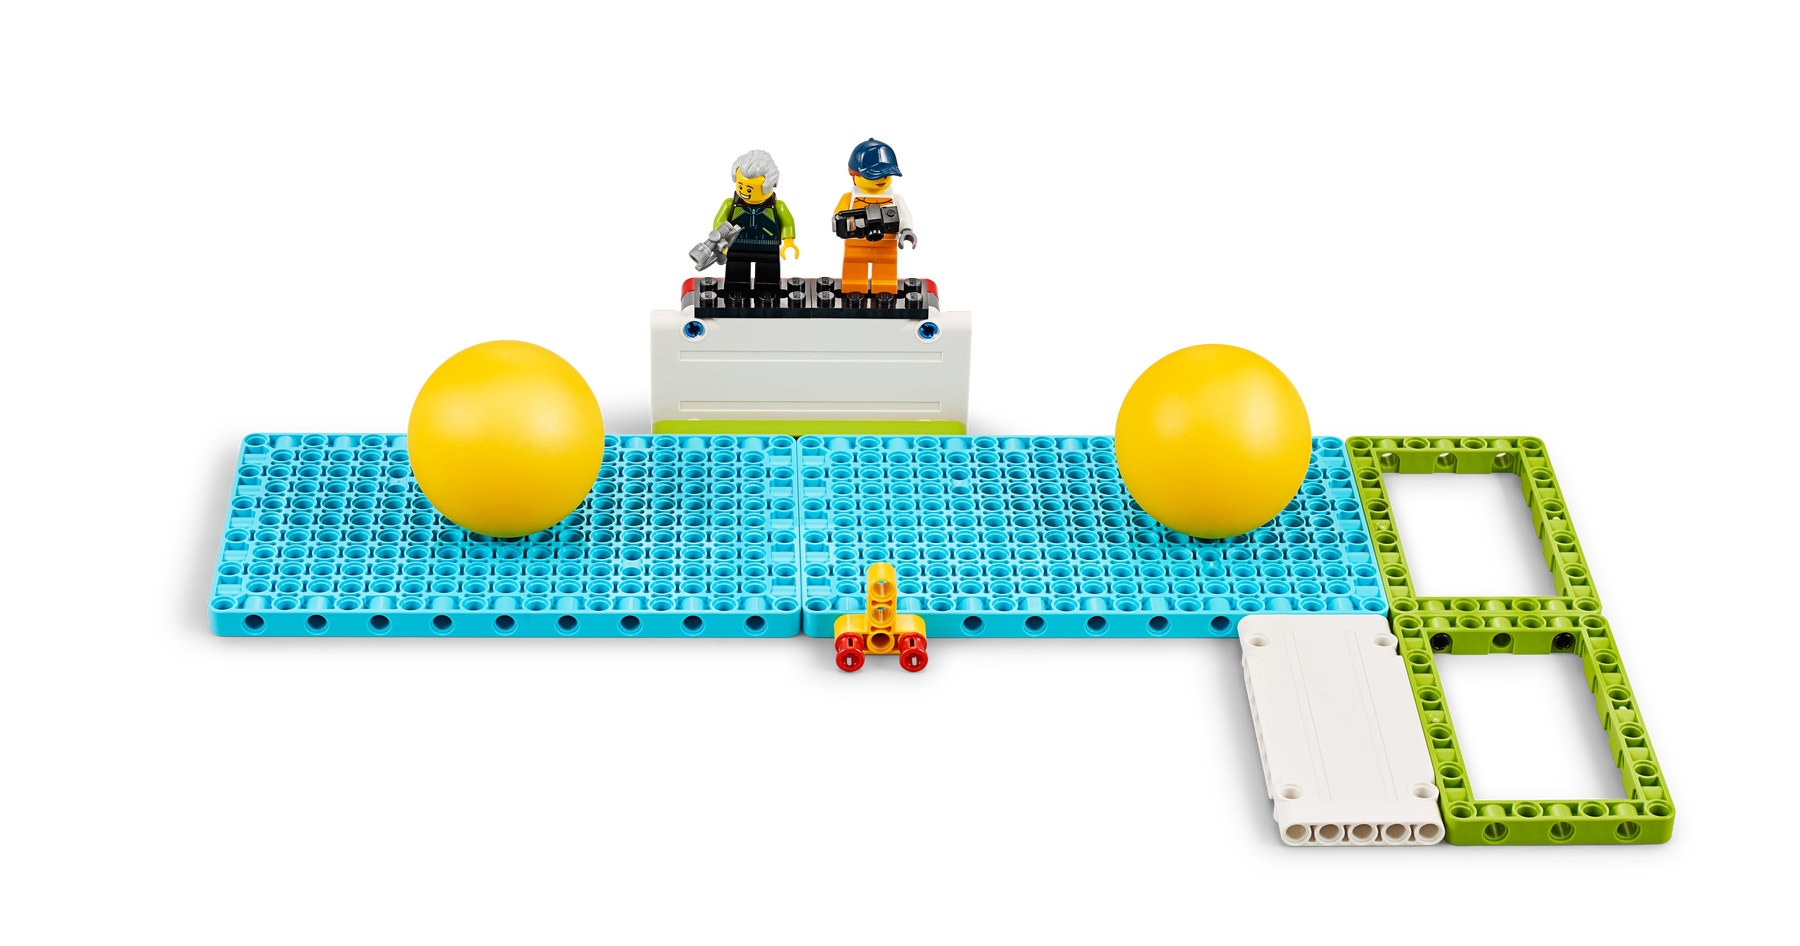
- Have the students work in pairs to build this game area.
- Explain the challenge:
- Tell the students that they must design a ball-striking mechanism for the game area that can score into either pocket.
- Explain the scoring criteria:
- Pocket 1 (2 points)
- Pocket 2 (4 points)
- One ball in both by striking ball “A” against ball “B” (6 points)
- No points are scored if either ball doesn't stay in the pocket (green frame)
- They're not allowed to touch either ball with their hands after they've placed it on the game area.
- The ball-striking mechanism must be attached to the blue panel (they can’t just use a long cross axle as a mini pool cue), and it should have at least two moving parts.
- Have the students discuss the problems they need to solve, and then sketch and label some ideas before they start building.
- They can sketch their ideas with a pencil and paper, or they can "sketch" in 3-D using the bricks.
Explain
(Whole Class, 5 Minutes)
- Gather your students together to review and discuss their ideas.
- Ask questions, like:
- How will your model push the ball?
- Which models from the building instructions book inspired you?
- What's the same as your sketch? What's different?
- What could you change?
- The students can keep their assembled models in the boxes to reuse during the next lesson. If the sets will be used by another class in between, take a photo of every model, then have the students disassemble their models. When they rebuild and improve during the next lesson, their models will be even better!
Part B (45 Minutes)
Engage
(Whole Class, 5 Minutes)
- Hand out your students' sketches, photos, and/or models from Part A of the lesson.
- Have the students share what they're planning to do today to refine, improve, and finish their models.
- If your students get stuck, encourage them to ask another team for advice. In the real world, it's OK for engineers and designers to build on the ideas of others! They could also use the building instructions for inspiration.
- Remind the students they must only use the bricks in their sets, they can't borrow elements from other teams.
Explore
(Small Groups, 30 Minutes)
- Ask each group to begin building and testing a prototype mechanism that can strike the ball.
- You can find support for building in the Tips section below.
Explain
(Whole Class, 5 Minutes)
- Have the students share and explain their models.
- Ask questions, like:
- How well did your model work?
- How where you able to score at an angle?
Elaborate
(Whole Class, 5 Minutes)
- Ask the students to share which of their classmates' models inspired them the most.
- Allow time for the students to disassemble their models, sort the bricks back into the trays, and clean up their workstations.
Evaluate
(Ongoing Throughout the Lesson)
- Give feedback on each student's performance.
- Facilitate self-assessment.
- You can use the assessment rubrics provided to simplify the process.
Observation Checklist
- Measure your students’ proficiency in describing how the forces acting on an object in a specific direction can change its motion.
- Create a scale that matches your needs. For example:
- Needs additional support
- Can work independently
- Can teach others
Self-Assessment
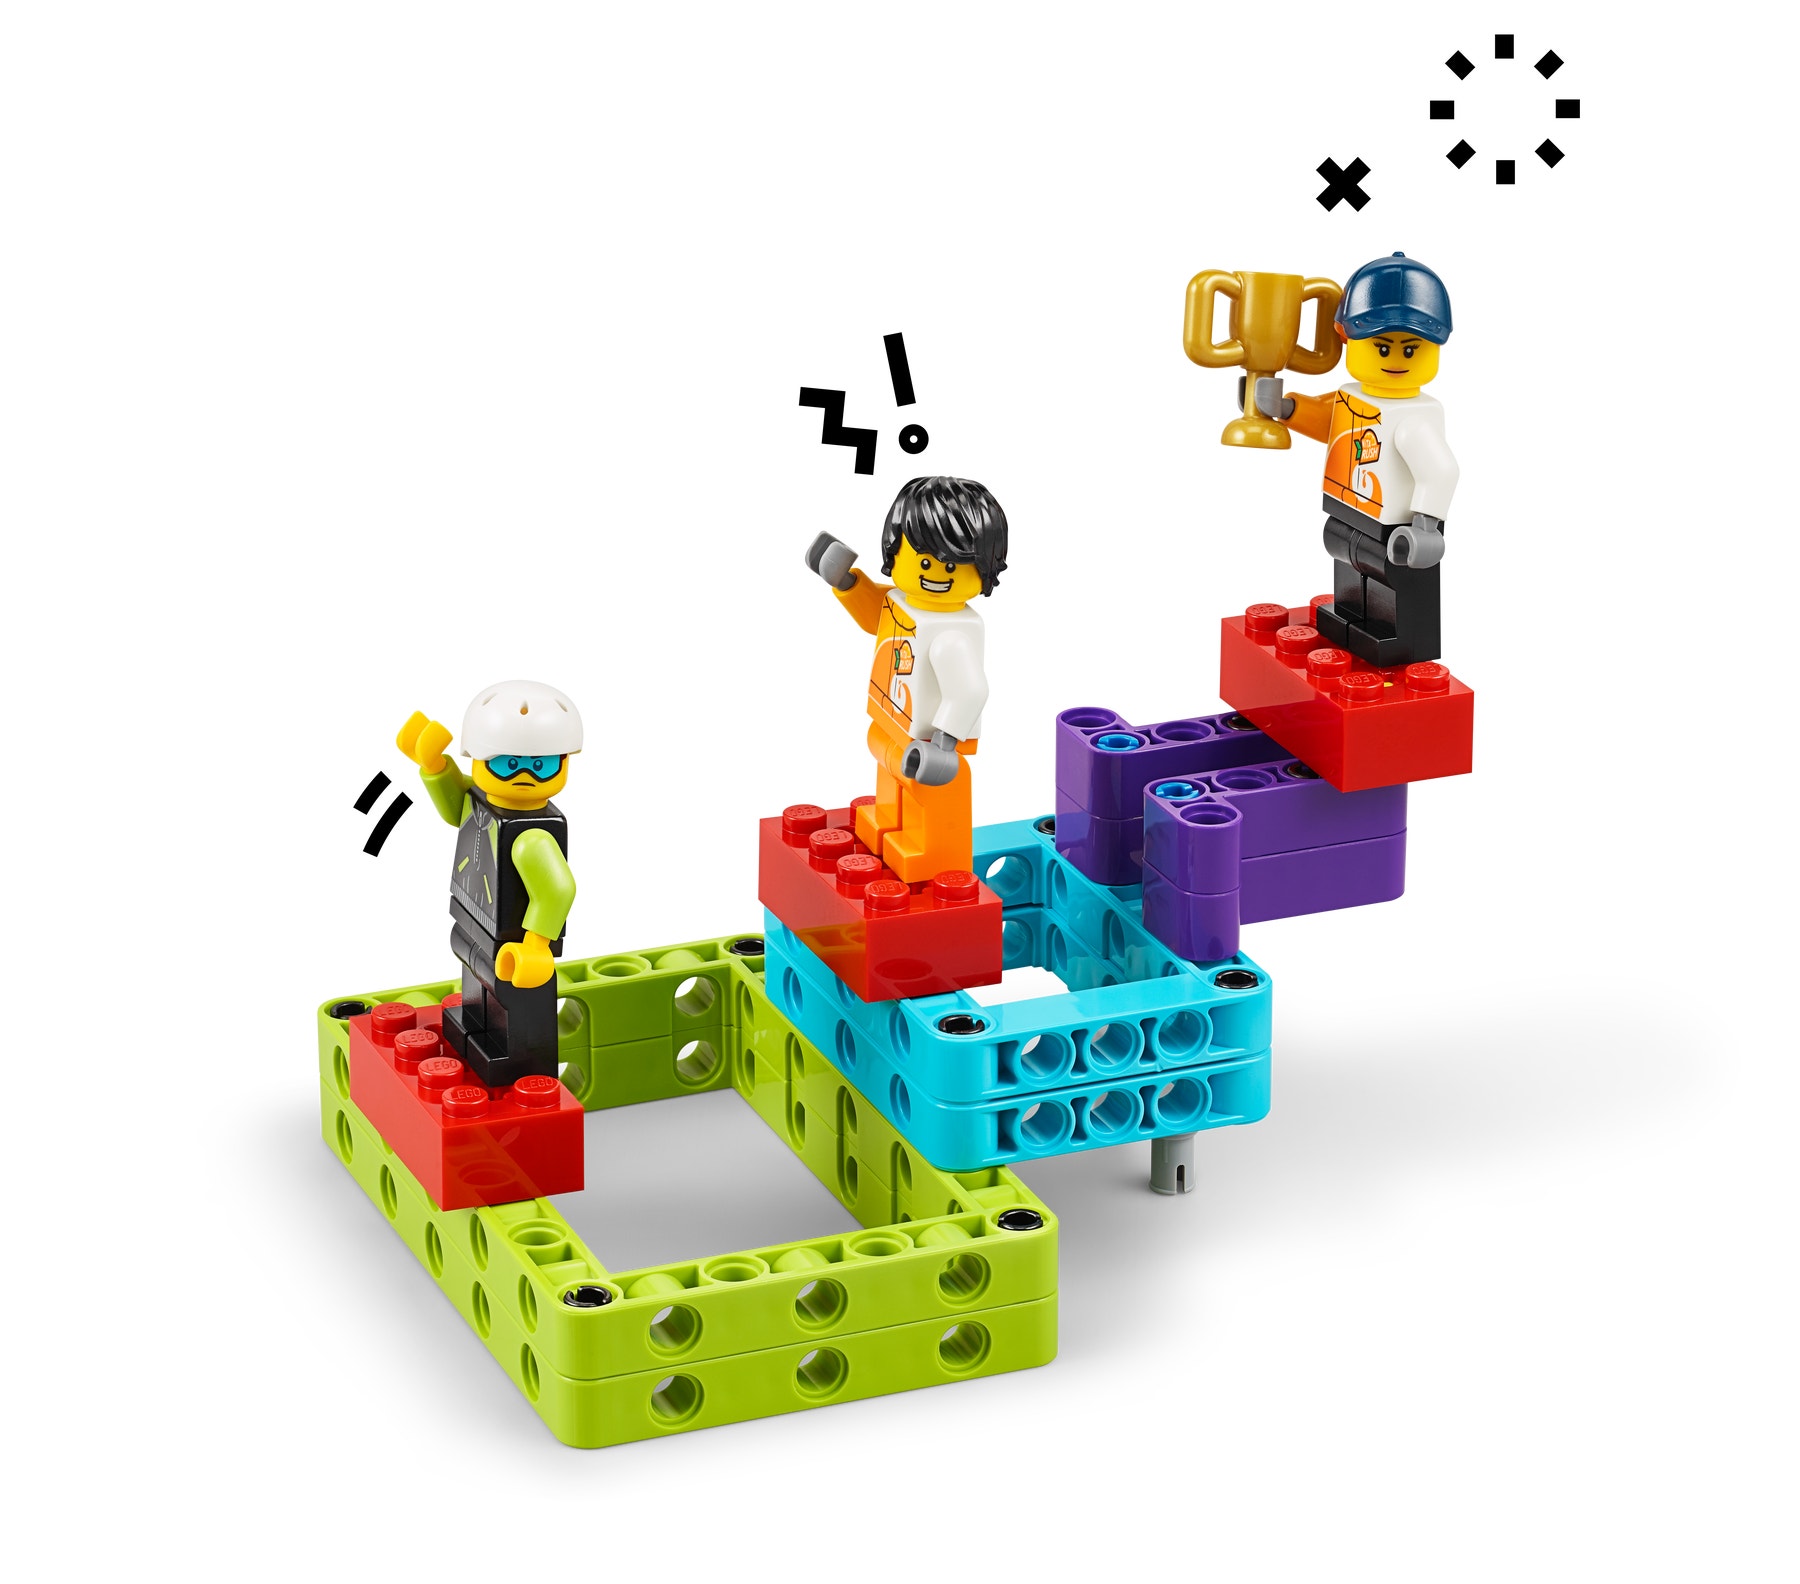
- Have each student choose the brick that they feel best represents their performance:
- Green: With some help, I can describe how force and mass can change an object's motion.
- Blue: I can describe how force and mass can change an object's motion.
- Purple: I can describe and explain how force and mass can change an object's motion.
Peer-Feedback
- Encourage your students to assess their peers by:
- Using the brick scale above to score each other's performance
- Presenting their ideas and giving constructive feedback
Tips
Model Tips
- If any of your students get stuck when generating ideas, coach them by:
- Asking if they've already built any models that could make a ball move
- Showing them the inspiration picture on page 1 of building instructions book to use as a good starting point
- Some students might have ideas that are too big to build within the available time. Encourage them to think about ways they could simplify their idea before the next class. Foster their creativity, explaining that many designers take time away from a project to rethink and revise their plans.
- This photo shows a sample solution taken from page 1 in the building instructions book. However, we don't recommend showing it to your students unless they're having trouble coming up with their own ideas because it tends to limit their creativity.

Differentiation
Simplify this lesson by:
- Having your students start by exploring the rack and pinion mechanism on page 1 in the building instructions book
Increase the difficulty by:
- Challenging the students to design something that will automatically show when a pocket has been scored
- Having the students decorate their models using other elements from the set
Extensions
(Note: This will require additional time.)
To incorporate math skills development, ask your students to use the printed angle measurement elements from their sets to measure the angles from which the balls are being hit. Tell them to record each angle and whether or not they scored. Then have them analyze this data to determine which angle worked best.
CCSS.MATH. CONTENT.6. SP.B.5. A
Teacher Support
Students will:
- Apply what they've already learned about forces and interaction
- Brainstorm, sketch, design, prototype, build, test, iterate, rebuild, and experiment to engineer a mechanical solution that will make them win a game
- LEGO® Education BricQ Motion Prime Set (one for every two students)
- NGSS MS-PS2-1
- ISTE: 4c, 6c, 7c
- CCSS.ELA-LITERACY.SL6.4
Lesson extension
- CCSS.MATH.CONTENT.6.SP.B.5.A


