Pulling
Love using WeDo 2.0? Learn more about our next generation product, LEGO® Education SPIKE™ Essential.
Investigating the effects of balanced and unbalanced forces on the movement of an object.
1. Preparation
(15-30 minutes)
• Read the general preparation in the “Classroom Management” chapter.
• Read about the project so you have a good idea of what to do.
• Define how you want to introduce this project: Use the video provided in the project in the WeDo 2.0 Software, or use material of your own choice.
• Determine the end result of this project: the parameters to present and produce the document.
• Make sure timing allows for expectations to be met.
2. Explore phase
(30-60 minutes)
The introductory video may set the stage for the following ideas to be reviewed and discussed with students for this project.
Introductory video
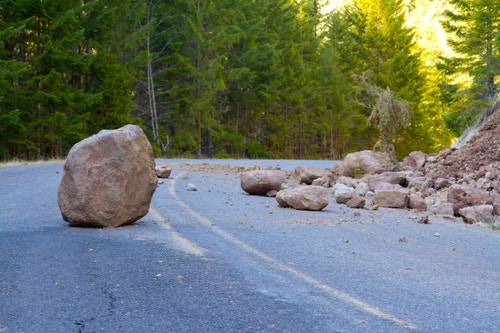
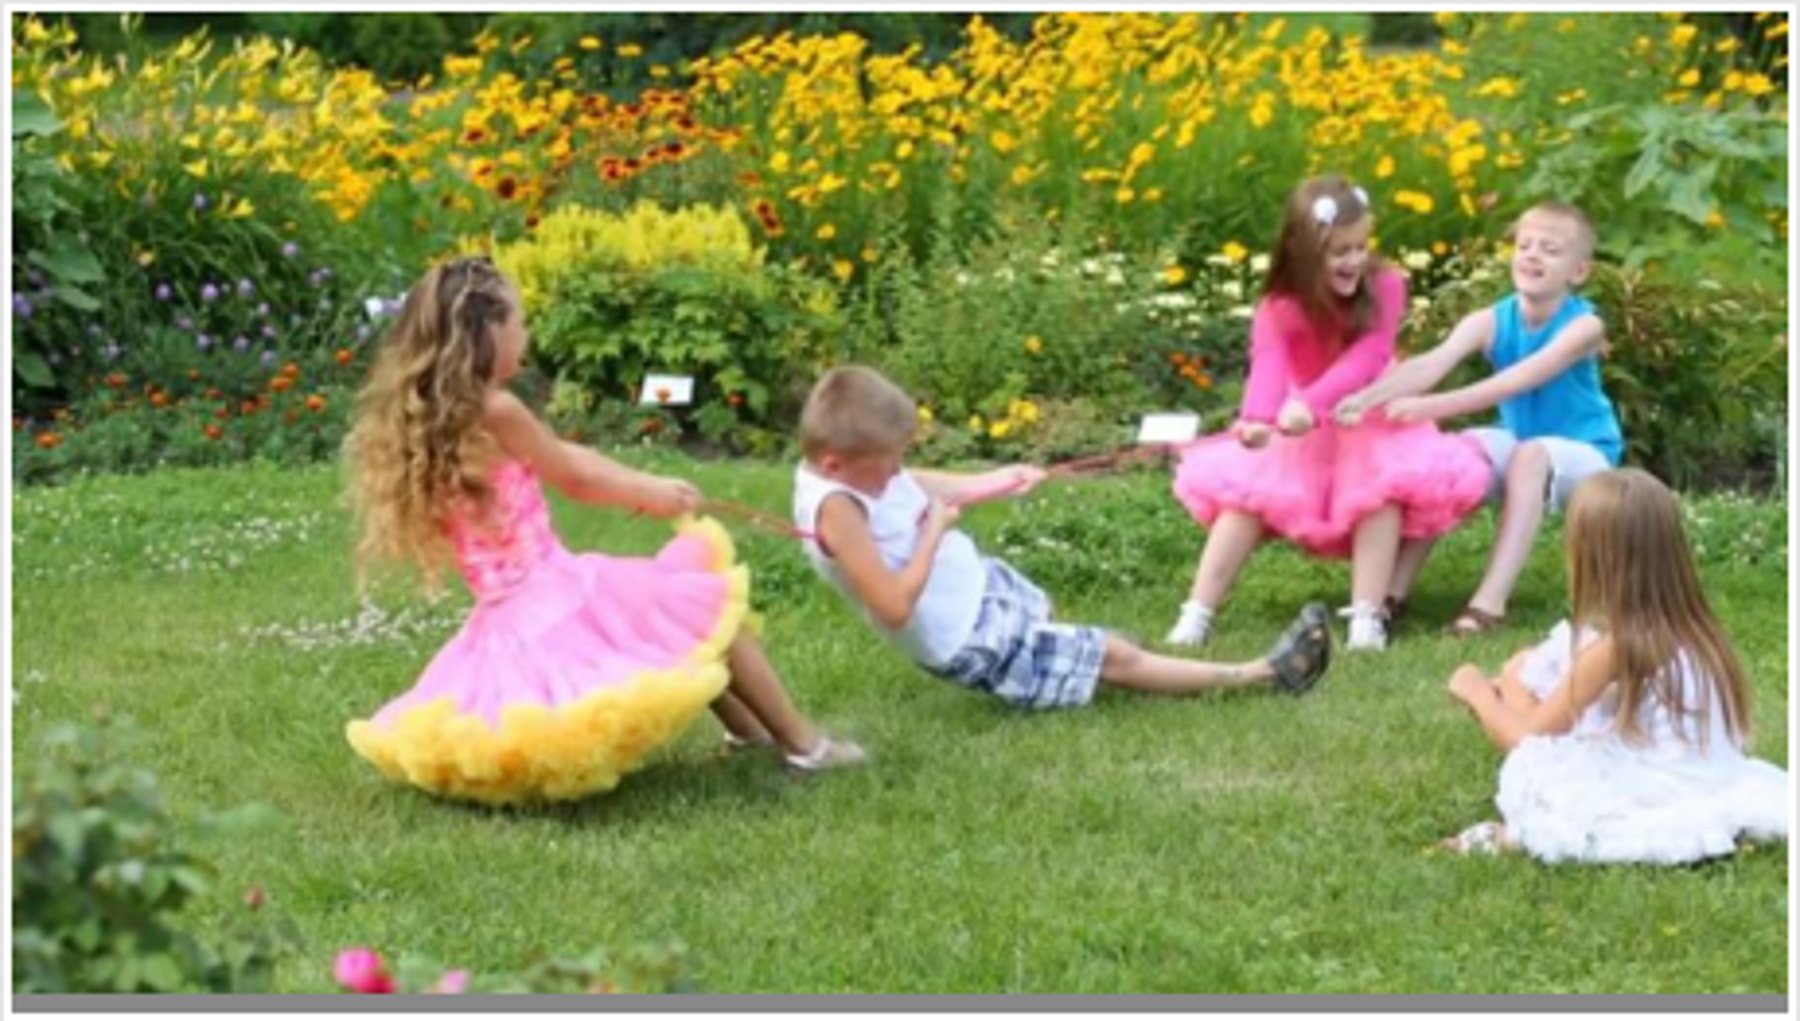
It has been a long time since humans first tried to move large objects around. From ancient civilizations to the modern age, various tools have been used to push or pull objects.
- When you do not succeed in pulling something, it is because it is being pulled in the opposite direction with the same or a greater force.
- When an object starts to move, this means a force is greater in the direction of the movement.
- On earth, friction has a role to play in this system.
- On a surface with less friction, it will be easier to pull the same weight than if it is on a rough surface.
This topic about force and motion was explored and explained in detail by Sir Isaac Newton in the 17th century. You experience the laws of physics he defined on a daily basis.
Questions for discussion
- What are some ways you can make an object move?
To make it move, pull or push it, or, more generally, apply a force to it. - Can you explain friction? Is it easier to pull something on a normal surface than on a slippery one?
It is easier to move an object on a slippery surface than on a rough one.
Depending on the mass of an object, it can also be more difficult to move the object on a slippery surface because there is less grip to push or pull. - Predict what will happen if the pull force is greater in one direction than the other.
This answer should be based upon students’ predictions in the beginning.
This means that at this point, your students’ answers can be incorrect.
Following the lesson, students should be able to discuss the fact that the motion of the object will be in the direction of the greatest push or pull force. - Can you infer the relationship among balanced forces and the objects’ ability to move?
Unbalanced forces can cause a change in an object’s motion (speeding up, slowing down, etc.)
Have your students collect their answers with text or pictures in the Documentation tool.
3. Create phase
(45-60 Minutes)
Build and program a Pull-robot
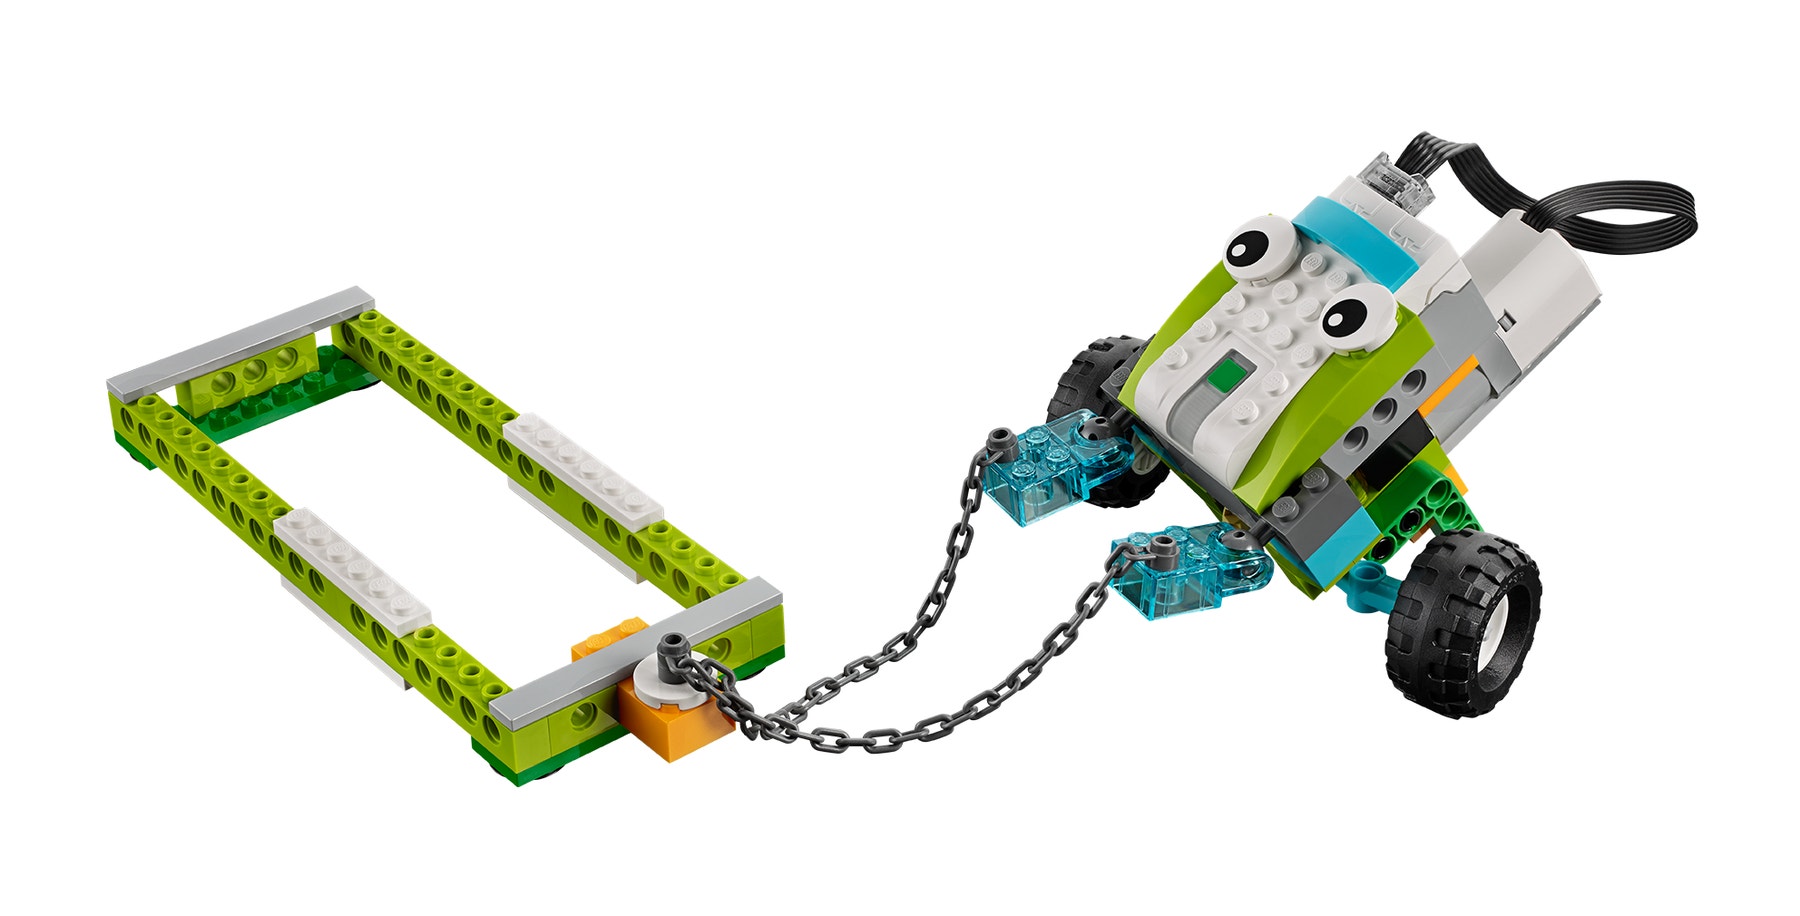
Students will follow the building instructions to create a Pull-robot. This Pull-robot will pull some objects placed in his basket. This investigation can be done on various types of surfaces, like wood or carpet. Use the same surface during the entire project.
1. Build a Pull-robot.
The wobble module used in the project uses a bevel gear. This bevel gear changes the axis of rotation, from vertical to horizontal, bringing the motion from the motor to the wheels. The basket has some sliding bricks to reduce friction.

2. Program the robot to pull.
This program will display numbers 3, 2, 1 before the motor turns on for 2 sec. at motor power 10.

Suggestion
Before your students start their investigation, have them change the parameters of the program so they fully understand it.
Test the Pull-robot
Using this model, students should be able to conduct an investigation about pull forces.
1. Investigate by adding small objects and then heavy objects to the basket until the device stops moving.
It will take around 11 oz. (300 g) on a regular surface to stop the Pull-robot from moving. Students can use any object, but each one should not be too heavy, as the goal of this part is to reach equilibrium. At that point, students have balanced forces in front of them. You can use an arrow to symbolize the direction of the force.
You can also use the small tires as objects to place in the basket. They will increase the friction on the basket side.
2. Using the same amount of bricks, put the big tires on the model and test what happens.
Students will put tires on the Pull-robot. This will cause the friction among the wheels and the surface to be greater on the Pull-robot side, increasing the force pulling in that direction. The system will suddenly become unbalanced.
This evidence supports the idea that when the pull force is greater than the forces opposing it, objects should move.
3. Find the heaviest object you can pull with your model when fitted with the tires.
This final step will depend on the friction of the surface the students are working on.
Investigate more (optional, 45-60 minutes)
Use the “Investigate more” section of the student project as an optional extension. Keep in mind that these tasks extend upon those in the “Investigate” section and are designed for older or more advanced students.
The Pull-robot that students are working with uses a bevel gear mechanism to change the direction of the motor rotation. It does not greatly increase the strength of the movement.
1. Build a different Pull-robot.
Let students explore new designs for a pull machine. Let them build their own model, do the same tests as with their original Pull-robot and compare the findings of the two investigations. For inspiration, look in the Design Library.
Collaboration suggestion
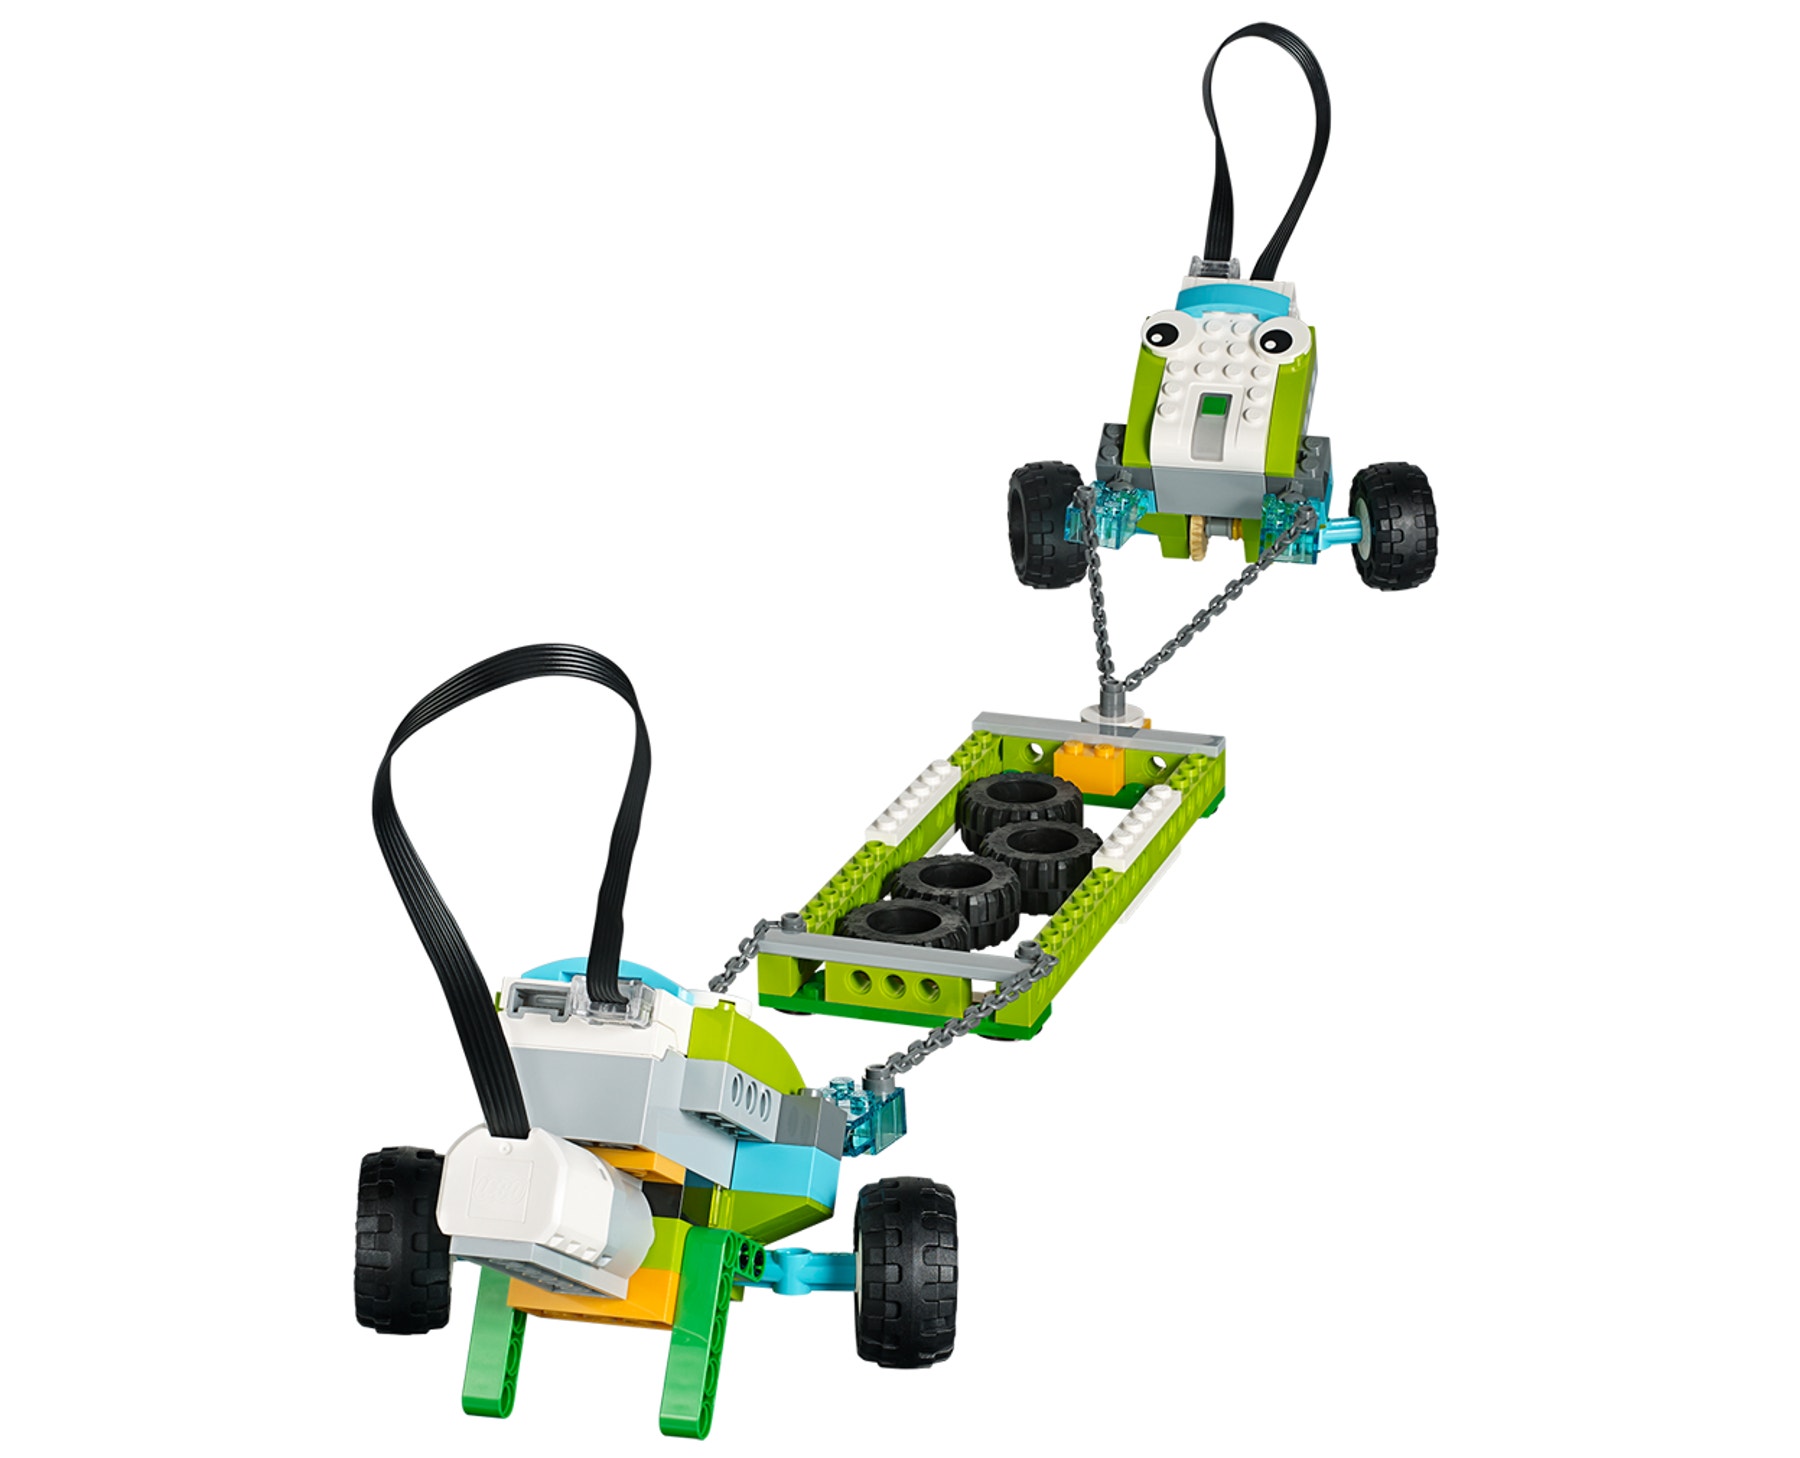
Find the strongest machine in the classroom. When you think your teams are done testing, organize a tug-of-war contest:
- Pair up two teams.
- Attach the robots back-to-back with the LEGO® chain.
- Have teams place equal amounts of weight and mass in the basket prior to the contest.
- Have them start their engine at your signal, so that they pull away from each other. Which is the strongest?
4. Share phase
(45+ minutes)
Complete the document
Have students document their project in a range of ways (suggestions may
include):
- Ask them to take a screen capture of their results.
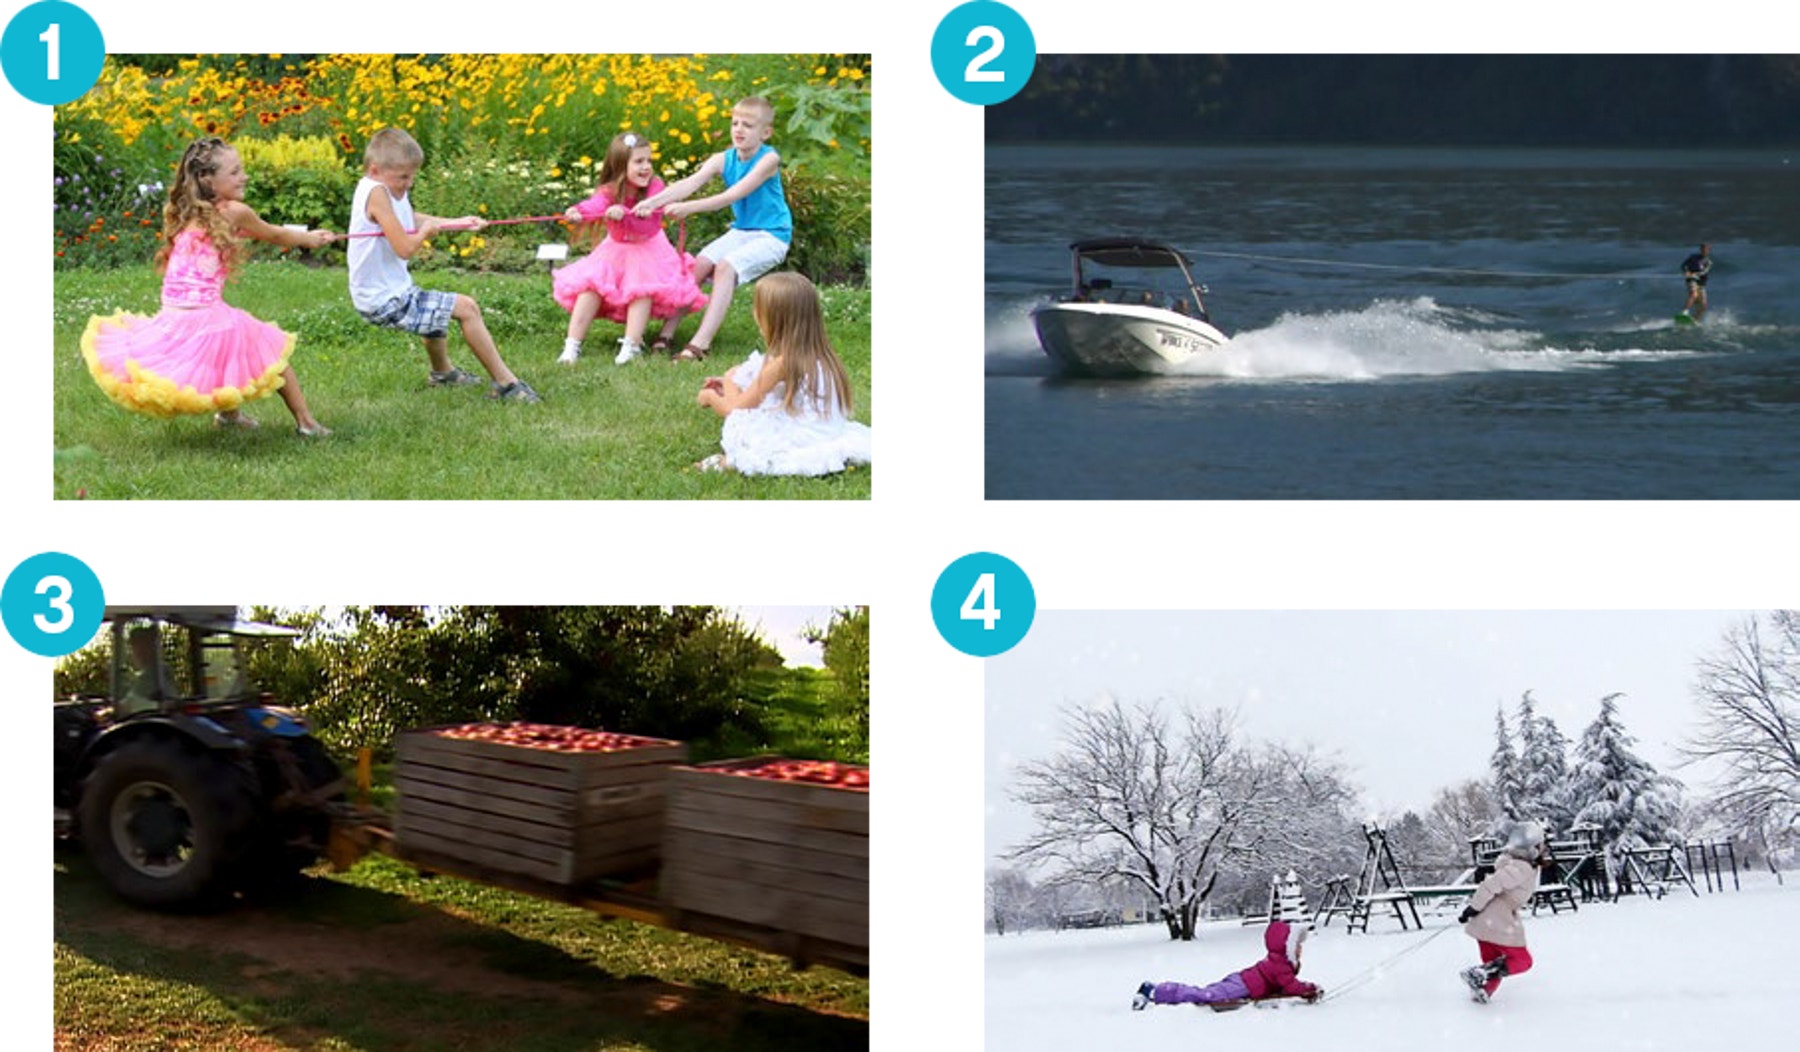
- Get them to compare these images with real-life images.
- Invite students to record a video of them describing their project to the class.
Suggestions
Students may collect data in a chart format or on a spreadsheet.
Students may also graph the results of their tests.
Present results
At the end of this project, students should present the result of their investigation.
To enhance your students’ presentation:
- Make sure students use words like balanced force, unbalanced force, push, pull, friction, and weight.
- Ask them to use arrows to represent force.
- Ask them to put their explanation in context.
- Ask them to analyze their projects in terms of real-life situations in which they have observed balanced and unbalanced forces.
- Discuss the connection among their findings and these particular situations.
Project assessment
NGSS project assessment rubrics
You can use these assessment rubrics with the observation rubrics grid, which you will find in the “Assess with WeDo 2.0” chapter.
Explore phase
During the Explore phase, make sure the student is actively involved in the discussion, asks and answers questions, and correctly uses the terms push and pull, forces, and friction.
- The student is unable to provide answers to questions or participate in discussions adequately or adequately describe the ideas of push and pull or relate that they are forces.
- The student is able, with prompting, to provide answers to questions or participate in discussions adequately or with help and describe push and pull as an example of a force.
- The student is able to provide adequate answers to questions and participate in class discussions or describe push and pull as an example of force.
- The student is able to extend the explanations in discussion or describe in detail the concept of force with push and pull.
Create phase
During the Create phase, make sure the student is working as part of a team, can make predictions about what should happen, and can use the information collected in the Explore phase.
- The student is unable to work well on a team, make predictions about what should happen, or use information collected.
- The student is able to work on a team and predict, with help, what might happen in the investigation.
- The student is able to collect and use information with guidance, work on a team and contribute to the team discussions, make predictions, and collect information to use in a presentation to explain the content.
- The student is able to work on a team, serve as the leader, and justify predictions to explain the forces of push and pull with information.
Share phase
During the Share phase, make sure the student can explain what is happening with the model in terms of force, has tested different combinations and could
predict other ones, and can use important information from their project to create a final report.
- The student is unable to engage in the discussion about the investigation, explain the model using the concept of force, or use the information to create a final project.
- The student is able, with prompting, to engage in the discussion about forces, complete multiple testing scenarios in order to make predictions, and use limited information to create a final project.
- The student is able to engage in discussions about forces investigation and use the information gathered from testing to produce a final project.
- The student is able to engage extensively in class discussions about the topic and use the information gathered to create a final project that includes additional required elements.
ELA project assessment rubrics
You can use these assessment rubrics with the observation rubrics grid, which you will find in the “Assess with WeDo 2.0” chapter.
Explore phase
During the Explore phase, make sure the student can effectively explain his/her own ideas and comprehension related to the questions posed.
- The student is unable to share his/her ideas related to the questions posed during the Explore phase.
- The student is able, with prompting, to share his/her ideas related to the questions posed during the Explore phase.
- The student adequately expresses his/her ideas related to the questions posed during the Explore phase.
- The student uses details to extend explanations of his/her ideas related to the questions posed during the Explore phase.
Create phase
During the Create phase, make sure the student makes appropriate choices (i.e., screen capture, image, video, text) and follows the established expectations for documenting findings.
- The student fails to document findings throughout the investigation.
- The student gathers documentation of his/her findings, but the documentation is incomplete or does not follow all of the expectations established.
- The student adequately documents findings for each component of the investigation and makes appropriate choices in selections.
- The student uses a variety of appropriate methods for documentation and exceeds the established expectations.
Share phase
During the Share phase, make sure the student uses evidence from his/her own findings during the investigation to justify his/her reasoning and adheres to established guidelines for presenting findings to the audience.
- The student does not use evidence from his/her findings in connection with ideas shared during the presentation. The student does not follow established guidelines.
- The student uses some evidence from his/her findings, but the justification is limited. Established guidelines are generally followed but may be lacking in one or more areas.
- The student adequately provides evidence to justify his/her findings and follows established guidelines for presenting.
- The student fully discusses his/her findings and thoroughly utilizes appropriate evidence to justify his/her reasoning while following all established guidelines.
5. Differentiation
To ensure success, consider giving more guidance on building and programming, such as:
- Explain the use of motors.
- Explain simple program strings.
- Explain how to conduct an investigation.
- Define factors to focus on, such as pull and friction forces.
Also, be specific on the way you would like them to present and document their findings (think about having a sharing session among teams, for example).
Investigate more
As an added challenge, allow extra time for experimentation with student-created design, building, and programming. This will allow them to explore the additional laws of push and pull. Also, to investigate more, ask your students to compare the strength of their robots by pairing them in a tug-of-war contest. Be ready for excitement!
Students’ misconceptions
Students are likely to believe that if something is not moving, there are no forces acting on it. A good example to bring up is when you try to move a car with the hand brake on. Because the car does not move, students think no force is involved, yet there is. Scientifically, it’s understood that several balanced forces are at work.
Teacher Support
Students will:
Explore what forces are and how they can make objects move.
Create and program a robot to investigate the effects of balanced and unbalanced forces on the motion of an object.
Document and present findings about forces.
NGSS
3-PS2-1
CCSS
CCSS.ELA-Literacy.W.3.7
CCSS.ELA-Literacy.W.3.8
CCSS.ELA-Literacy.SL.3.1.a
CCSS.ELA-Literacy.SL.3.1.d


